今回はOverloudの「GEM Echoson」について書いていこうと思います。


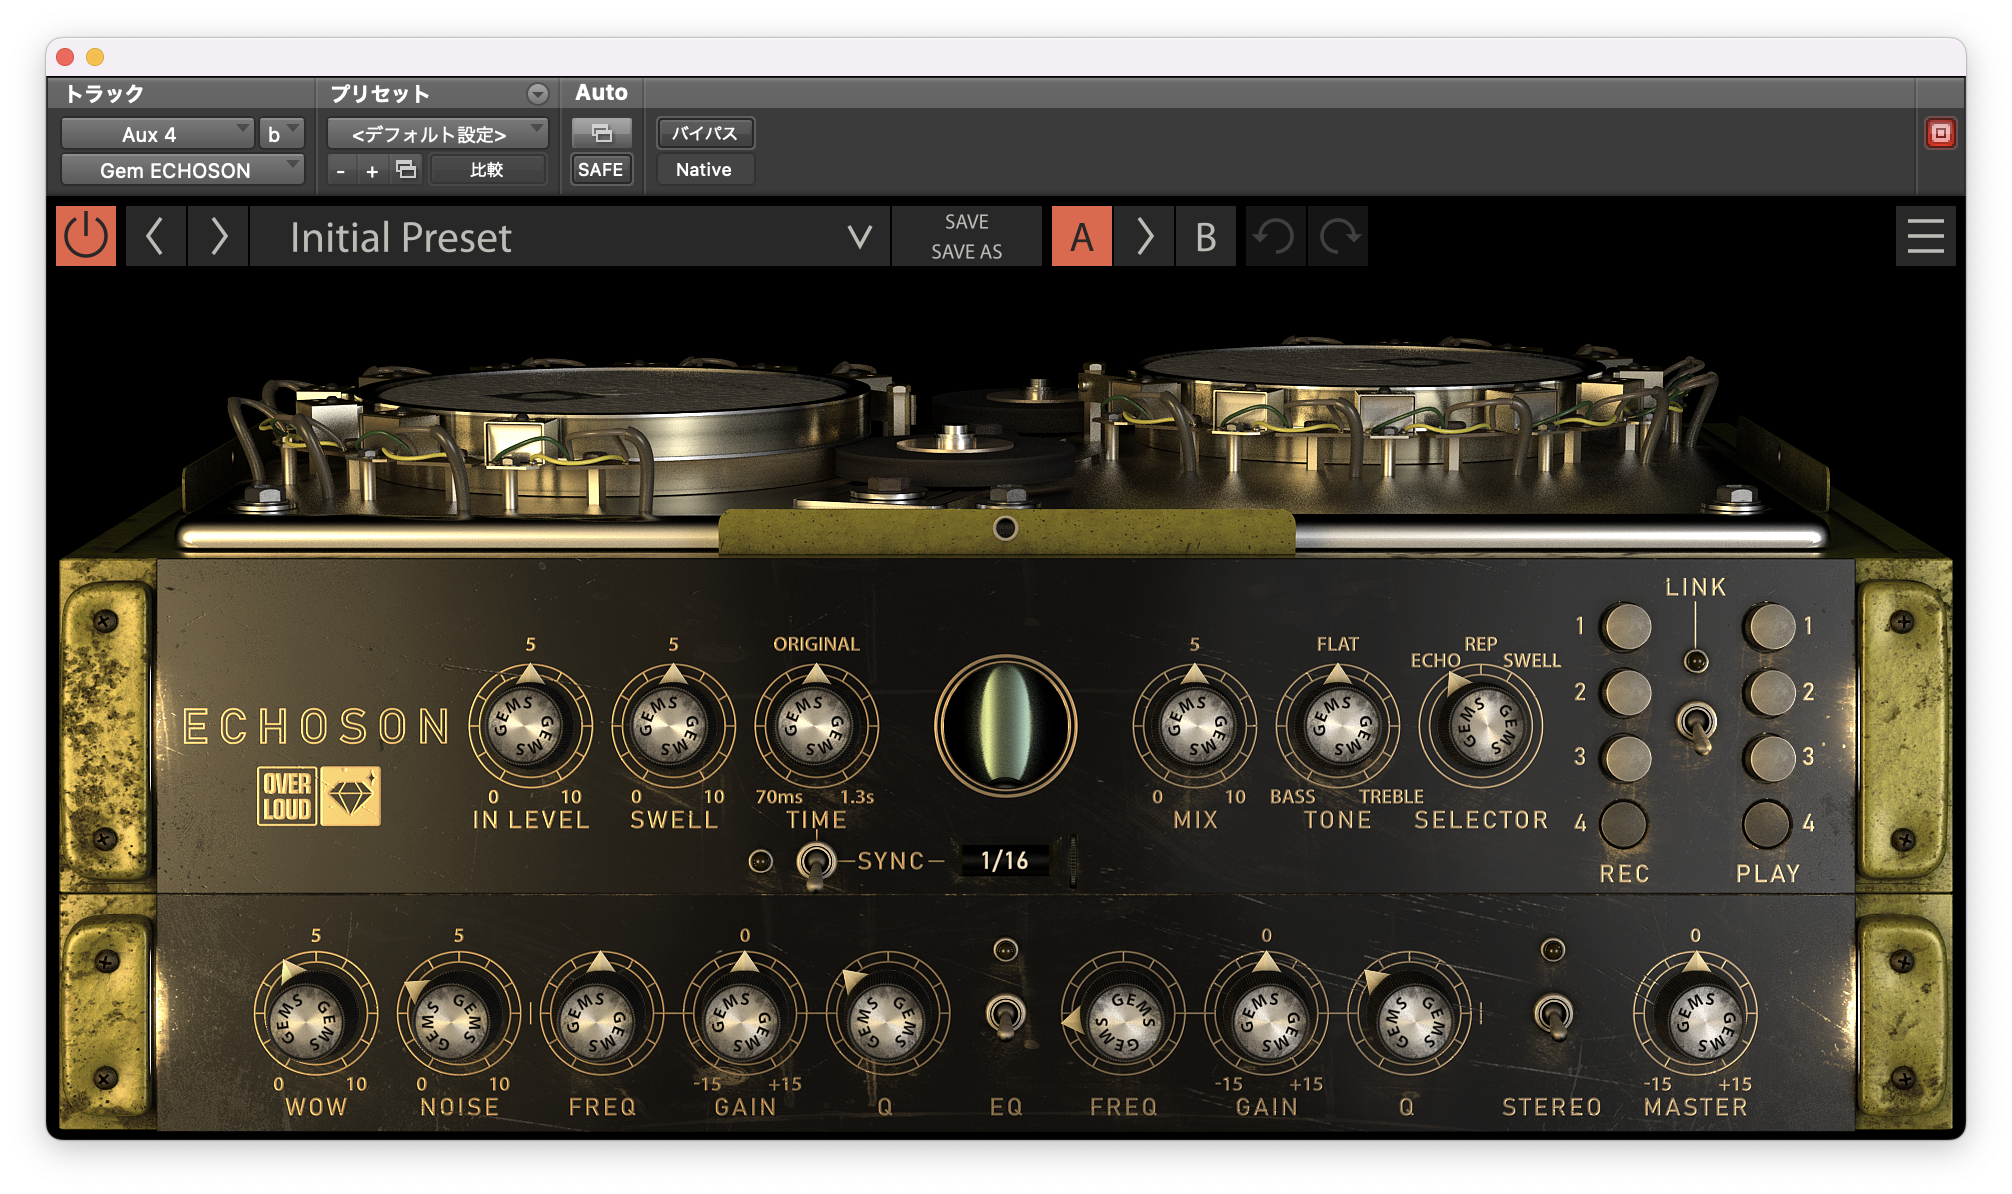
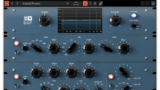
GEM Echoson
有名なBinsonのEchorecという昔のディスクディレイを再現したディレイプラグインですね。
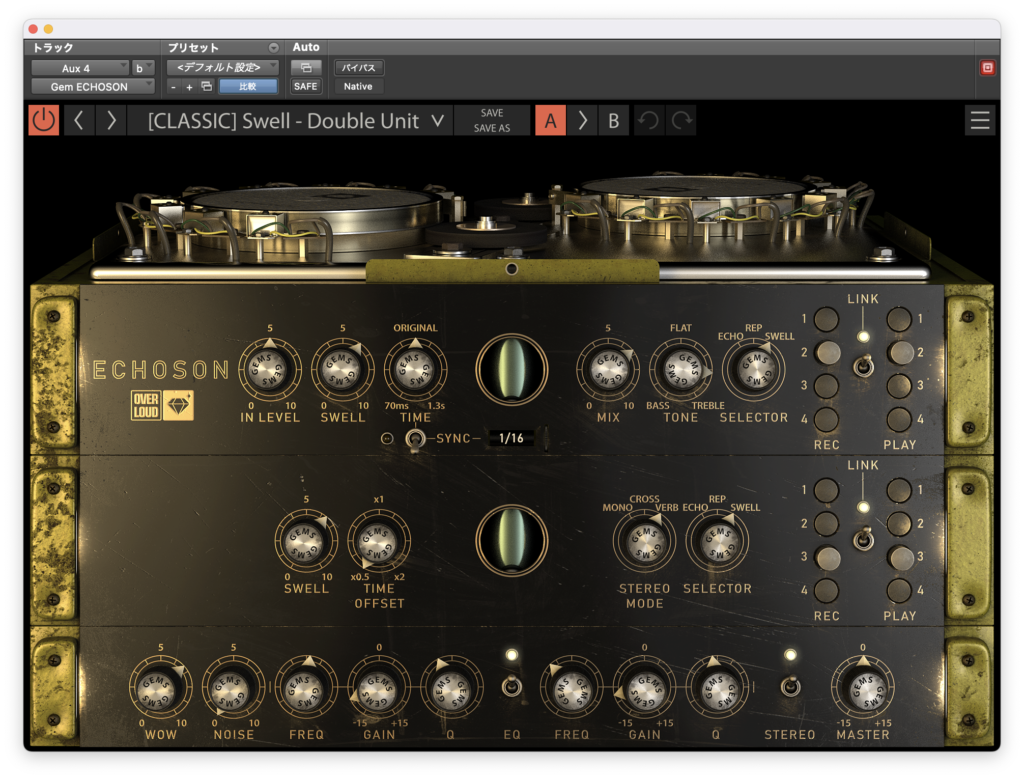
上部で回転する二つのドラムディスクが特徴的なUIです。
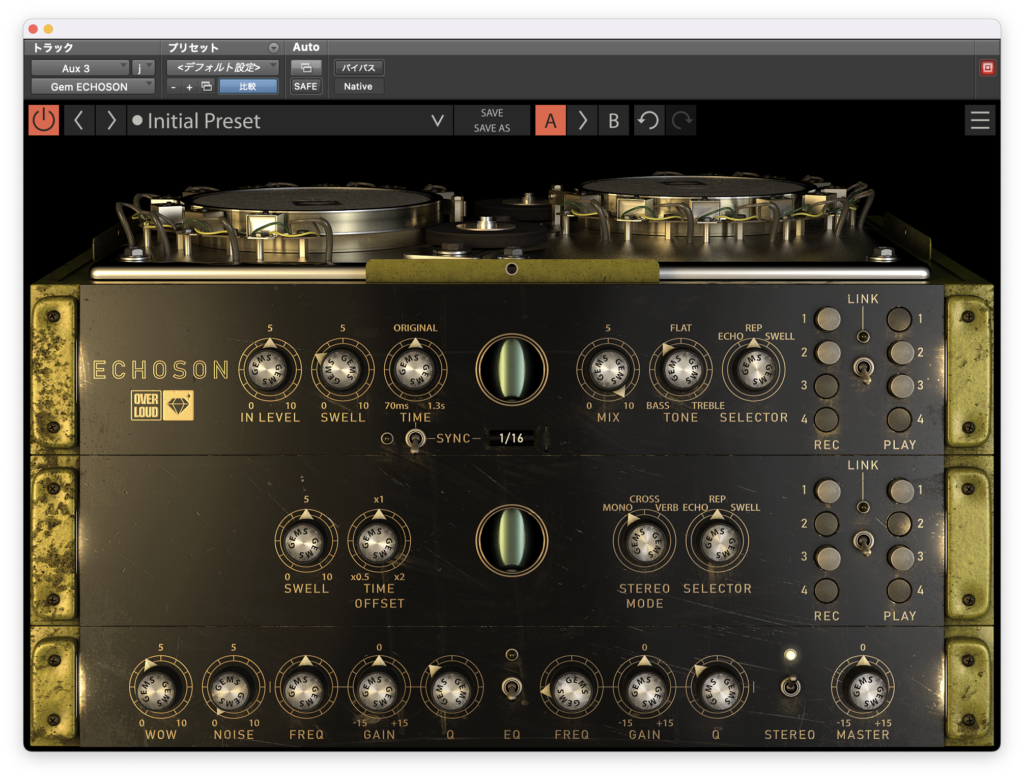
今回のバイパス↓
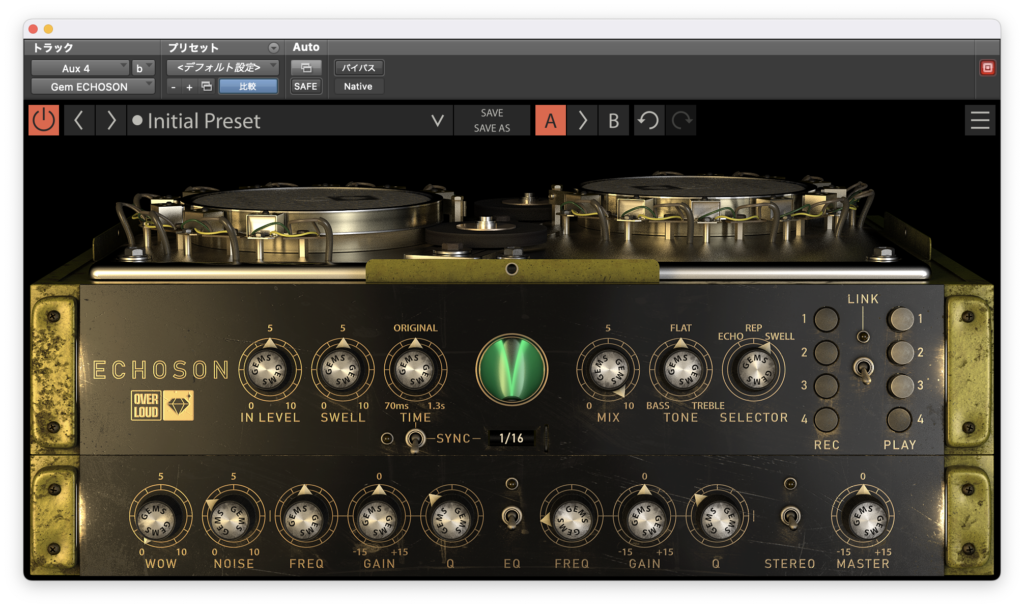
デフォルトだとこんな感じ(センド/リターンにインサート、MIXのみ最大にしてます)↓

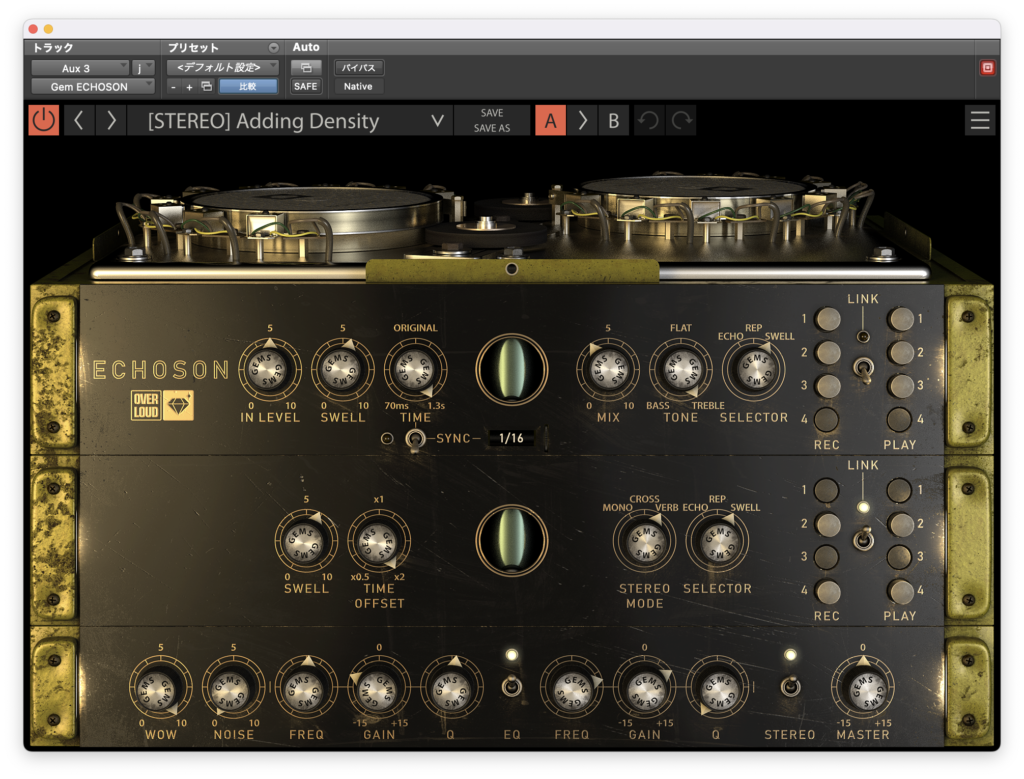
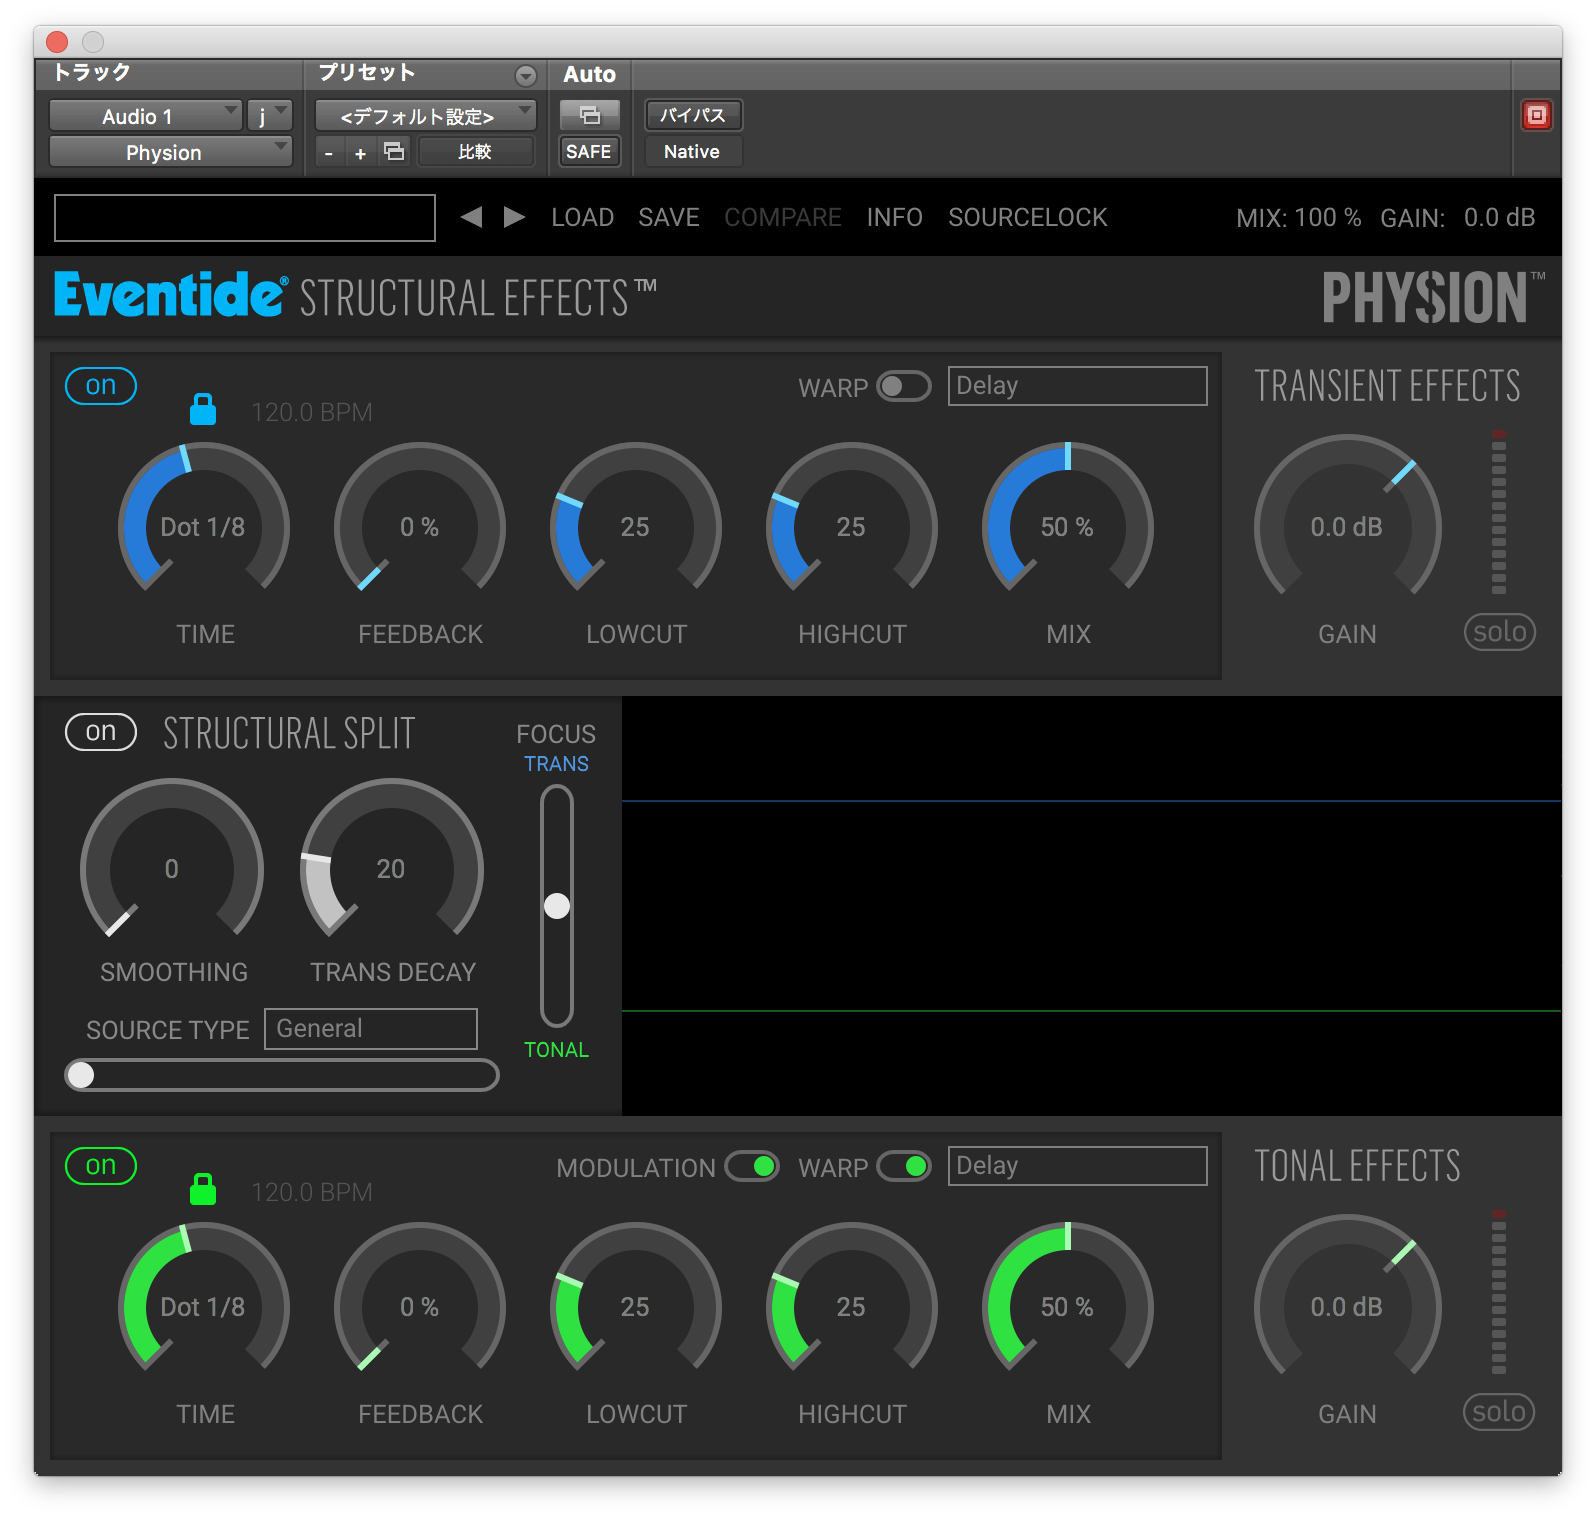
パラメーター
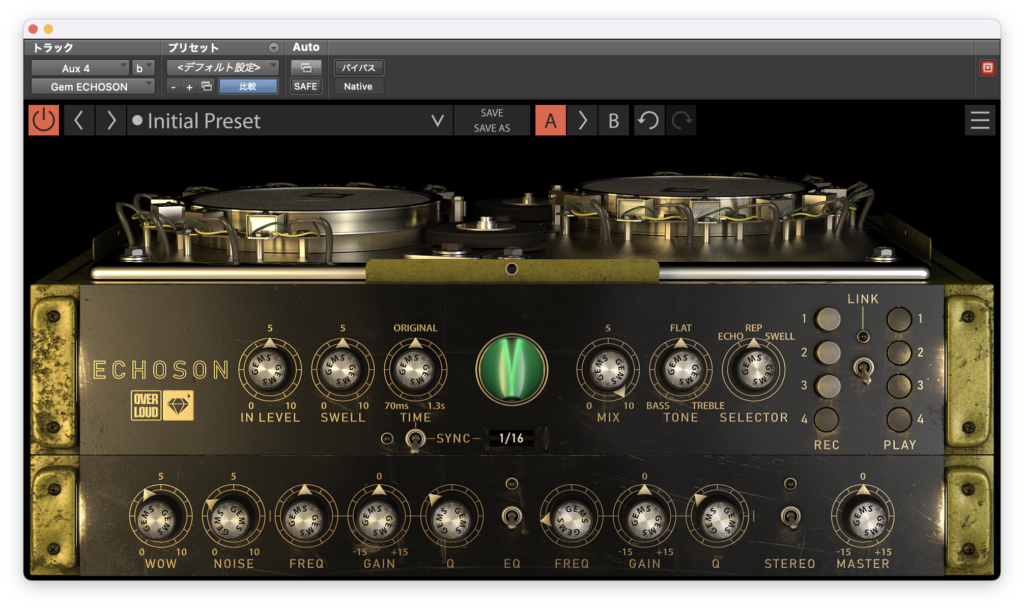
まず右からみていきます。
RECで有効にする録音ヘッドを、PLAYで有効にする再生ヘッドを操作します。


その左にあるSELECTORでディレイモードを選択します。
ECHOはフィードバックをしない単ディレイ、REPはある程度のフィードバックを行うモード、
SWELLはPLAYヘッドが全てオンとなりリバーブのような効果を得ることができるそうです。


左から2番目にあるSWELLというパラメーターはこのSELECTORがREPまたはSWELLの時のみ作用し、
フィードバックされていくうちに高域を減衰させる働きがあります。
左に回すほど高域が減衰していき、右に回すと減衰が少なくなります。右に回し切ると発振することがあるようです。


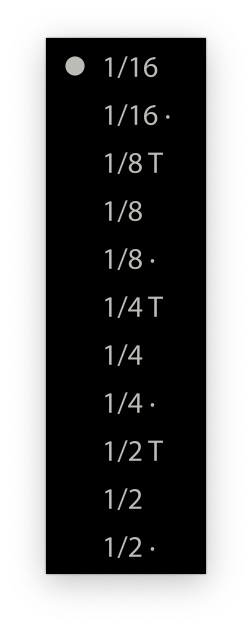
ディレイタイムは表記をみたところ70ms〜1.3sですね。


DAWのテンポと同期する場合は次の表から拍子を選ぶことができます。
TONEはディレイ音にかかるフィルターですね。


左下にはWOWパラメーターがあり、これはディスクディレイの揺らぎを強調するパラメーターのようです。


NOISEは常に鳴るノイズの音量をコントロールします。

下段中央にはEQセクションがあり、これをオンにすると2バンドのイコライザーが有効になります。

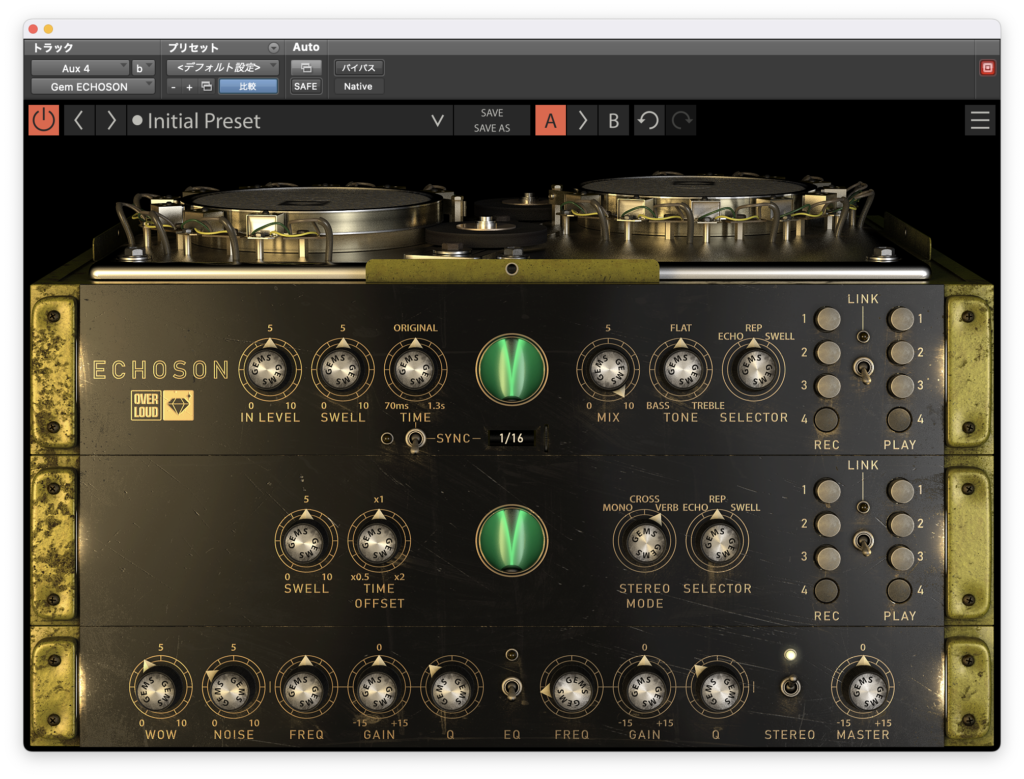
STEREOモードをオンにするとLとRで違う設定をすることができます。
上段がLで中段がRとなっています。
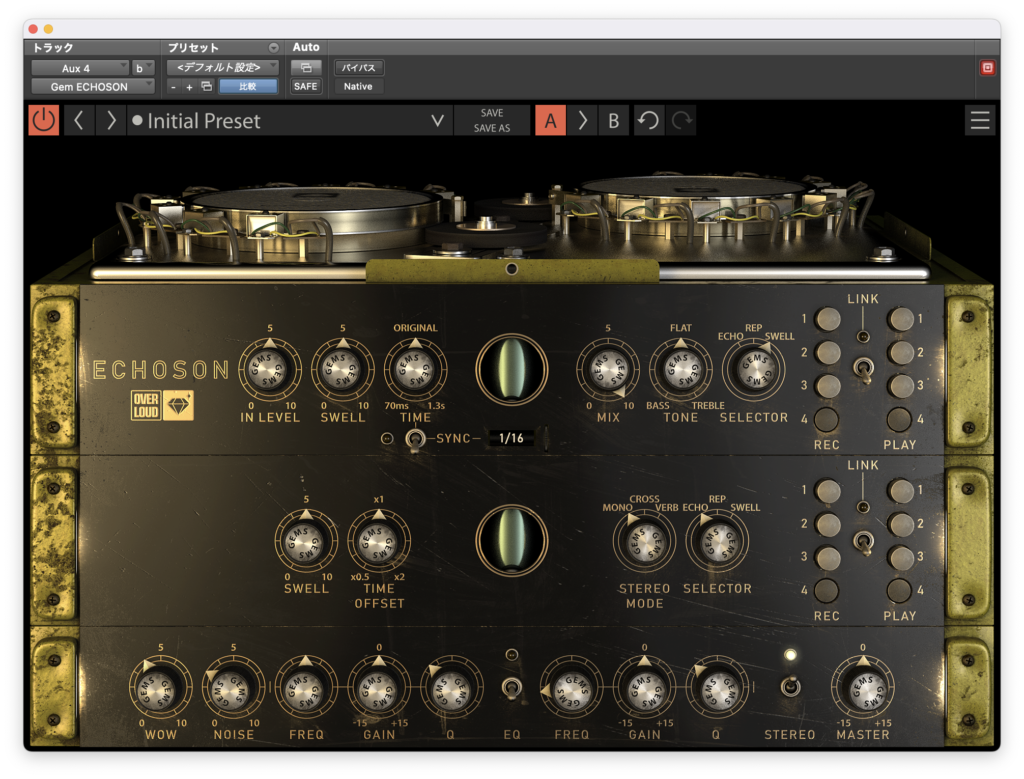
STEREO MODEだけREPで試してみます。

なかなか複雑な設定ができそうですね。
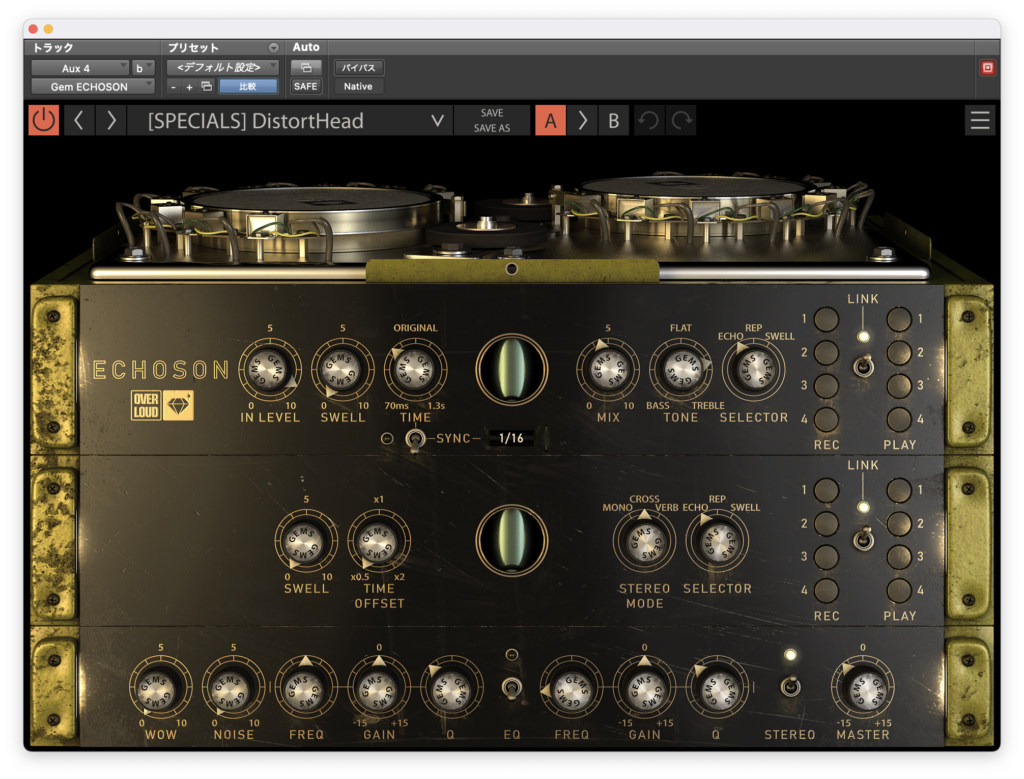
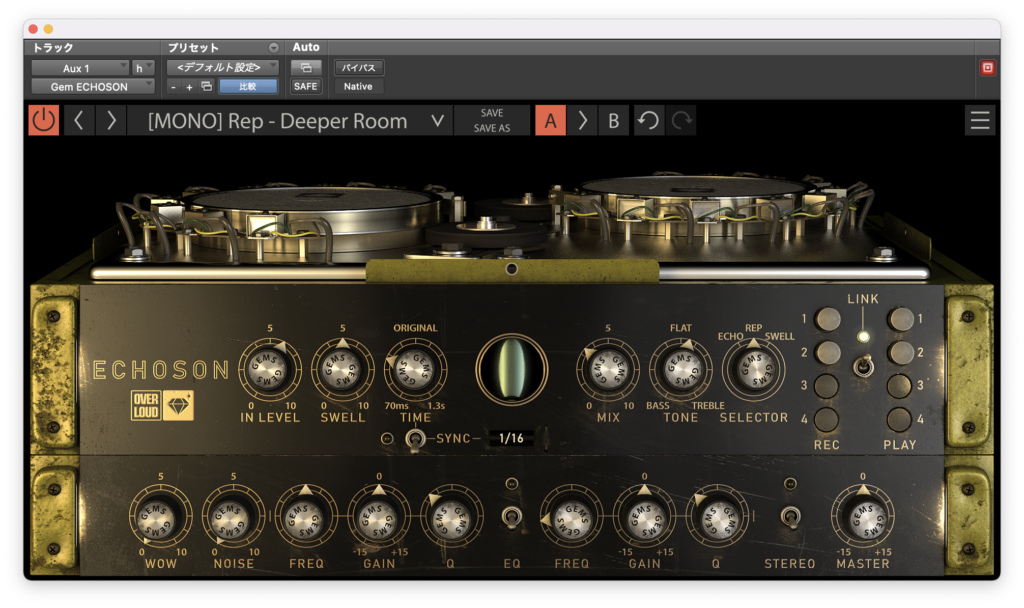
プリセット
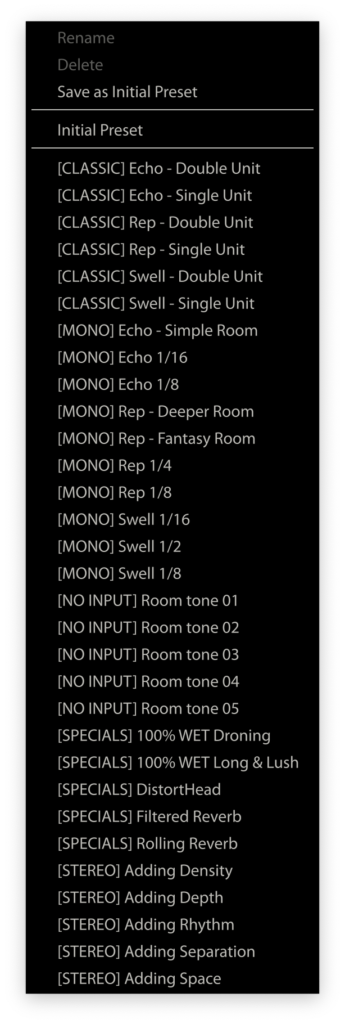
ここからはいくつかプリセットを試してみようと思います。


最後に適当にパラメーターを振ってみます。

アコギ
次にアコギで試してみます。まずバイパス↓
デフォルトだとこんな感じ↓

それではプリセットを試していきます。


最後に適当に自分でパラメーターを振ってみます。

ここで同じ実機が元ネタのPulsar Echorecと比較してみましょう。
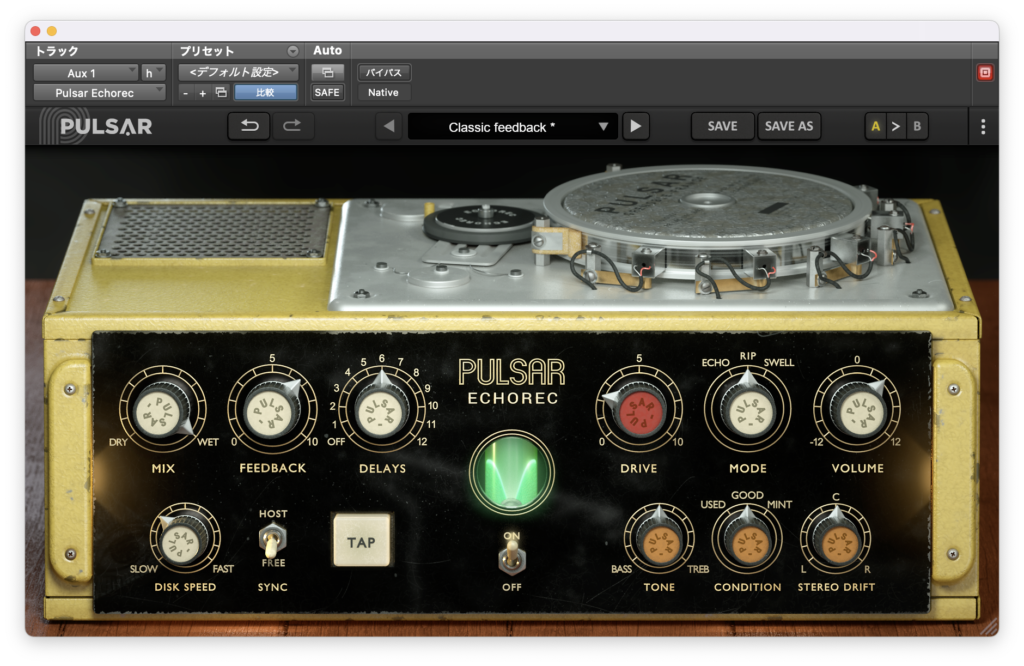
GEMの方がSTEREOで設定できる分音作りの幅が広いかもですね。
エレキギター
最後にエレキギターで試してみましょう。バイパス↓
デフォルトだとこんな感じ↓

プリセットから少し試してみます。


最後に適当に自分でパラメーターを振ってみます。
こちらもPulsar Echorecと比較してみましょう。

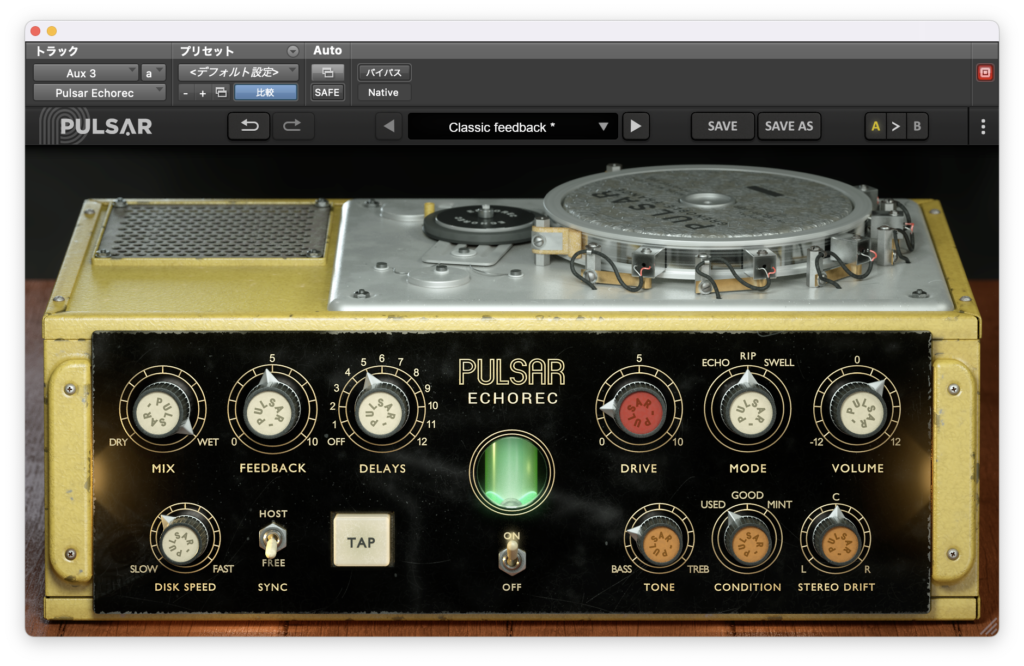
こちらの方が明るめでしょうか。
まとめ
ステレオで設定ができるので広がりのある音にすることができるディレイですね。
音作りのパラメーターも多めなので色々な用途で使えそうです。
ただディレイ音の数を決めるのにRECとPLAYボタンで操作するのは少し慣れがいるかもしれません
ショップサイトはこちら↓
Pulsar Echorecの記事はこちら↓
前回のOverloudの記事はこちら↓
今月のプラグインセール情報をまとめてみました。
よかったら見ていってください。


コメント