
今回はYum Audioの「Spread」について書いていこうと思います。
Spread
比較的シンプルな4バンドのステレオイメージャープラグインですね。
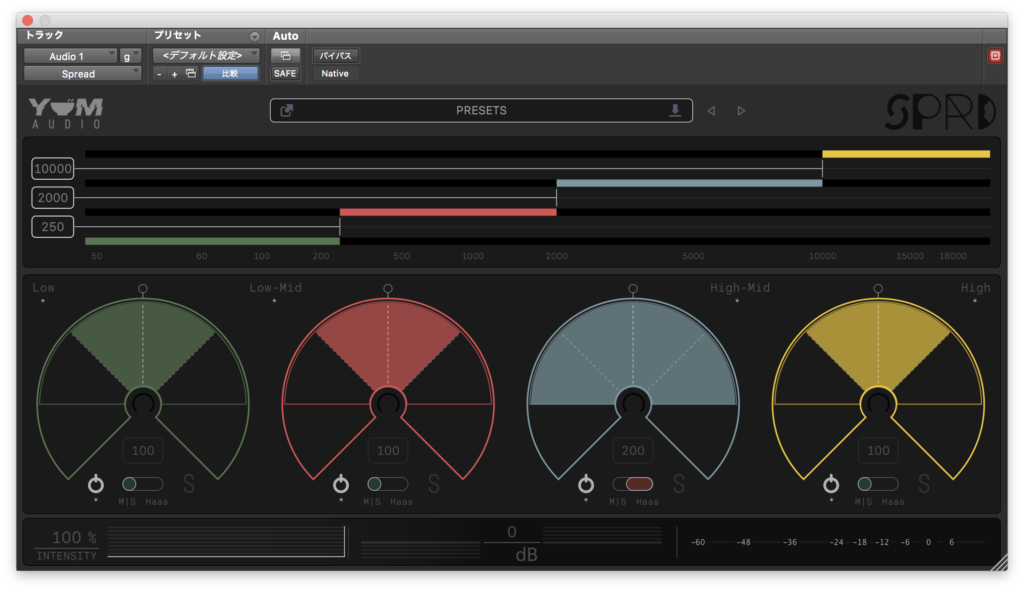
音を広げる方式として、M|Sモード(Side成分の音量を持ち上げる)と
Haasモード(左右のチャンネルに異なる長さのディレイをかけて音を広げる)を選ぶことができるのが特徴です。
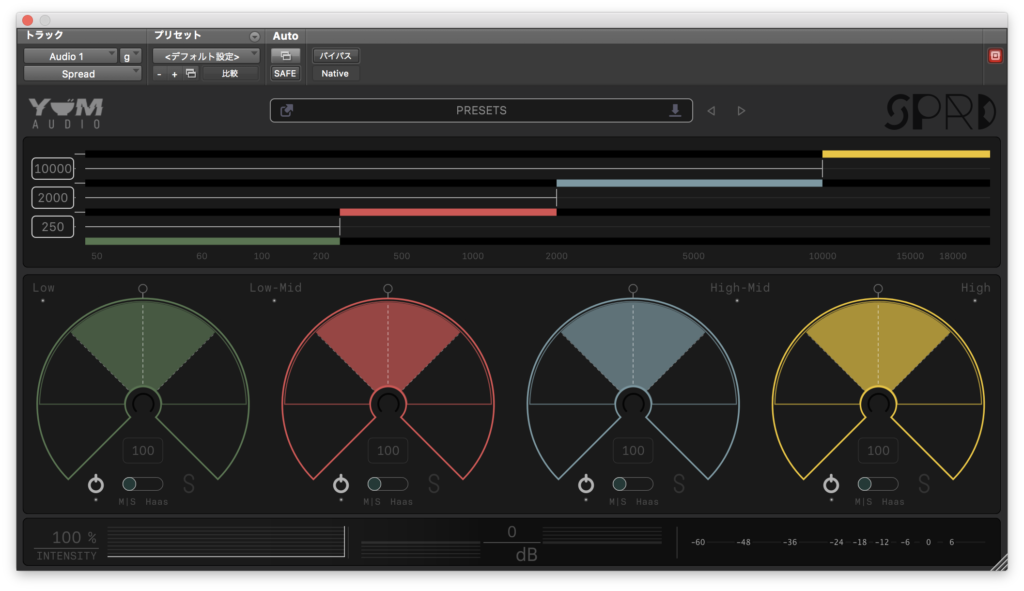
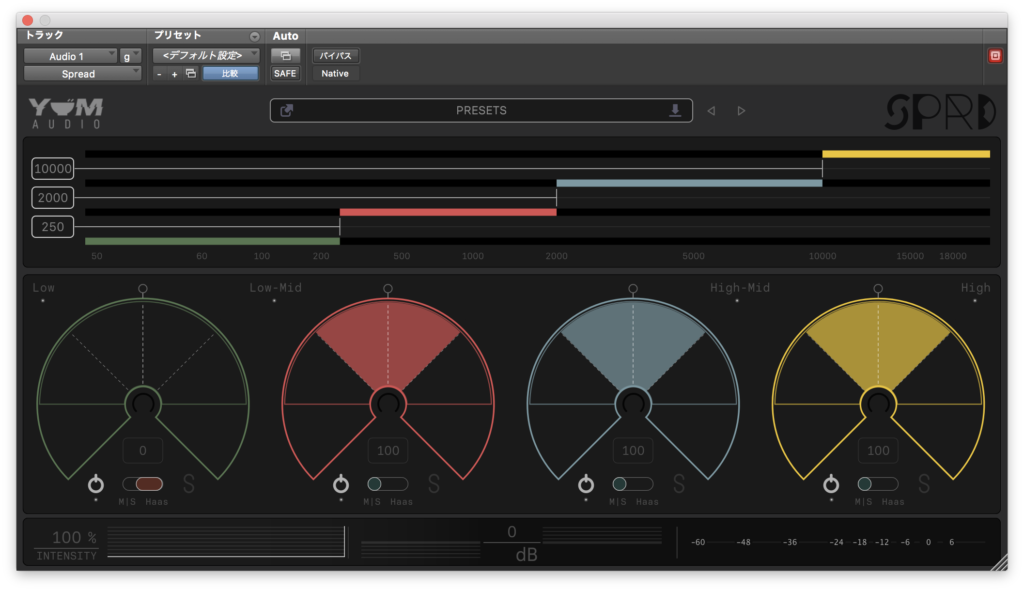
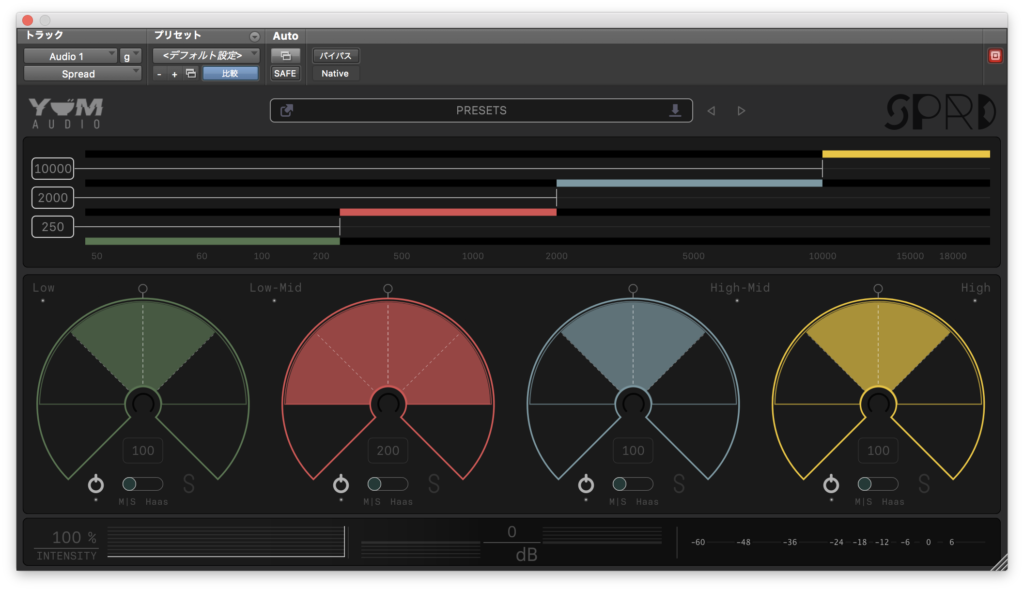
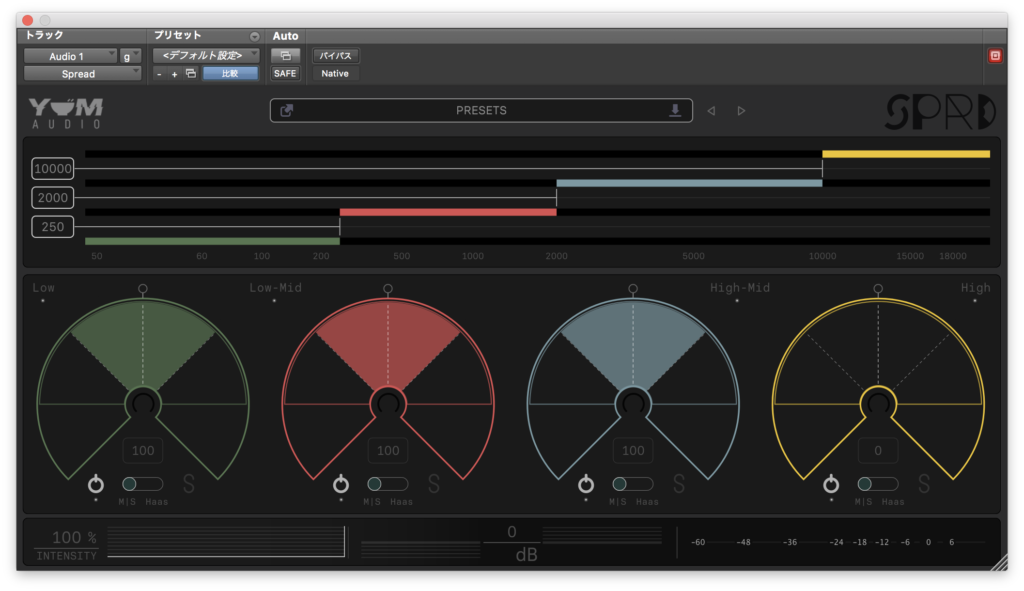
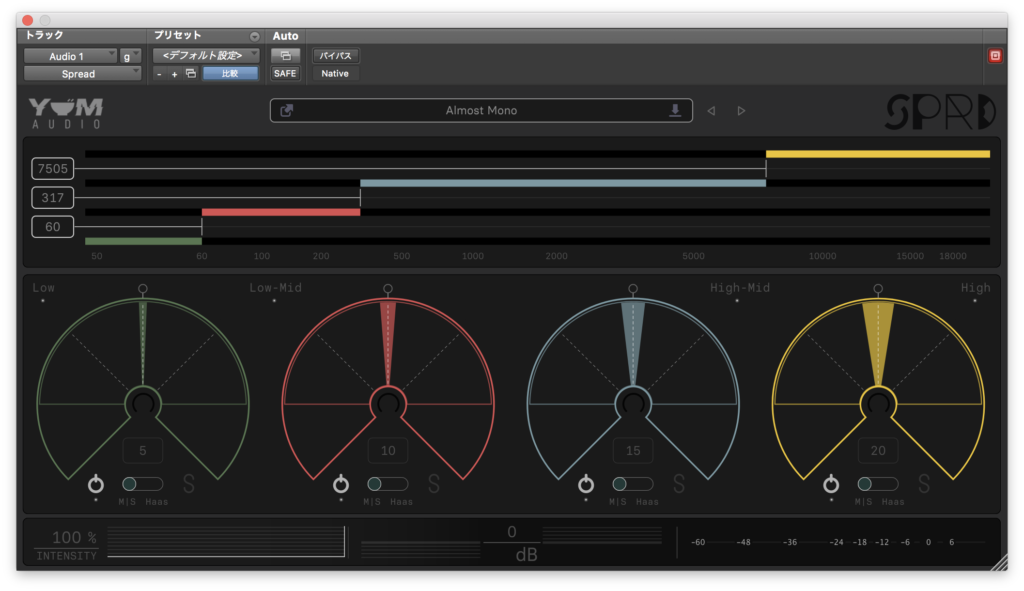
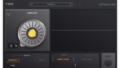
それでは見ていきましょう。今回のバイパス↓
デフォルトだとこんな感じ↓
使い方
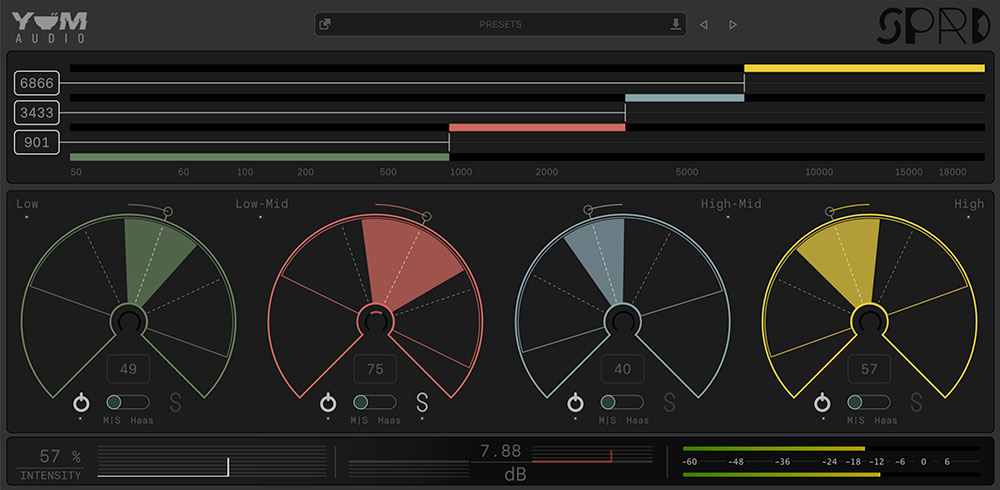
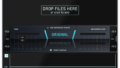
使い方はそこまで難しくなく、まず上部のバーでバンドごとの帯域を設定します。

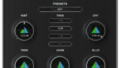
したの扇型の4つのパラメーターを動かして広がり方と左右のPan振り、M|SモードまたはHaasモードを設定するだけです、

ちなみに下にはINTENSITYというパラメーターがありますが、これはDry/Wetのようなパラメーターだそうです。
中央下にはOUTPUT GAINもありますね。
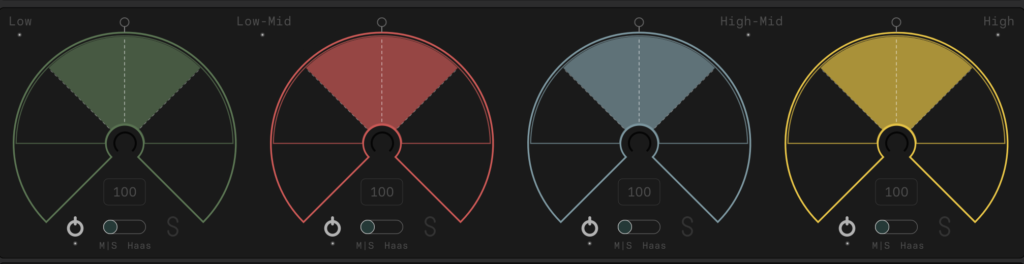
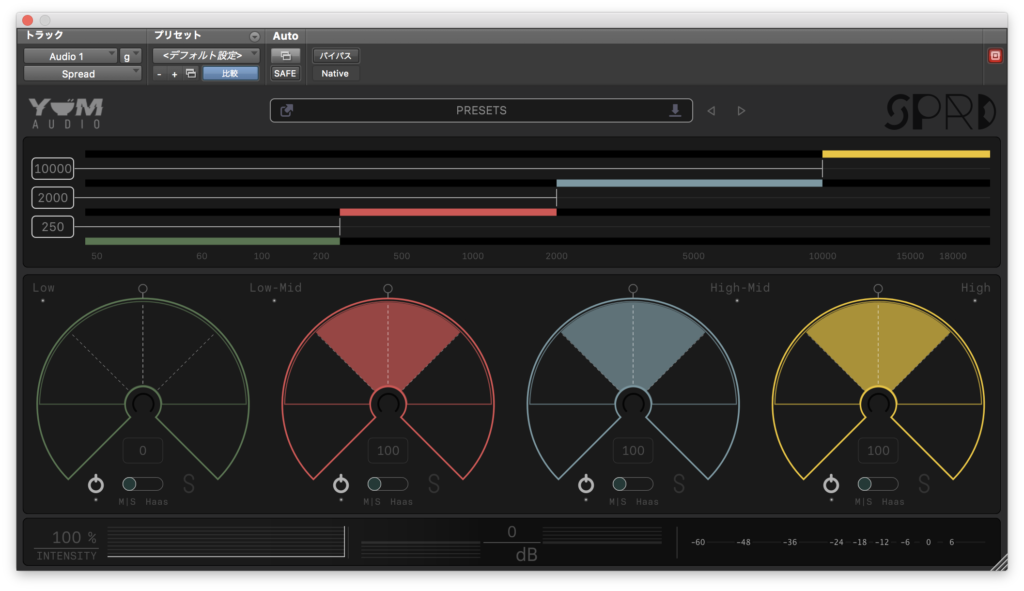
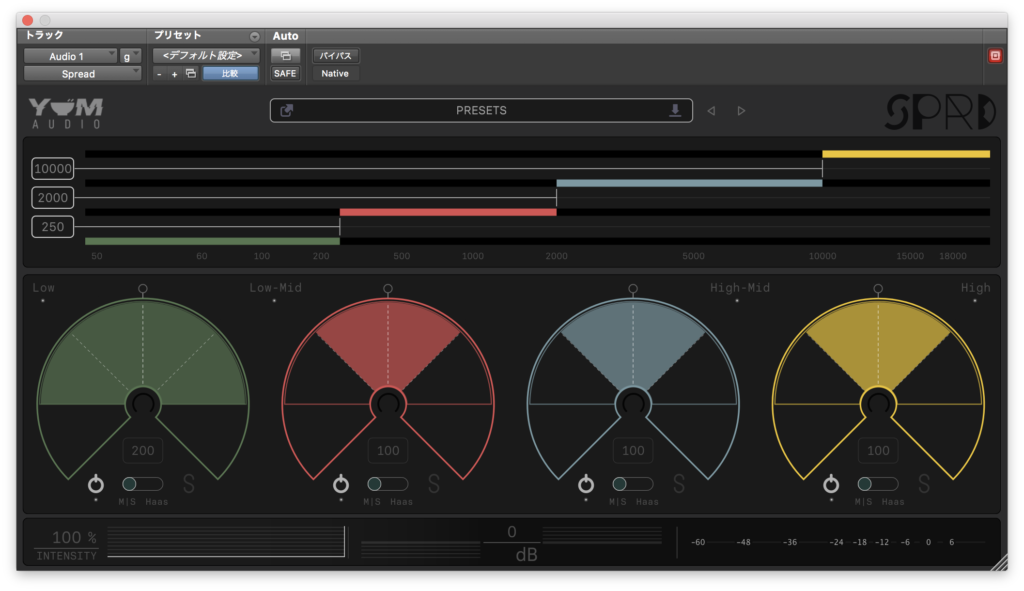
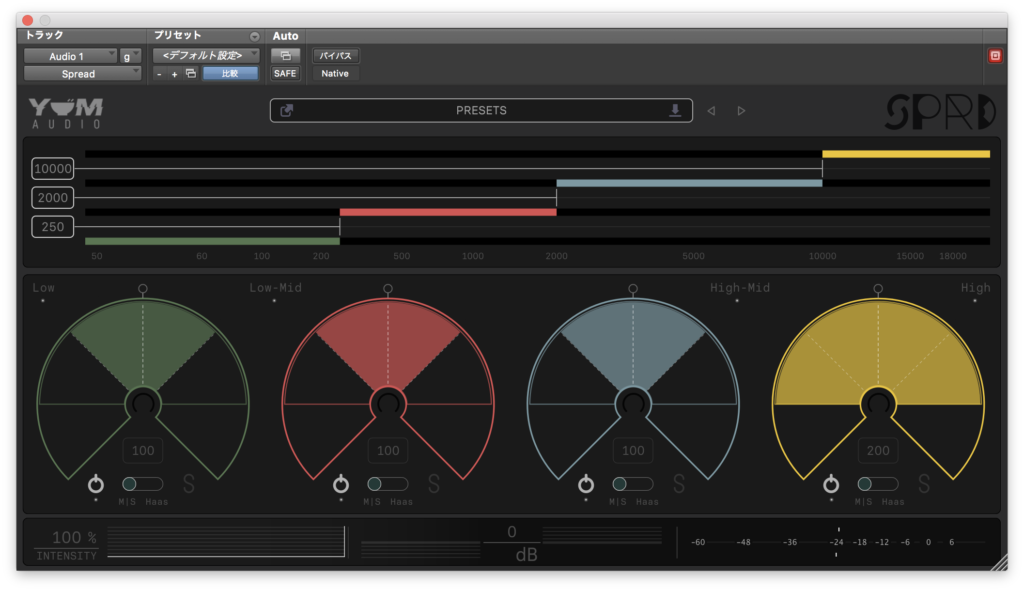
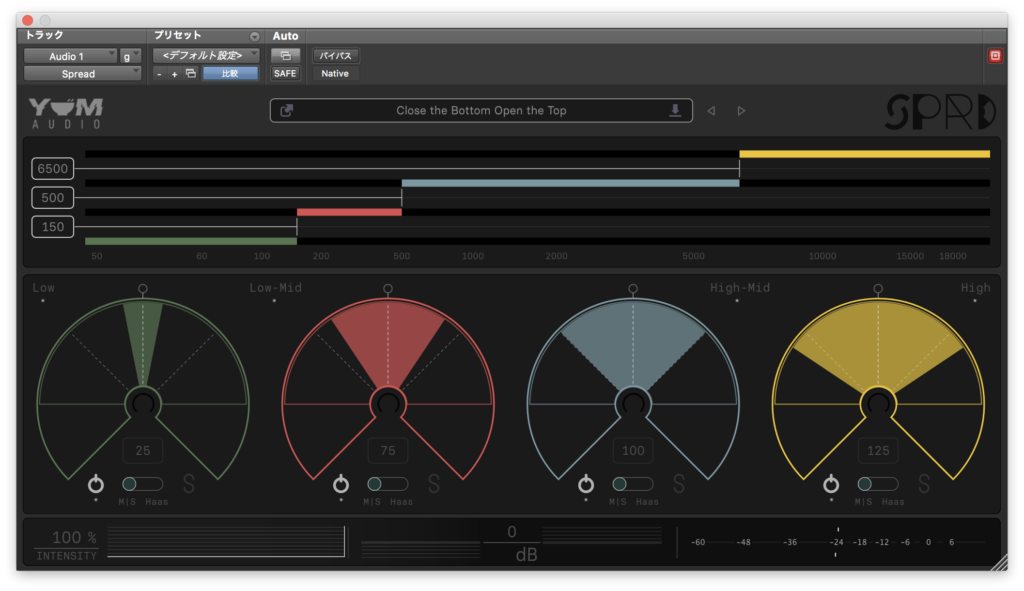
それでは各帯域のM|SモードとHaasモードを試してみようと思います。
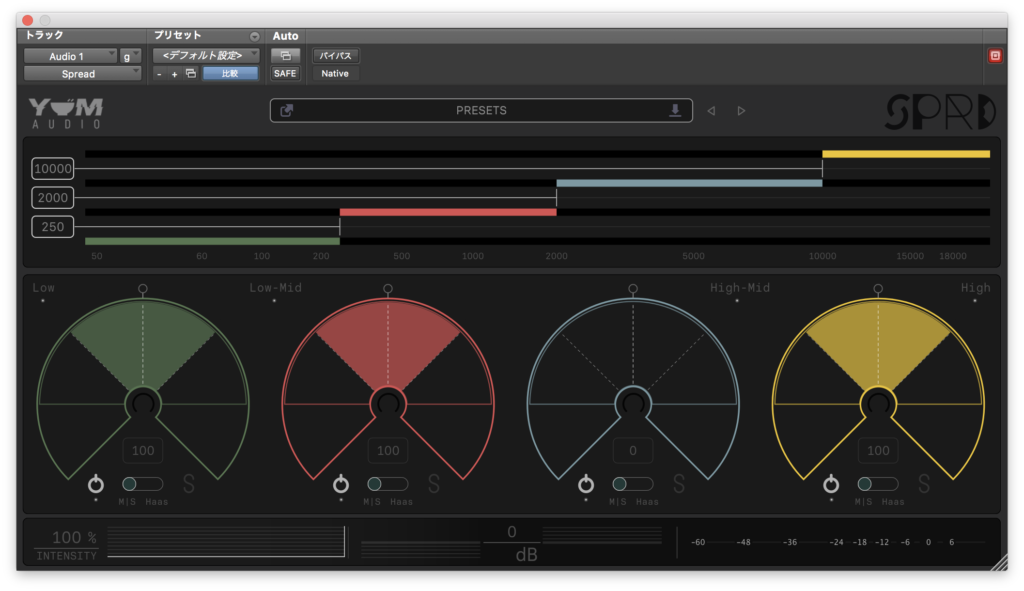
Low

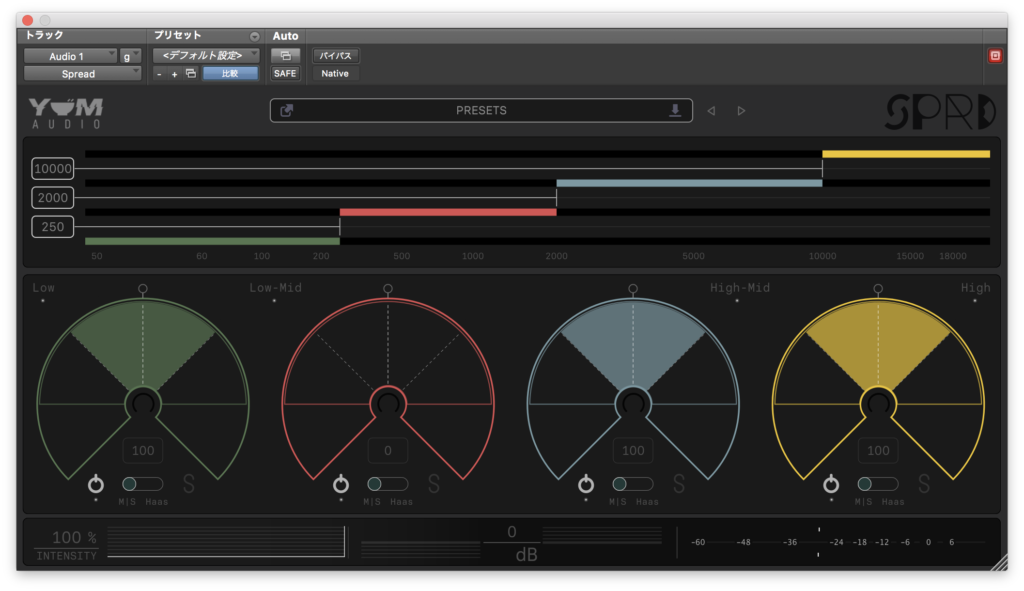
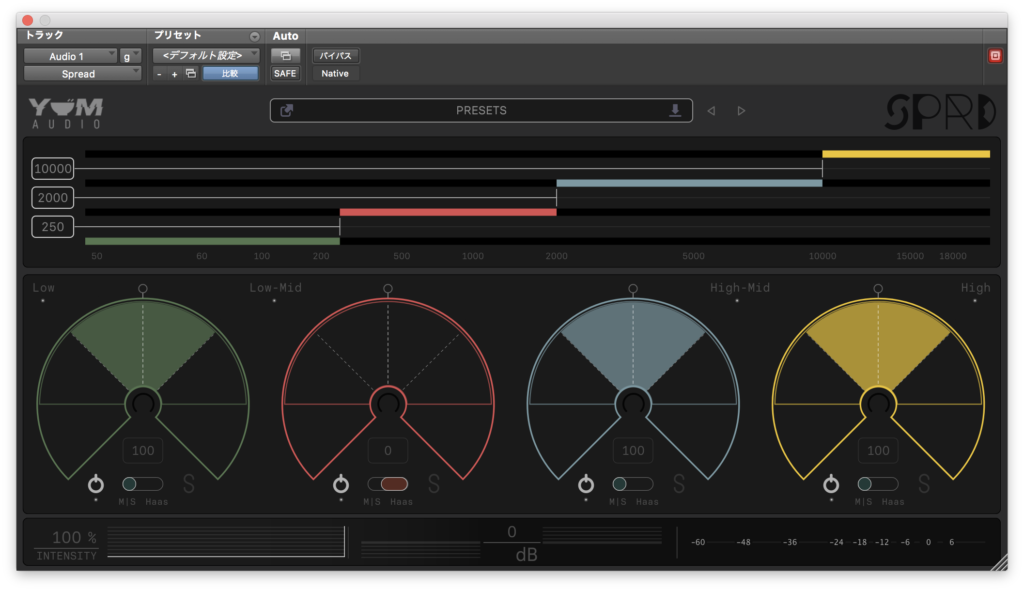
Low-Mid

High-Mid

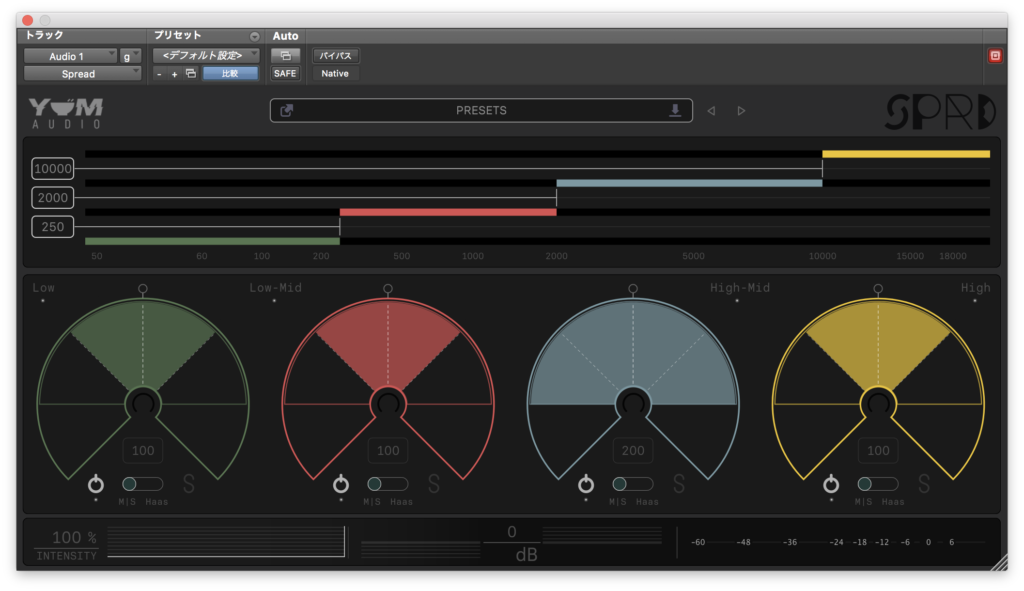
High


今回は極端な設定で試してみましたが、程よく使えばなかなか自然に広がりが得られるかなと思います。
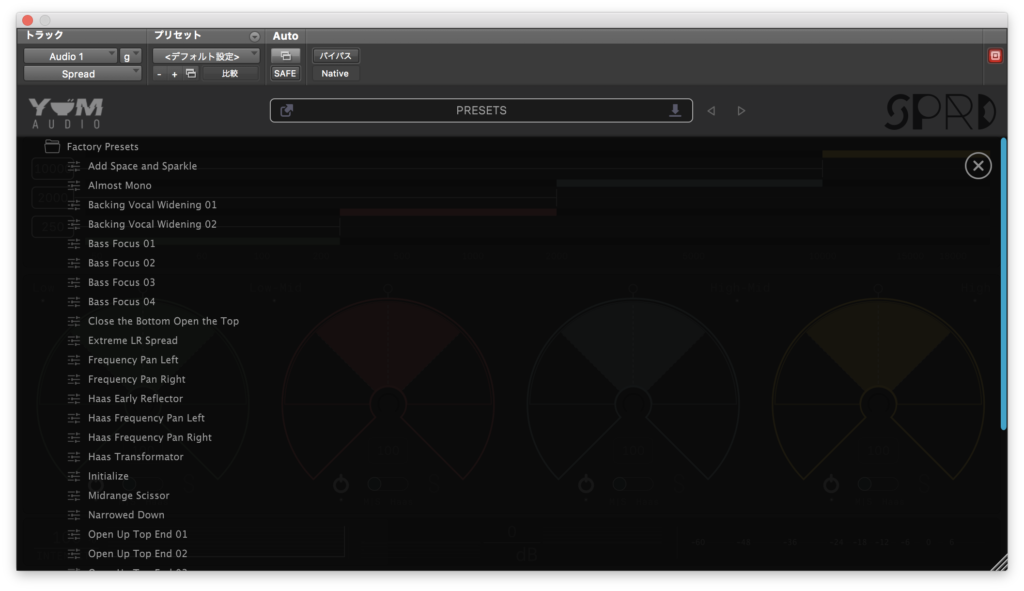
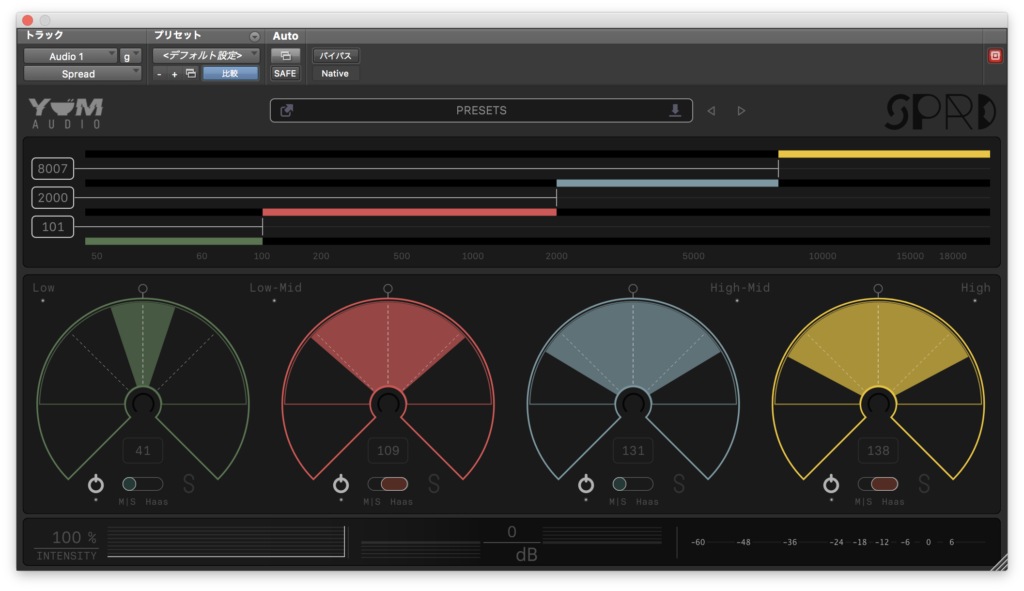
プリセット
それでは適当にプリセットを試してみます。
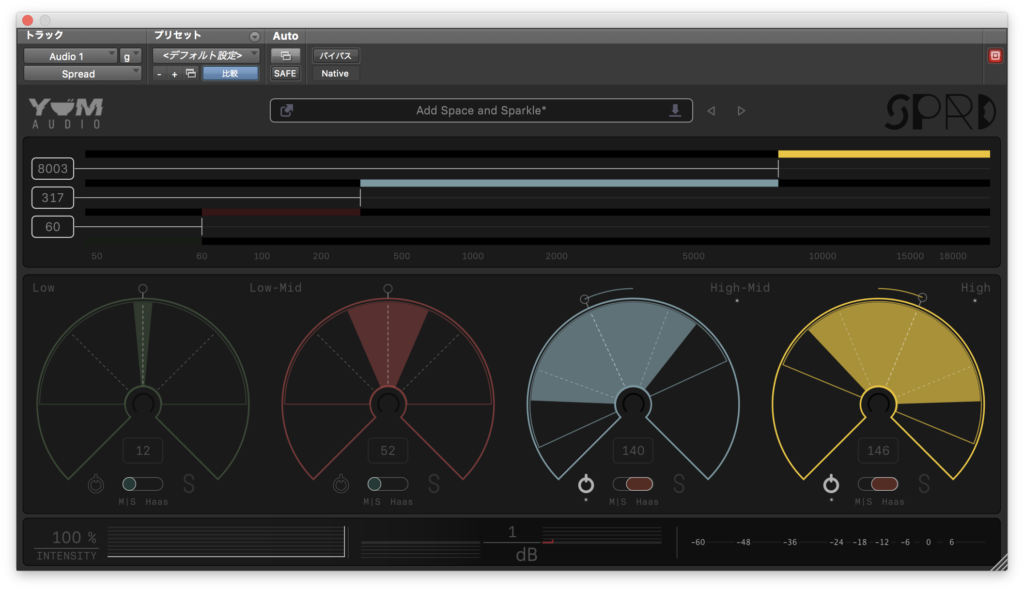


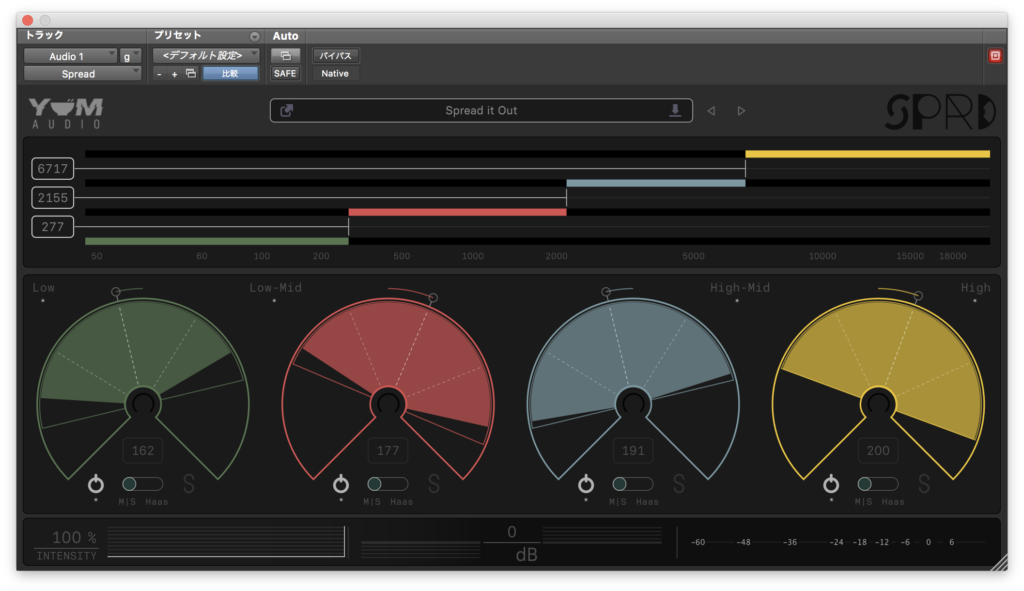
最後に適当に自分で振ってみました。
なかなか自然に広がりが出たかなと思います。
まとめ
この手のステレオイメージャー系で各帯域別にいじれるのは意外となかったかもしれませんね。
帯域別に左右に音を振ることができるのもなかなか便利かなと思います。
広がり方もそこまで違和感がないのでなかなか役に立ってくれるかなと思います。
動作が軽めなのもありがたいですね。
ショップサイトはこちら↓
今月のプラグインセール情報をまとめてみました。
よかったら見ていってください。
コメント