今回はAudiorityの「XenoVerb」について書いていこうと思います。
![](https://sounds-detour.com/wp-content/uploads/2020/09/ffabae86b868d2ead344927a55159640-1024x835.png)
XenoVerb
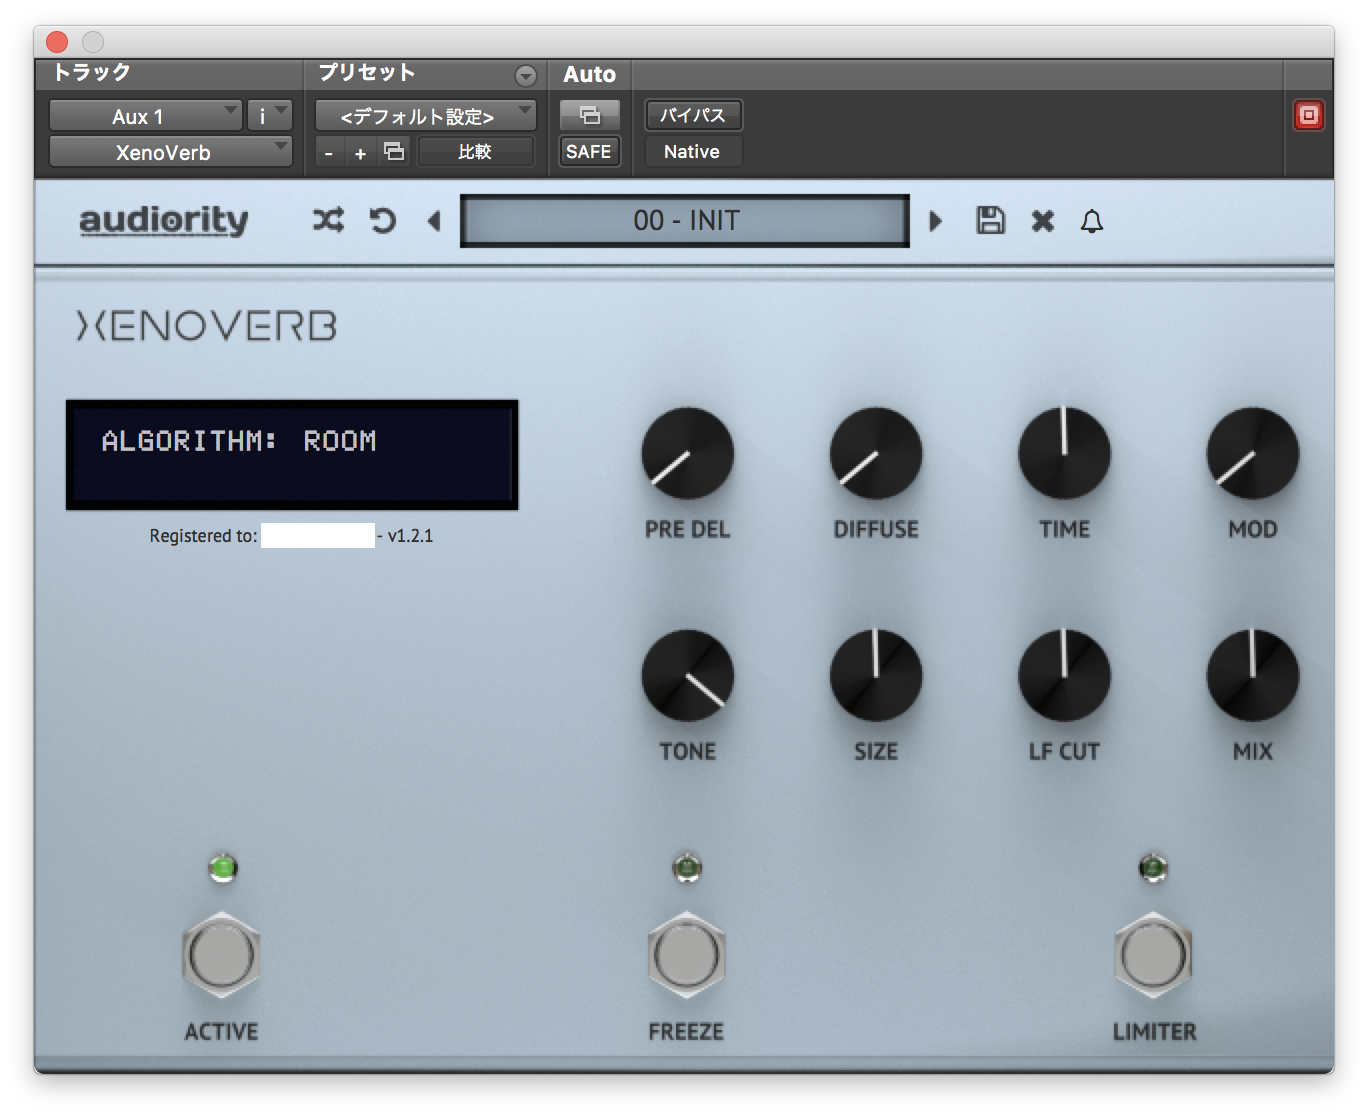
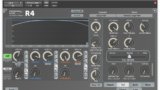
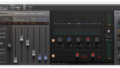
割とシンプルな見た目のリバーブプラグインですね。
FREEZEボタンがあるのが特徴的です。(FREEZEボタンを押すとその時出ていたリバーブ音が持続するようになります)
それでは順番にみていきましょう。まずバイパス↓
MIXを100%にしたデフォルトだとこんな感じ↓
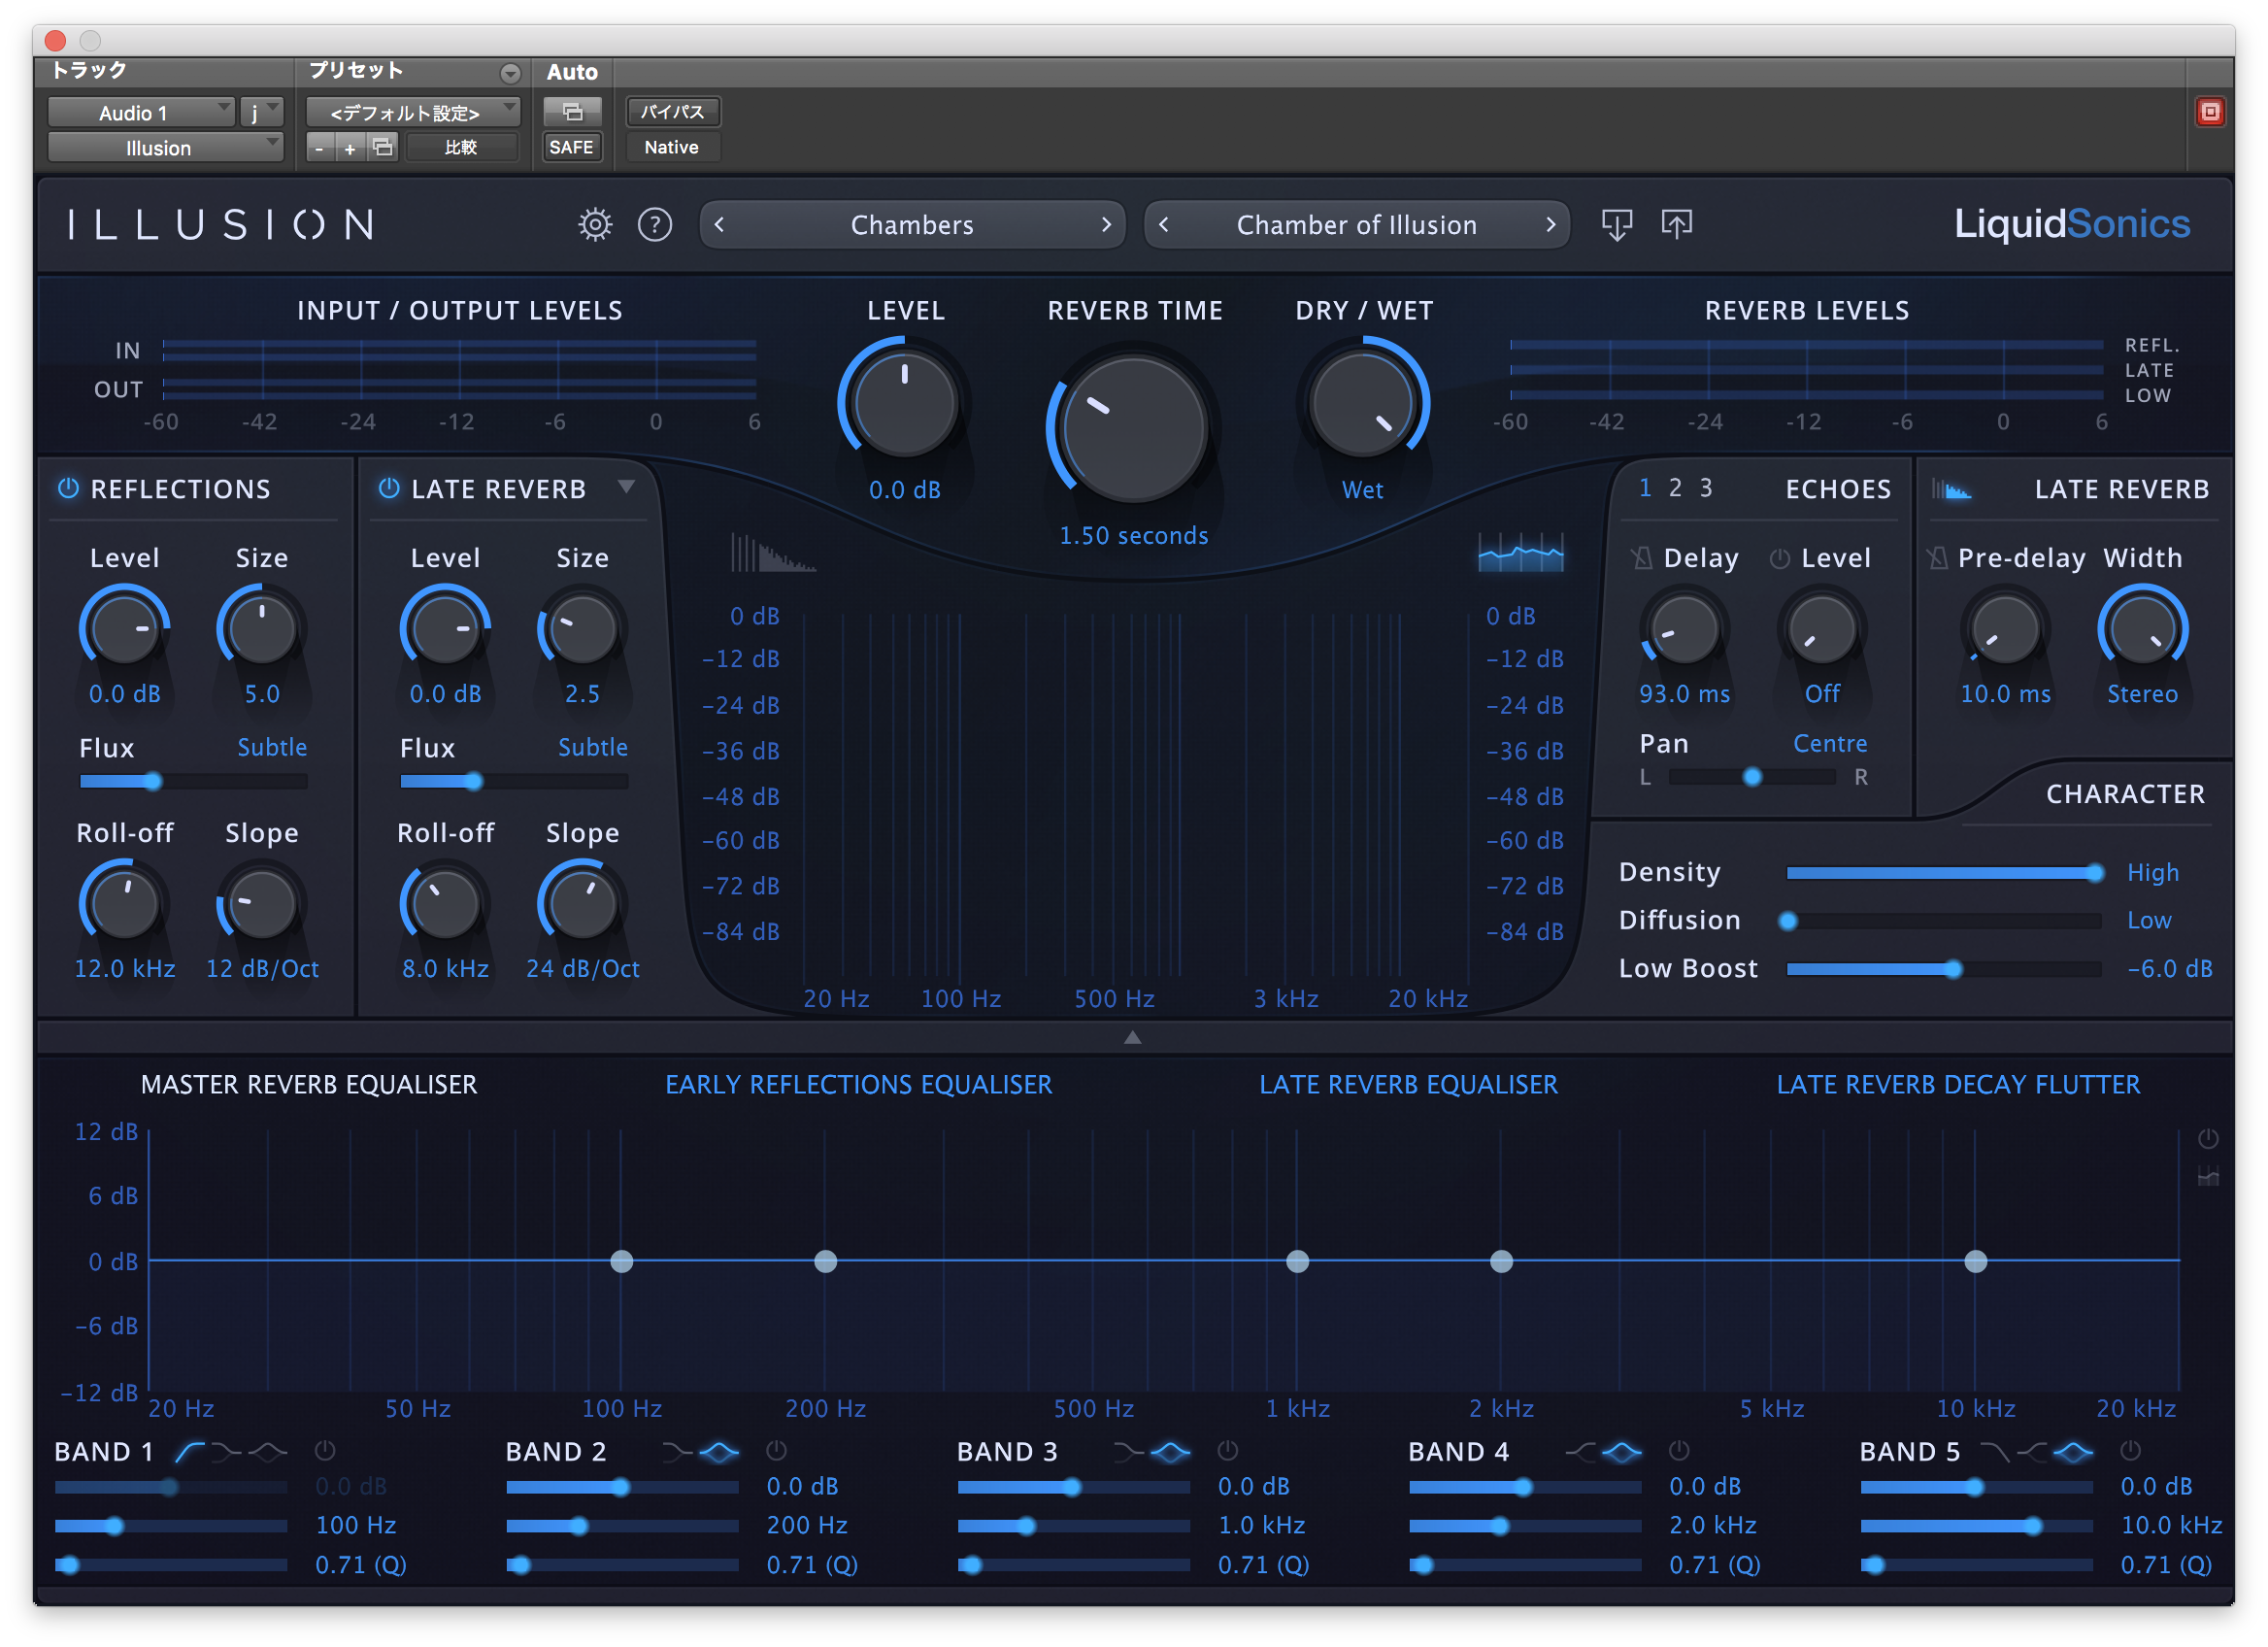
![](https://sounds-detour.com/wp-content/uploads/2020/09/d713d6a5144846d1e73477831e818d76-1024x835.png)
パラメーター
まず左から、PRE DELはプリディレイ、TONEは恐らくローパスフィルターだと思います。
PRE DELは1500msまで設定できます。
![](https://sounds-detour.com/wp-content/uploads/2020/09/48b491d6e00f00a68438c10823fa2f43-1024x835.png)
次にTONEを適当に変更してみます。
![](https://sounds-detour.com/wp-content/uploads/2020/09/2227dff6fcc72330b3c283a12b974127-1024x835.png)
![](https://sounds-detour.com/wp-content/uploads/2020/09/cd2213c4214038f8bfce49dce18c960f-1024x835.png)
DIFFUSEはリバーブによくある拡散の度合いを決めるパラメーターですね。
![](https://sounds-detour.com/wp-content/uploads/2020/09/8e2ceb647513034f16ac6a2f709053a9-1024x835.png)
![](https://sounds-detour.com/wp-content/uploads/2020/09/8022317f0d89bb78c372b799024eead5-1024x835.png)
Sizeは仮想空間の大きさですね。
![](https://sounds-detour.com/wp-content/uploads/2020/09/457a9800c14025a7fabef9c1847bfff4-1024x835.png)
![](https://sounds-detour.com/wp-content/uploads/2020/09/2232381c8c62fdbe0cb09c411e921477-1024x835.png)
TIMEはリバーブの長さを決めるパラメーターですね。最短0.1MS、最長20.0Sまで設定することができます。
![](https://sounds-detour.com/wp-content/uploads/2020/09/cda0974c50da000968b4368ed1091656-1024x835.png)
LF CUTは恐らくローカットフィルターなのですが、これはバグがあるのか一度ALGORITHMを変更して戻さないと動作しませんでした。
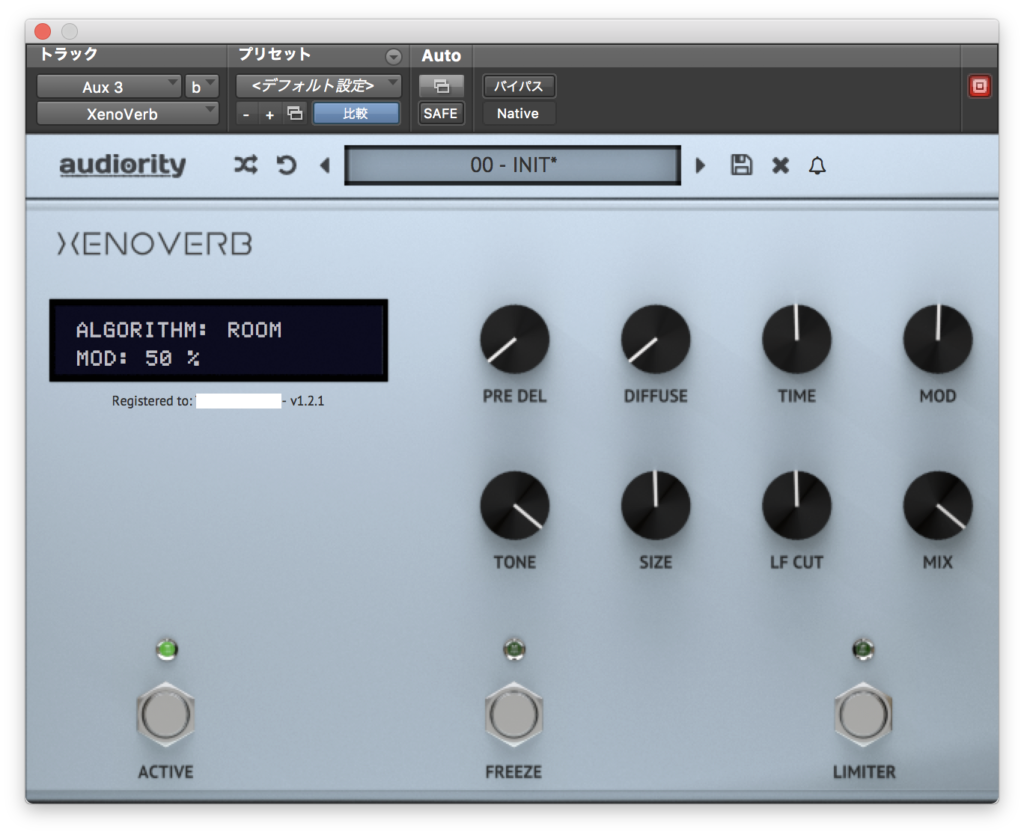
![](https://sounds-detour.com/wp-content/uploads/2020/09/36110c6da7a0acbd5a5d1c2438a0c7ea-1024x835.png)
![](https://sounds-detour.com/wp-content/uploads/2020/09/869d5905c85db25a71c32a51ebf22ca0-1024x835.png)
MODはモジュレーションですね。
![](https://sounds-detour.com/wp-content/uploads/2020/09/254660629549b546389bc49b24633acd-1024x835.png)
![](https://sounds-detour.com/wp-content/uploads/2020/09/4d589be69f252eddff723d079002d16e-1024x835.png)
主なパラメーターはこんな感じですね。
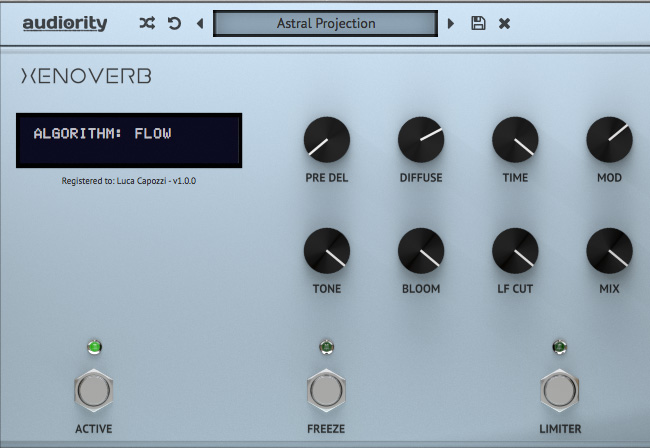
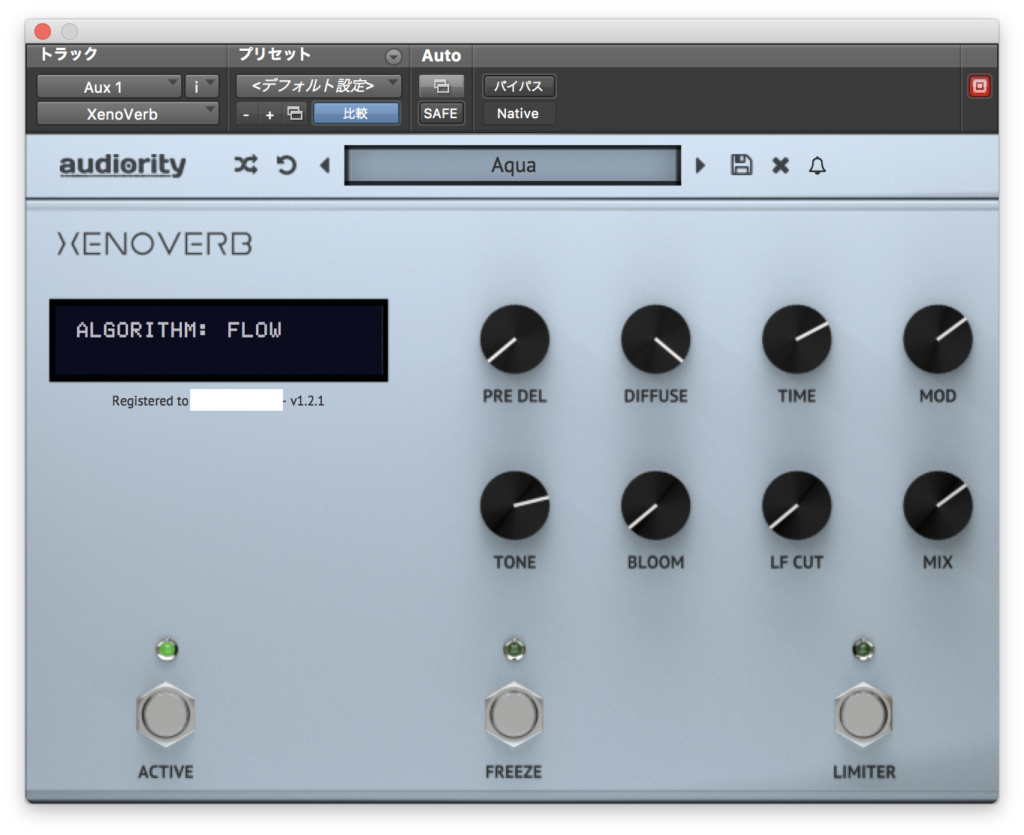
左上のALGORITHMをクリックするとこの中からリバーブのパターンを選択することができます。
![](https://sounds-detour.com/wp-content/uploads/2020/09/21f579aea7aead9b9843e41ec1d1d39d.png)
ここで選択したパターンによってパラメーターが微妙に変わります。
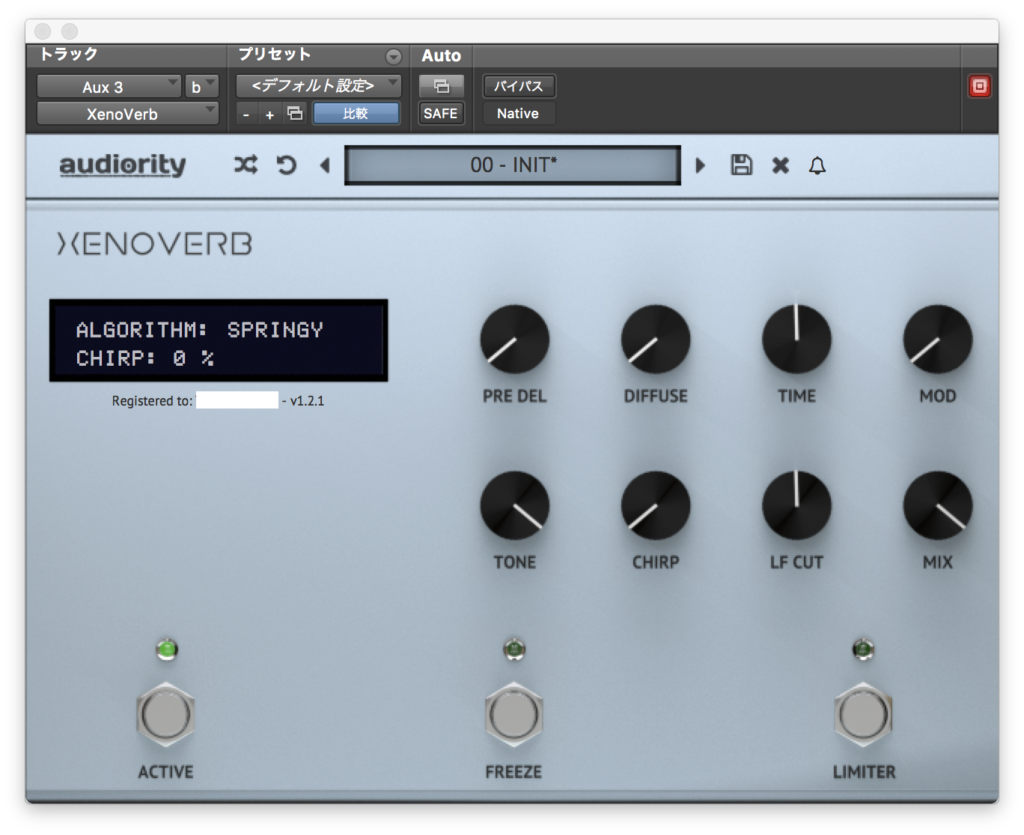
例えばSPRINGYにした場合、
![](https://sounds-detour.com/wp-content/uploads/2020/09/c9aae398a719e8a0a8ce762b4d9929fd-1024x835.png)
SIZEがCHIRPに変わります。
このパラメーターはやや意味がわからないのですが、恐らくスプリングの跳ね具合を調整するパラメーターなのかなと思います。
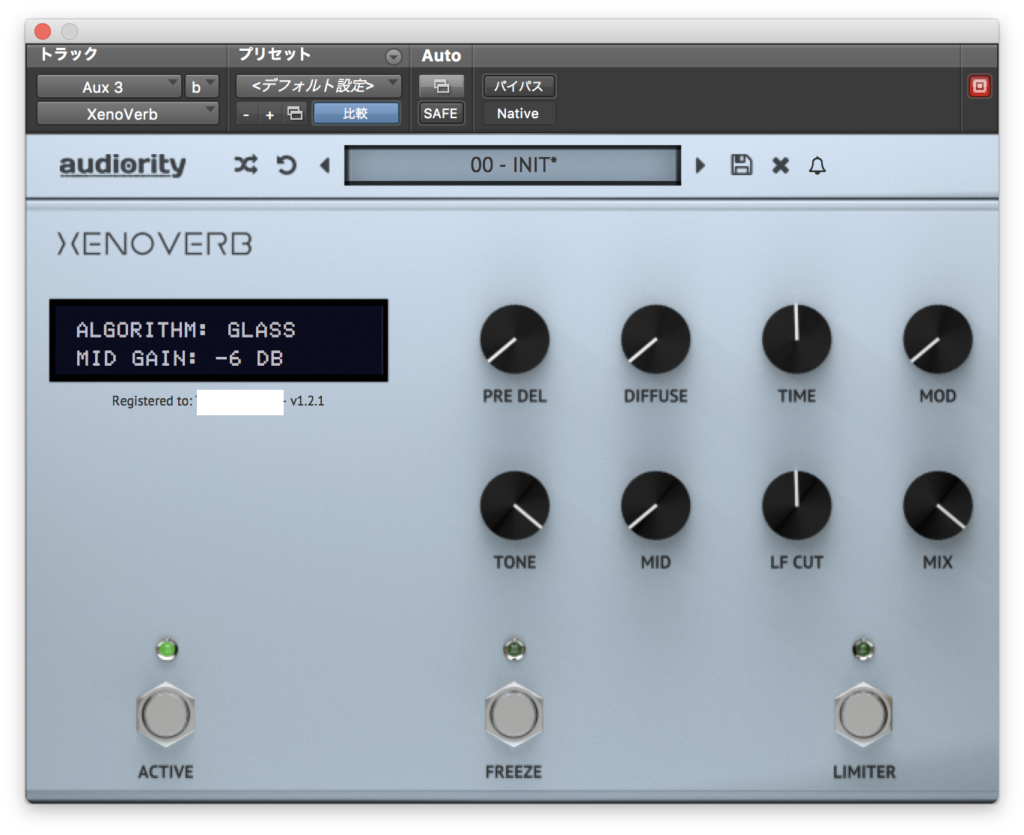
![](https://sounds-detour.com/wp-content/uploads/2020/09/5f85739c19f48d55a58ab1c265f581cb-1024x835.png)
![](https://sounds-detour.com/wp-content/uploads/2020/09/99a7eaa4852cefcaefef5e7fb777cec2-1024x835.png)
![](https://sounds-detour.com/wp-content/uploads/2020/09/98b3a7930947953f6a0a323bd63e18c1-1024x835.png)
GLASSにするとMIDになりますね。
![](https://sounds-detour.com/wp-content/uploads/2020/09/b53ddb91b22418923fae8bf43802a702-1024x835.png)
![](https://sounds-detour.com/wp-content/uploads/2020/09/8e8d2815b7081c50f2c8d6d46449342f-1024x835.png)
![](https://sounds-detour.com/wp-content/uploads/2020/09/a8381431fd5f579cd5797a2ffec1f970-1024x835.png)
SHIMMARにすると真ん中下の二つがPITCH AとPITCH Bになりますが、
これはSHIMMARの特徴であるピッチシフトリバーブの音程を調整するものです。
![](https://sounds-detour.com/wp-content/uploads/2020/09/195aeb91c48c8e7c6f23175e133213cf-1024x835.png)
BODEにするとFREQとBAND MIXというパラメーターに変わりますが、
これはFREQで決めた周波数の下の帯域を帯域を強調したい時はPITCH BANDを左に、
上の帯域を強調したい時はPITCH BANDを右にというパラメータのようです。
![](https://sounds-detour.com/wp-content/uploads/2020/09/e624812a56a915a140422b169c852e3e-1024x835.png)
![](https://sounds-detour.com/wp-content/uploads/2020/09/2bda610d5d5c165a90152020075c711d-1024x835.png)
![](https://sounds-detour.com/wp-content/uploads/2020/09/29752fe10e2bdc295d49523aa1ed482f-1024x835.png)
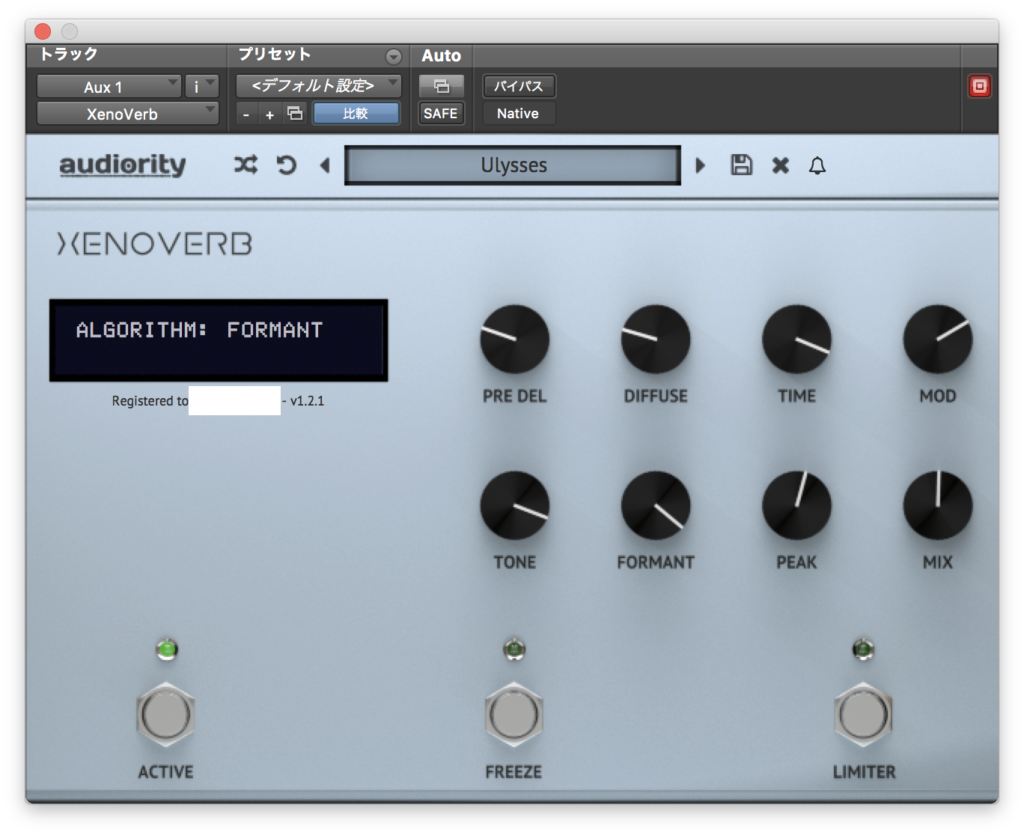
FORMANTにするとフォルマントフィルターをリバーブにかけるモードになりますね。
FORMANTでフィルターの傾向を操作し、PEAKでフィルターの強度を決めます。
![](https://sounds-detour.com/wp-content/uploads/2020/09/35446f1f97af865448d9baa14e0c91dd-1024x835.png)
![](https://sounds-detour.com/wp-content/uploads/2020/09/a0ff67b7a2ab4066eafcb1e62a05e8c0-1024x835.png)
![](https://sounds-detour.com/wp-content/uploads/2020/09/efd4ade493e2239d86a2b99a71281e6b-1024x835.png)
右下にはLIMITERボタンがあり、控えめなリミッターがかかるようになります。
![](https://sounds-detour.com/wp-content/uploads/2020/09/8a3013ab134a8cdf1e473215d6f9e3c9-1024x835.png)
パラメーターはこれで一通りかなと思います。
アコギ
いつもと同じですが、アコギで試してみます。まずバイパス↓
プリセットから適当に
![](https://sounds-detour.com/wp-content/uploads/2020/09/0f9b6d6685c77802e49ce151f79f6d49-1024x835.png)
![](https://sounds-detour.com/wp-content/uploads/2020/09/02a74876df940cb9c111f63362616770-1024x835.png)
![](https://sounds-detour.com/wp-content/uploads/2020/09/328e261b16a5f64c8932702ee20cdc57-1024x835.png)
![](https://sounds-detour.com/wp-content/uploads/2020/09/d0596ff6be9a73d99e4db6ff30eb1478-1024x835.png)
![](https://sounds-detour.com/wp-content/uploads/2020/09/dd1402efef03f5a8bca6c075bdcc398c-1024x835.png)
![](https://sounds-detour.com/wp-content/uploads/2020/09/69fb35afbebf666cb060f8891e7e92f0-1024x835.png)
![](https://sounds-detour.com/wp-content/uploads/2020/09/eac60014d60d522b208a190fa20fcaa7-1024x835.png)
![](https://sounds-detour.com/wp-content/uploads/2020/09/ec0094b7cc36f978ed208de38ef4d422-1024x835.png)
![](https://sounds-detour.com/wp-content/uploads/2020/09/fdf1540cf5ed61b6c3cd1902d3c44182-1024x835.png)
![](https://sounds-detour.com/wp-content/uploads/2020/09/8a2815e72731c44f23e2952596fd991a-1024x835.png)
![](https://sounds-detour.com/wp-content/uploads/2020/09/528be174d6078429a6e99318770e6e74-1024x835.png)
おおよそこんな感じですね。
まとめ
音はするっと滑らかな感じがします。
パラメーターは少なめですが、Algorithmのパターンがたくさんあるので色々なリバーブ音が作れますね。
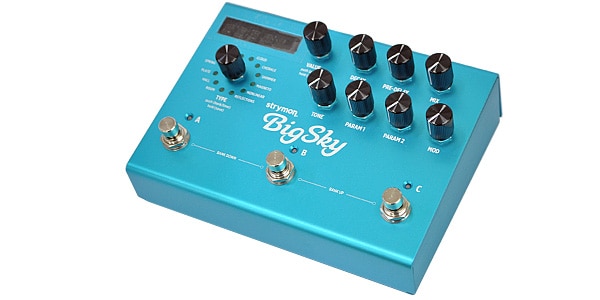
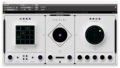
なんとなくSTRYMONのBIGSKY Reverbに見た目が似ていると思います。
ショップサイトはこちら↓
最近書いたリバーブプラグインの記事はこちら↓
今月のプラグインセール情報をまとめてみました。
よかったら見ていってください。
コメント