今回はAcustica Audioの「Pink4」について書いていこうと思います。

Pink4
APIをモデリングしたチャンネルストリッププラグインですね。
内容としてはパラメトリックEQ、グラフィックEQ、コンプ、マルチバンドコンプレッサー、プリアンプの5種類(とEQとコンプをまとめたチャンネルストリップがもう1つ)となっています。


なかなか盛りだくさんなセットですね。
それでは順番にみていきましょう。まず今回のバイパス↓
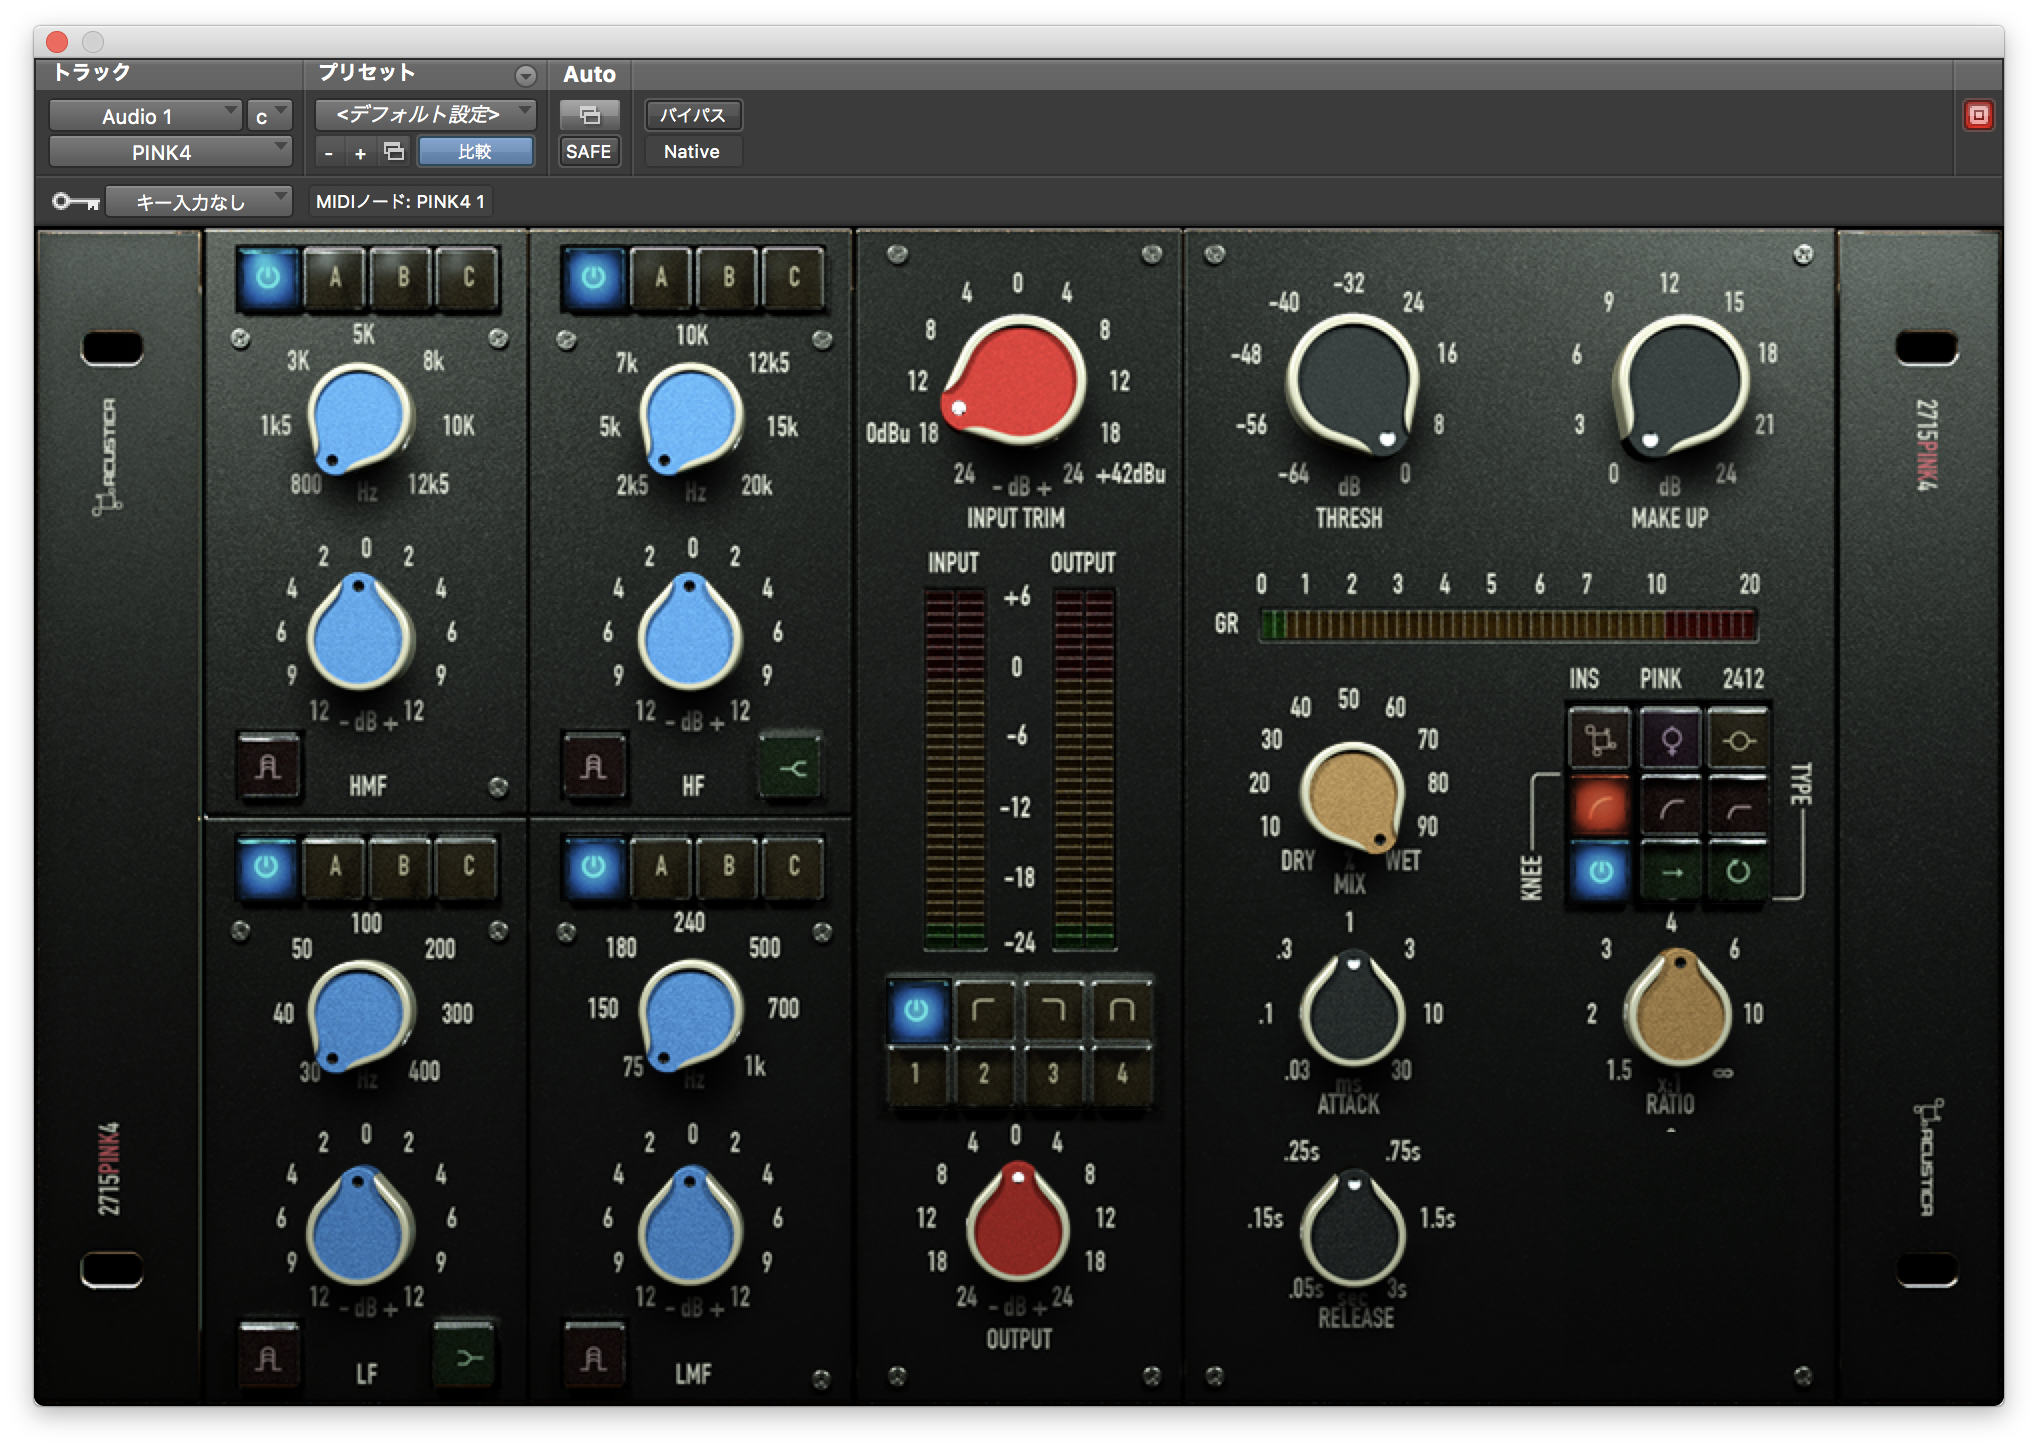
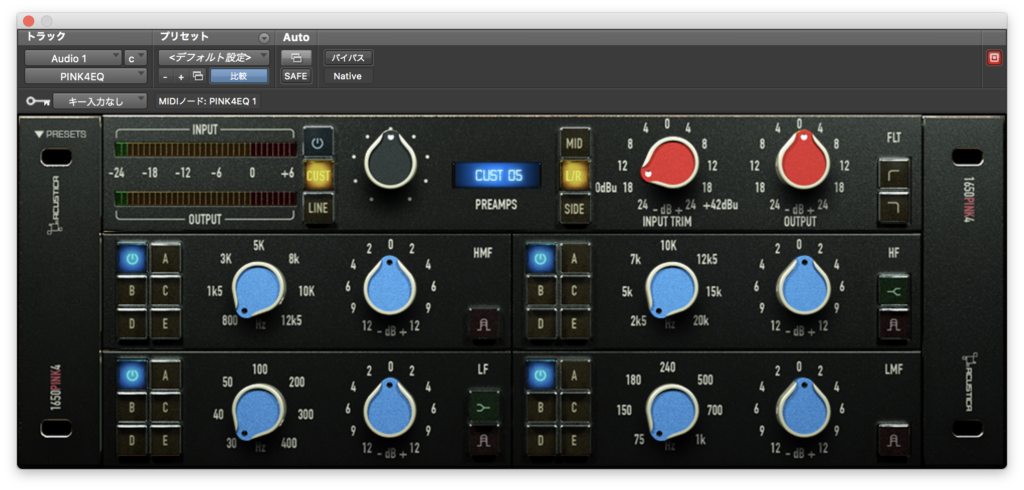
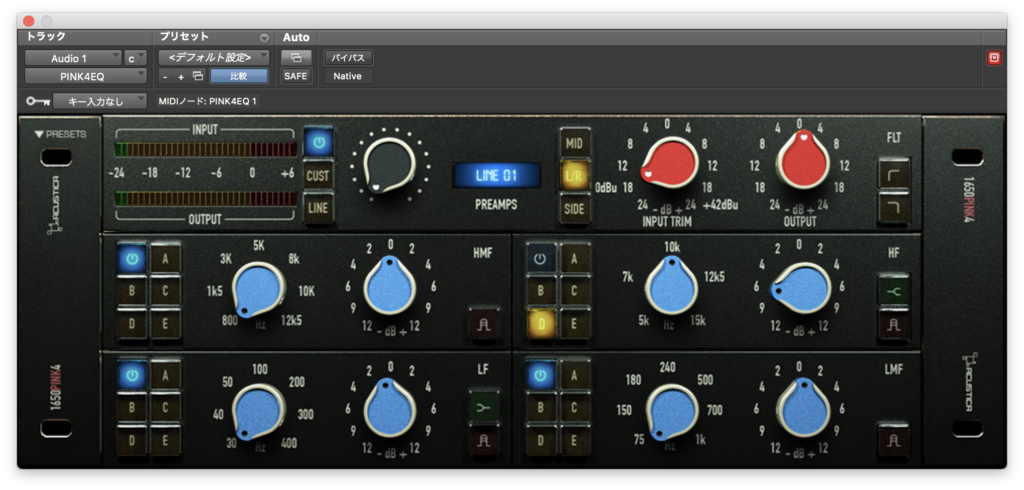
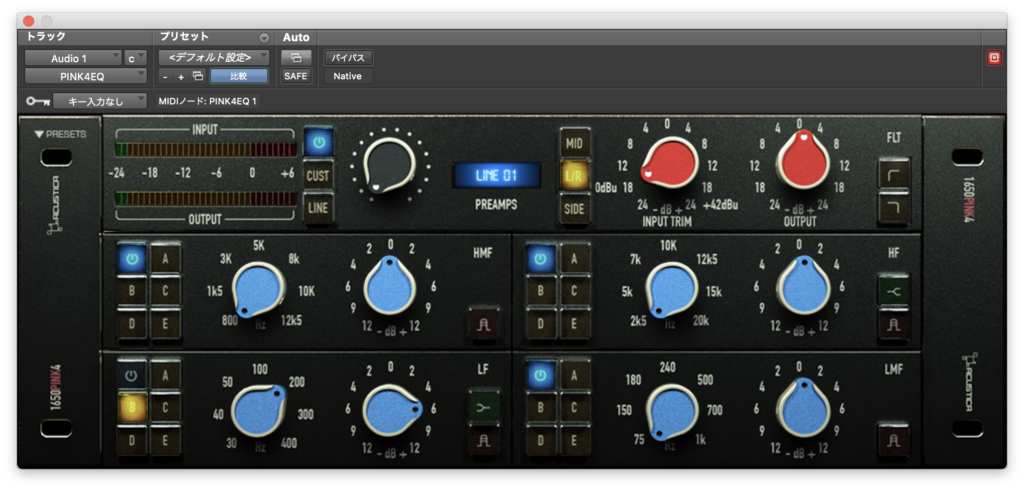
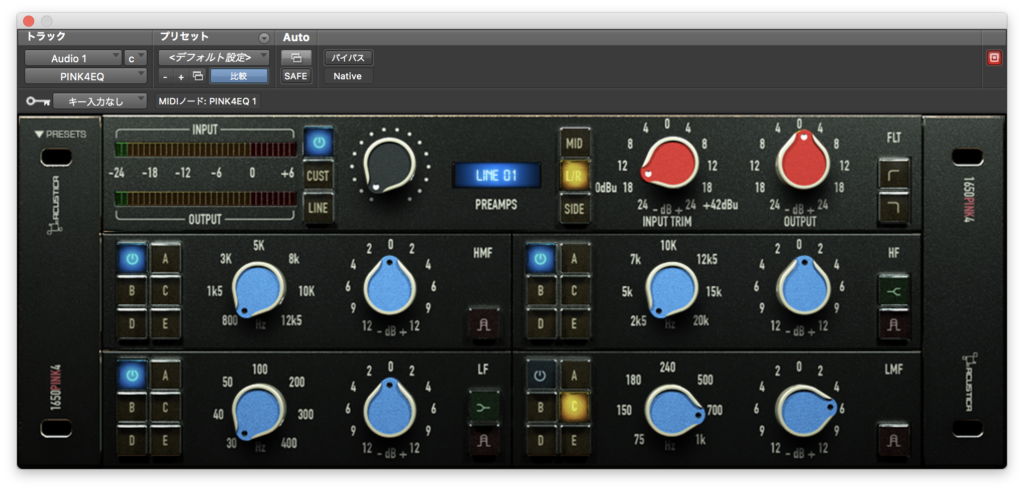
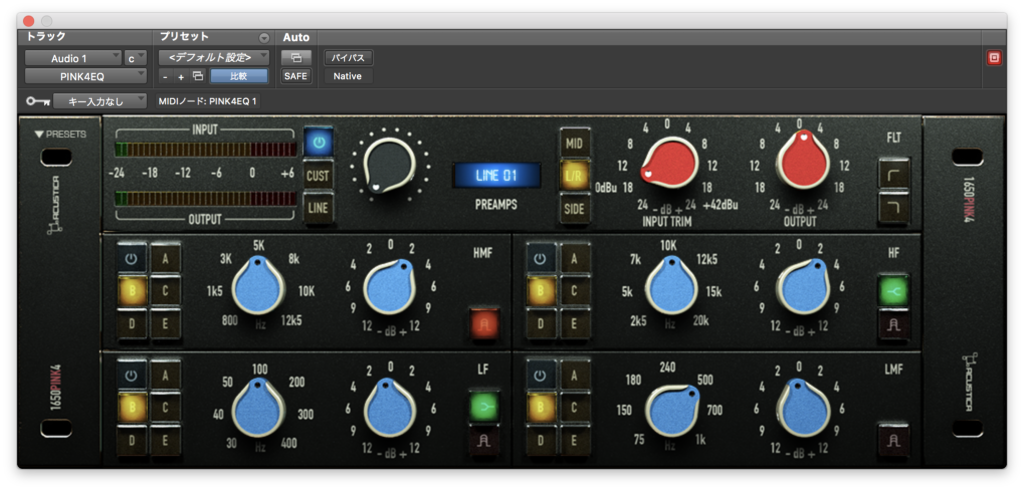
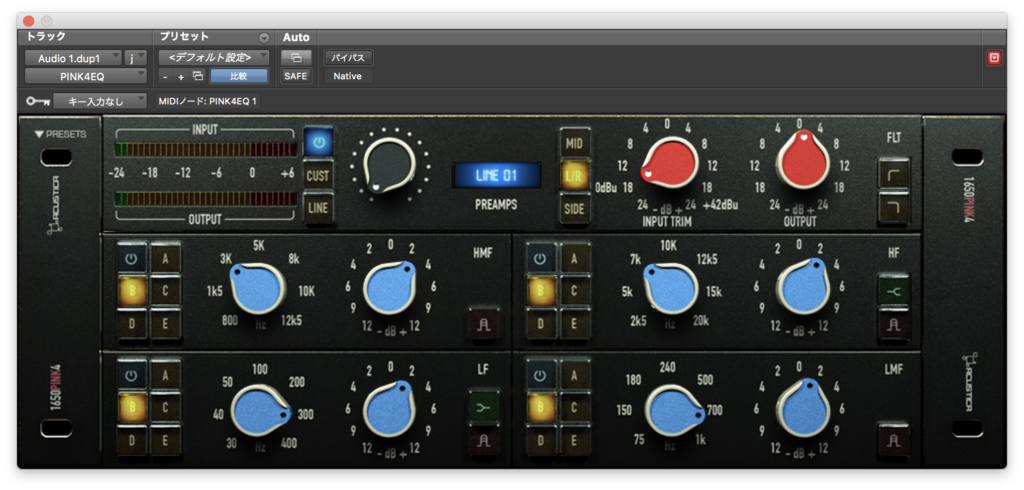
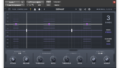
パラメトリックEQ
とりあえず入れただけだとこんな感じ↓
プリアンプと4バンドのEQ、HPFとLPFがありますね。
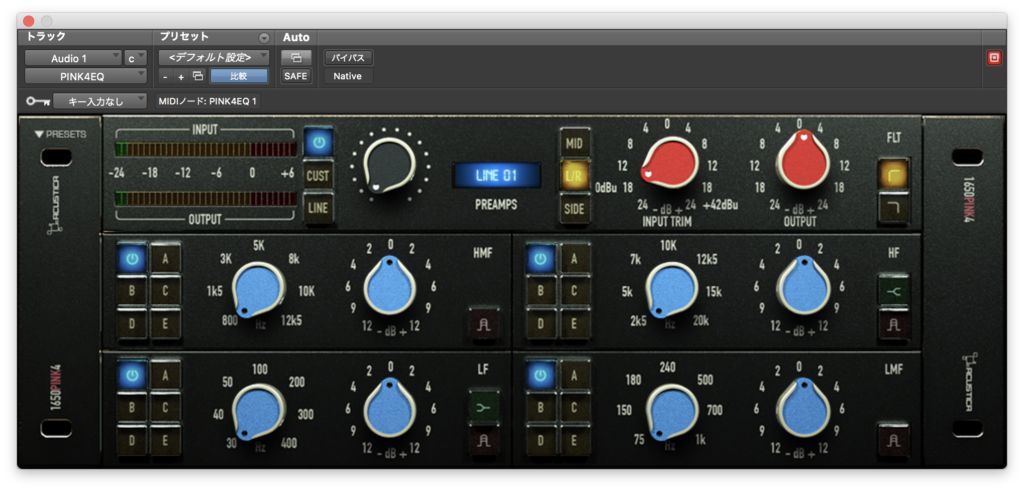
まずはプリから

LINEの方がちょっとスッキリとした感じですね。
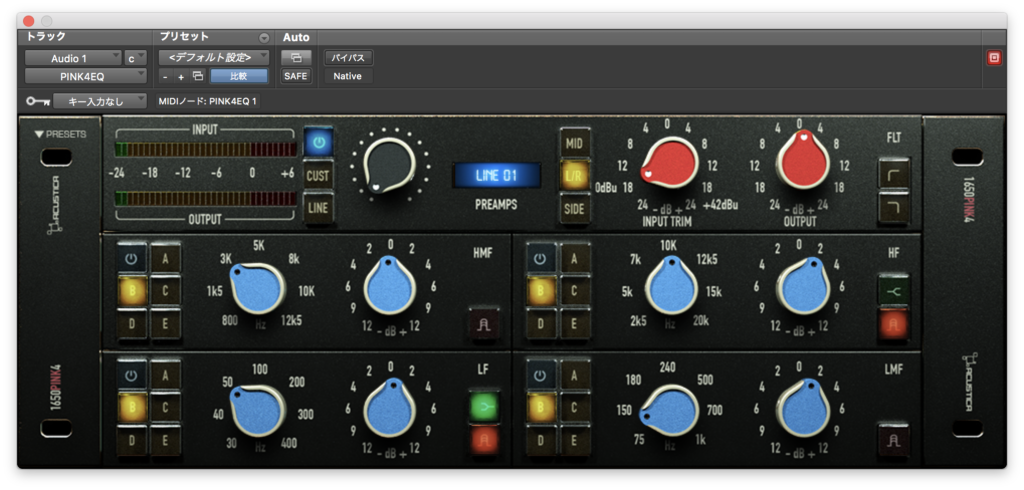
次にHPFとLPFを試してみます。
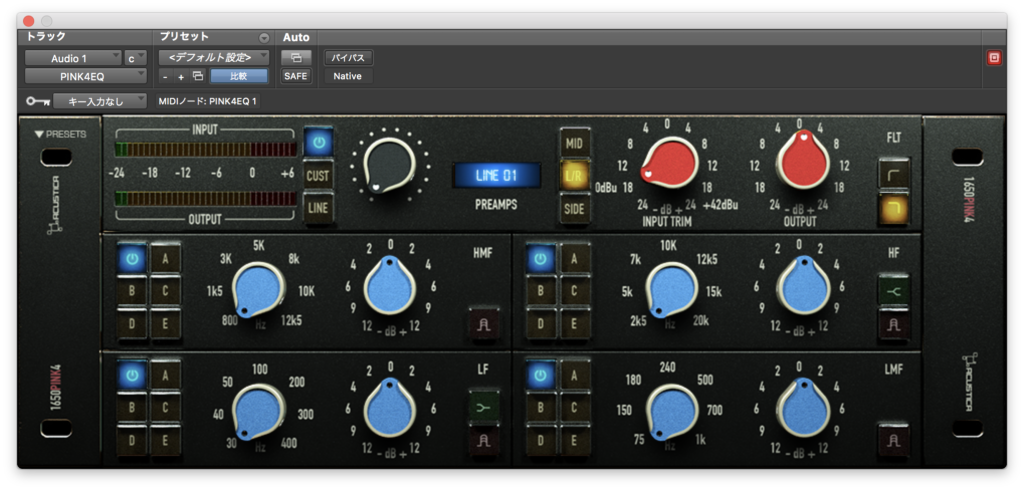
きつくかかるフィルターではなくゆるくかかるタイプのようですね。
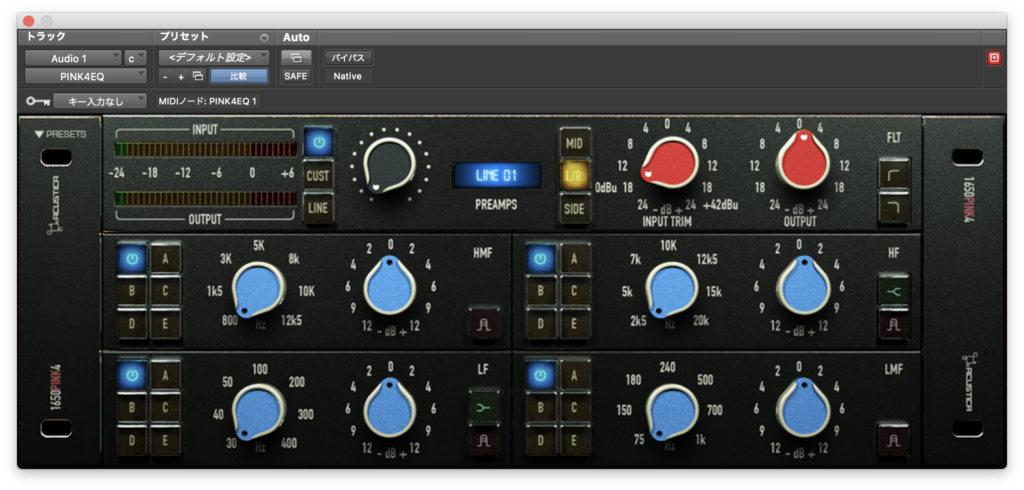
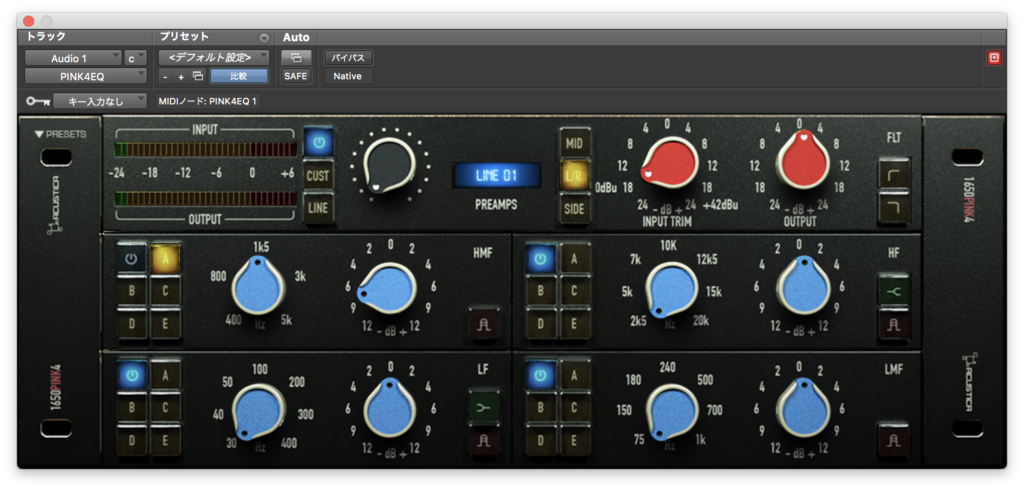
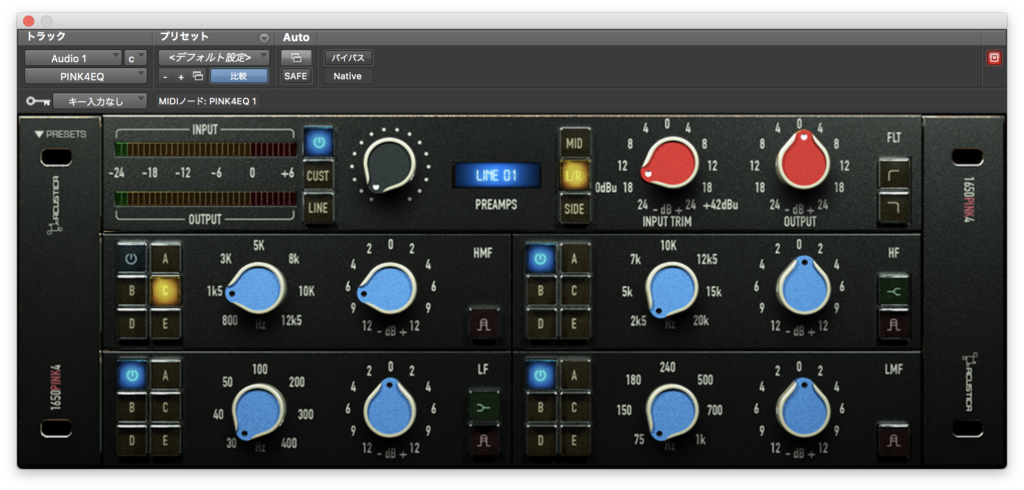
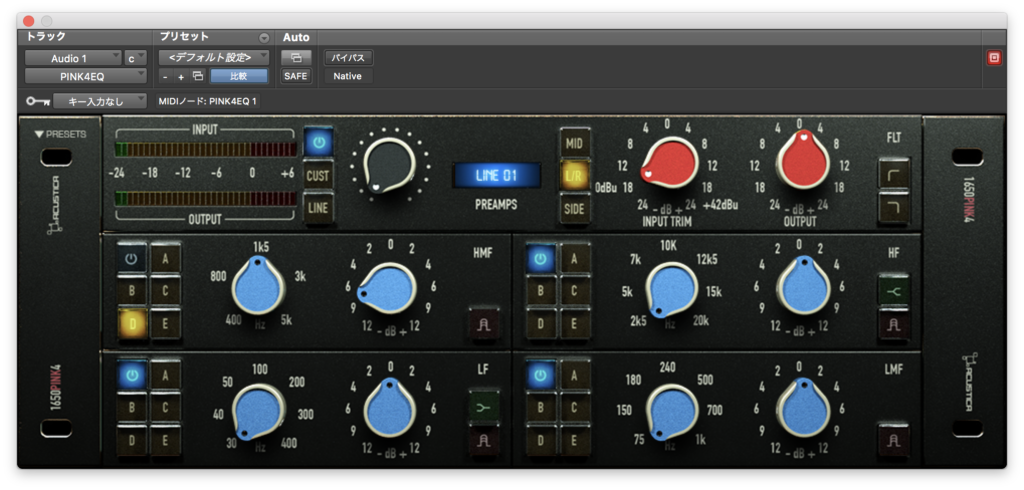
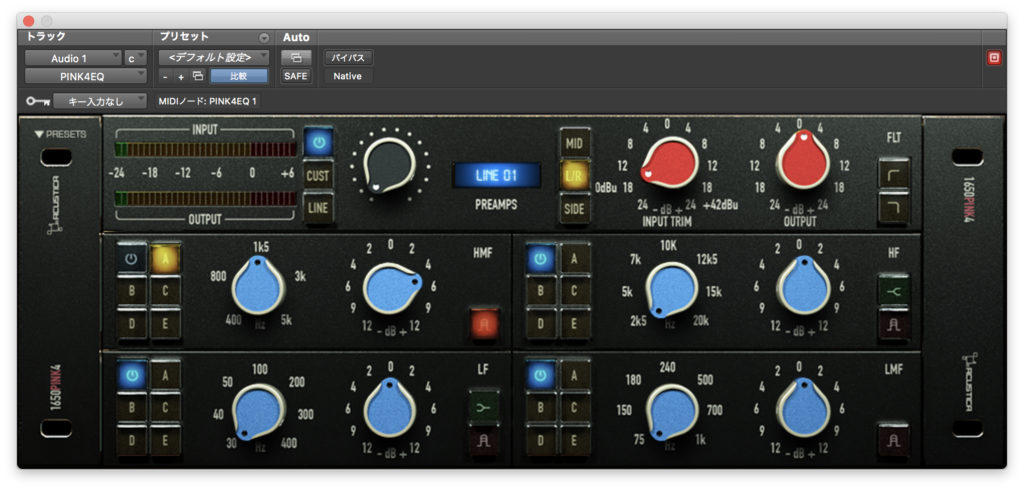
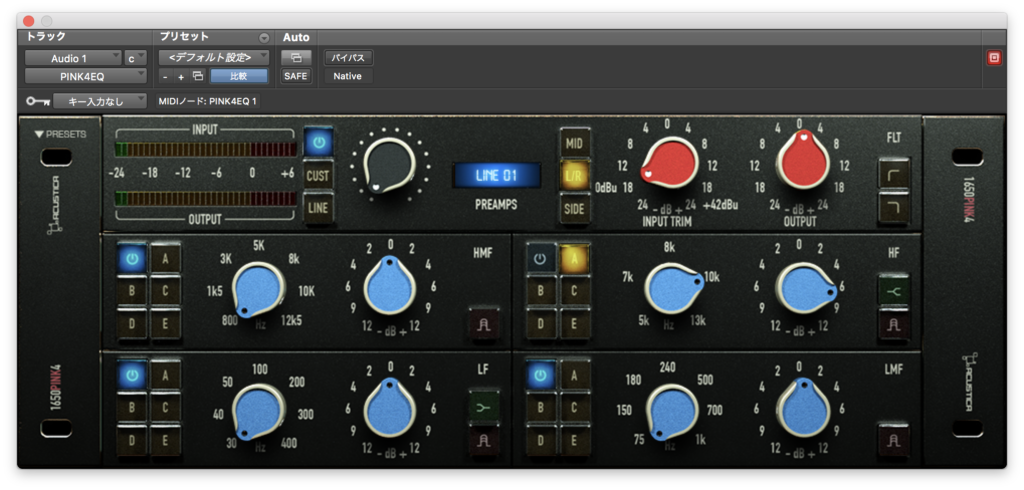
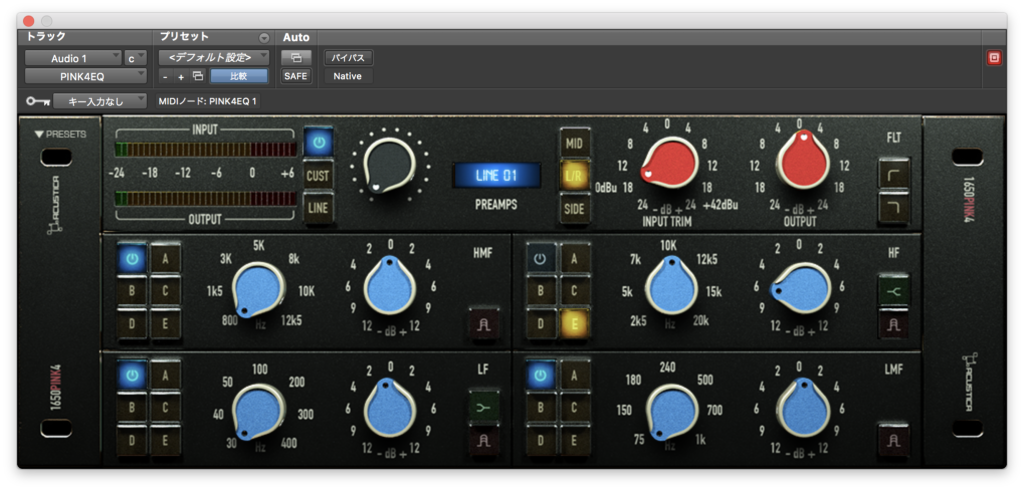
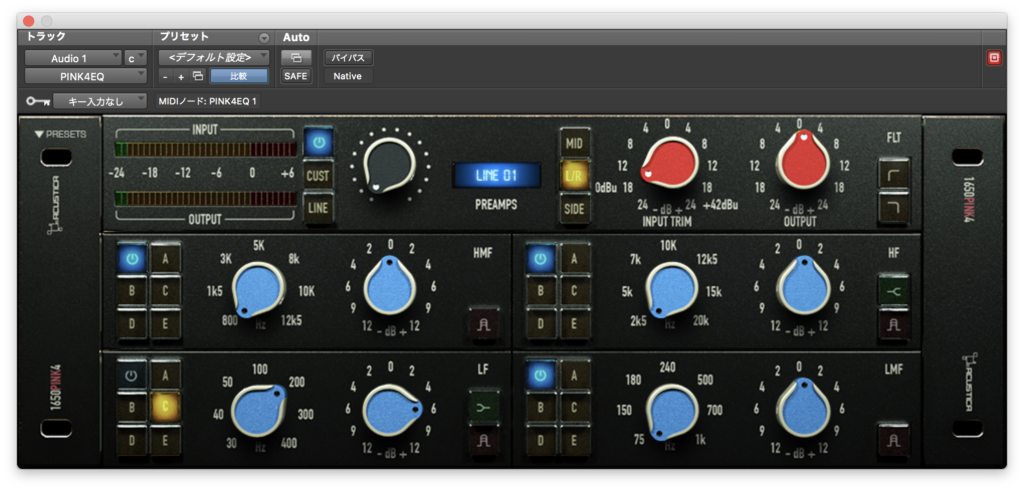
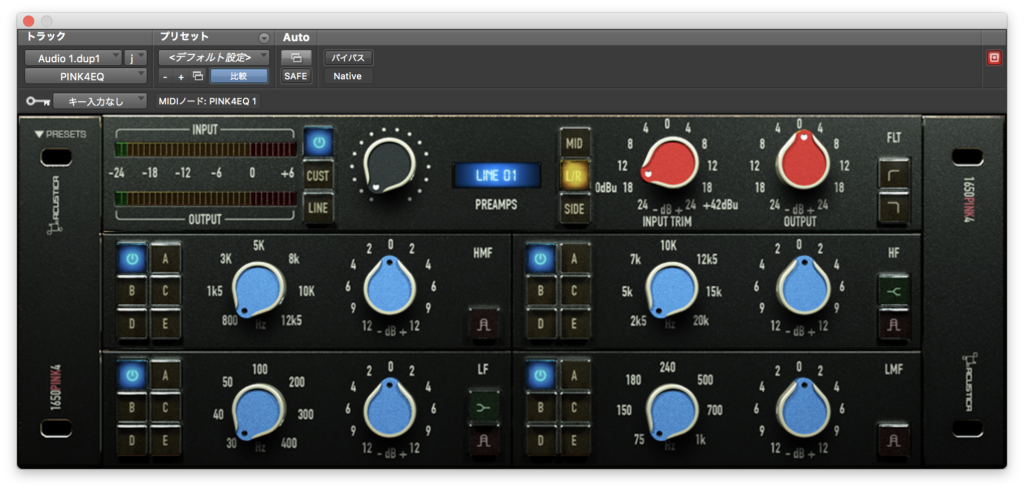
HMF
左上のHMFからみていきましょう。


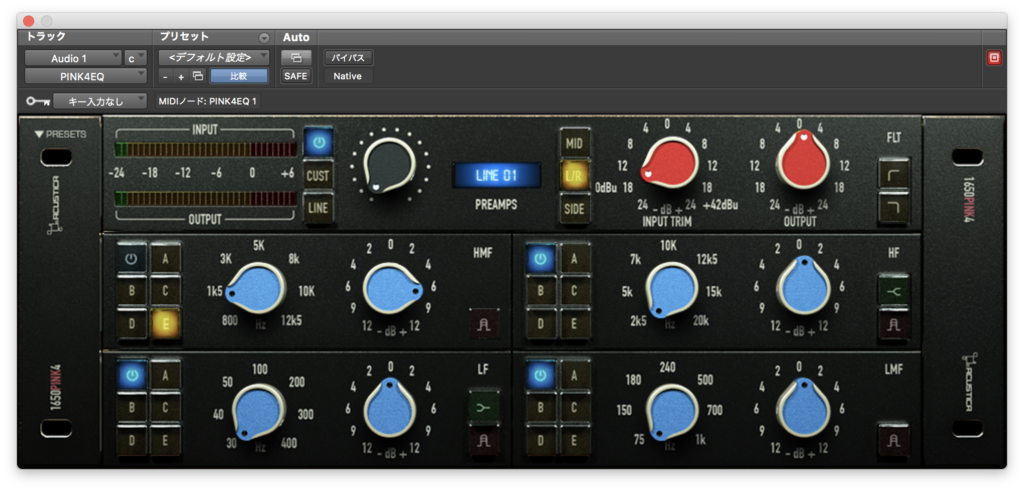
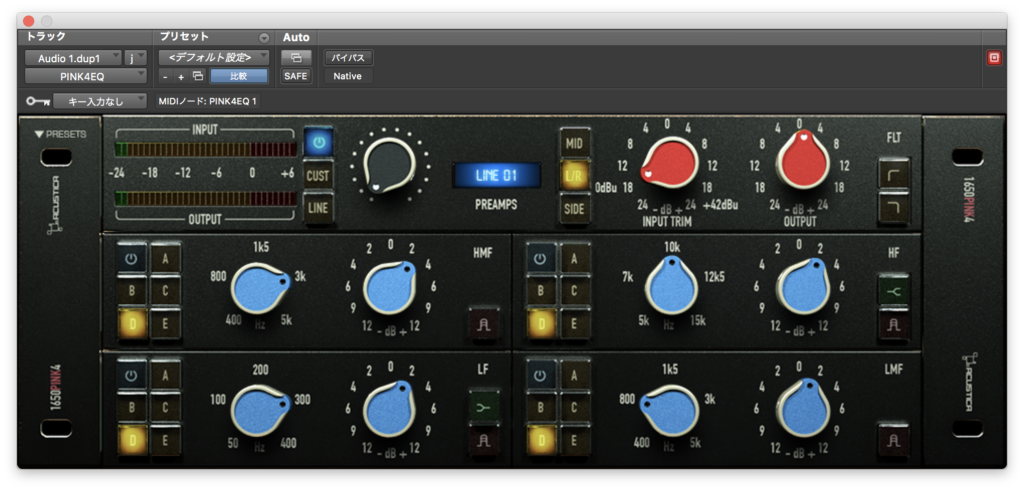
1500Hzをブーストしてみました。この中だとAが好みかなあと思います。
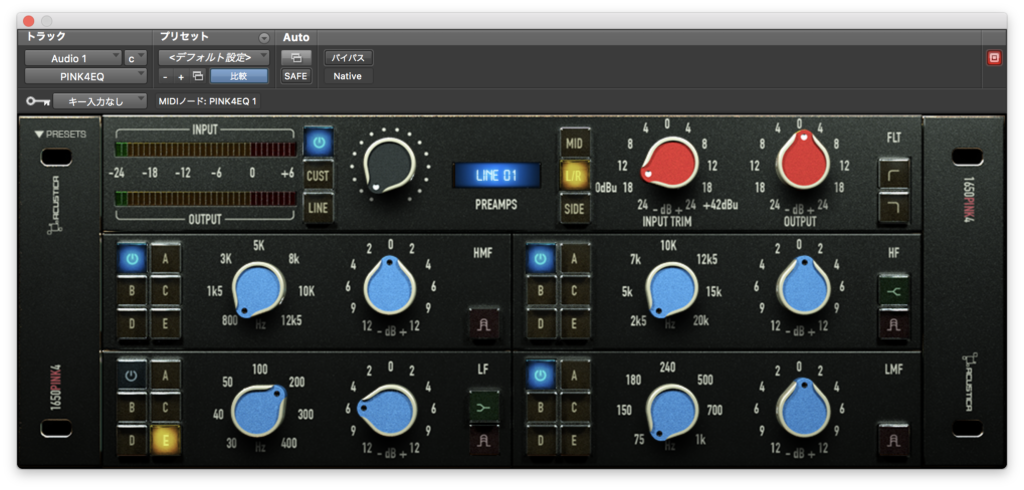
次はカットです。


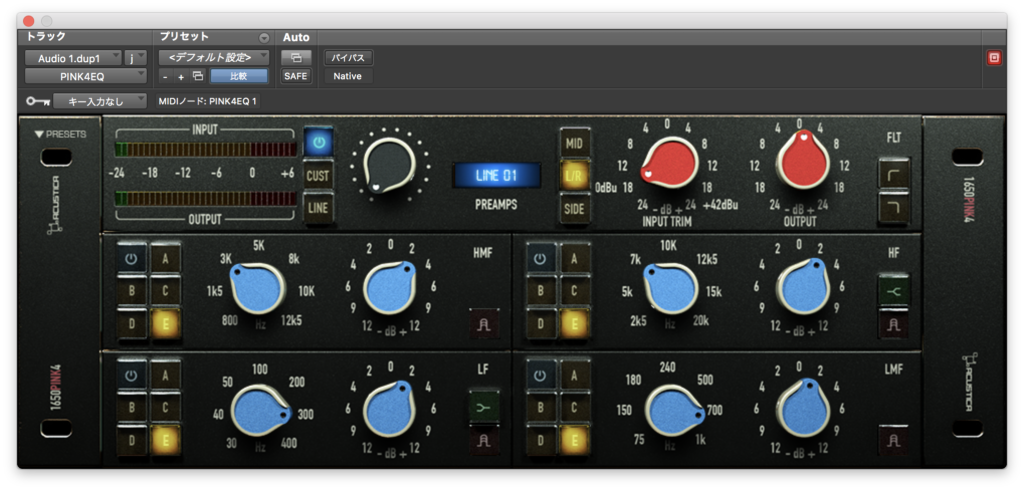
右にある凸のようなボタンはOFFの時はGAINの操作が値の通りになって、
ONにするとよりハードウェアのようなブースト/カットに近く、やや値通りではない感じになるんだとか。
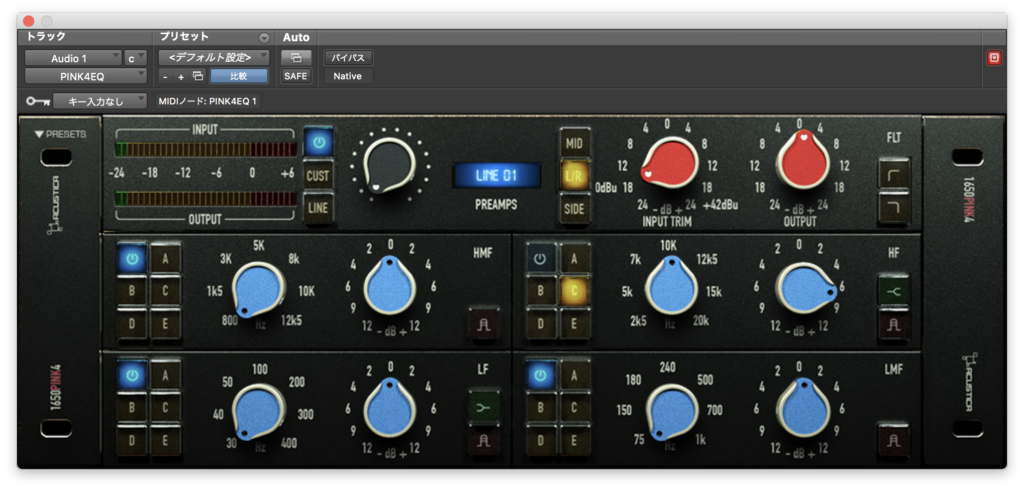
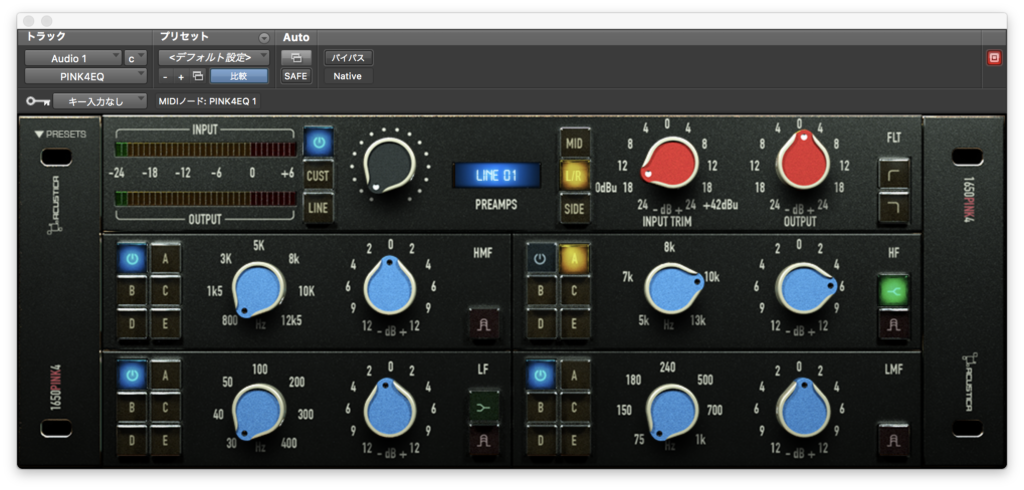
HF
次はHFです。こちらも順番にブーストから
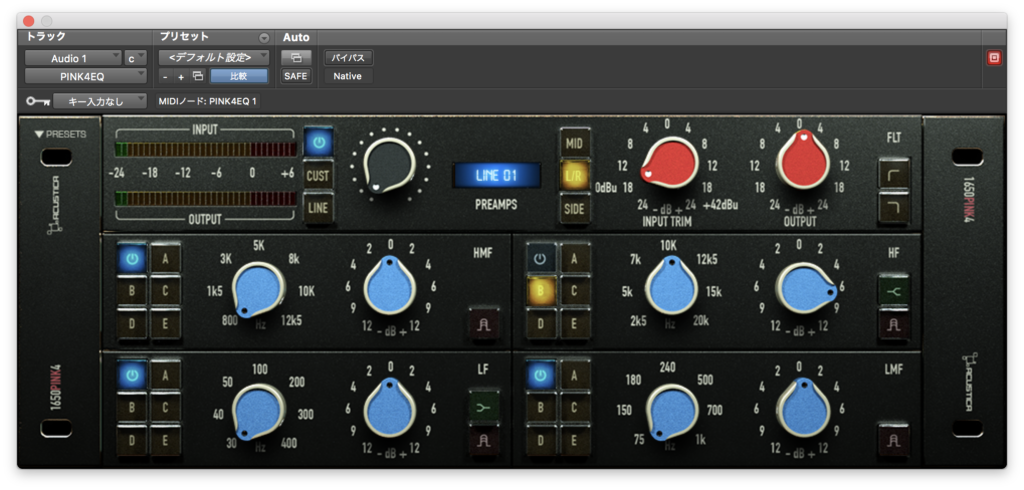


ハイはCかDあたりもいいかもしれません。
次にカットです。

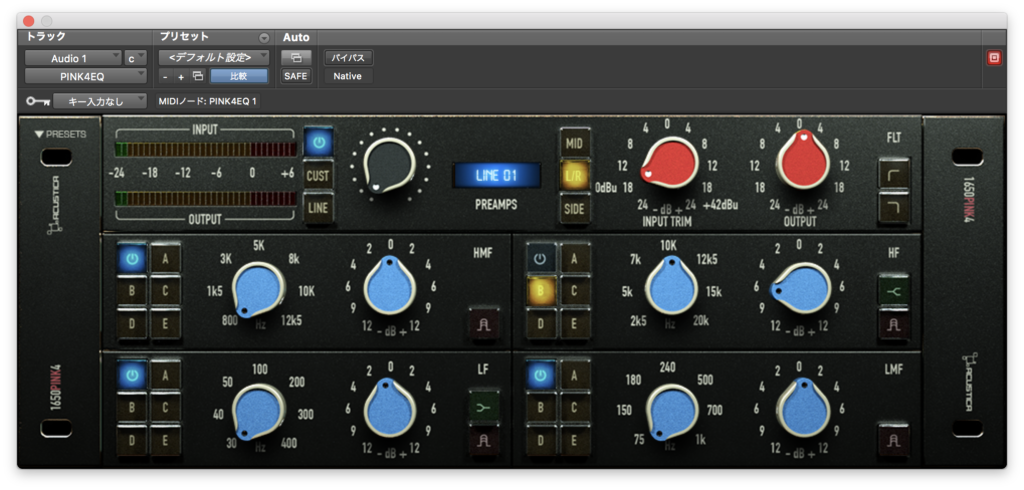

もちろんシェルフも選択できます。
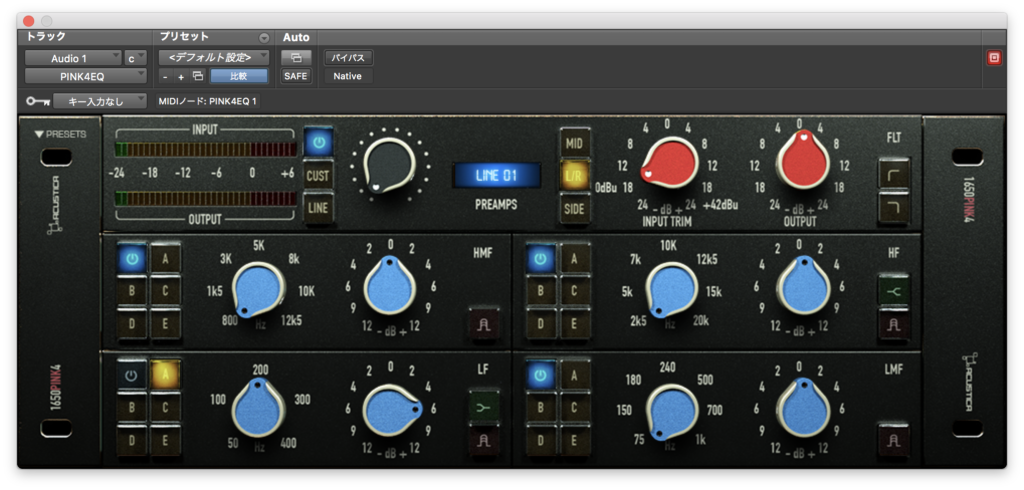
LF
LFもHFと同様ですね。まずはブーストから。


ごつっとした低域ですね。A、Bあたりが違和感が少ないかもしれません。
次はカットです。


カットは割と普通ですね。最後にシェルフをやってみます。

力強い低域ですね。
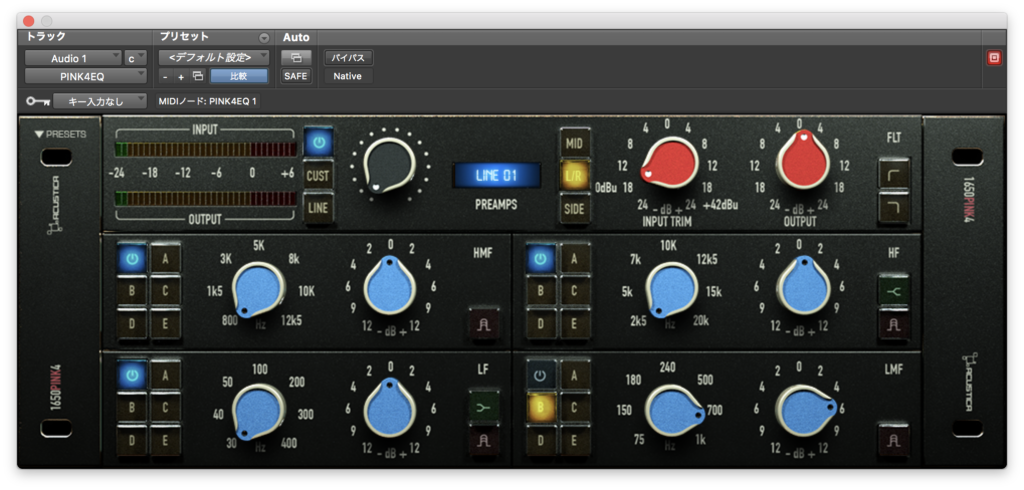
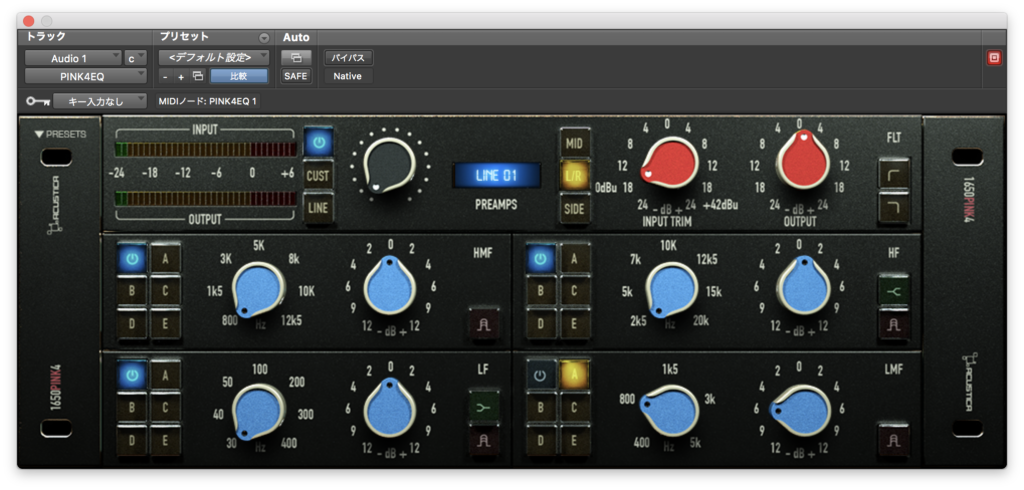
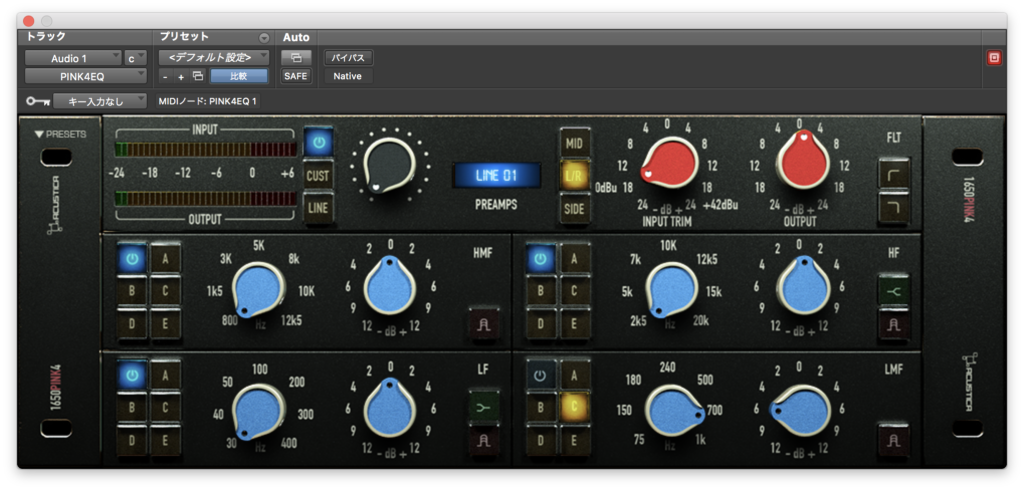
LMF
LMFはHMFと同じのようです。まずはブーストから。


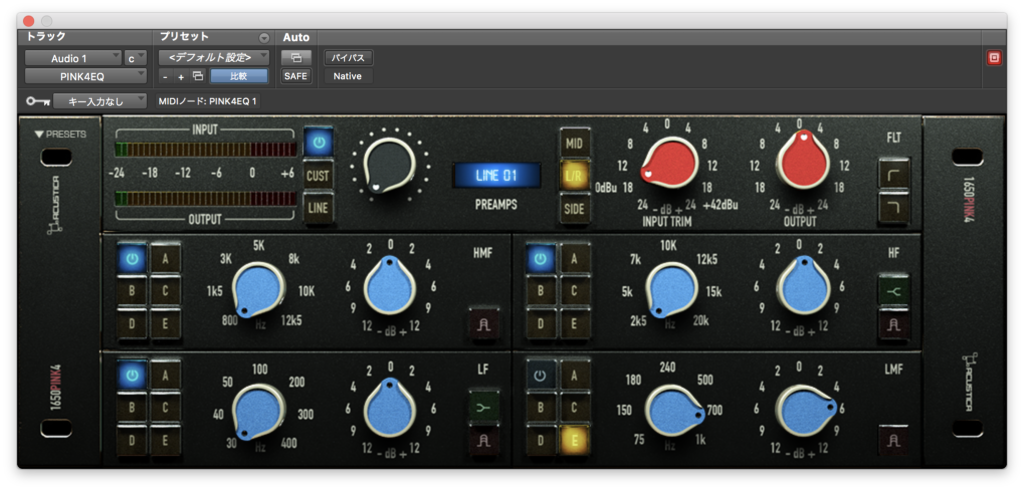
LMFは選択によって帯域の値が変わりますね。700Hzまたは800Hzで比較してみました。
こちらはBかCがいい感じかなと思います。次はカットです。


プリセット
Pink4も他の最近のAcusticaプラグイン同様AIのプリセットがあります。
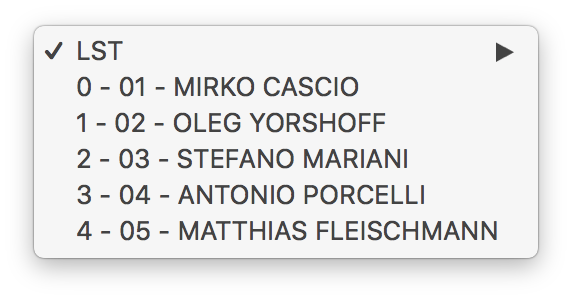
こちらも順番に試してみようと思います。


01と02が派手な感じ、03と04は控えめ、05は元気な感じでしょうか。
なぜかBしか選択されていませんね。不思議なところです。
アコギ
おまけにアコギでABCDEを試してみます。まずバイパス↓
次にデフォルト↓
パラメーターは適当に設定します。


AとDはやや重ため、BとCは軽め、Eは明るい感じでおおよそドラムと同じですね。
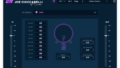
グラフィックイコライザー
10バンドの帯域が固定されたグラフィックイコライザーですね。
まずデフォルトだとこんな感じ
Pをオンにしてみます。
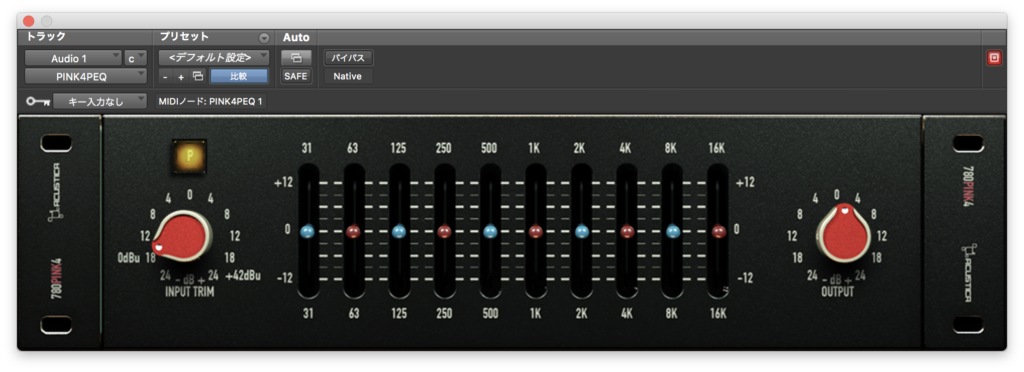
適当にパラメーターを動かしてみます。


自分はパラメトリックイコライザーの方が使いやすいかなと思いますが、
こちらが気に入った場合は使ってみるのもいいかもしれませんね。
比較するとややPCの負荷も軽めです。
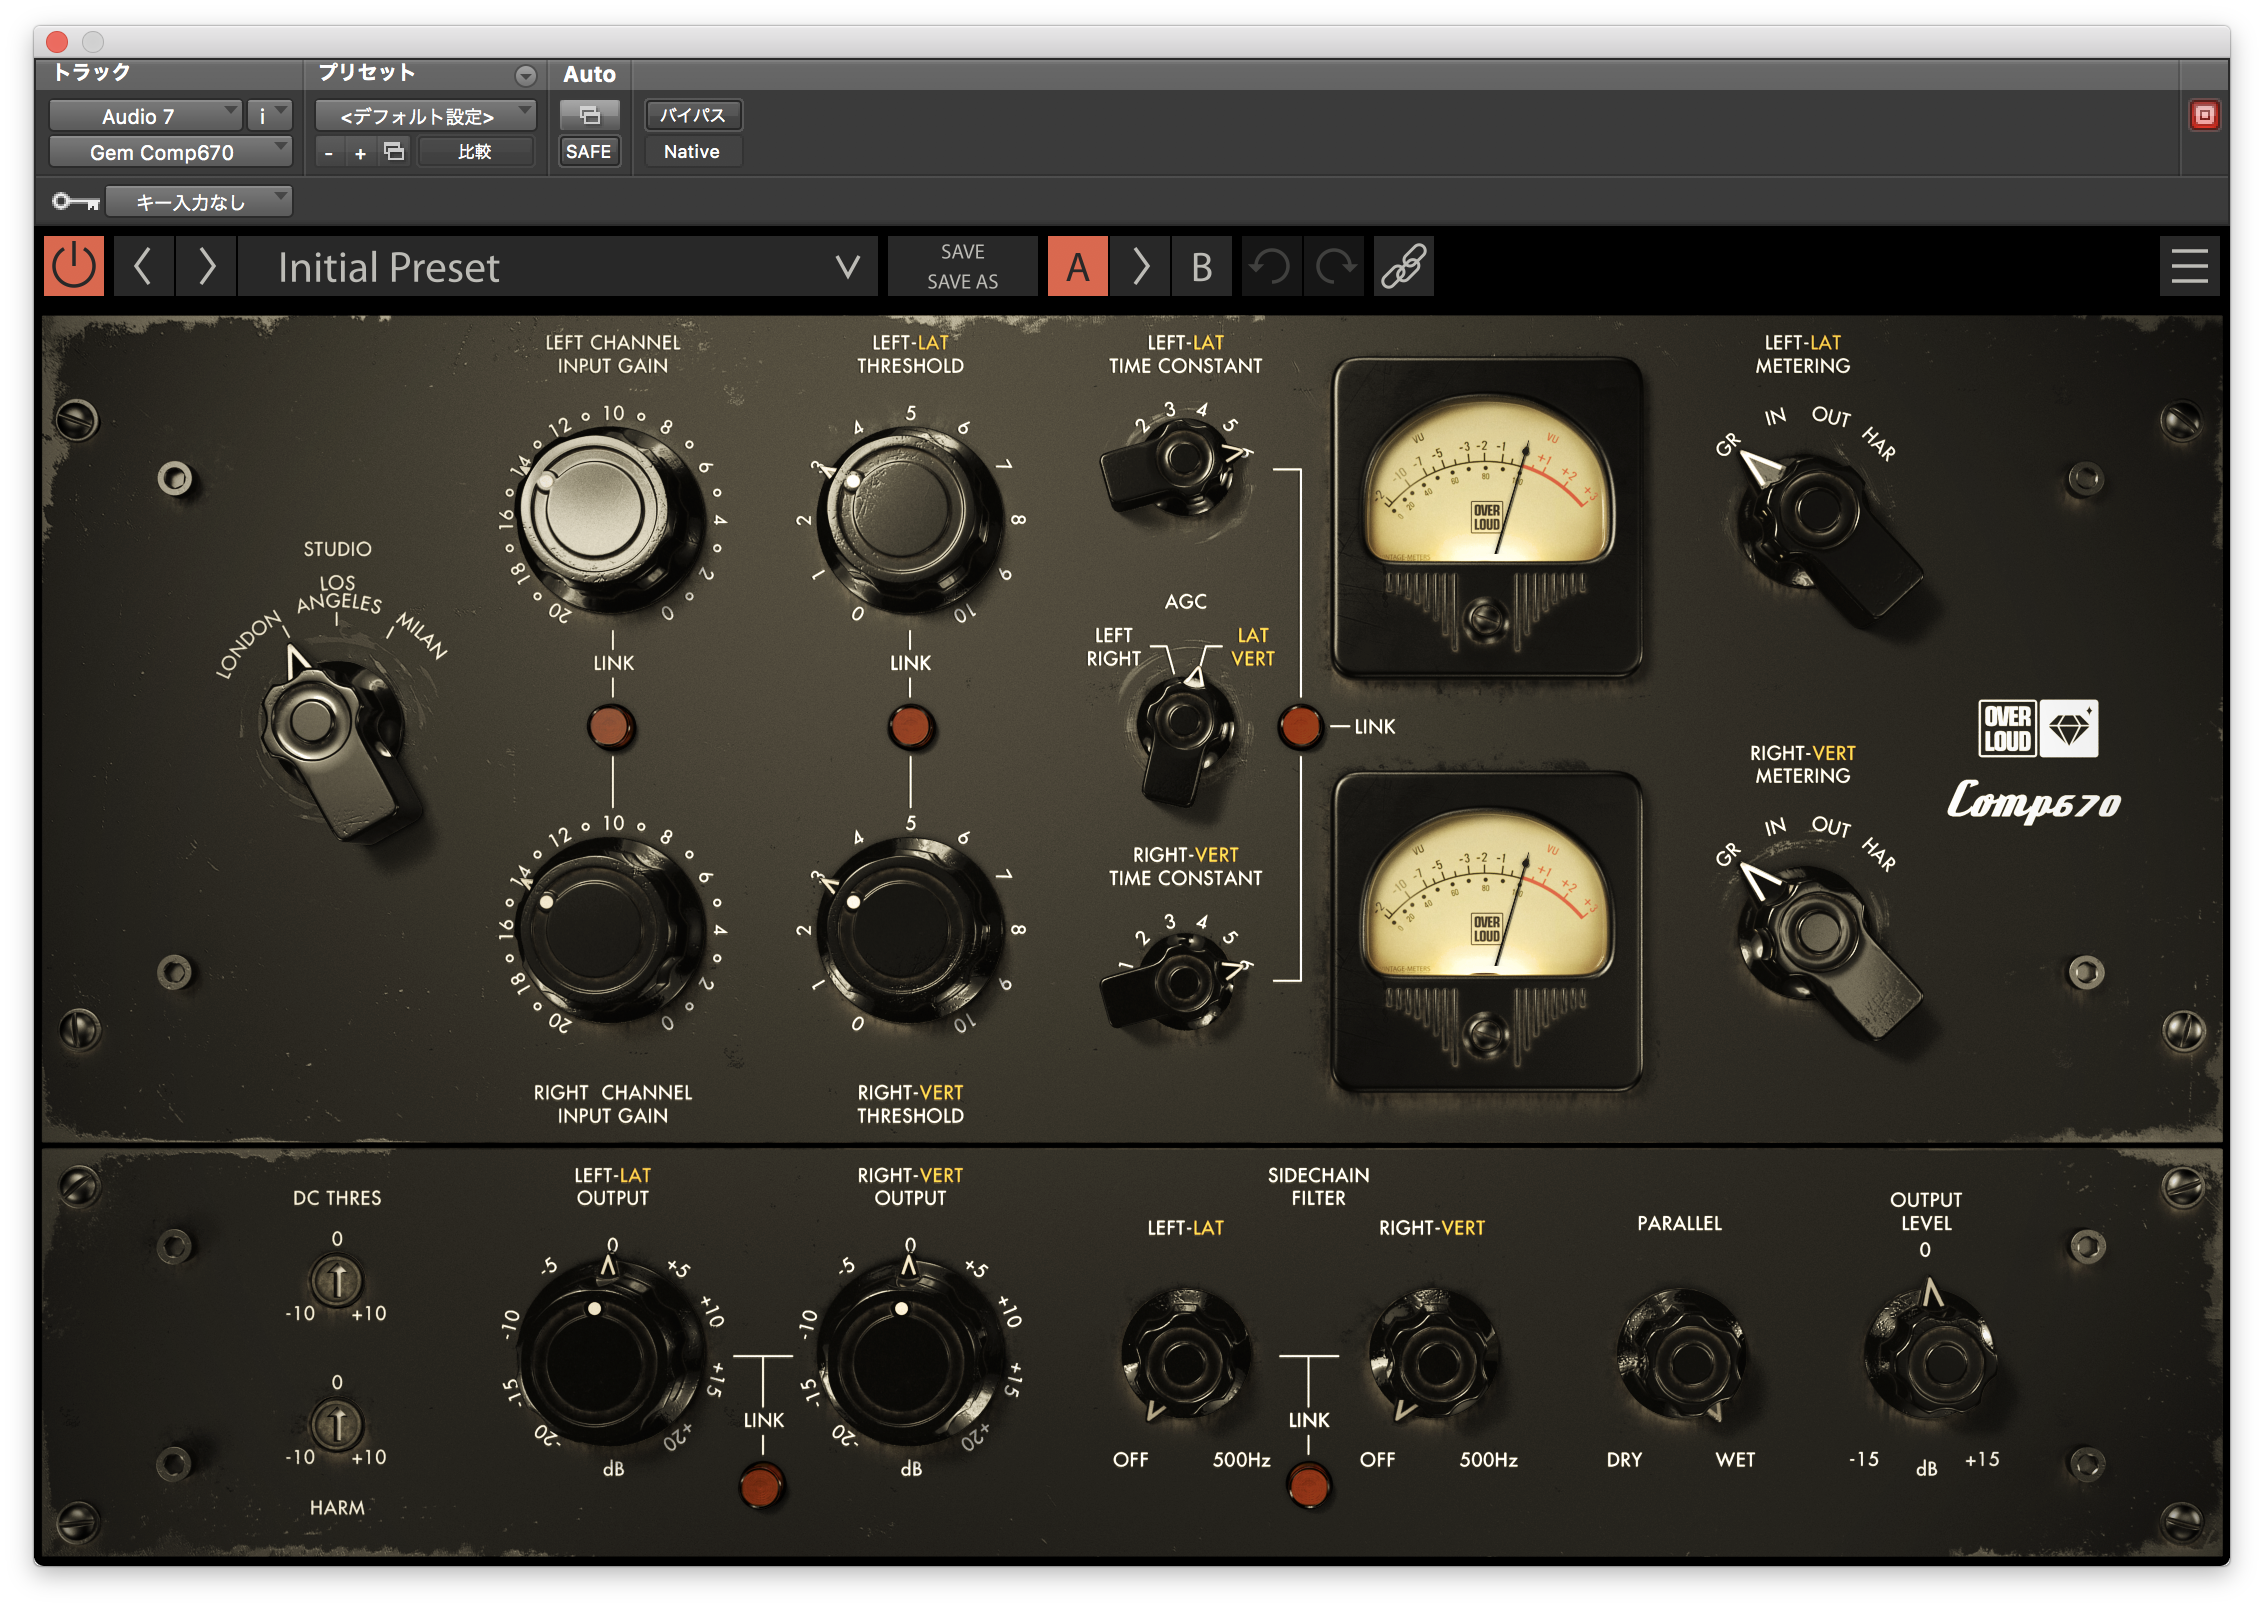
コンプレッサー
若干見慣れないパラメーターがあるコンプレッサーですね。種類としてはVCA型のようです。
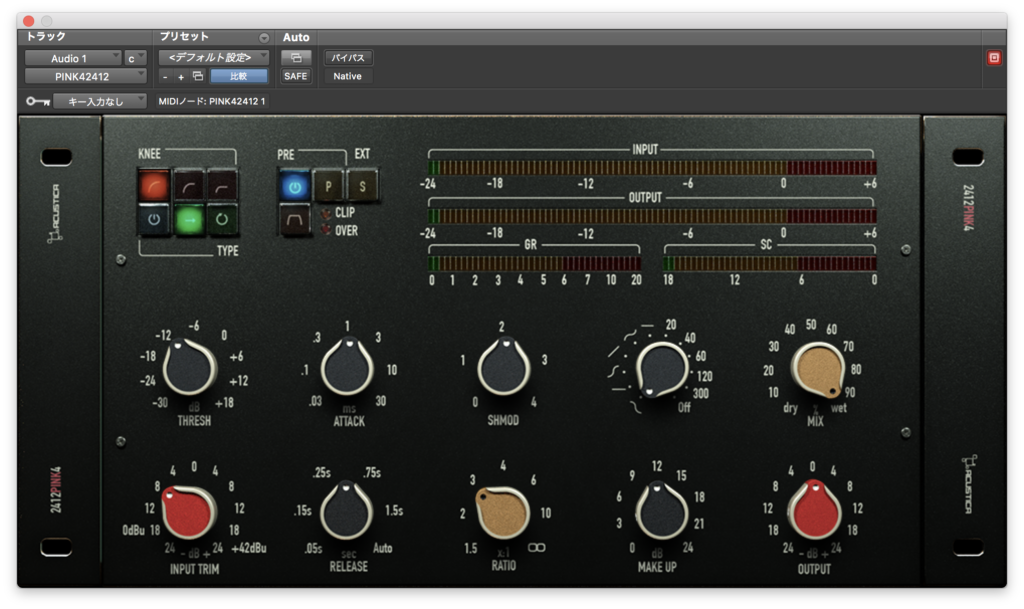
まずデフォルトだとこんな感じ↓
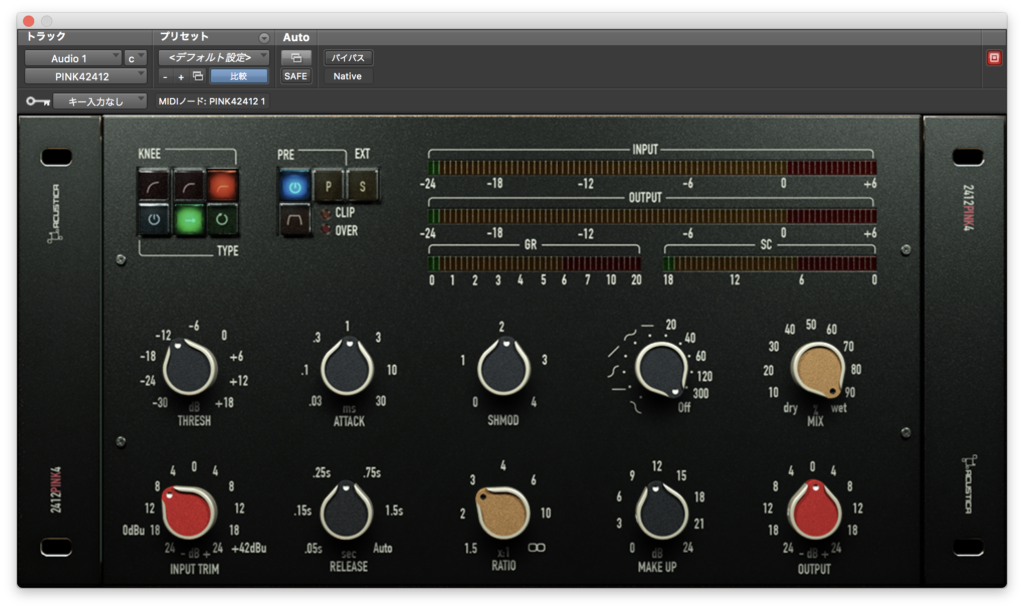
ちょっとリダクションがかかる設定にしてみます。

左上の上段はKNEEなのでニーを決めるパラメーターですね。
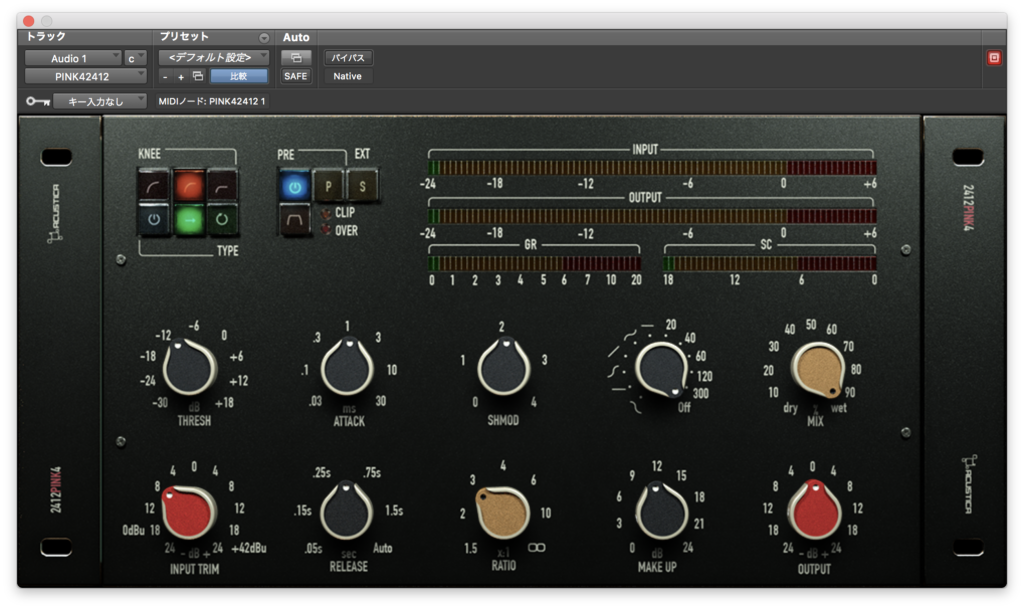
下段がわかりにくいのですがコンプレッサーのタイプを変えるボタンということで、
検出をインプット信号からにするか、リダクションした信号にするかとのことです。
このパラメーターはちょっとわからないですね。

ちなみに左のボタンにするとバイパスとなります。
右の塊にある下のボタンはクリッパー回路のスイッチです。
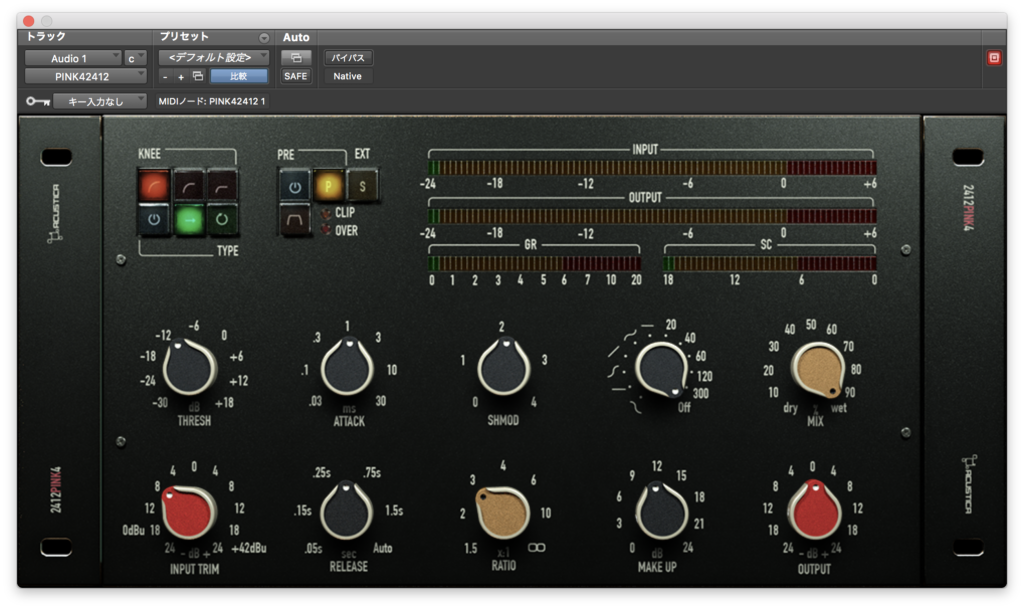
Pはプリアンプですね。
その右にあるSボタンがよくわらかないのですが、これを押すとGRメーターとSCメーターが反応しなくなるので
もしかしたらリダクション回路をバイパスするボタンかもしれません。
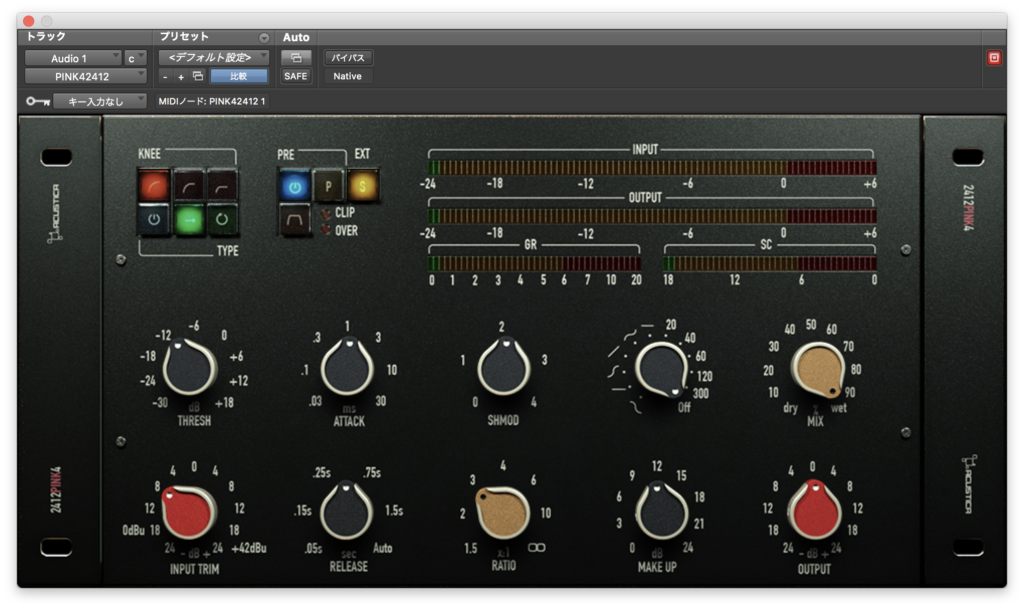
下のつまみはコンプレッサーとしてはスタンダードなものがほとんどですが、
右上から二番目のつまみが若干見慣れないかもしれません。
これはどうやらサイドチェインフィルターのようですね。
ですが、左のほうに見慣れない曲線があり、やや効果が予想しにくいです。


どうもサイドチェインフィルターの形を視覚的に表したもののようです。
おおよそコンプレッサーはこんな感じですね。
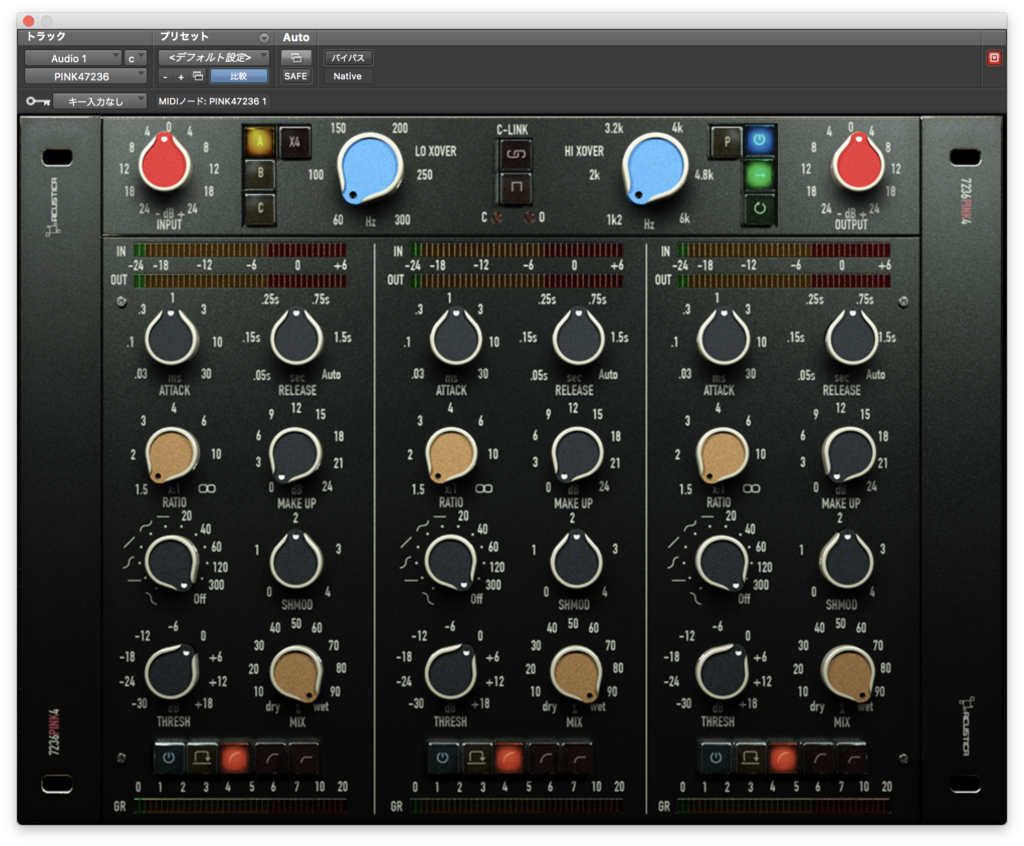
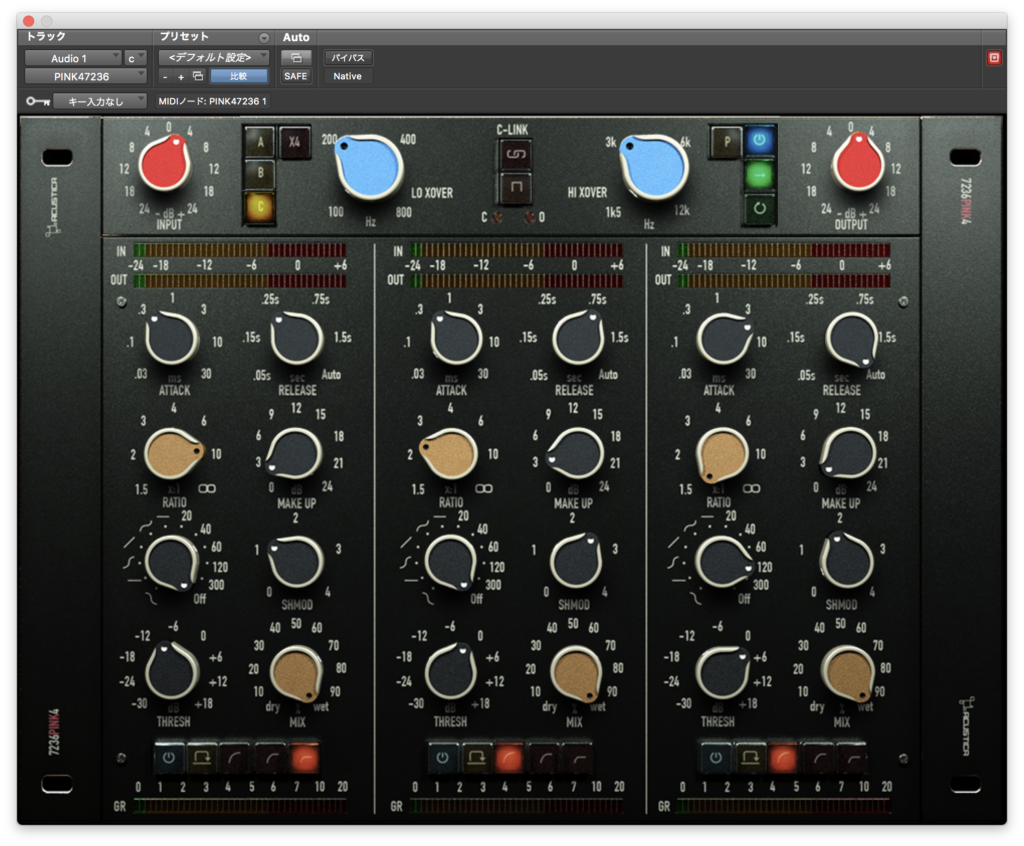
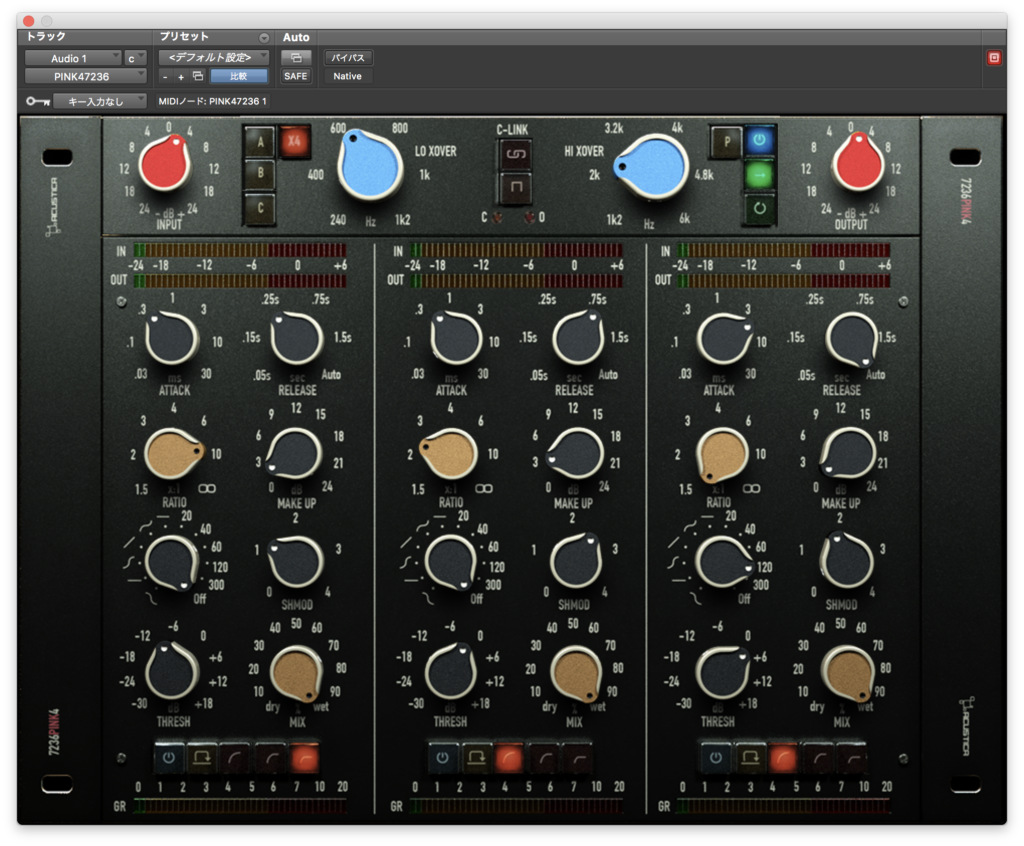
マルチバンドコンプレッサー
3バンドのマルチバンドコンプレッサーです。
今回は適当にパラメーターを決めてみました。
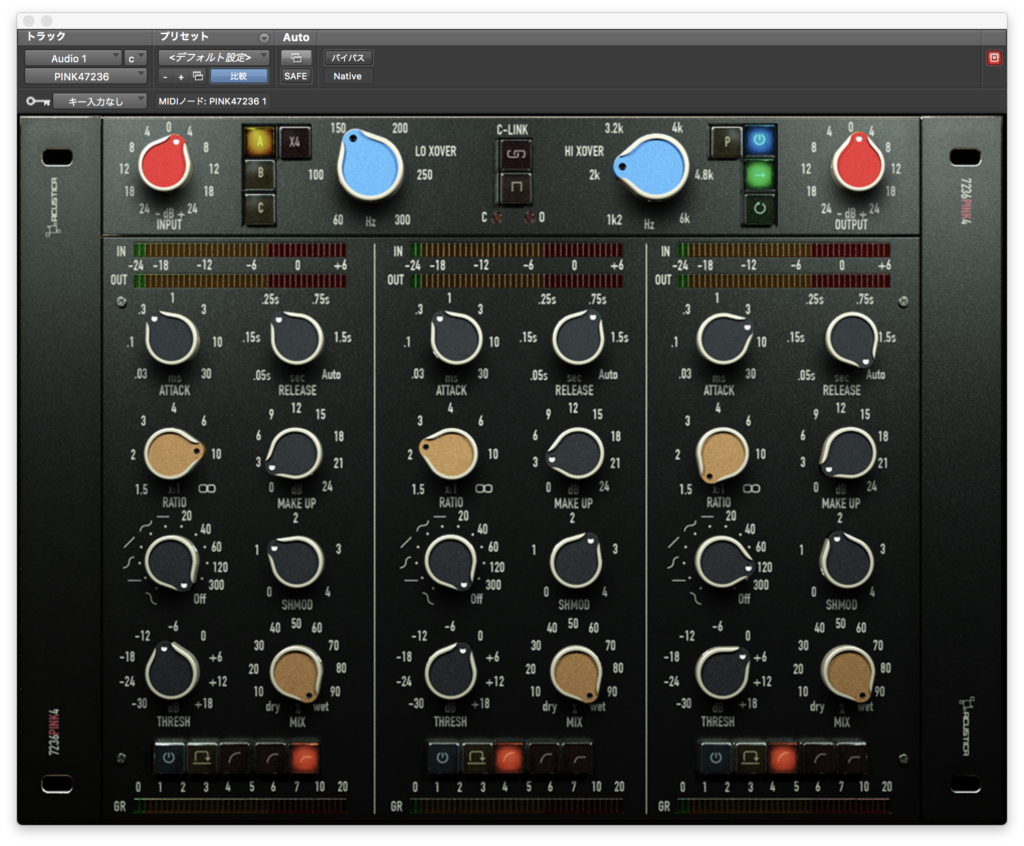
ちなみにバンドの帯域の境界を決める値はABCの3通りから選べたり、×4のスイッチでAの4倍の周波数にできたりします。

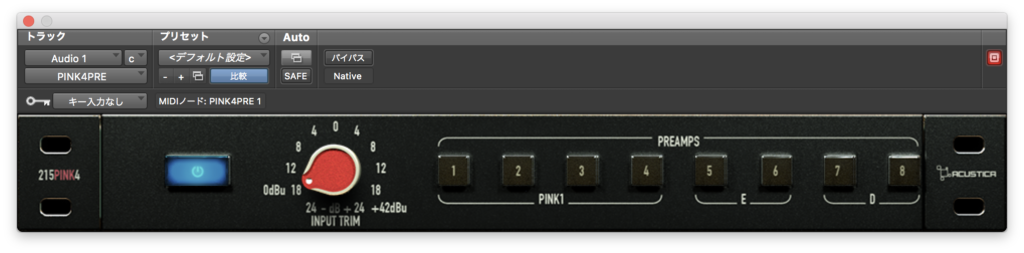
プリアンプ
デフォルトだとこんな感じ↓
左のボタンはバイパスのスイッチのようですね。
INPUTを上げて比較してみます。(画像は省略しますがINPUT TRIMの値は全て同じです)

全体的にパリッとした音ですね。中域に特徴があるような気がします。
ついでにアコギで試してみます。まずデフォルト↓
つまみの位置はこのあたり↓

つるっとした質感になっていると思います。
まとめ
中高域が綺麗で華のある音ですね。
イコライザーとプリが特に使えそうだなという印象です。
ですが、イコライザーは設定によっては位相が乱れてシュワシュワとした感じになるので気をつけた方がいいかもしれません。
ホームページはこちら↓
前回のAcustica Audioの記事はこちら↓

今月のプラグインセール情報をまとめてみました。
よかったら見ていってください。


コメント