今回はPROCESS.AUDIOの「Sugar」について書いていこうと思います。


Sugar
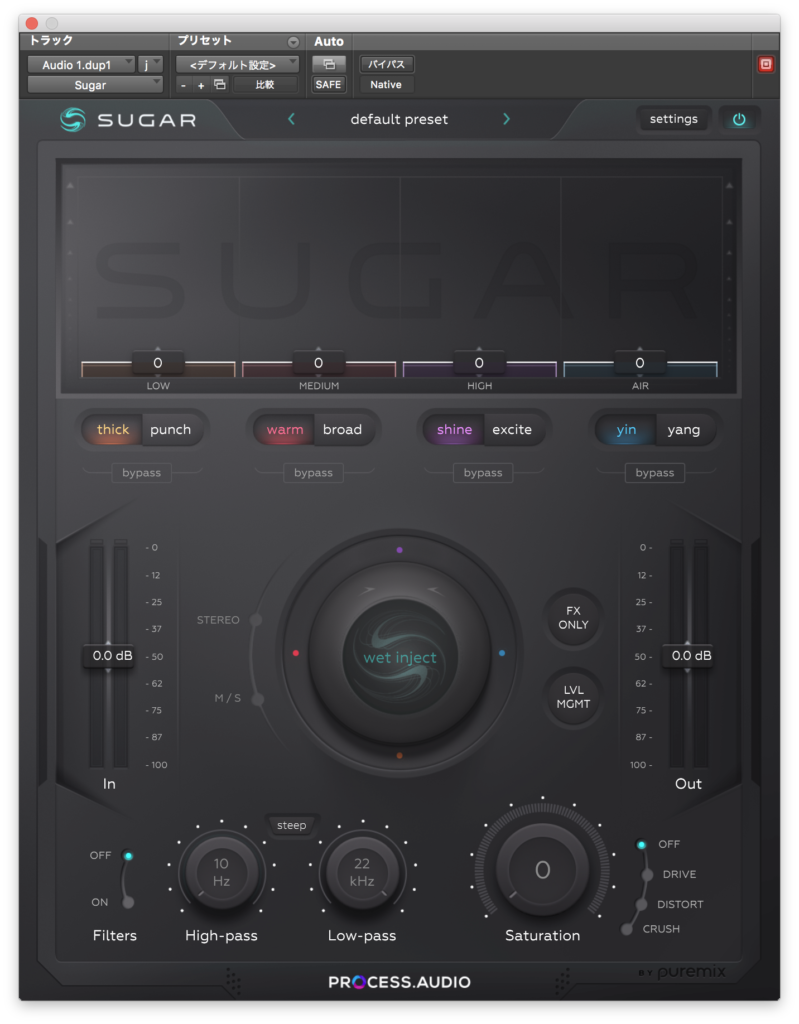
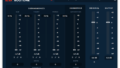
一風変わった雰囲気のUIをしているマルチバンドサチュレータープラグインですね。
中央の大きなwet injectが目立っています。
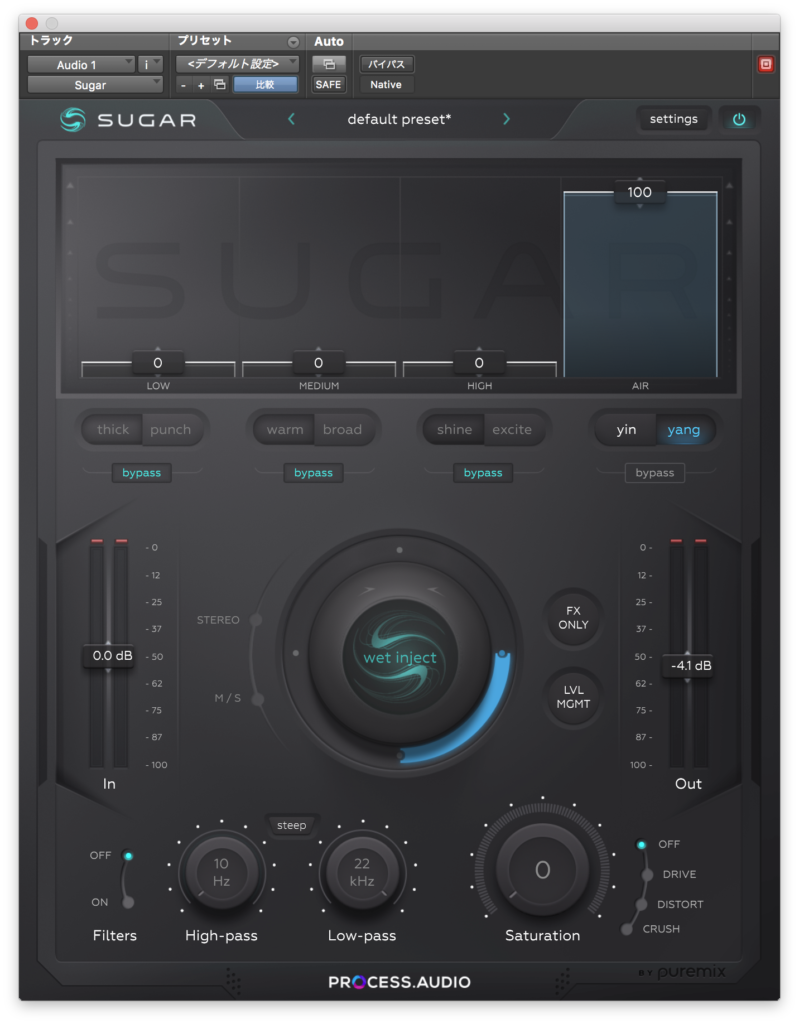
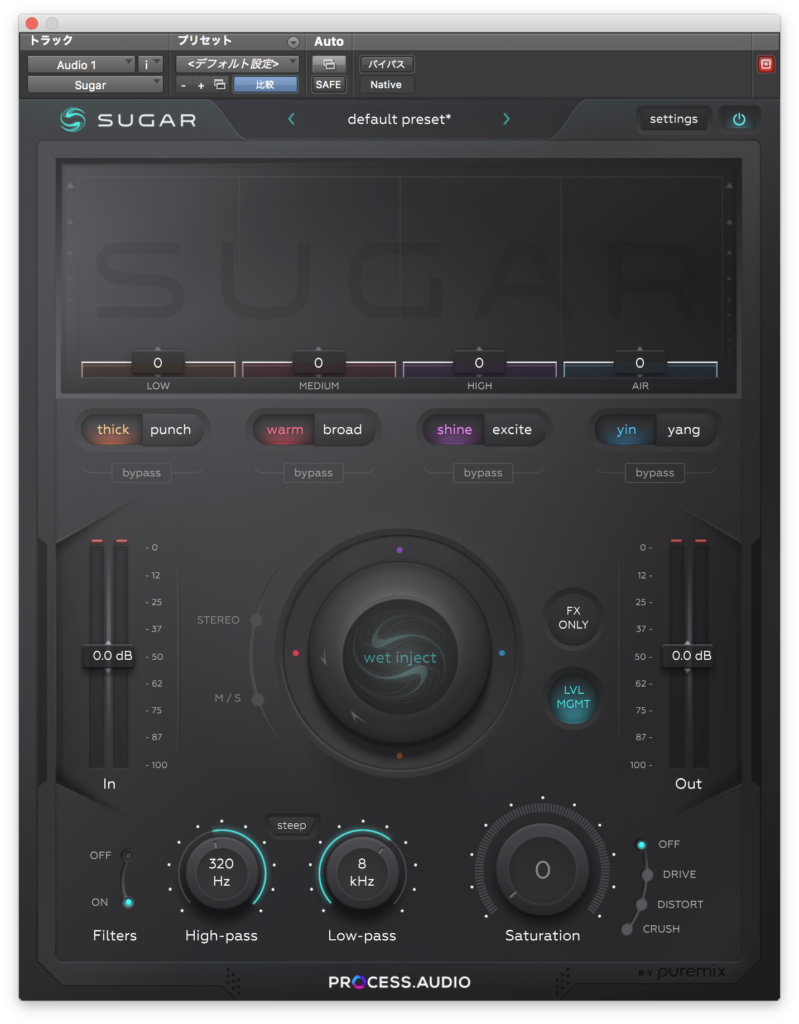
というわけで今回のバイパスはこちら↓
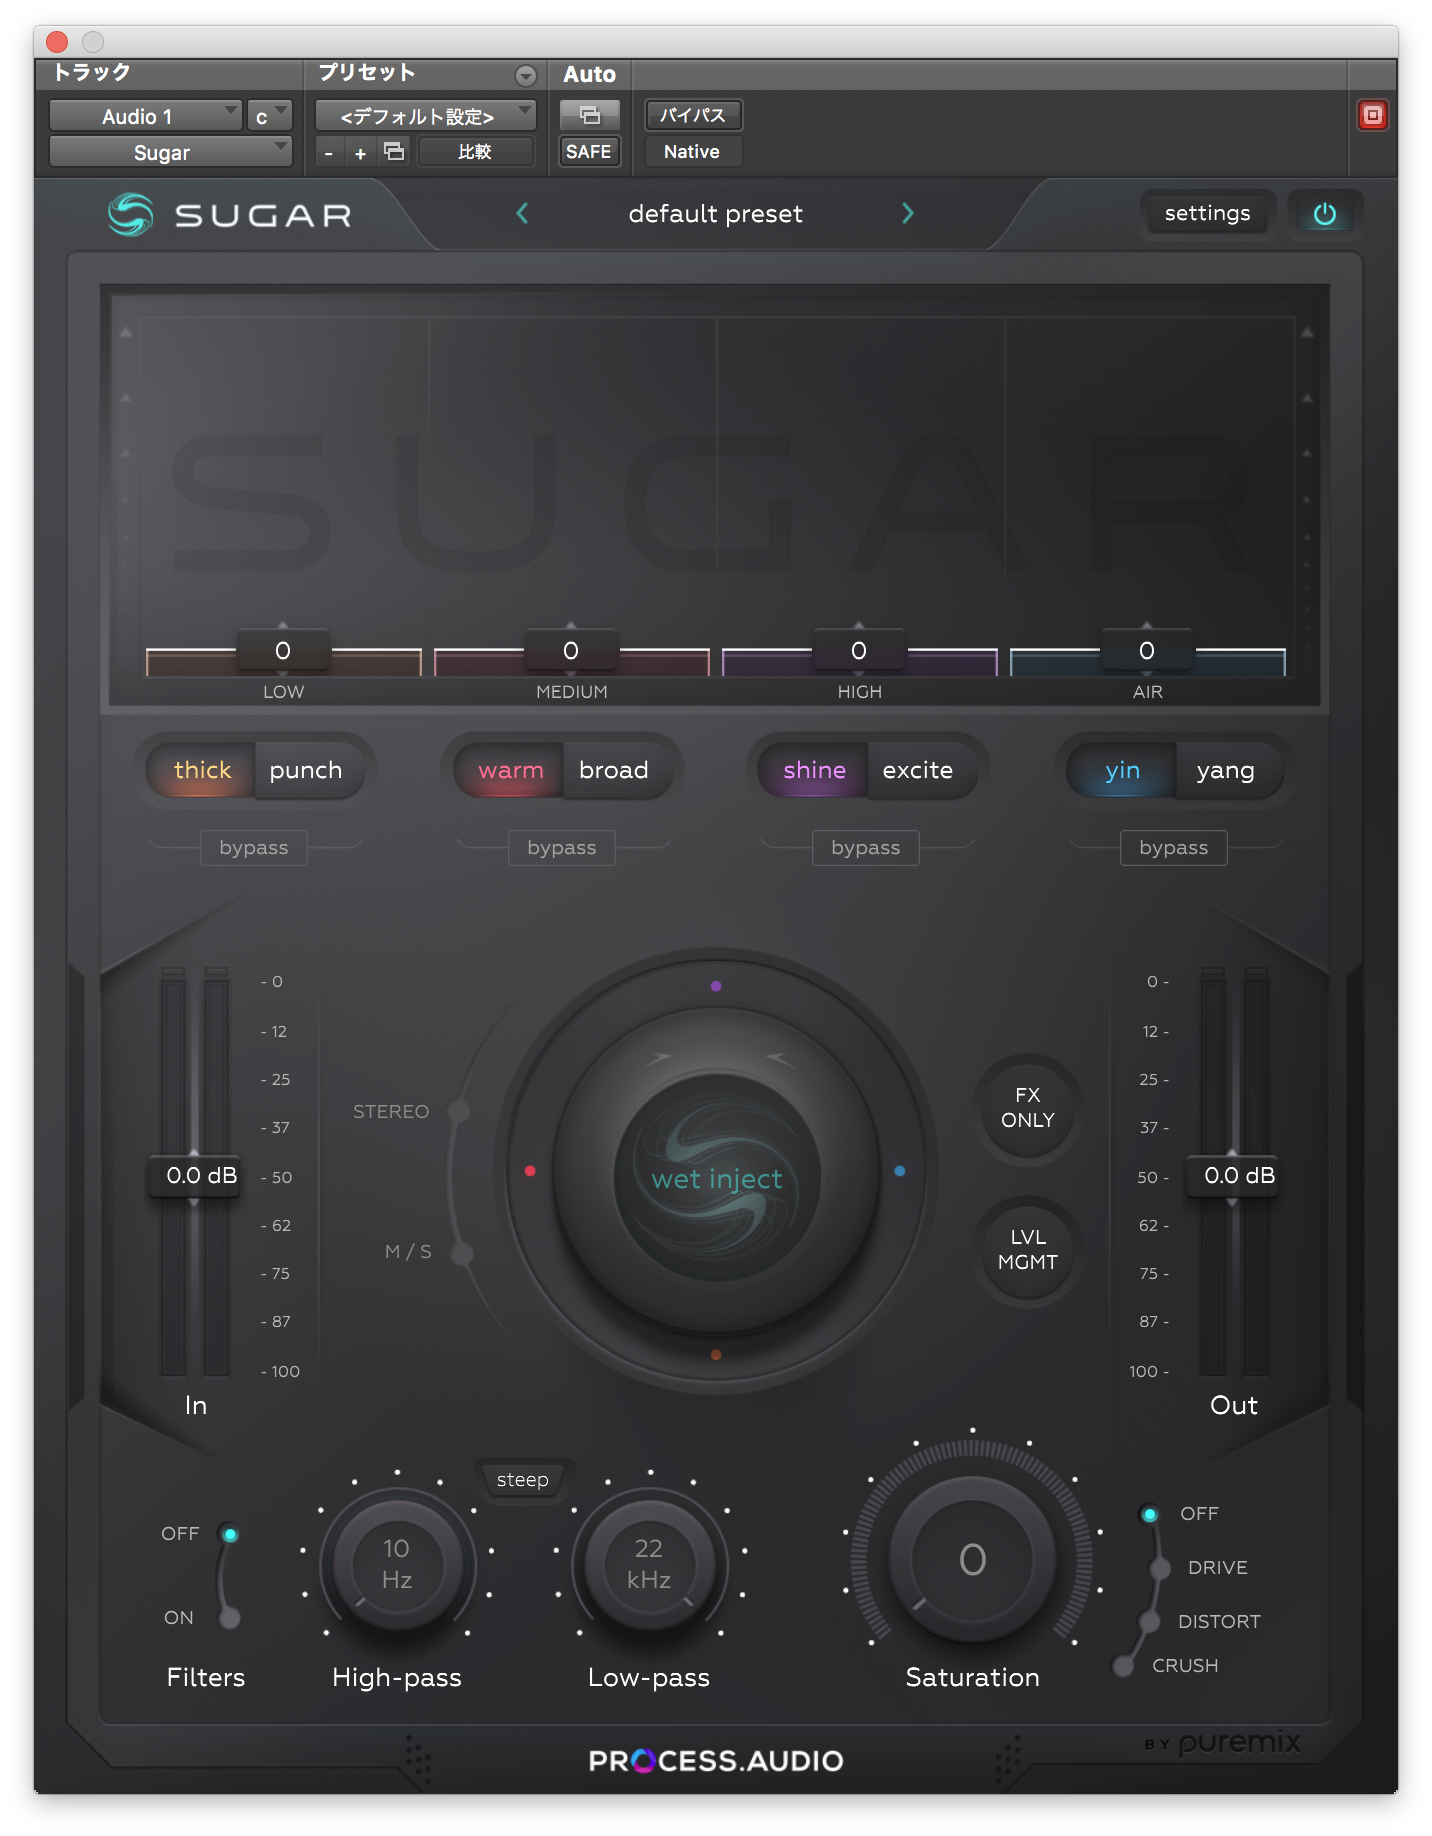
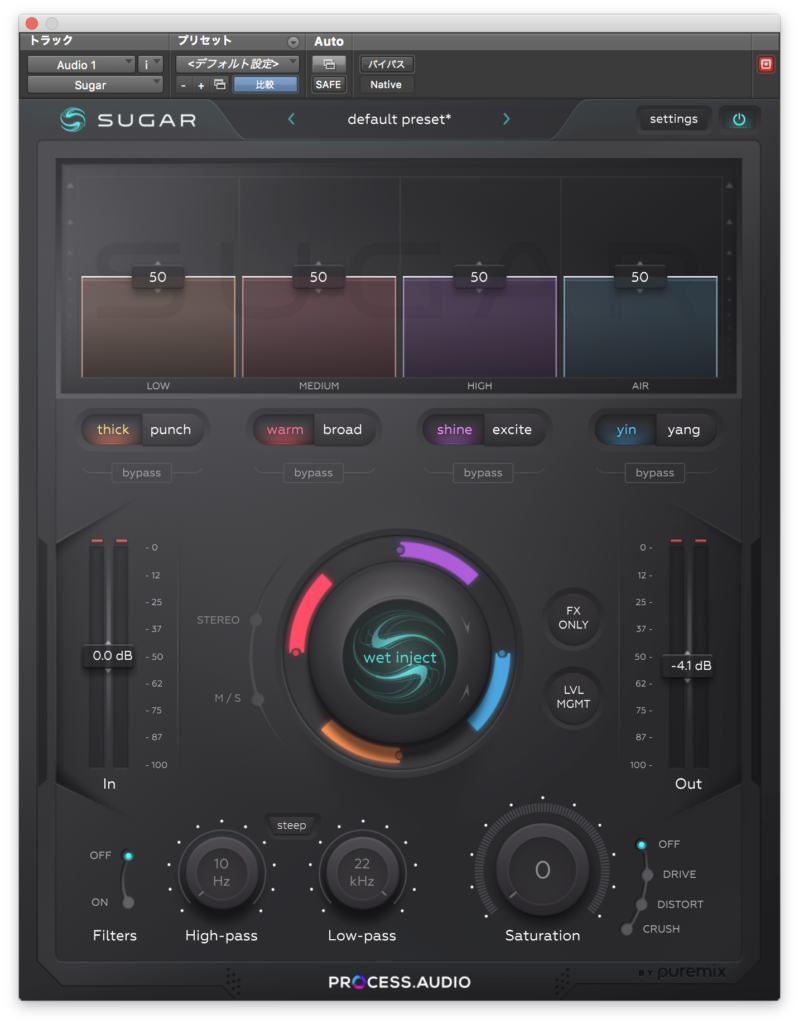
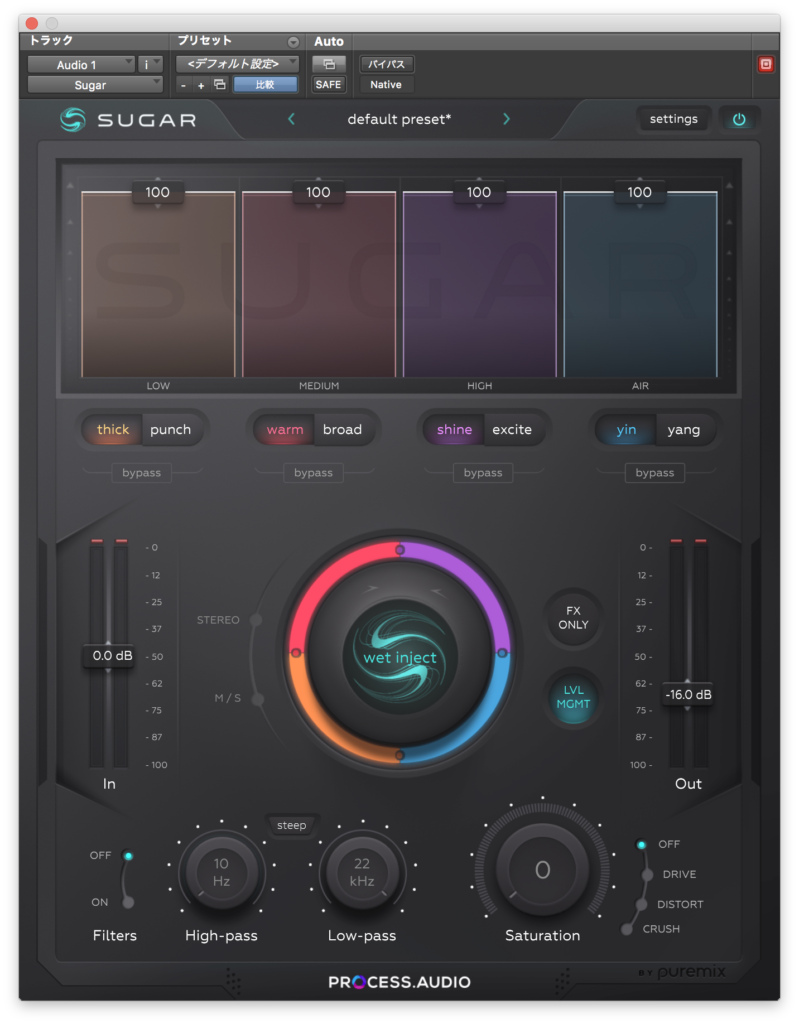
デフォルトだとこんな感じ↓
使い方
まず、信号の経路はこのようになっています。
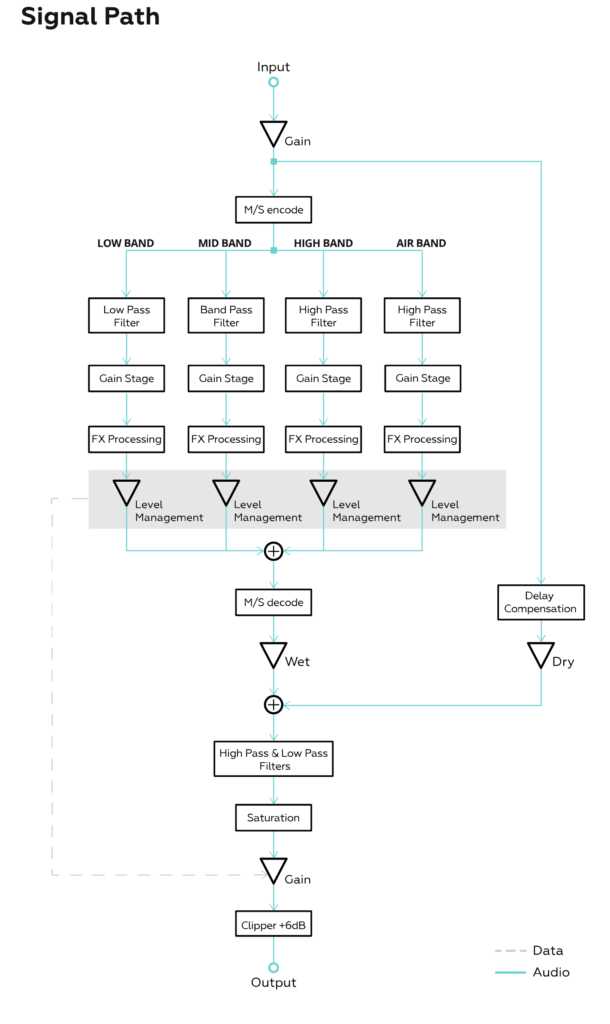
各帯域のゲインは上画面の数字で操作します。
そして帯域それぞれに2種類のサチュレーションが選択できるようになっています。


各帯域がどのような周波数で別れているかはマニュアルを読んだのですが、わかりませんでした。
中央の大きなwet injectのノブは一括で全てのサチュレーションを動かすパラメーターです。
サーという倍音が付加されますね。
FX ONLYでエフェクト音のみをモニターすることができます。
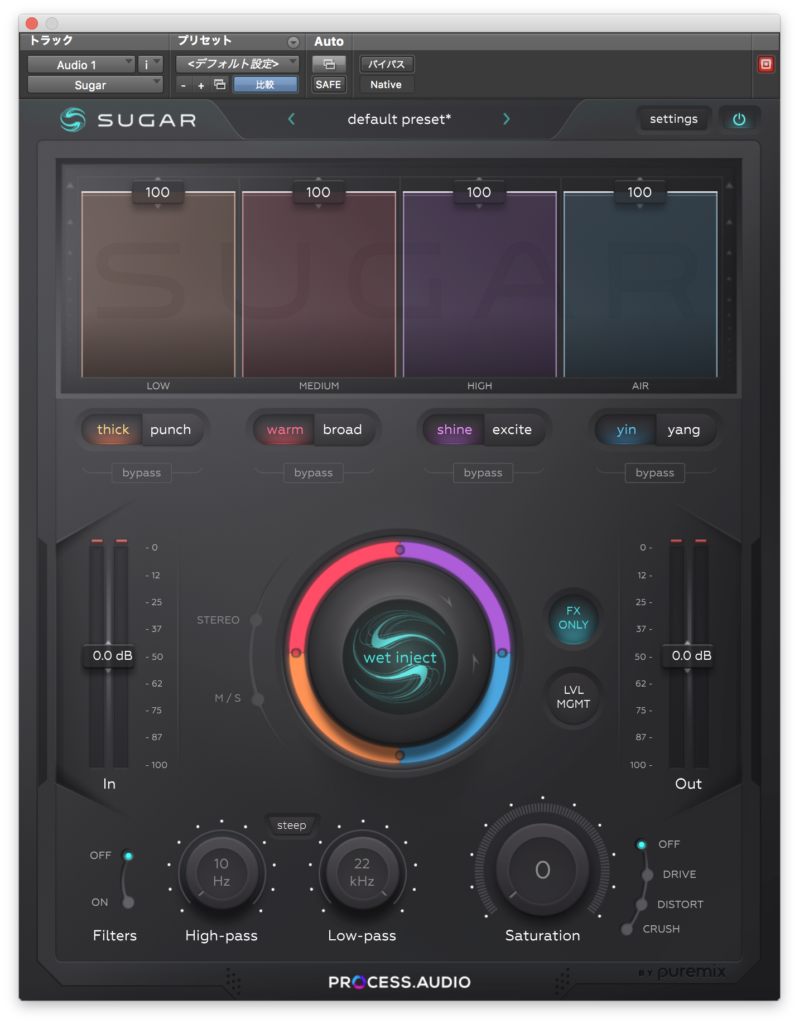
LVL MGMTはオンにするとゲインが前後である程度一定になるようにOutのフェーダーを勝手に動かしてくれます。
左下のHigh-passとLow-passはその名前の通りハイパスフィルターとローパスフィルターですね。
steepボタンで-12dB/octまたは-48dB/octを選択できます。(steepがオンの時-48dB/oct)

右下のSaturationはOutの手前にある歪み回路のようですね。
DRIVE、DISTORT、CRUSHの3つから歪み具合を選択できます。
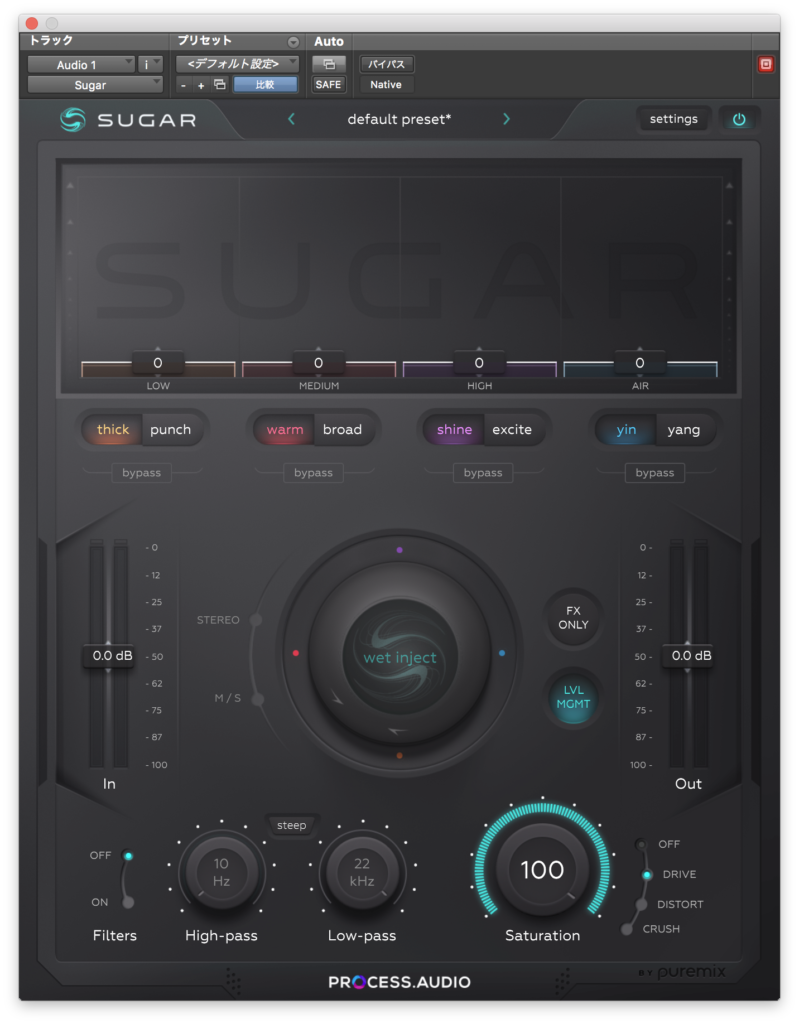


なかなか強めな利きをしていますね。
主なパラメーターはこれで全てですが、右上のsettingでUIの表示設定などが行えます。

リニアフェイズの設定もここで行えますね。
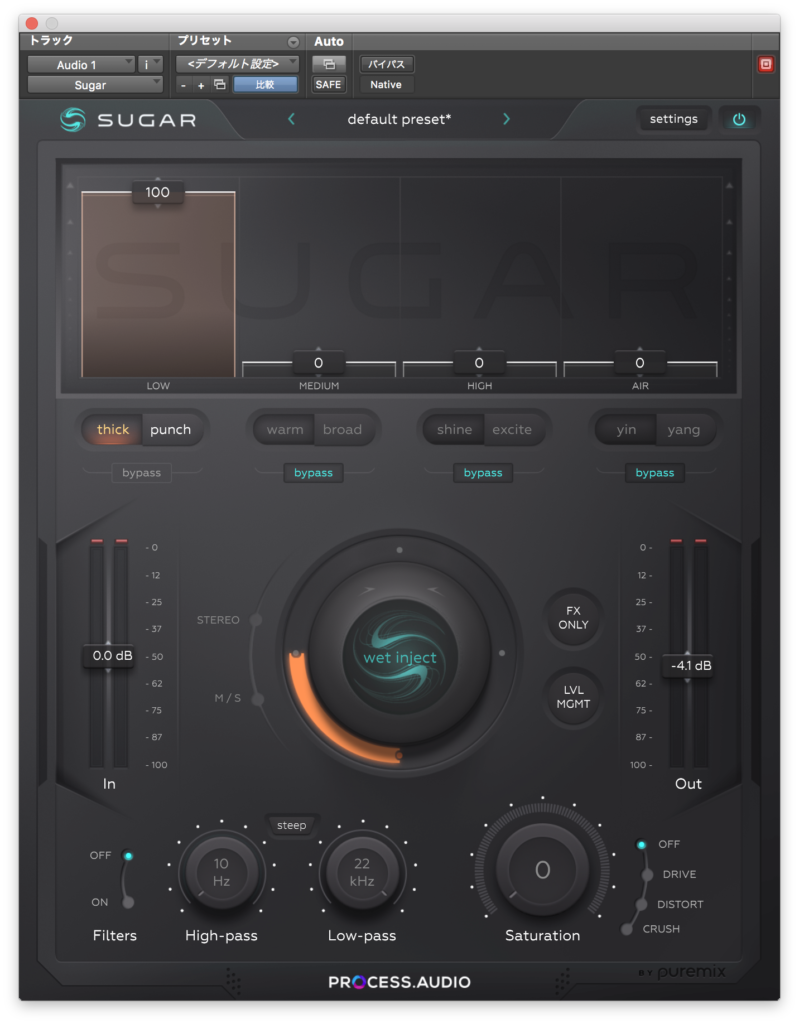
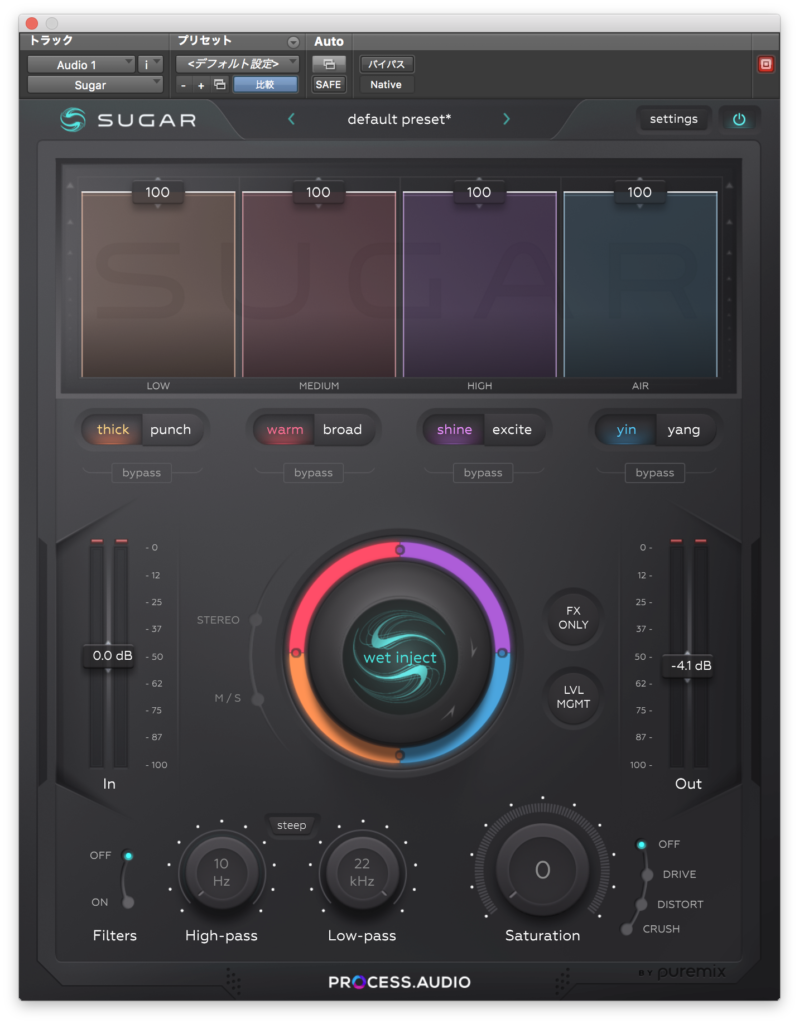
最後に、適当に設定してみます。
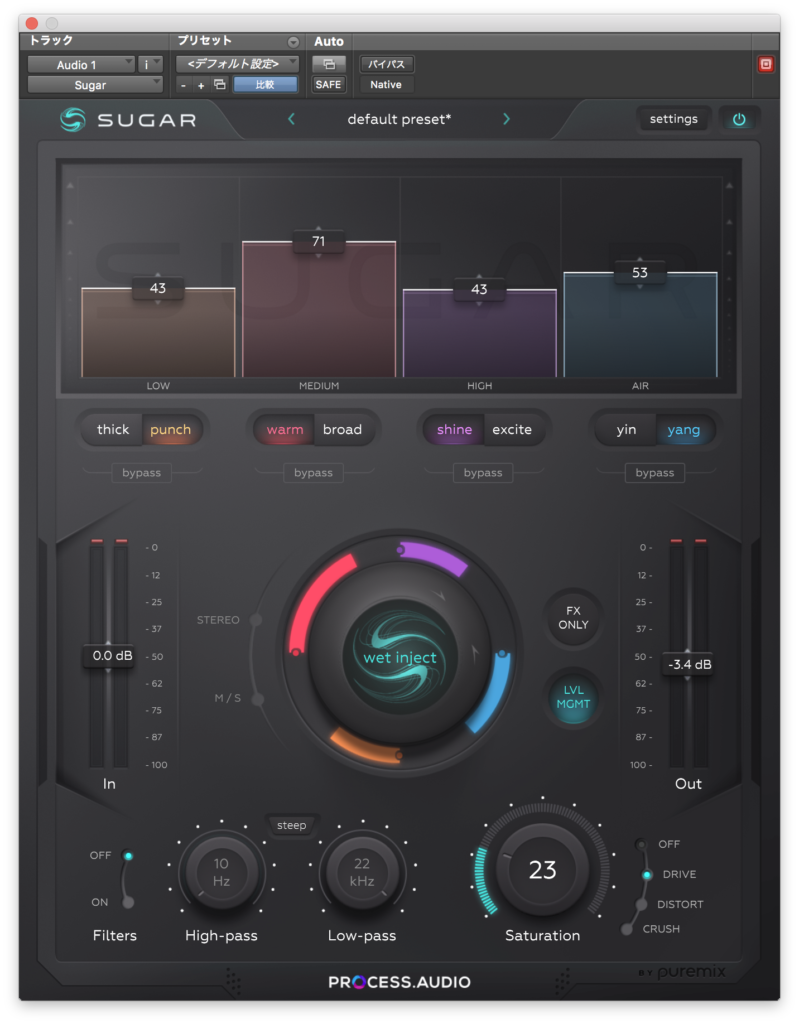
サラサラとしたキャラクターをしていますね。
アコギ
例によってアコギで試してみます。まずバイパス↓
デフォルトだとこんな感じ↓
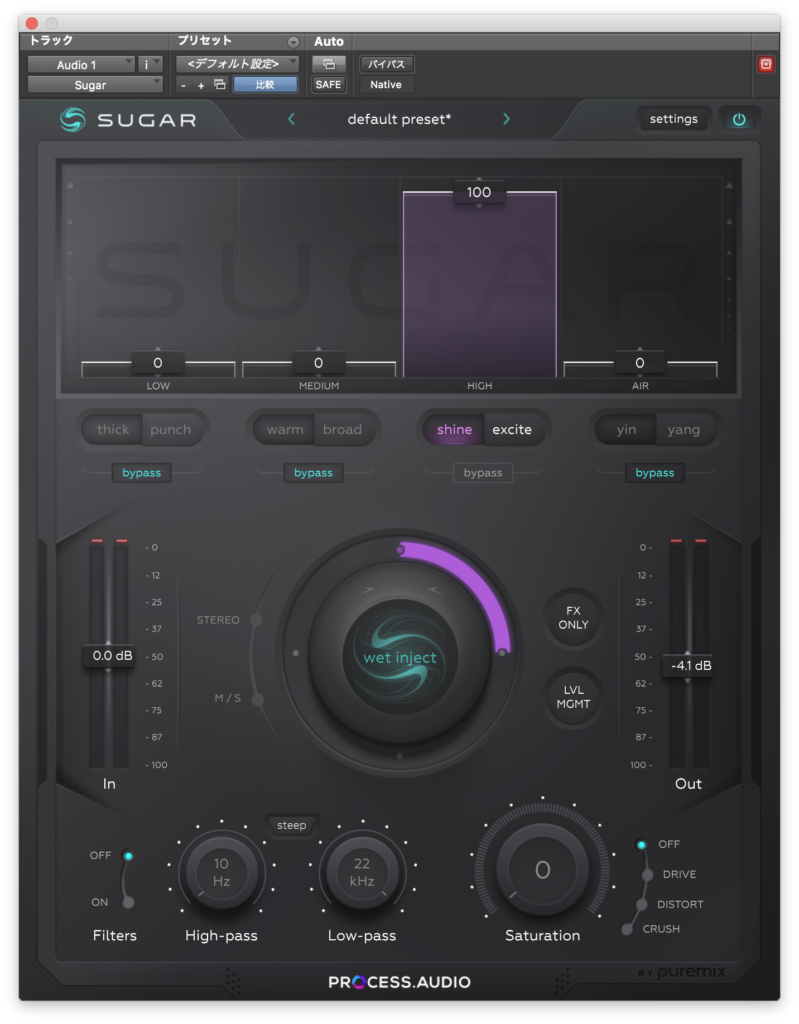
適当にパラメーターを振ってみます。

煌びやかな音になりましたね。
まとめ
Sugarという名前のようにサラサラとしたキャラクターをしているかなと思います。
やや他とは倍音の付き方が違うような気がしますね。
それと、なかなか面白いインターフェースをしていると思います。
ショップサイトはこちら↓
今月のプラグインセール情報をまとめてみました。
よかったら見ていってください。


コメント