
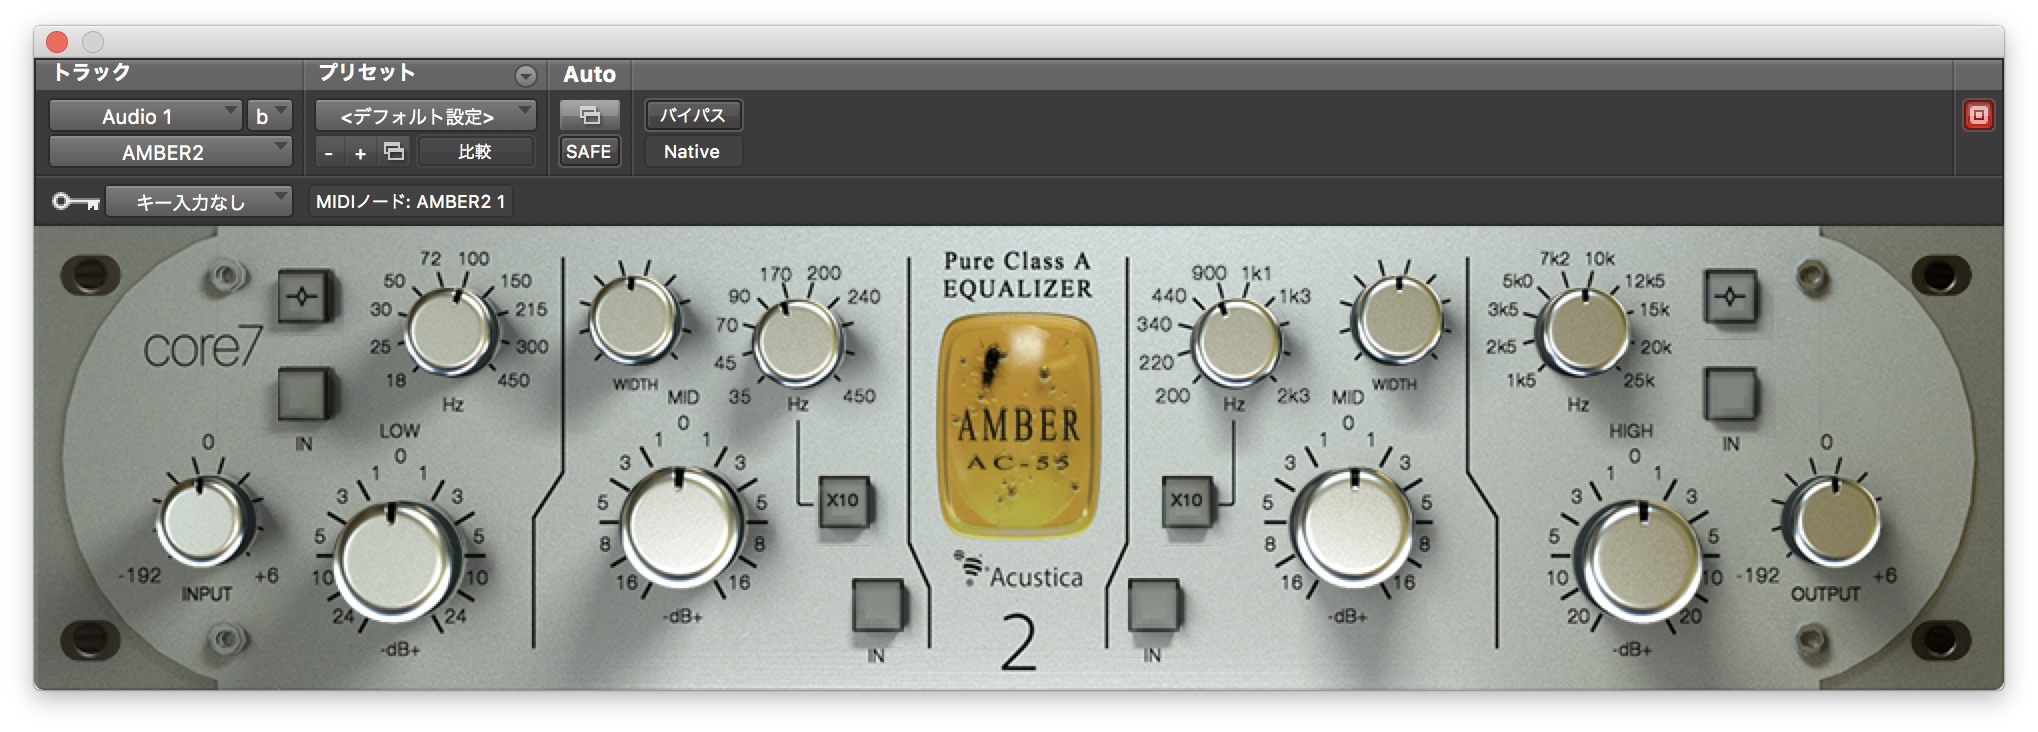
今回はPulsar Audioの「MASSIVE」について書いていこうと思います。
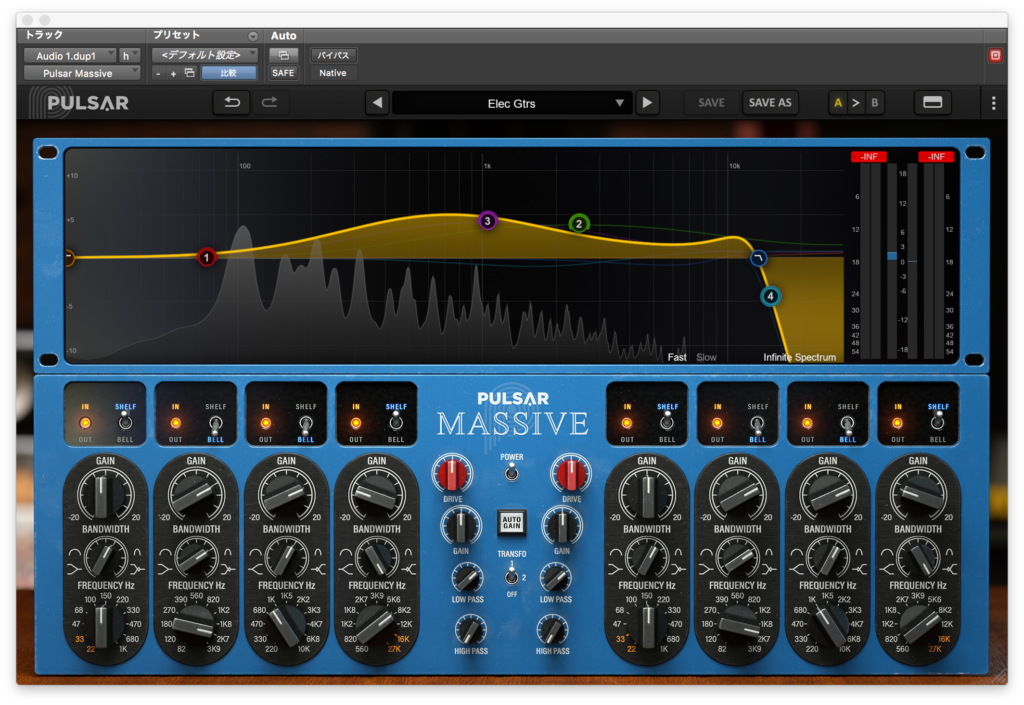
MASSIVE
このイコライザーはManley Massive Passive EQを再現したモデルだそうです。
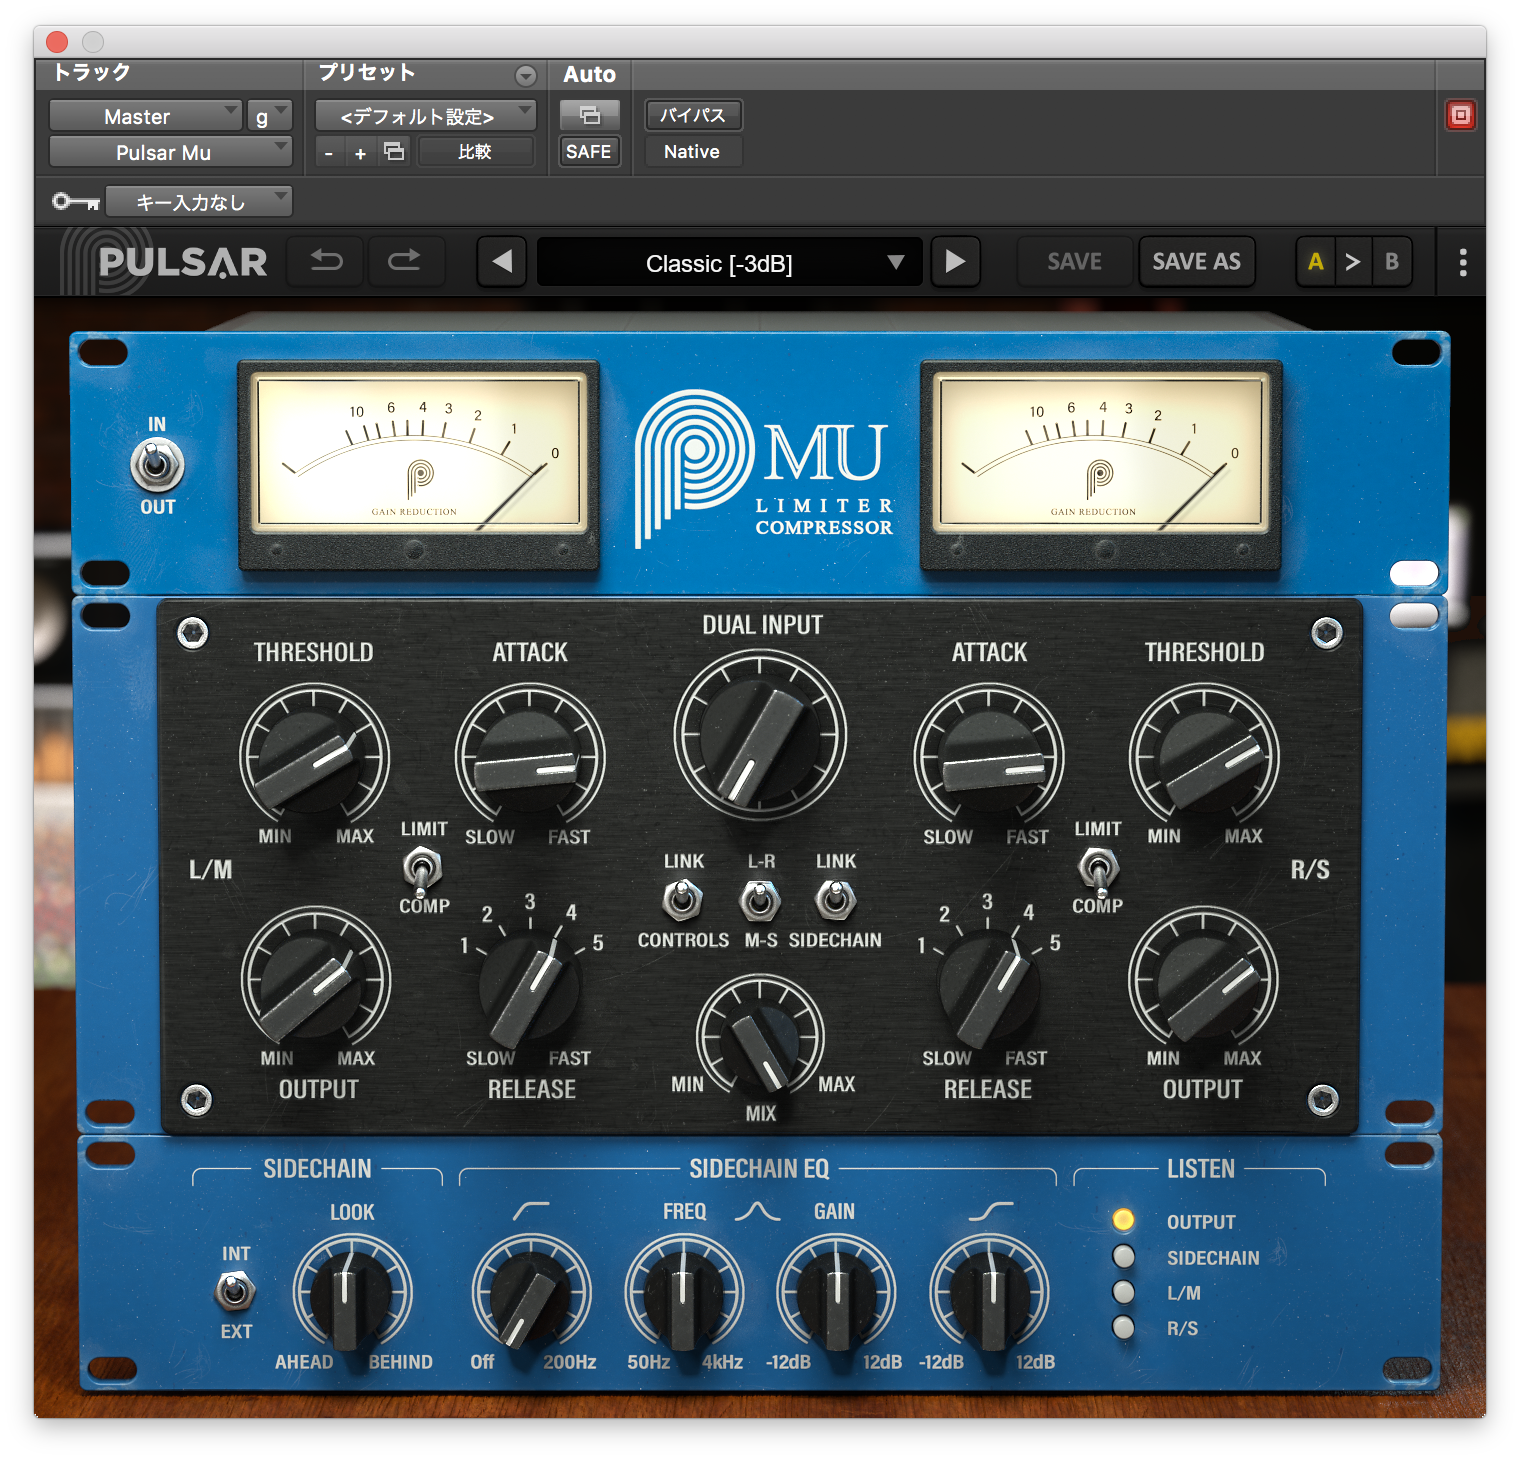
前のMuと同様に青色を基調としたUIが特徴的ですね。
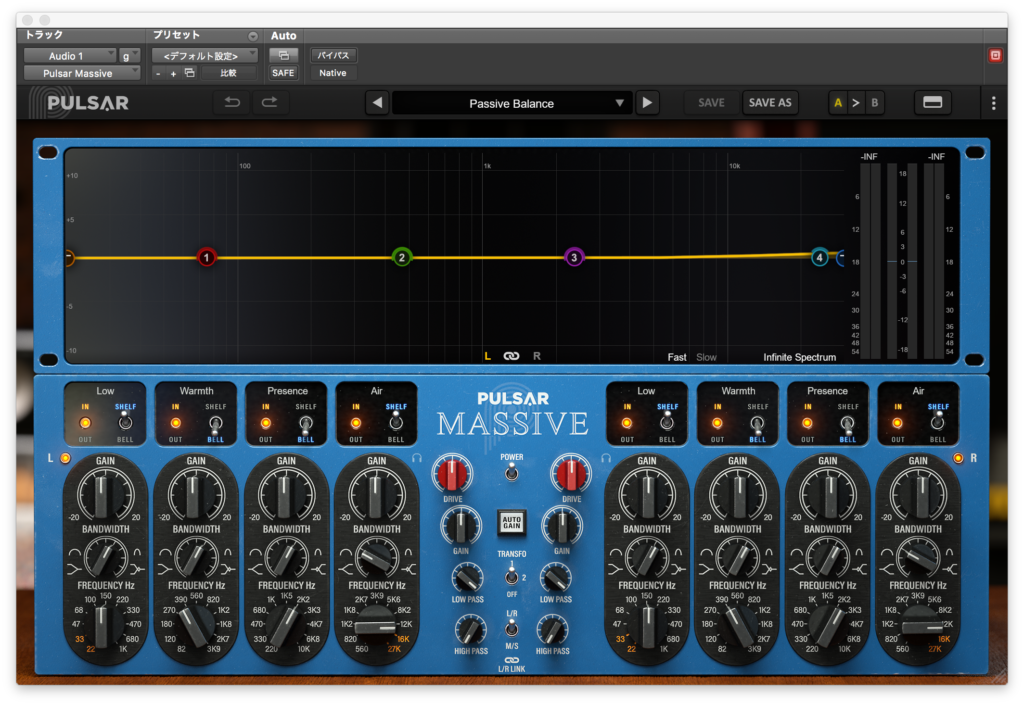
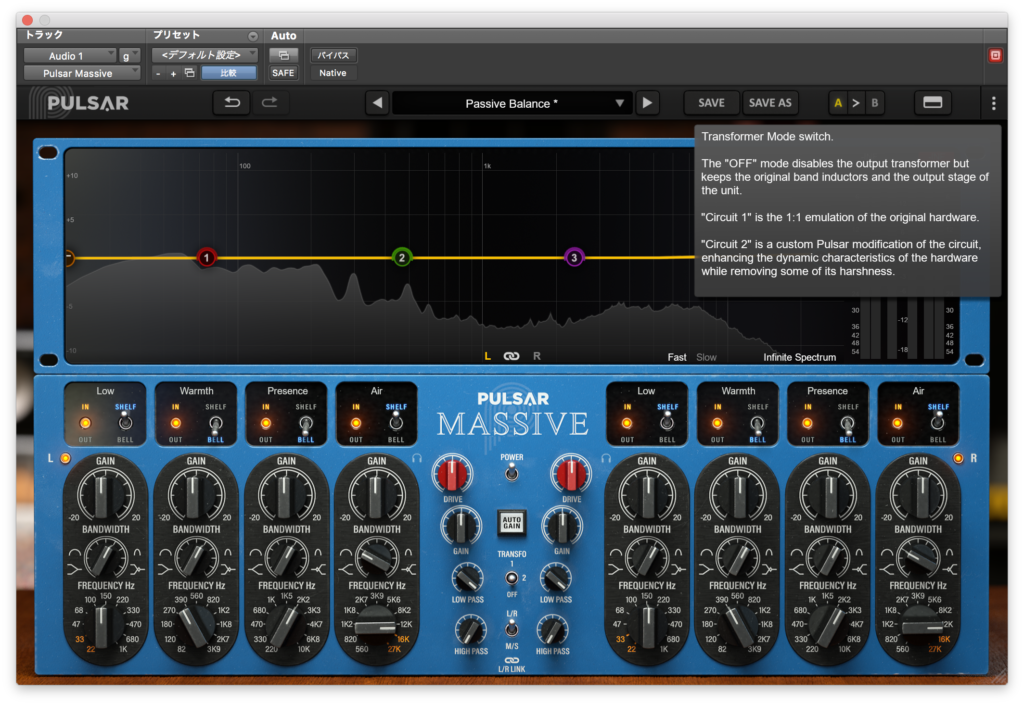
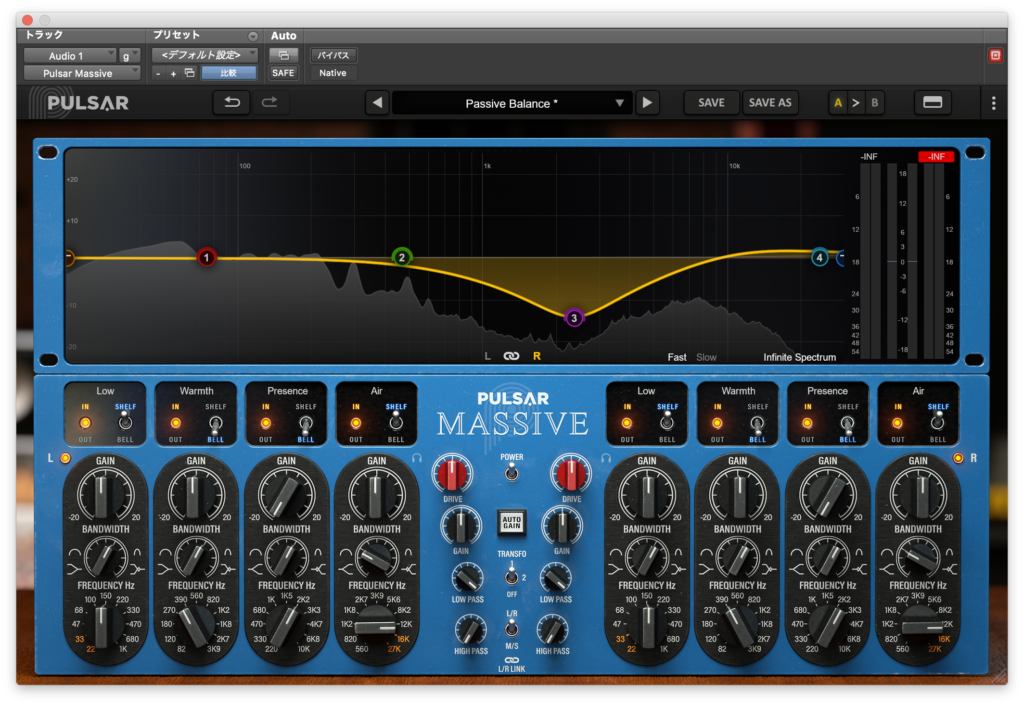
それではパラメーターを見ていきましょう。今回のバイパス↓
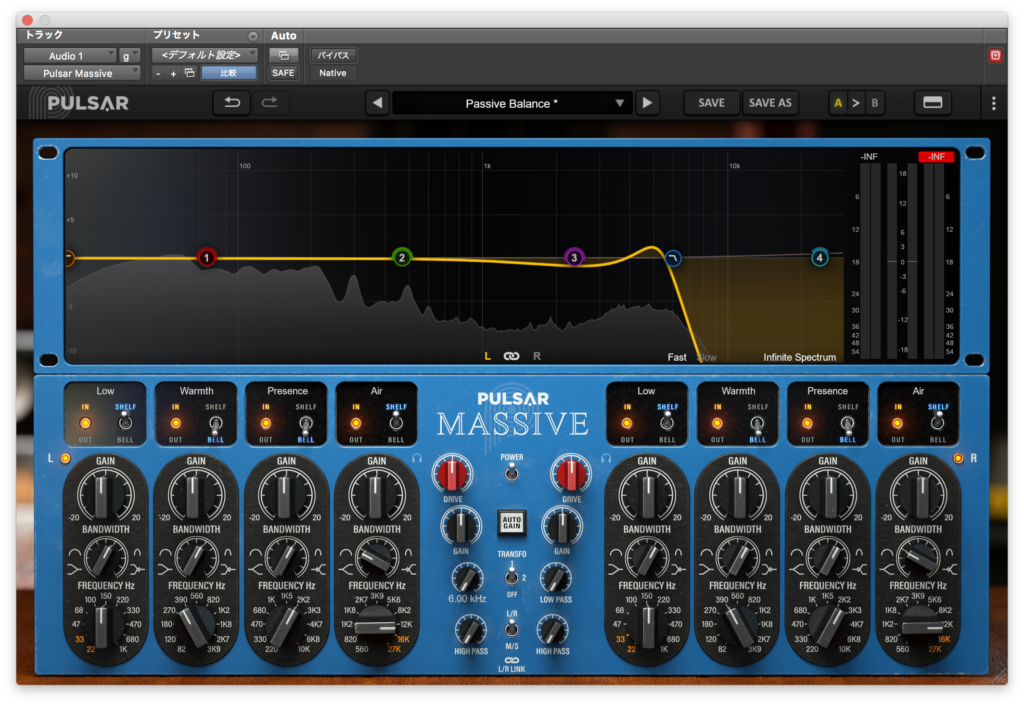
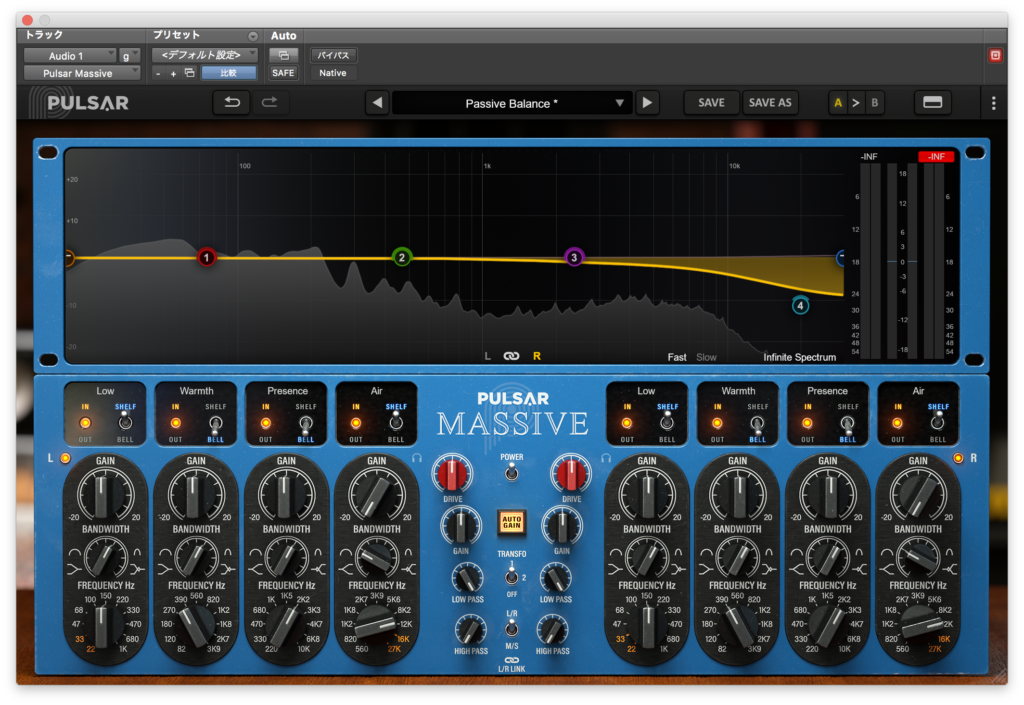
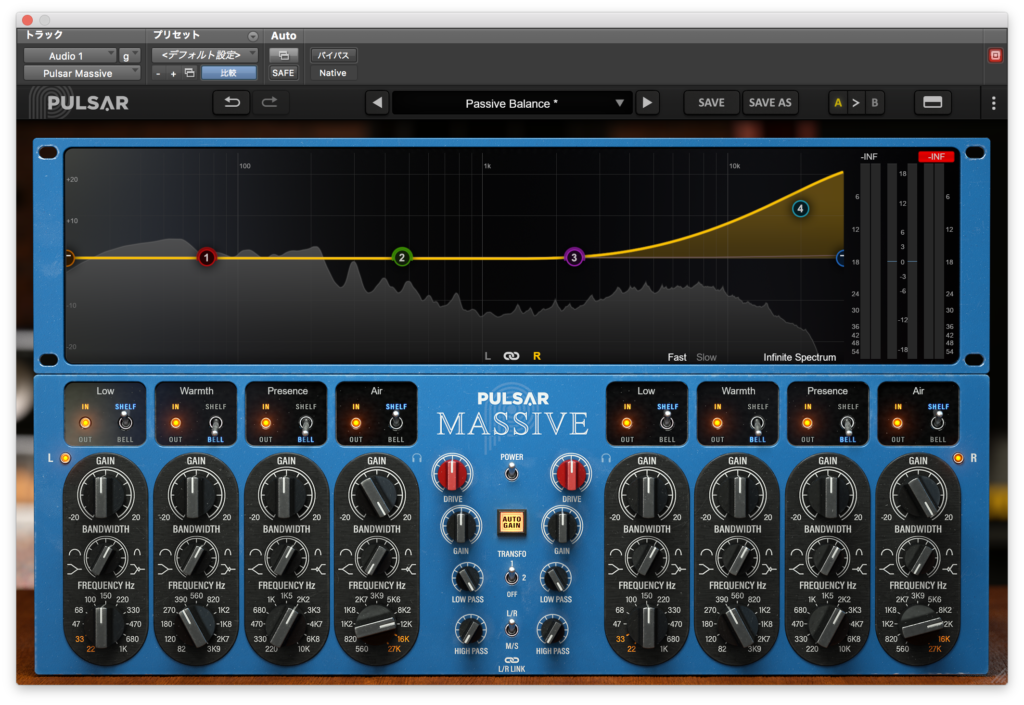
デフォルトだとこんな感じ↓
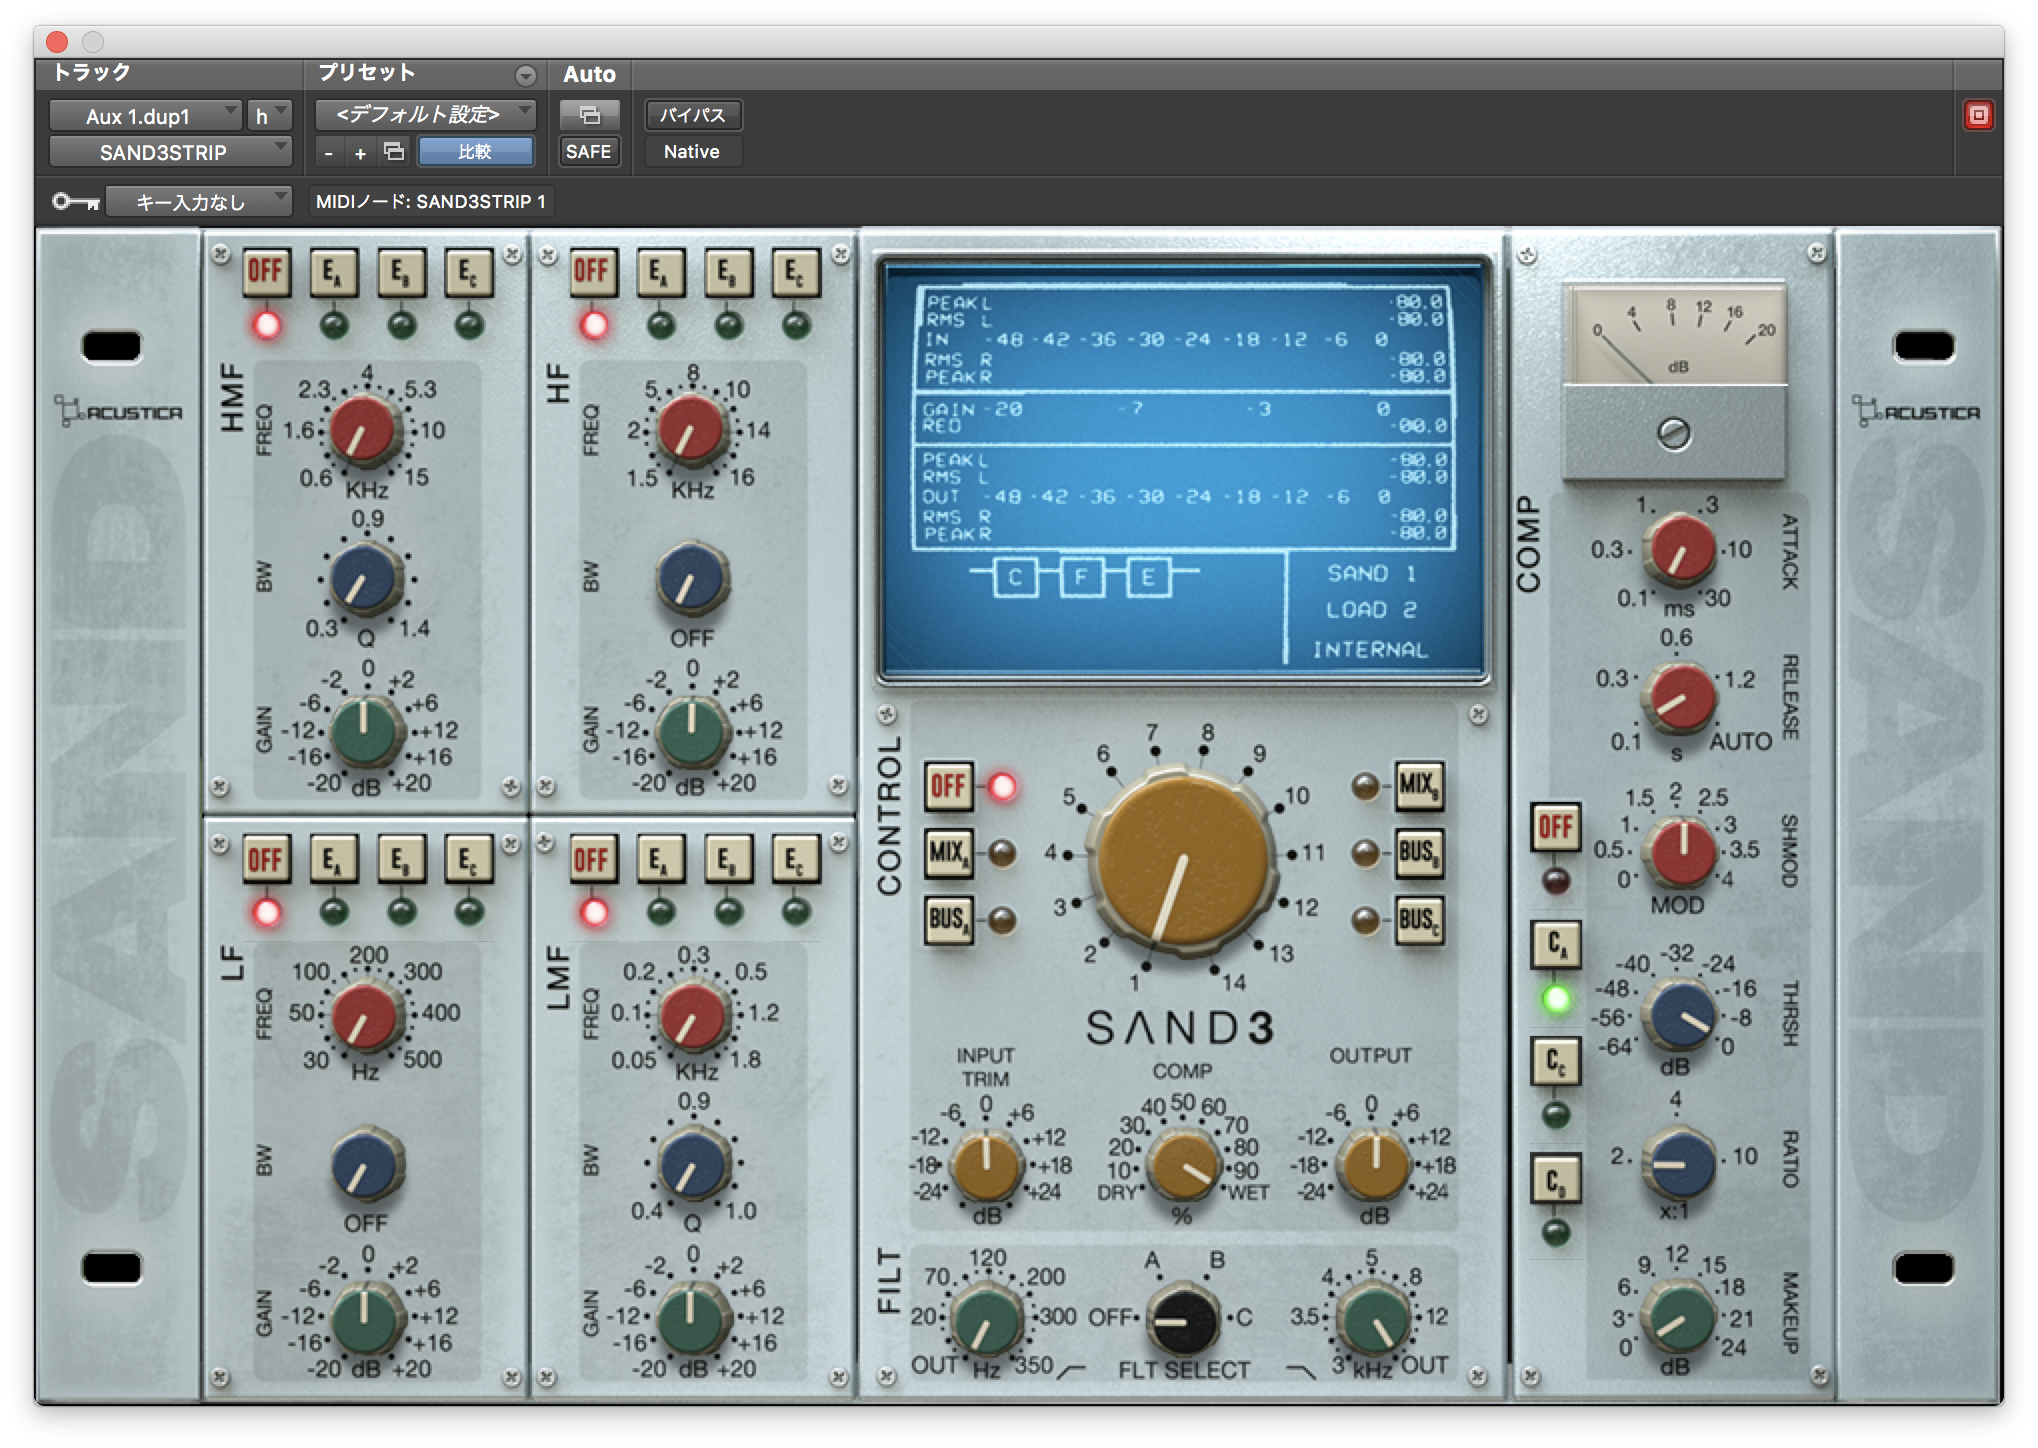
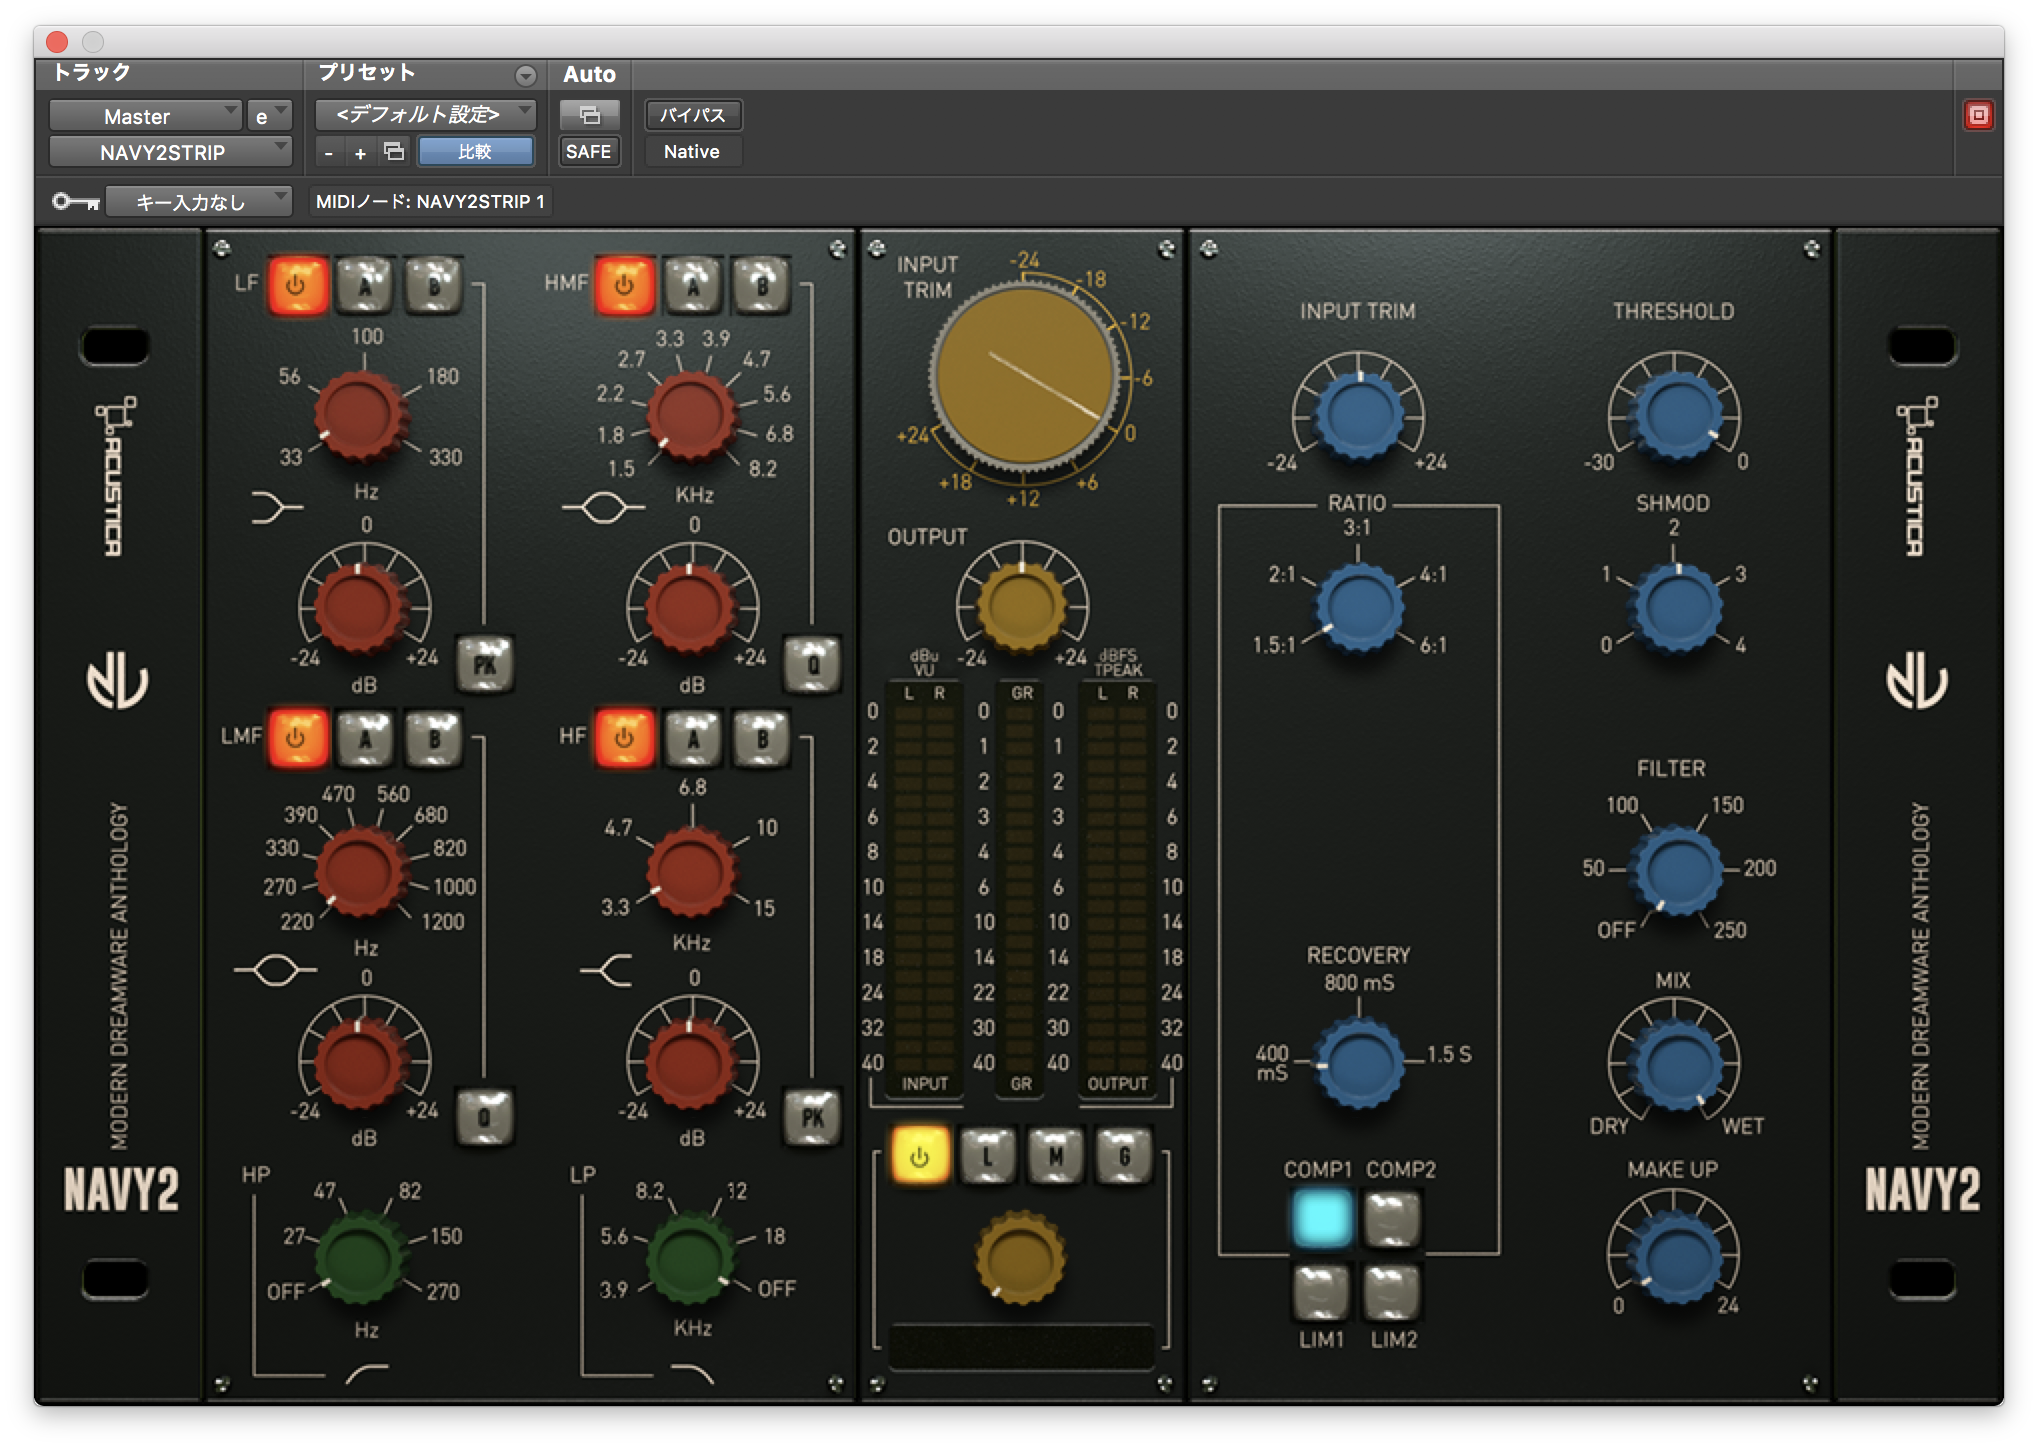
パラメーター
4バンドのイコライザーとハイパス、ローパスフィルターが搭載されていますね。
あとは入出力のレベル設定、トランスの選択と L/RまたはM/Sモードくらいで難しいものは無いと思います。
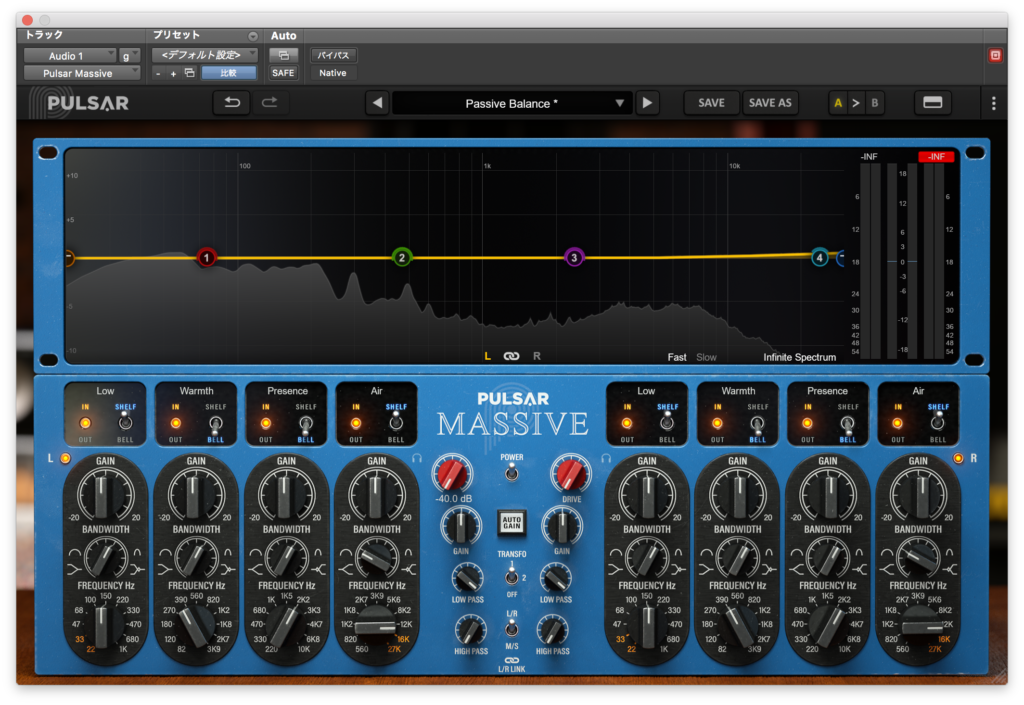
まず、右上でオーバーサンプリングとツマミの刻み幅を設定することができます。

とりあえずオーバーサンプリングを4xにしてみました。

やや負荷は重めな感じがします。
次に中央下から見ていきます。
DRIVEはInput Gainですね。上げると歪みが増えます。
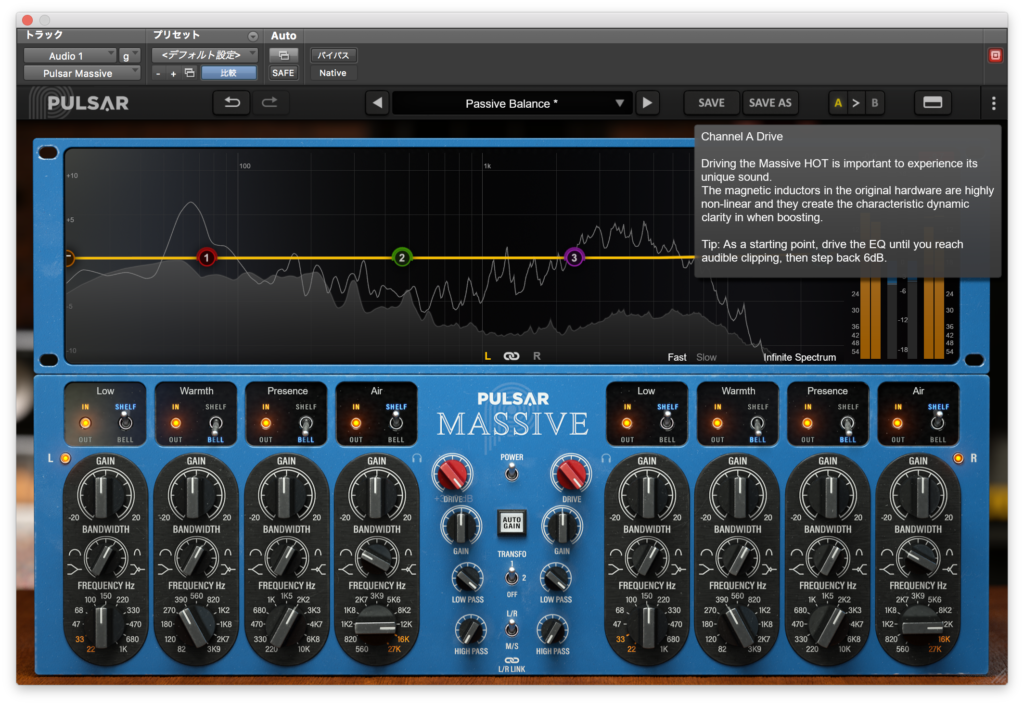
DRIVEの値を下げても聴感上のレベルはあまり変わらないのでレベル補正みたいなものが後ろにあるんでしょうかね。
その下にあるGAINは最終レベルを調整するツマミで、
間にあるAUTOGAINボタンはEQによる音量変化を補正し聴感上のレベルをEQをかける前と同じにするものです。
TRANSFOでトランスの種類を設定できますね。

1がオリジナルの再現で2がカスタムされた実機の再現だそうです。
その下にはLOW PASSとHIGH PASSがありますね。
間にはL/RとM/Sの選択とその下には左右のリンクの設定のボタンがありますね。
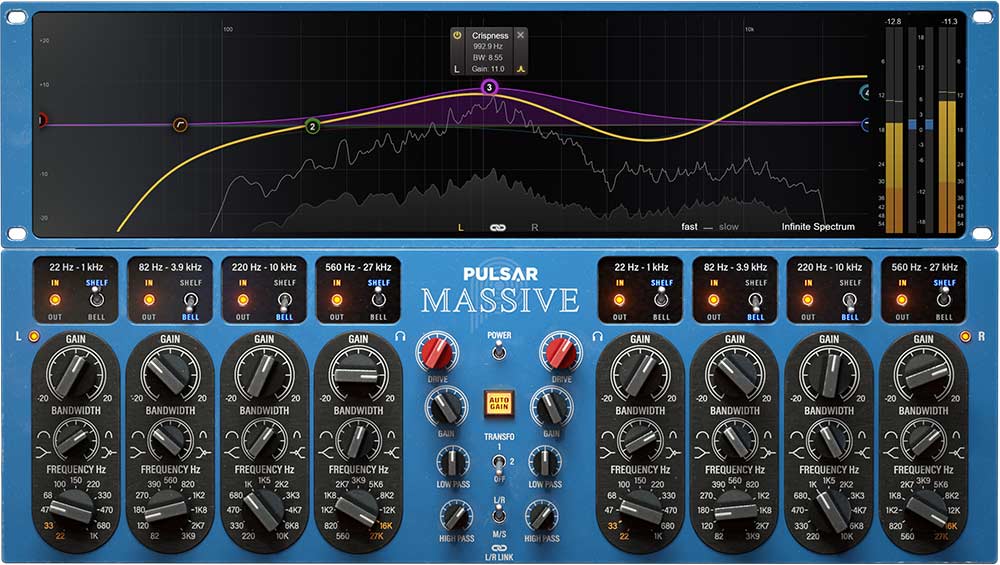
さて、EQ部に移ります。
各種SHELLとBELLが選べるようになっていますが初期状態ではLow、AirがSHELF、
WarmthとPresenceがBELLとなっていますね。
とりあえずLowから試していきます。(今回はAUTOGAINをオンにします)
ブーストのみですがBANDWIDTHも動かしてみます。
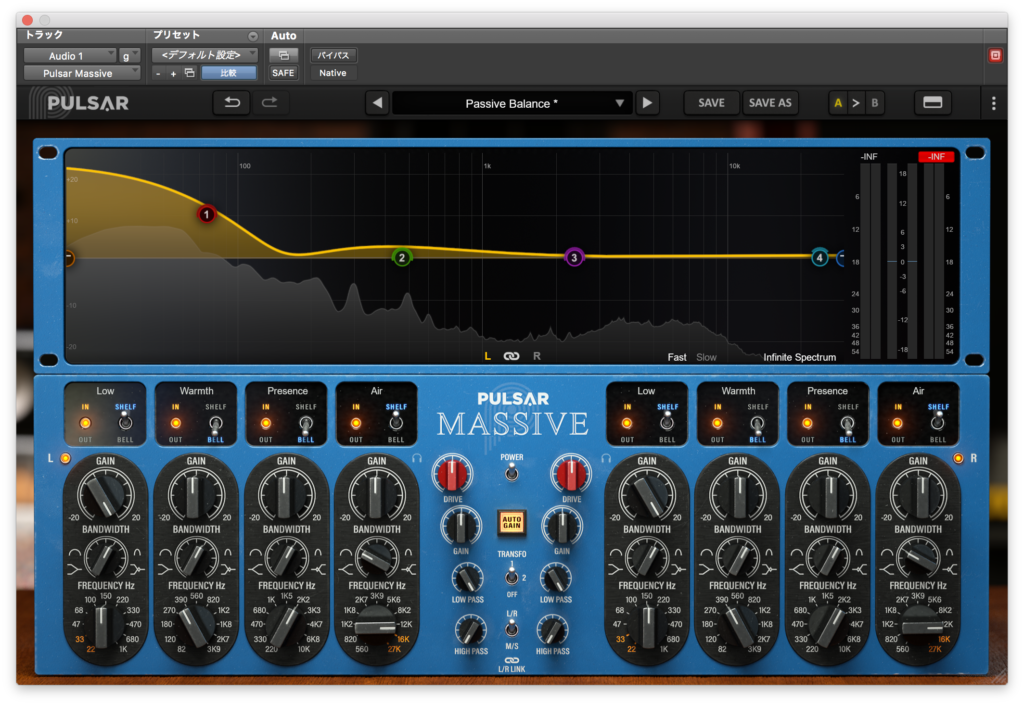
次はWarmthです。Low Midに対応する帯域ですね。


アナライザーを見るとQ幅はあまり狭くできないみたいですね。
次のPresenceはHi Midに対応する帯域です。
なかなか張りのある中高域ですね。
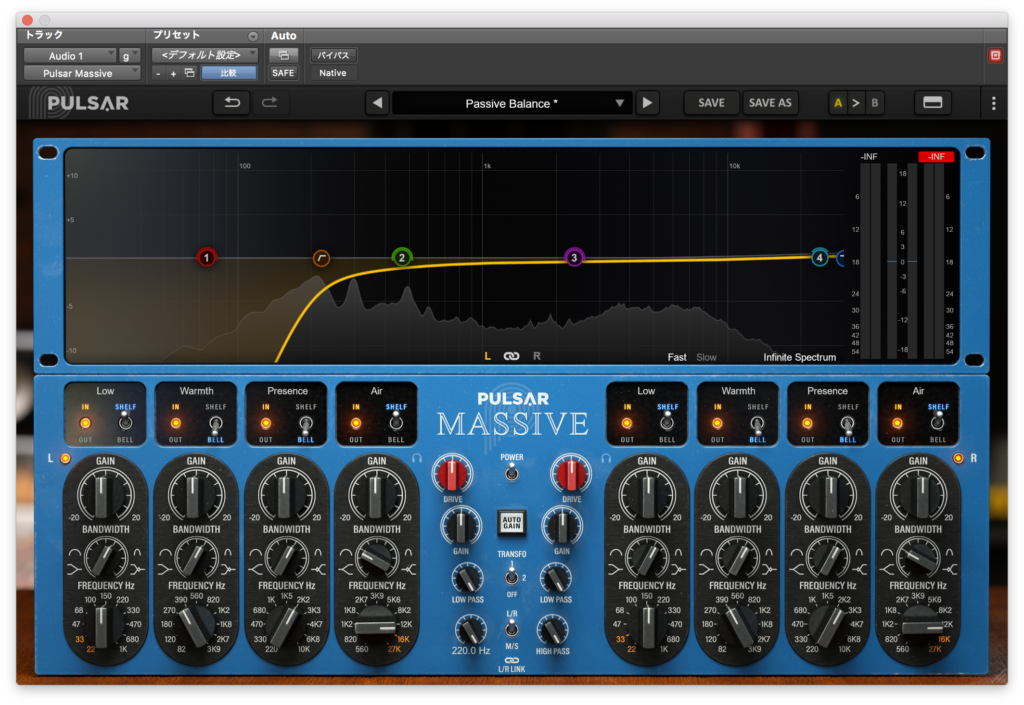
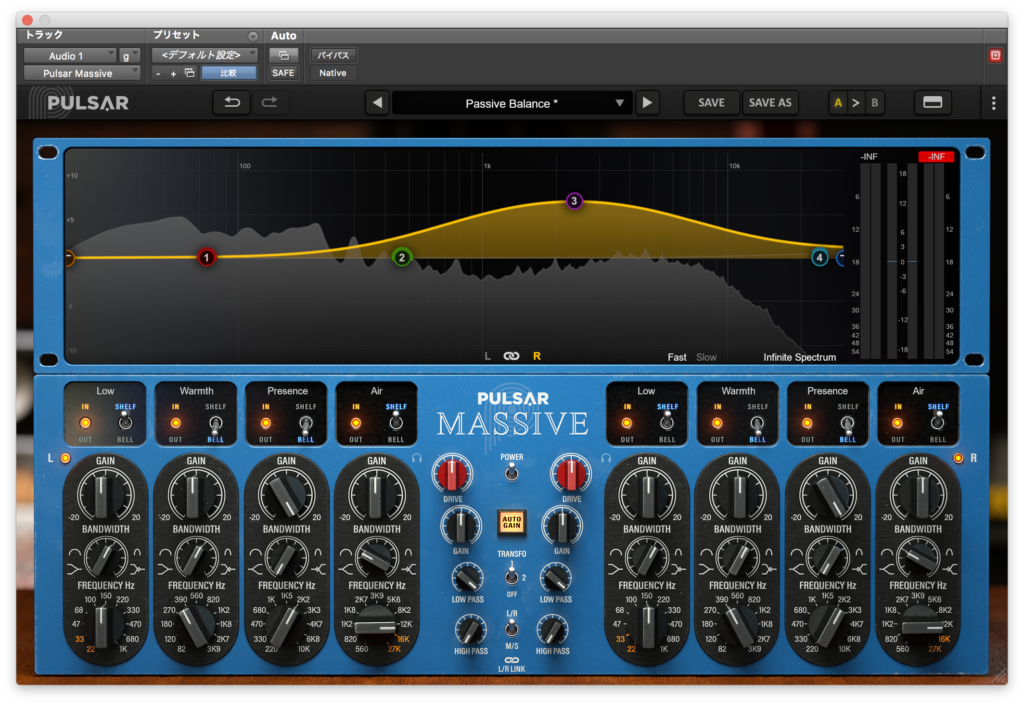
最後にAirです。こちらは初期の状態だと帯域が12.0kHzとなっていて高すぎるかなと思ったので10.0kHzに設定しました。
シャキッとした高音域ですね。
これでパラメーターは全て見ることができたかなと思います。
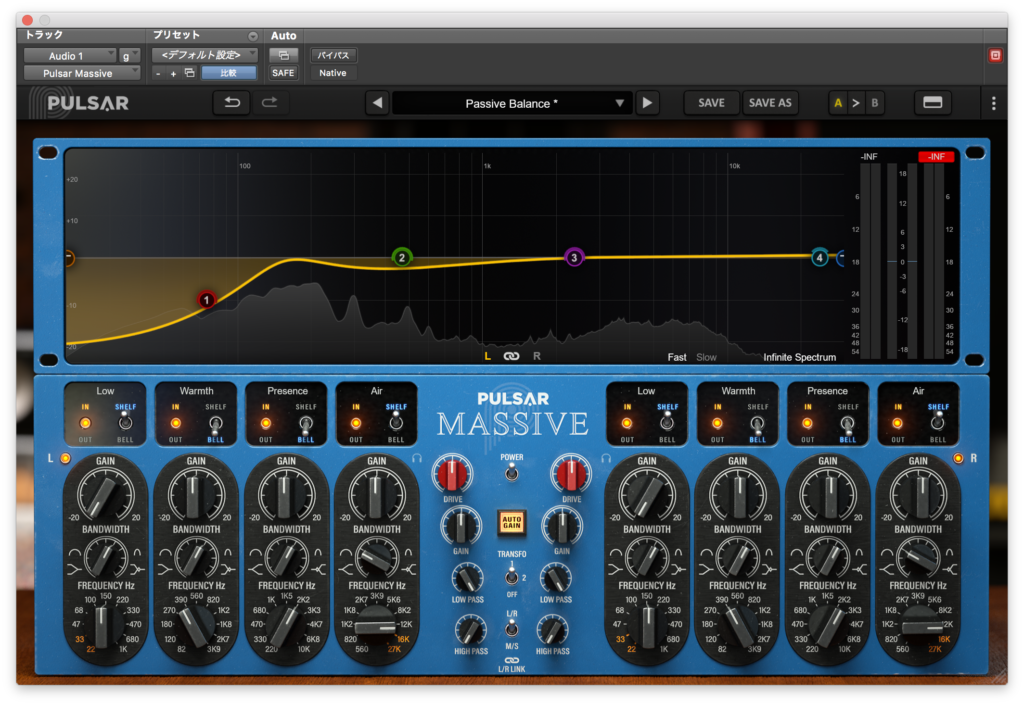
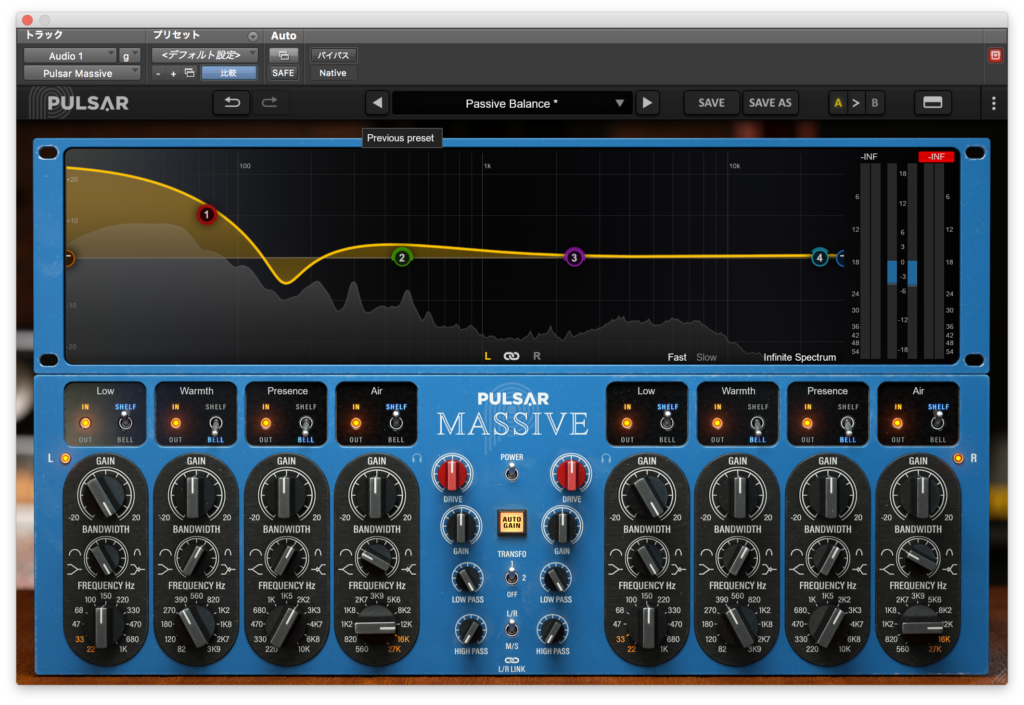
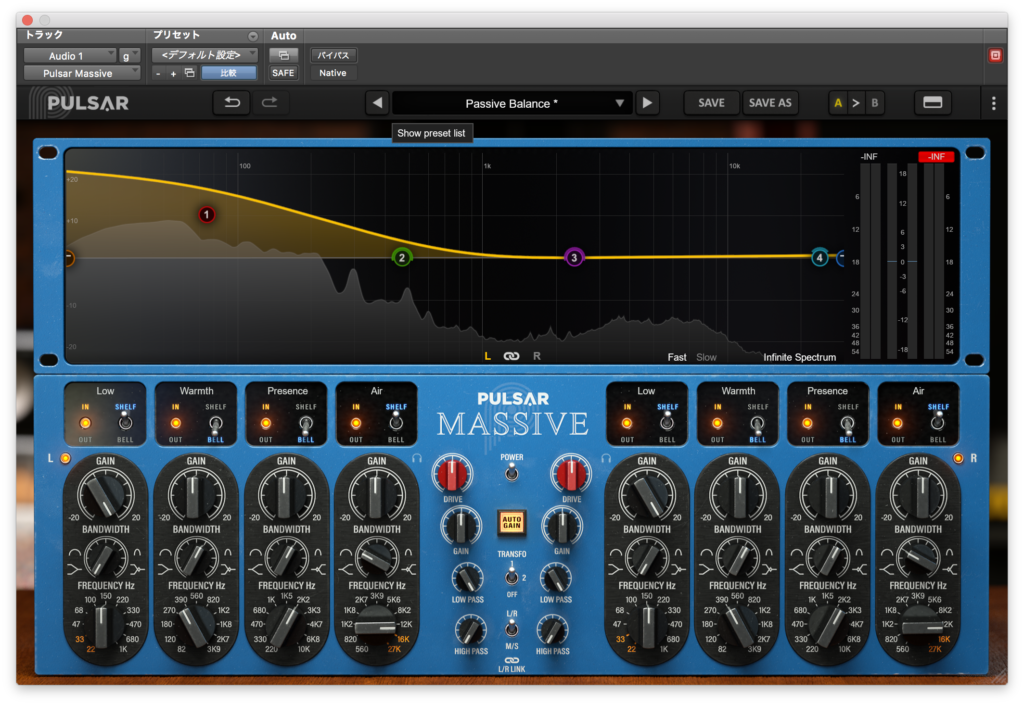
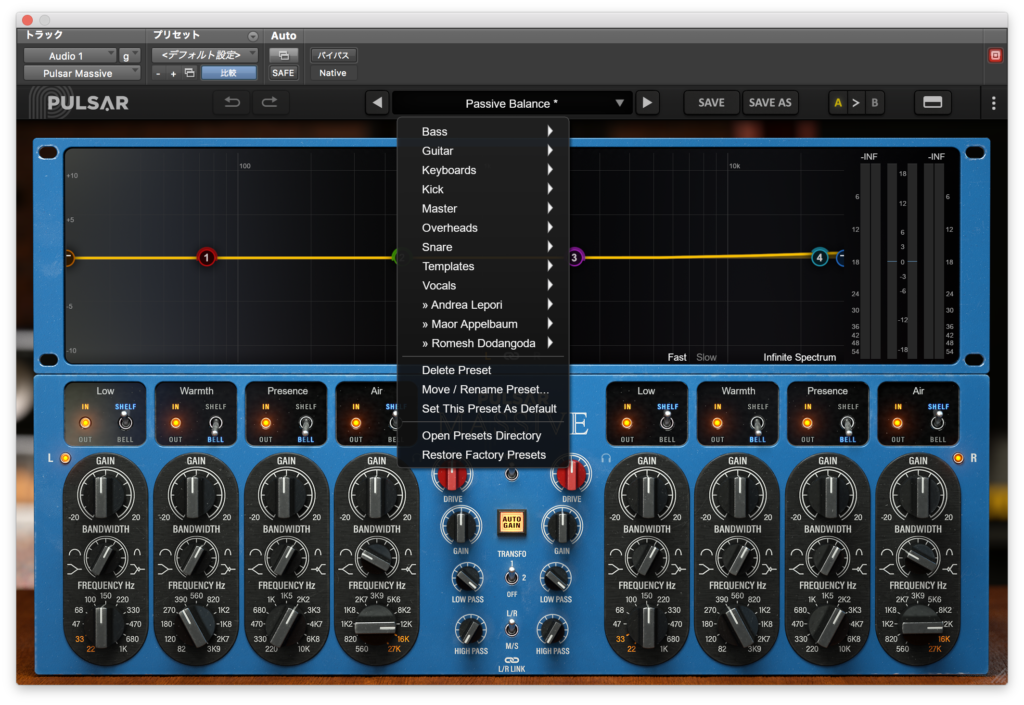
プリセット
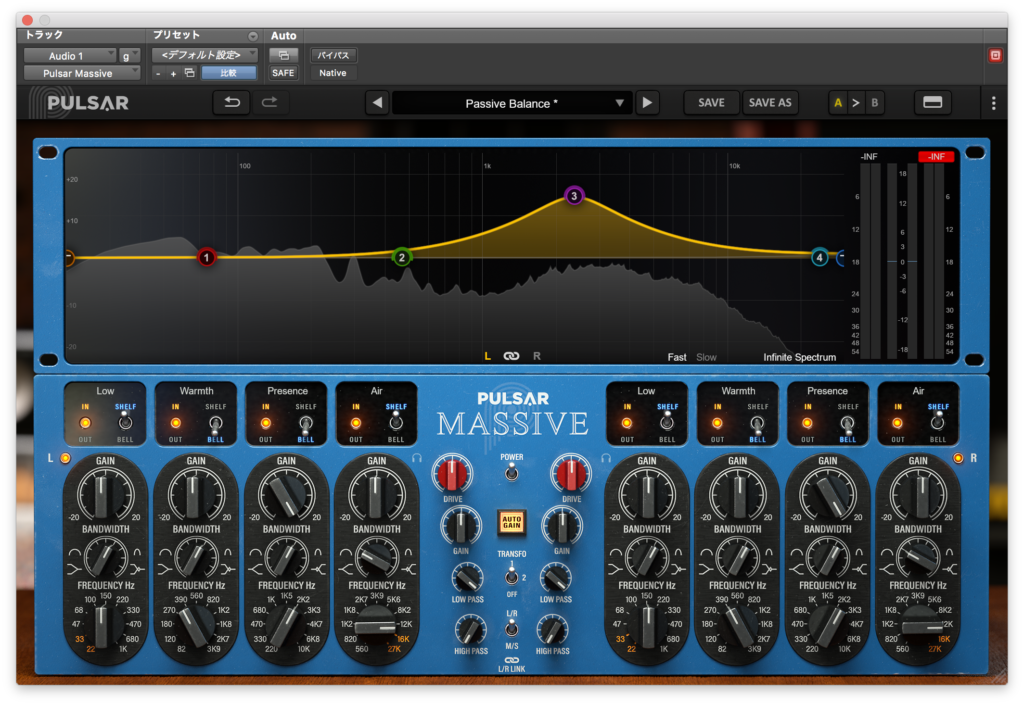
ここからは適当にプリセットを試してみようと思います。

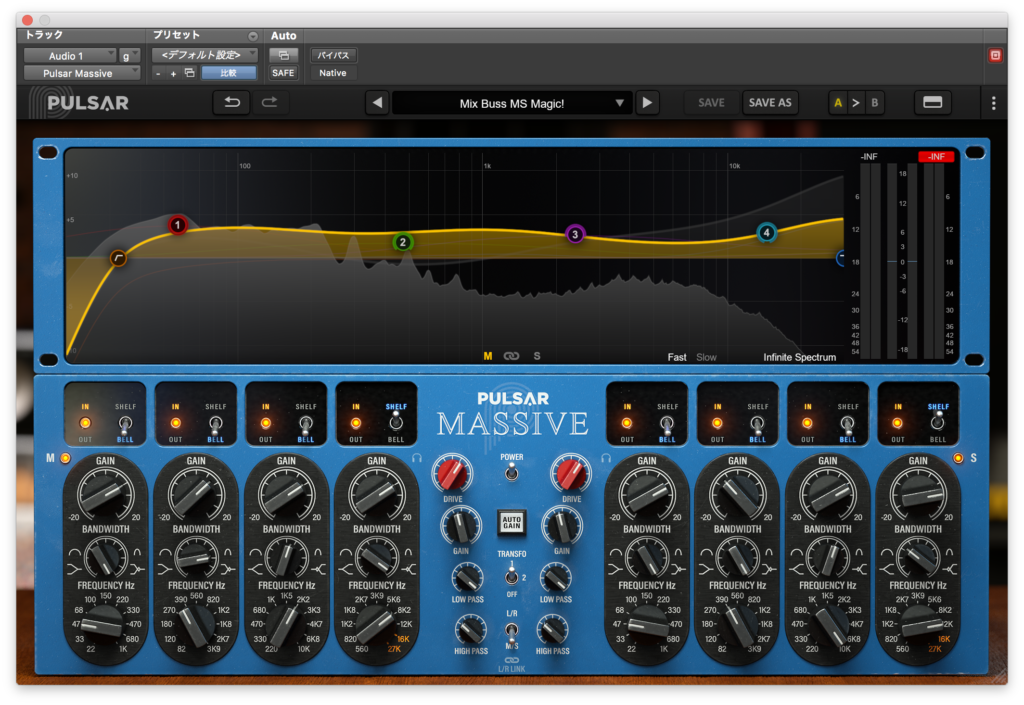
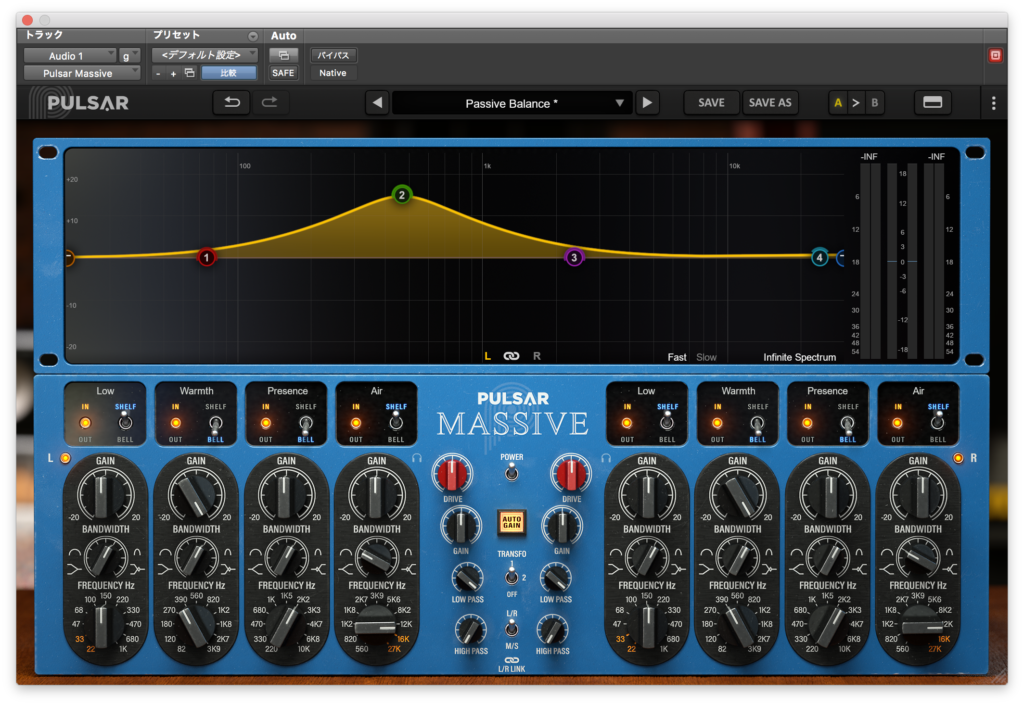
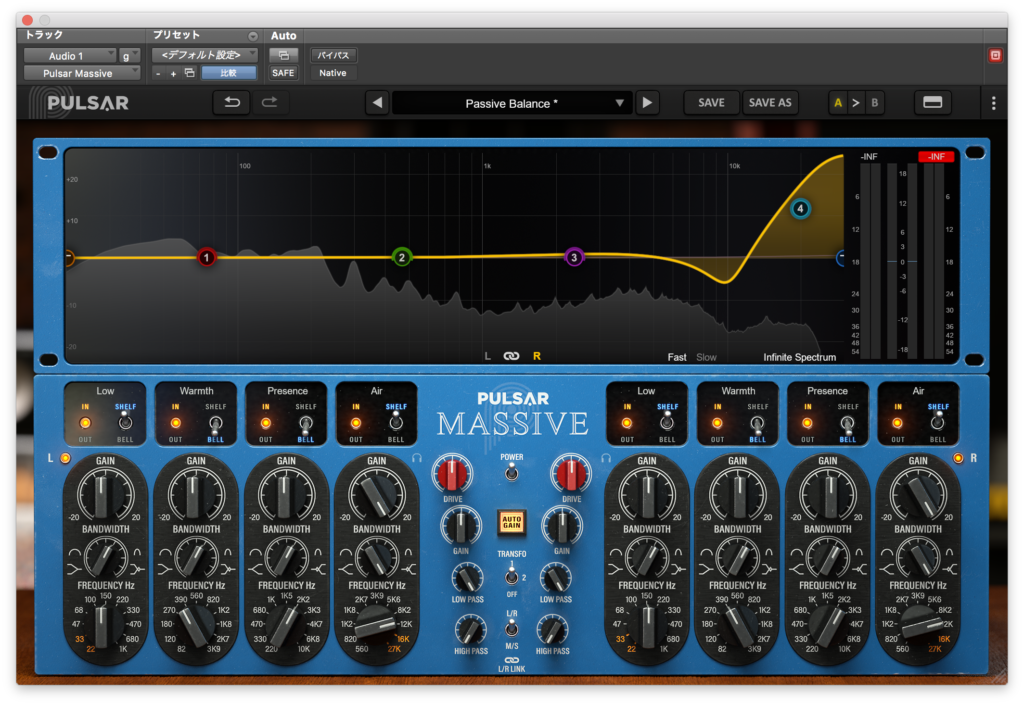
最後に適当に自分で作ってみました。
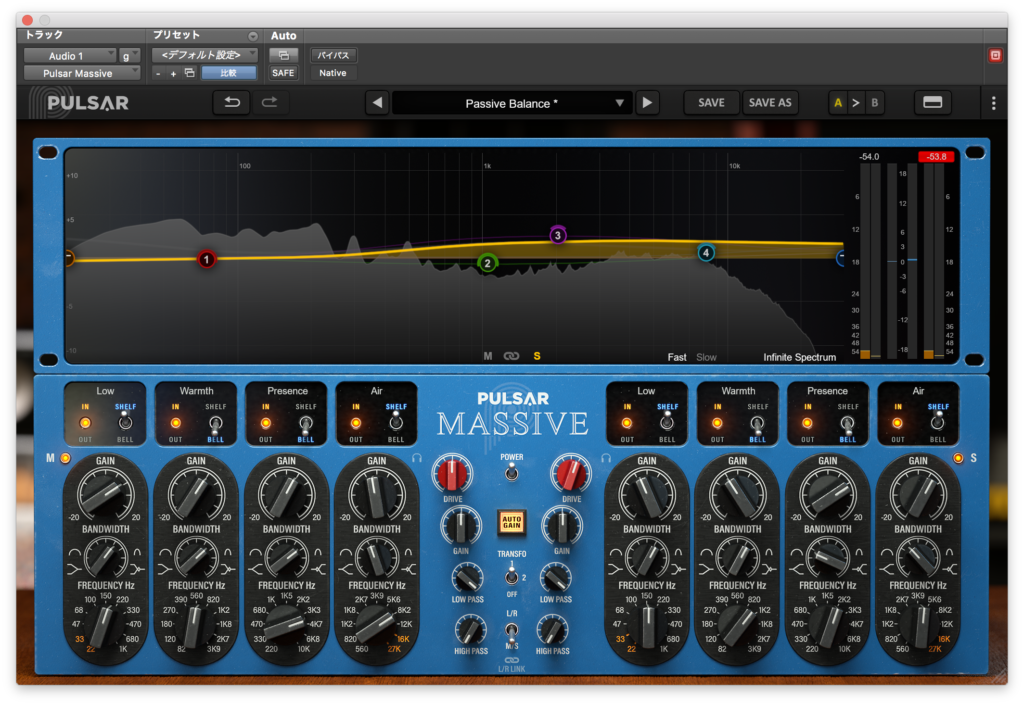
ちょっと控えめですが程よく倍音が付加されて元気な音になったかなと思います。
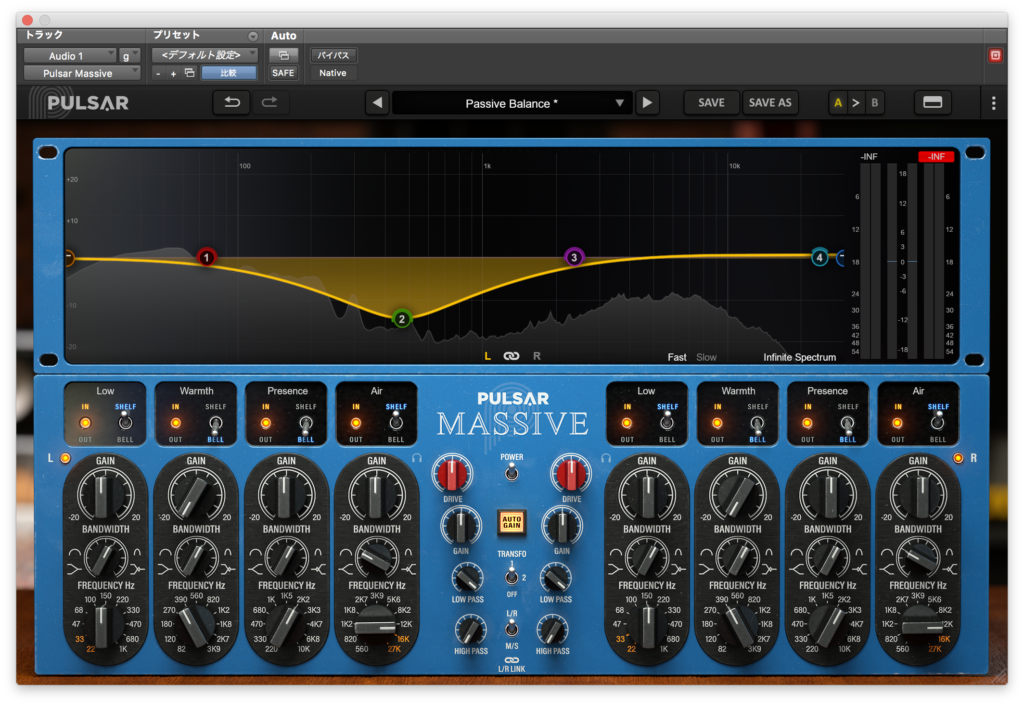
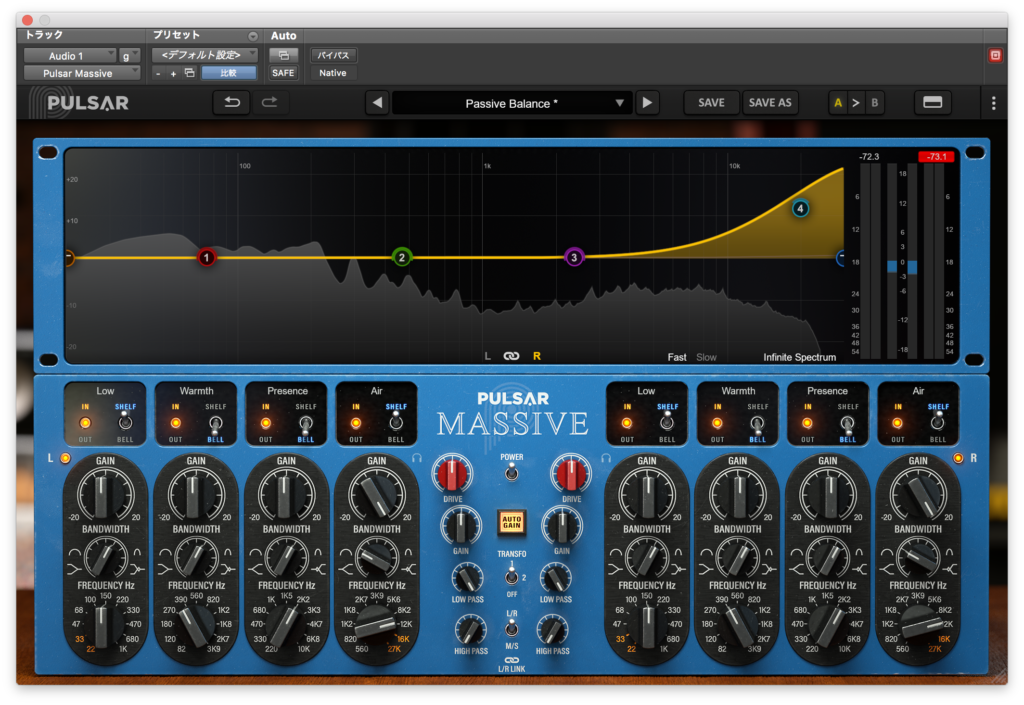
アコギ
最後にアコギで試してみます。まずバイパス↓
デフォルトだとこんな感じ↓

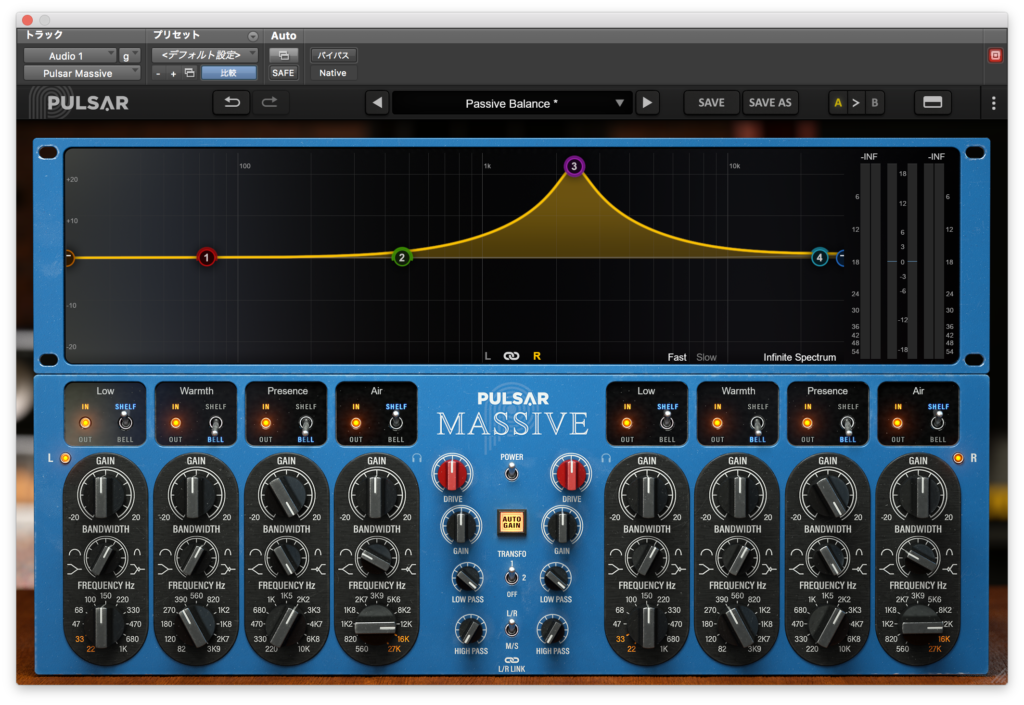
プリセットを試していきます。
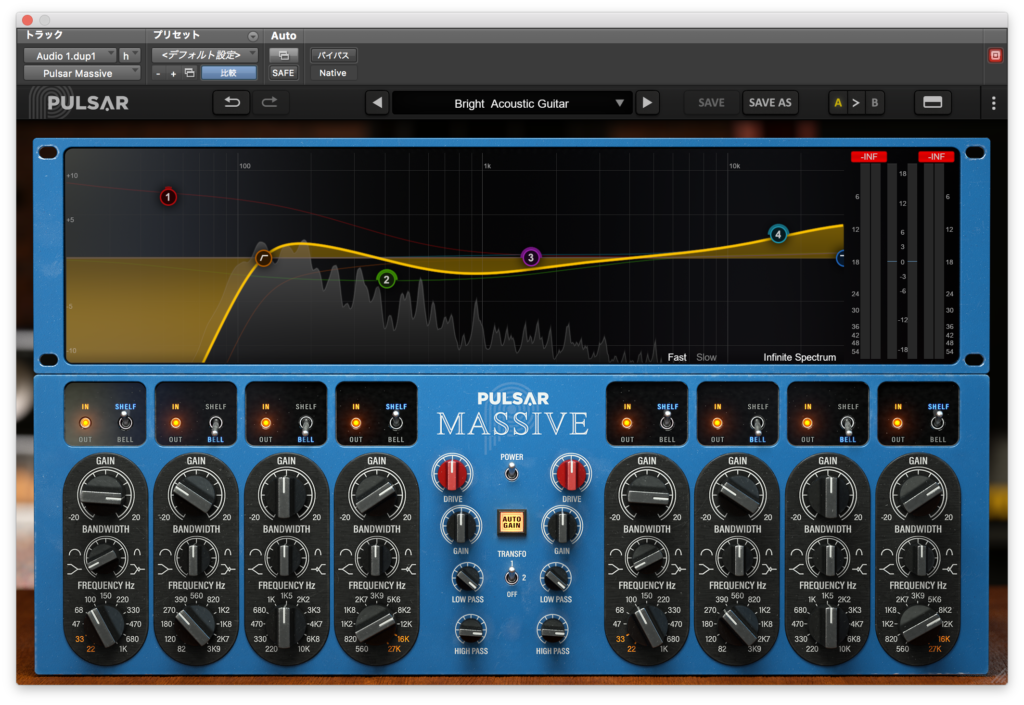
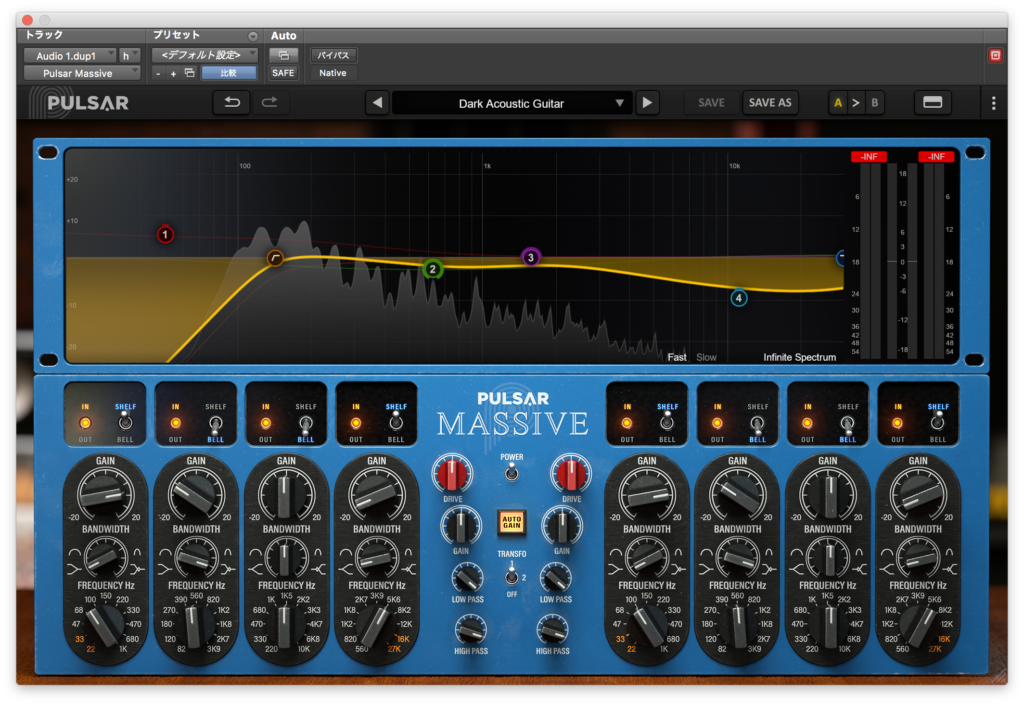
こちらも適当にパラメーターを振ってみました。

活き活きとした音になったような気がしますね。
まとめ
シャキっと程よい色付けができるイコライザーかなと感じました。
そこまで不自然な感じがなく心地いい特性をしていると思います。
ただあまり狭いQ幅にはできないので細かい音の補正には向かないかもですね。
使っていて気になったのはチャンネルリンクの設定をオンにしているときにopsionと同時クリックで初期値に戻すをしたところ
左右で同期が取れていなかった(クリックした方だけ初期値に戻る)点でしょうか。
アプデで直ったらいいなと思います。
ショップサイトはこちら↓(イントロセールは6月26日まで)
他のPulsar Audioの記事はこちら↓
今月のプラグインセール情報をまとめてみました。
よかったら見ていってください。


コメント