
今回はLiquidSonicsの「Illusion」について書いていこうと思います。

 LiquidSonics Illusion | beatcloud

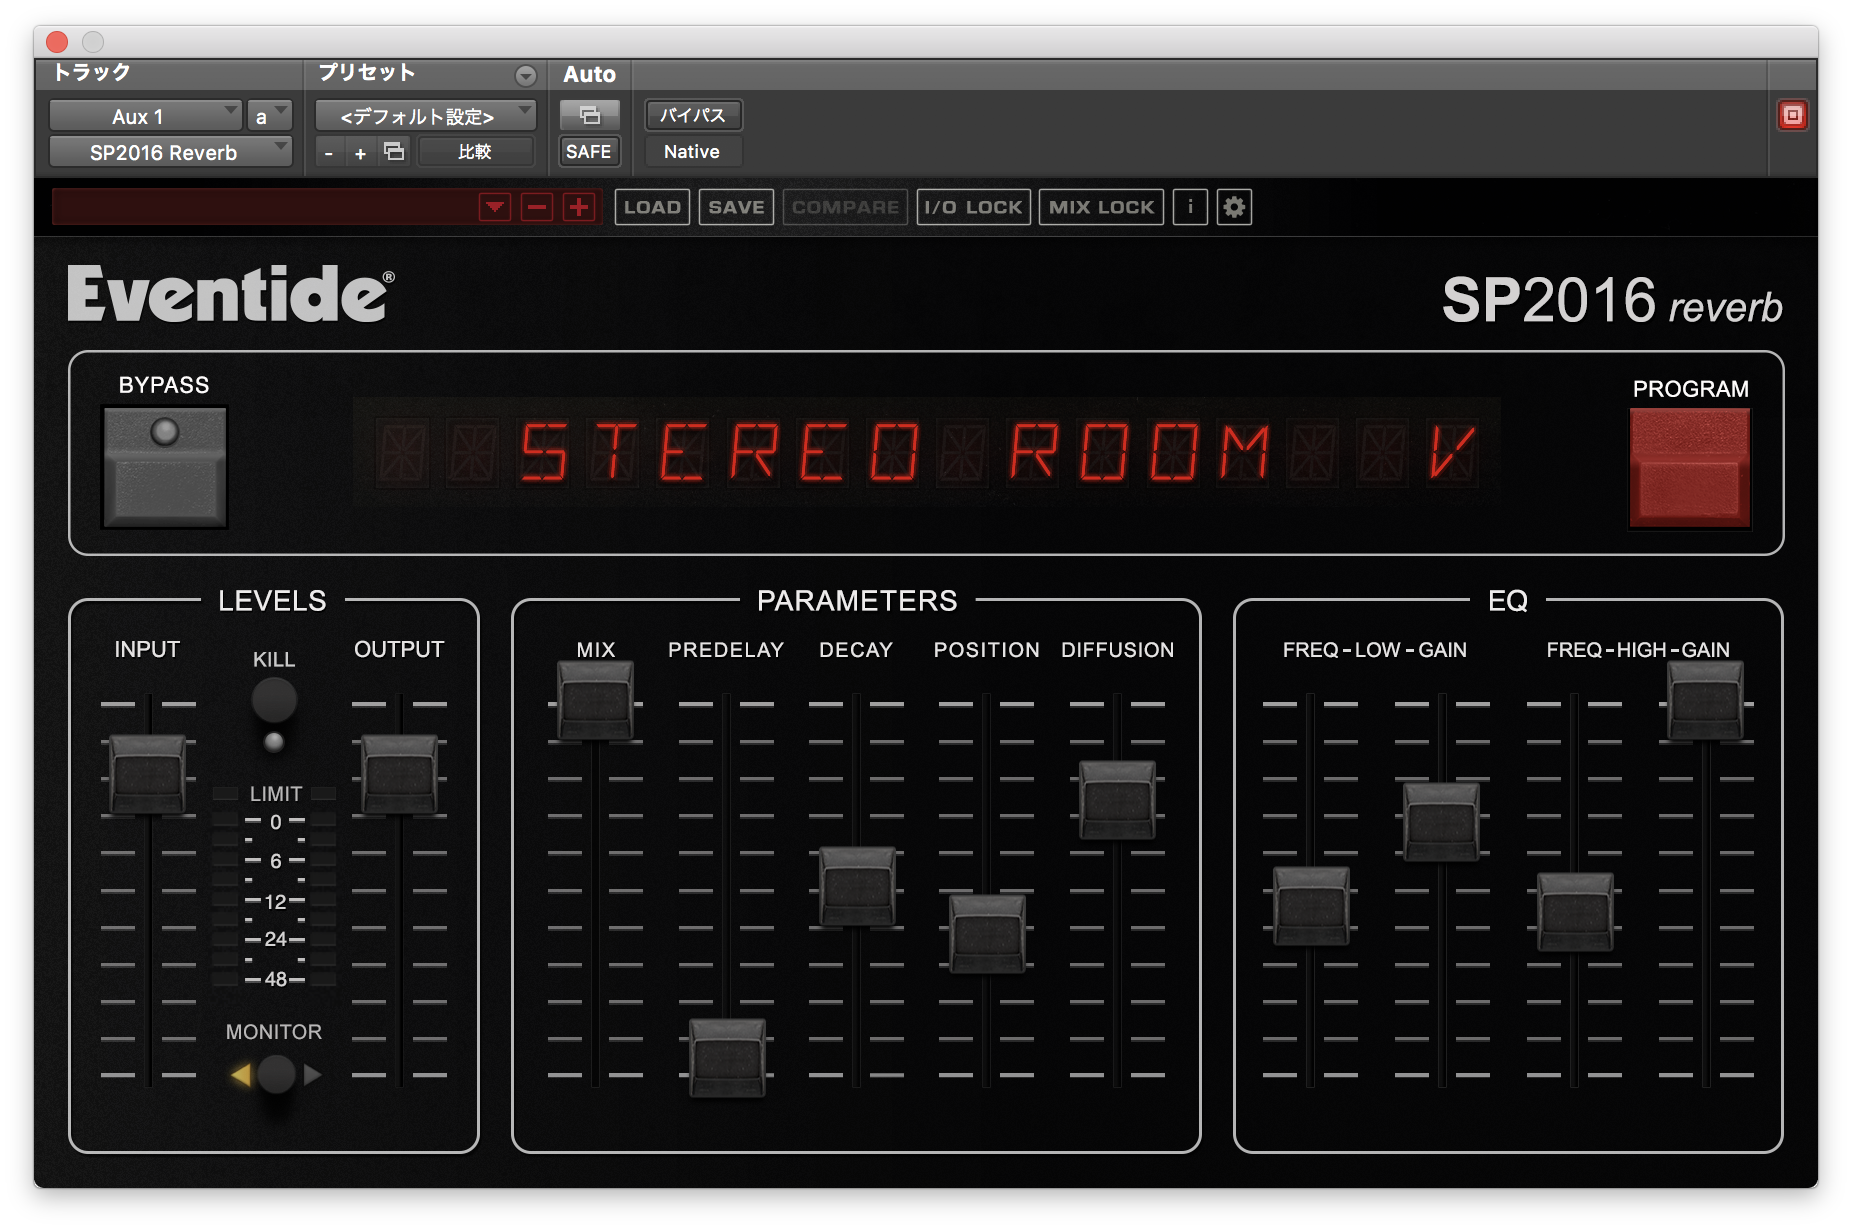
Illusion
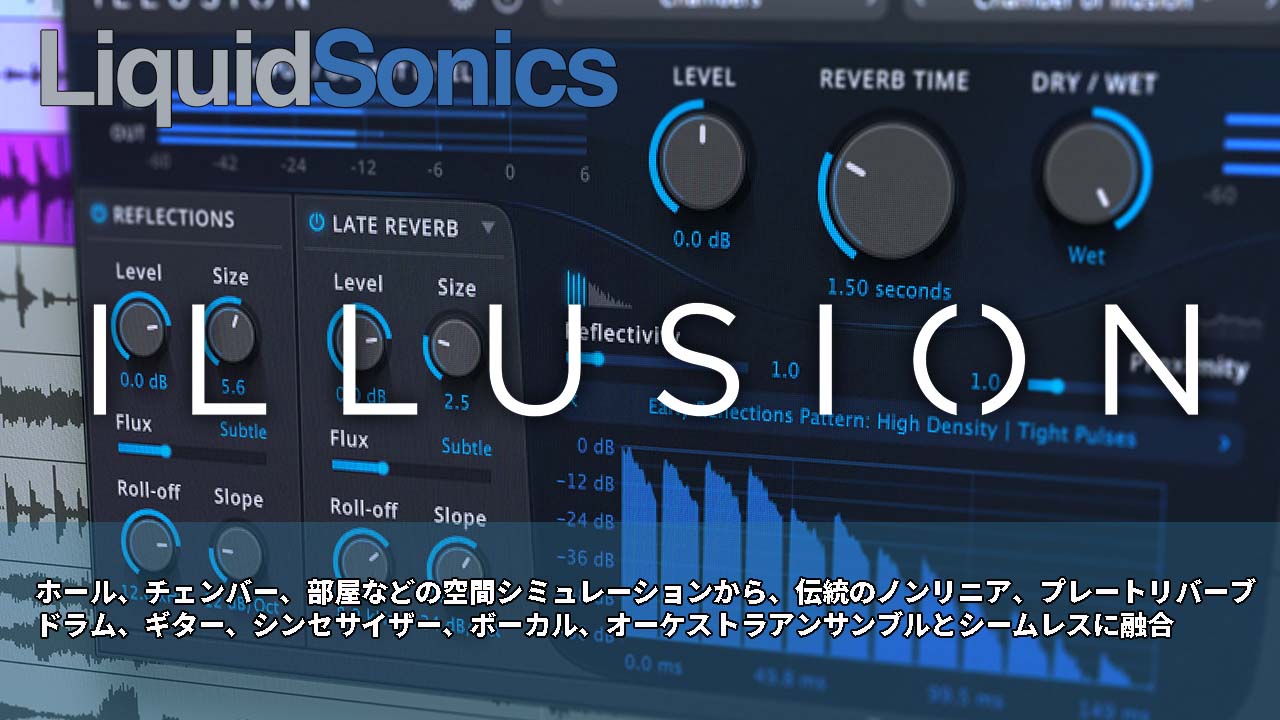
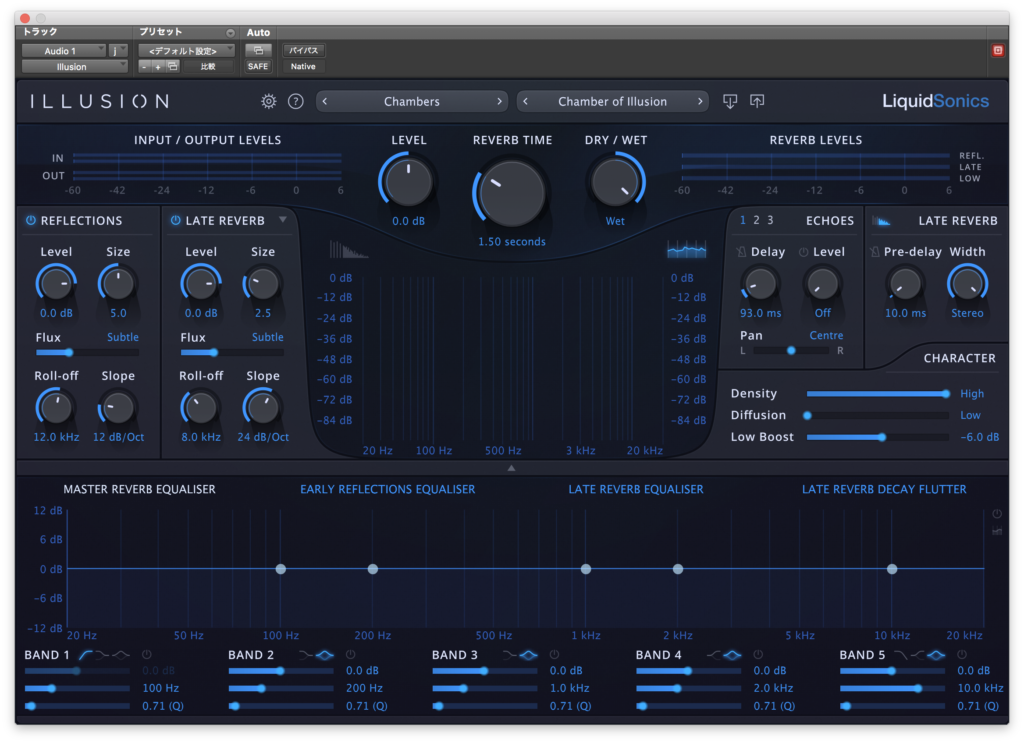
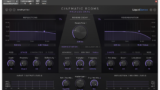
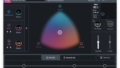
青いUIが印象的なリバーブプラグインです。
画面を見ればわかりますがかなり多機能で調整する場所がたくさんあります。
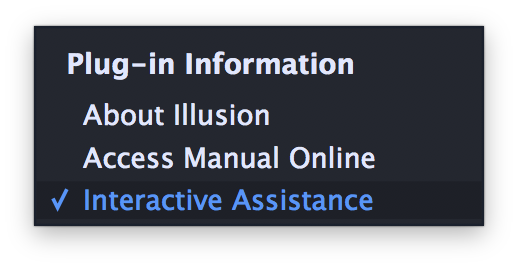
機能がわからないという人のために、中央左上(プリセットの左)の?をクリックして
Interractive Assistanceをオンにするとマウスをパラメーターに合わせた時に説明を出してくれるモードがあります。
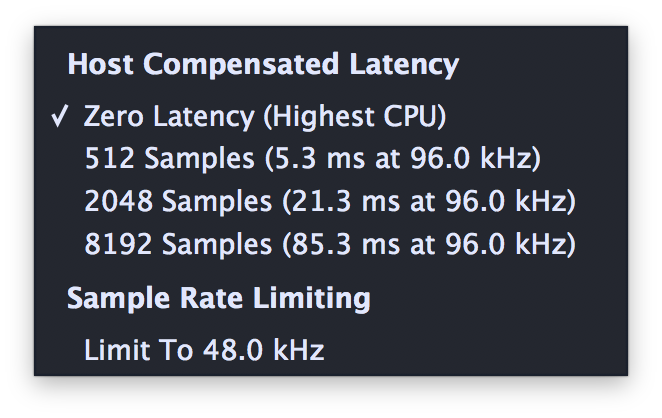
大まかな設定は中央左上の歯車マークで行います。
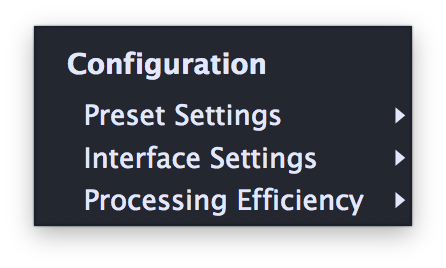
インターフェイスの設定や、
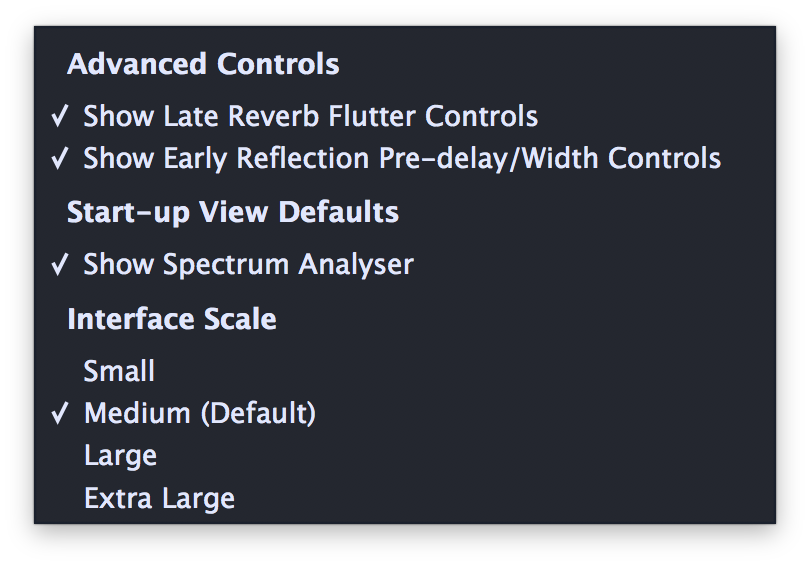
負荷の設定ができますね。
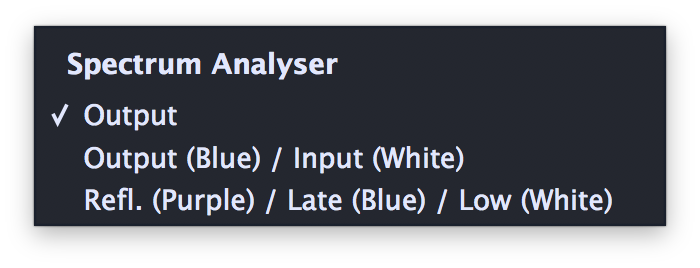
また、アナライザー部分を右クリックするとアナライザーの種類を選ぶことができます。


ということで今回のバイパスはこちら↓
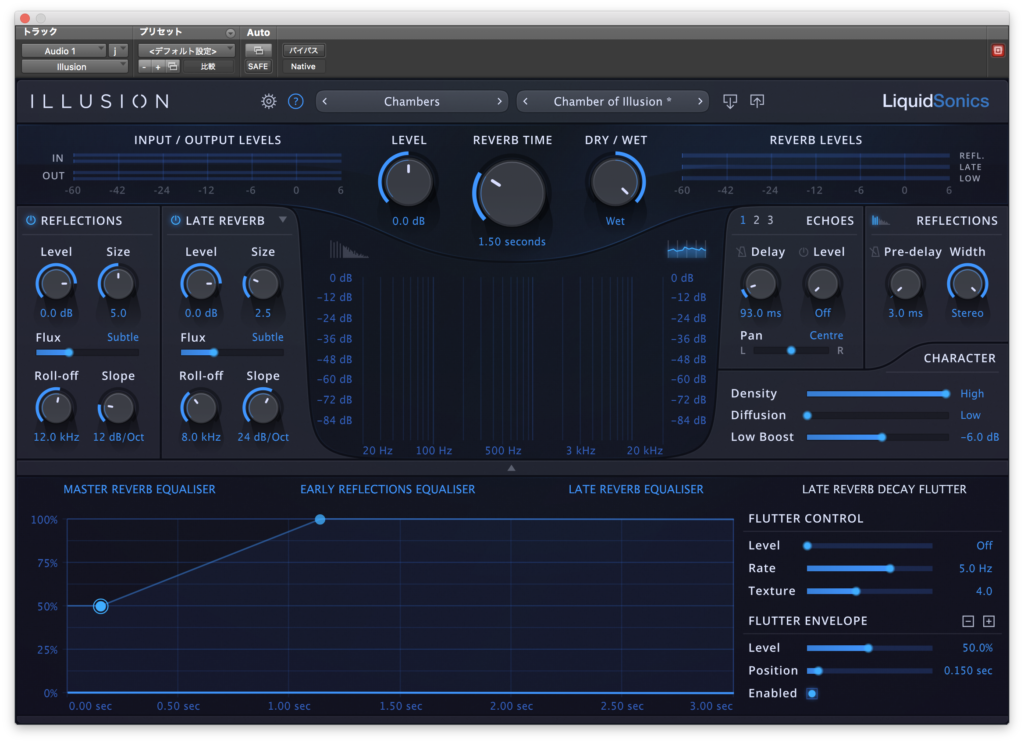
とりあえずデフォルトだとこんな感じ↓
ちなみに、リバーブタイムは最長30秒です。

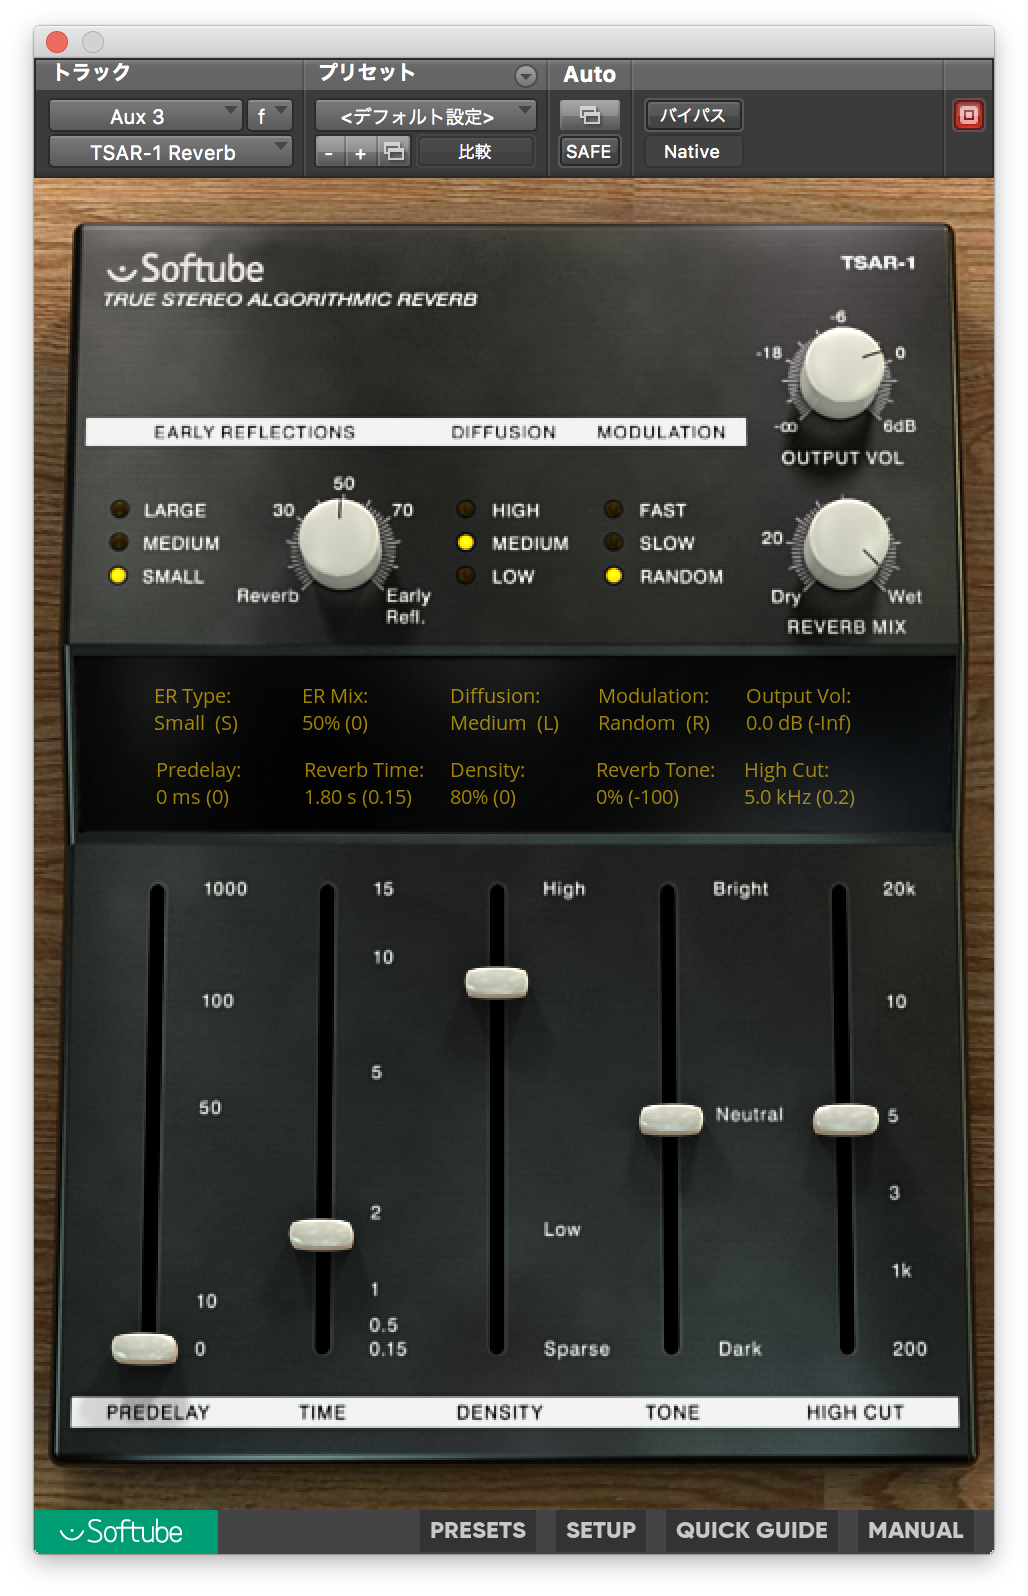
まずはEarly Reflectionのところから順番に見ていきましょう。
REFLECTIONS
中央左にREFLECTIONとありますが主にここでEarly Reflectionの設定をするようです。

中央のアナライザーがREFLECTIONSのグラフに変わります。
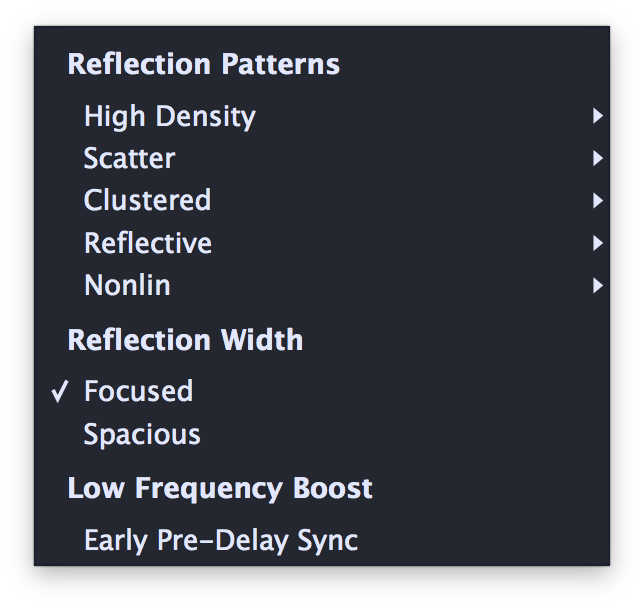
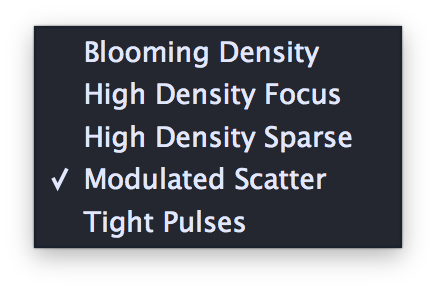
また、リフレクションのパターンは多様で


とりあえずLATE REVERBをオフにしてみるとこんな感じ

試しに他のアルゴリズムにしてみます。


といったように、Early Reflectionのアルゴリズムだけでもこれだけのパターンが用意してあります。
中央左上のReflectivityでは反射音の細かさを設定するようです。

また、Proxomityでは音源との仮想的な距離を設定するようです。

(音数が増えて大変なことになるのでレベルを下げました)
さて中央左では、音量調整のLevelと仮想的な部屋の大きさを決めるSizeがあります。


その下のFluxはモジュレーションの操作だそうです。


その下のRoll-offとSlopeはローパスフィルターですね。

あとは、中央右端のREFLECTIONSのところを切り替え(左にある小さな棒グラフをクリック)
することでPre-DelayとWidthをコントロールすることができるようになります。


あとは、その下にあるCHARACTERのDiffusionが下部のEQ部の他ではREFLECTIONSに関わるパラメーターとしては最後となります。


ちなみにその下にあるLow BoostはREFLECTIONSのみではなく全体にかかるようです。
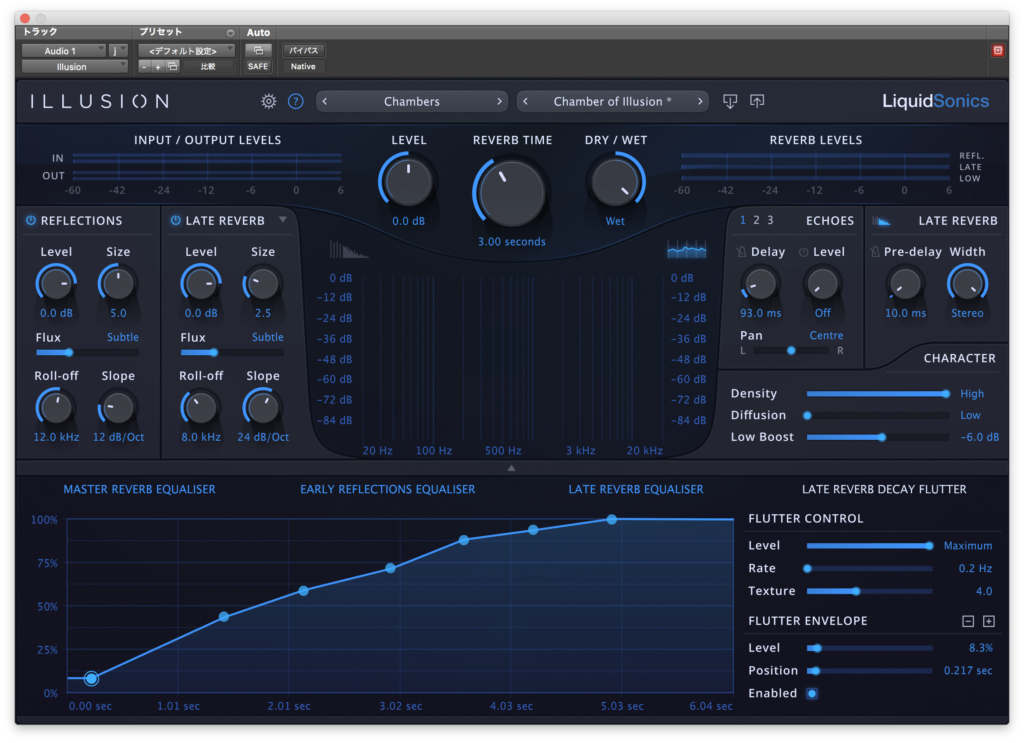
LATE REVERB
続いてテール部分です。
REFLECTIONSをオフにしてデフォルトだとこんな感じ

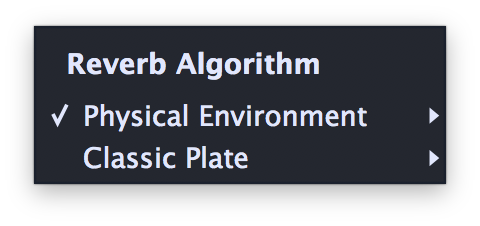
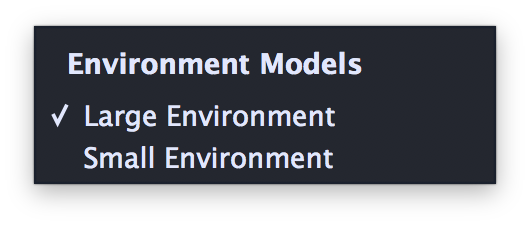
LATE REVERBの右にある▼をクリックするとアルゴリズムを選択することができます。
ということで変えてみましょう。


とこのような感じです。
アナライザーの上にあるLow Frequency DecayとHigh Frequiency Decayは時間経過でかかるフィルターのようですね。

中央左のLATE REVERBはREFLECTIONとだいたいパラメーターが同じですね。


Fluxはモジュレーションです。


Roll-offとSlopeはローパスフィルターですね。

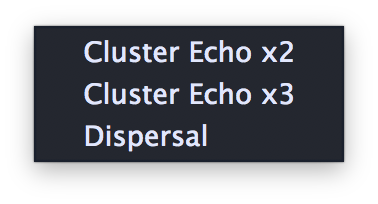
中央右のECHOESはこのLATE REVERBにかかるディレイのようです。

Illusionはなんとこれが3つも設定できます。


かなり複雑な反響を作れそうですね。
その右では、REFLECTIONSと同様にPre-delayとWidthを操作することができます。


Pre-delayはメトロノームのボタンを押すことでテンポとの同期モードになるっぽいです。

CHARACTORのDensityでリバーブ音の密度を調整します。


とこんな感じです。最後におまけとして、Low Boostを試してみます。


ややわかりにくいかもですね。
EQ部分
下にはEQ部分がありますが、これは最初は隠れていて、▼をクリックすると表示されます。


LATE REVERB DECAY FLUTTER以外は普通のイコライザーのようですね。

LATE REVERB DECAY FLUTTERはDensityのパラメーターをモジュレーションする役割をしているようです。
FLUTTER ENVELOPの-と+でエンベロープポイントの数を変更し、
Levelでそのエンベロープをどれくらいの割合で適用するのかを決め、
Rateで変長の速度を、Textureでエンベロープ変調のランダム度合いを決めます。
Textureが高いほど変調にランダム性が出てくるようですね。
ポイントを追加することでこんなエンベロープが書けてしまいます。

ここまでやるとよくわからなくなるのでこんな感じにしてみました。


と、こんな感じです。
これでおおよそ全てのざっとではありますが機能を紹介できたかなと思います。
サンプル
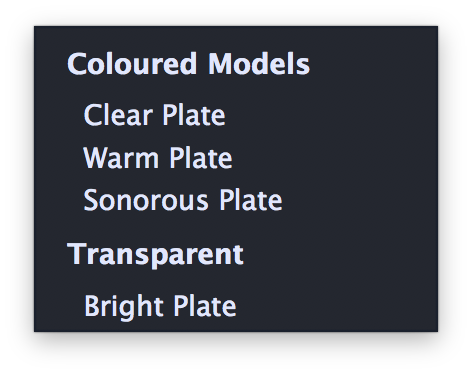
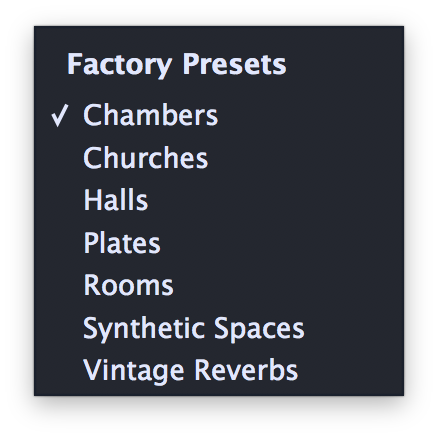
プリセットはこの中から選びます。
この中からSnare Tailというのがあったので試してみようと思います。

自分でなんとなく作るとこんな感じです。


次にアコギでやってみます。こちらがバイパス↓
Piano Hallというプリセットにしてみます。

EQで中域を少し持ち上げてみます。

とてもきれいな音をしていますね。
まとめ
音の特徴はさらっとした感じだと思います。
そんなに主張が強すぎないのでパラメーターの多さもあり、とても汎用性のあるリバーブなのではないでしょうか。
ブラックフライデーで99ドルで買えたのはとてもお買い得でした。
また今年のブラックフライデーに狙ってみるのをお勧めします。
購入はこちら↓
LiquidSonics Illusion | beatcloud
他のLiquidSonicsの記事はこちら↓

今月のプラグインセール情報をまとめてみました。
よかったら見ていってください。


コメント