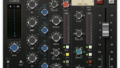
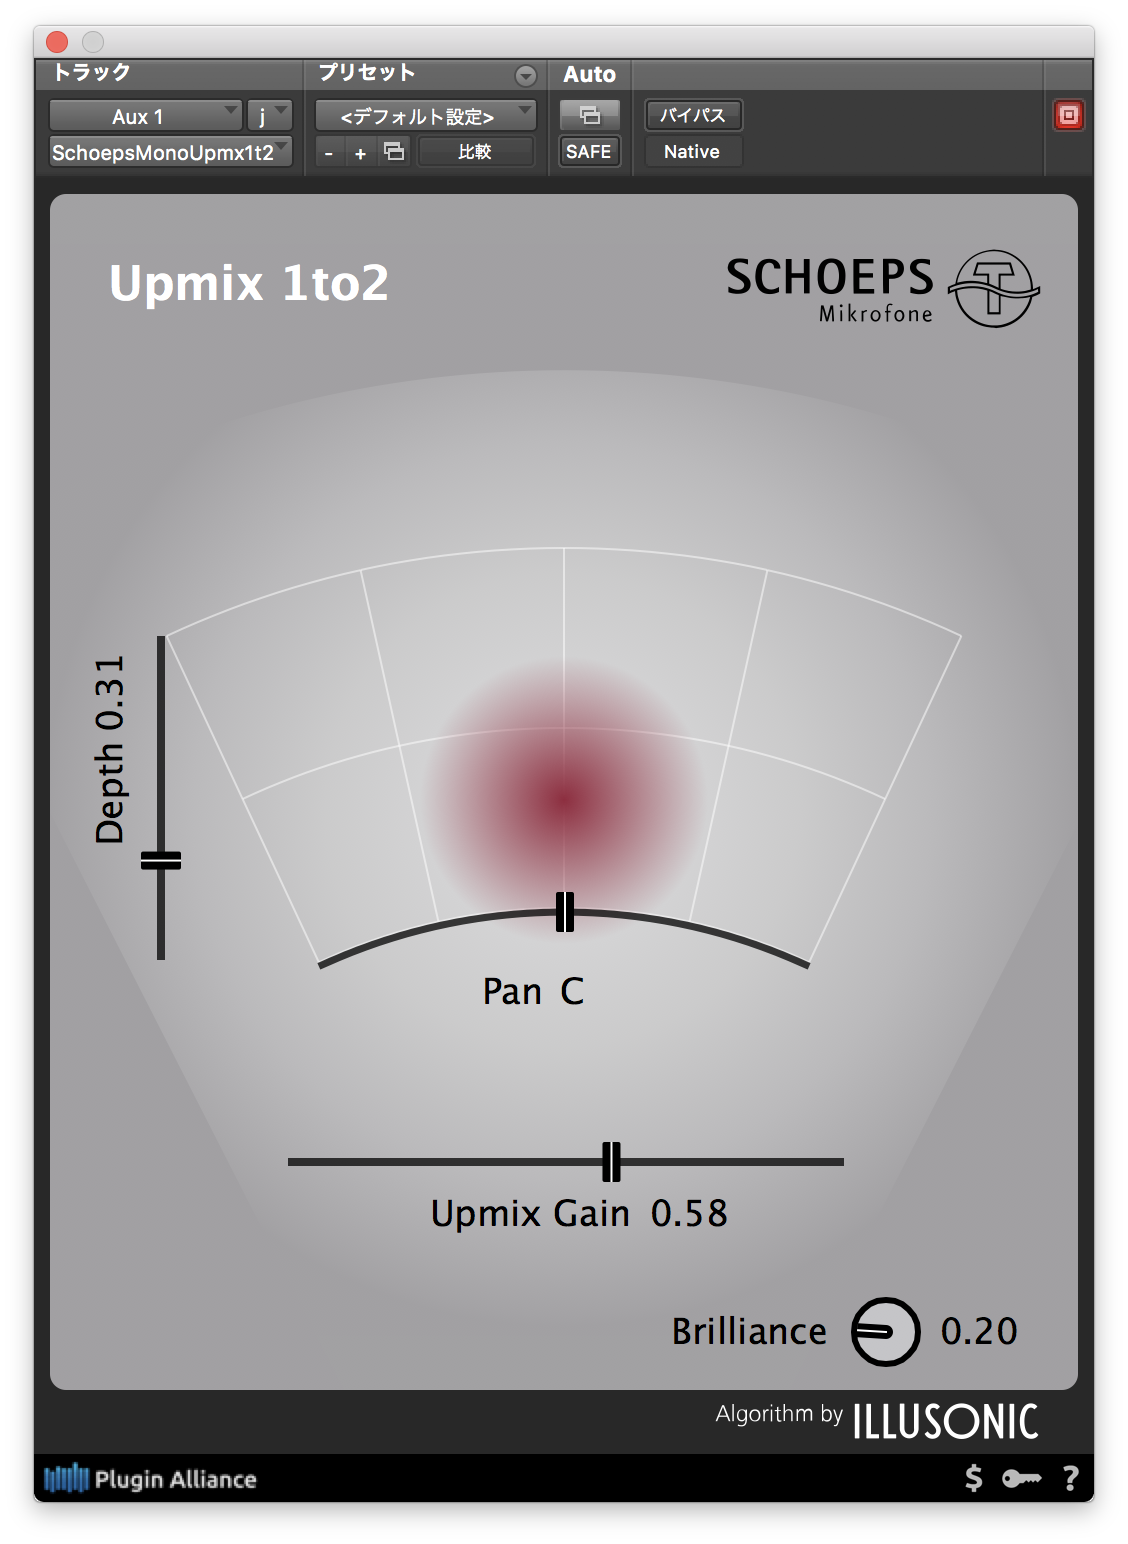
今回はBrainworxの「bx_console AMEK 9099」について書いていこうと思います。
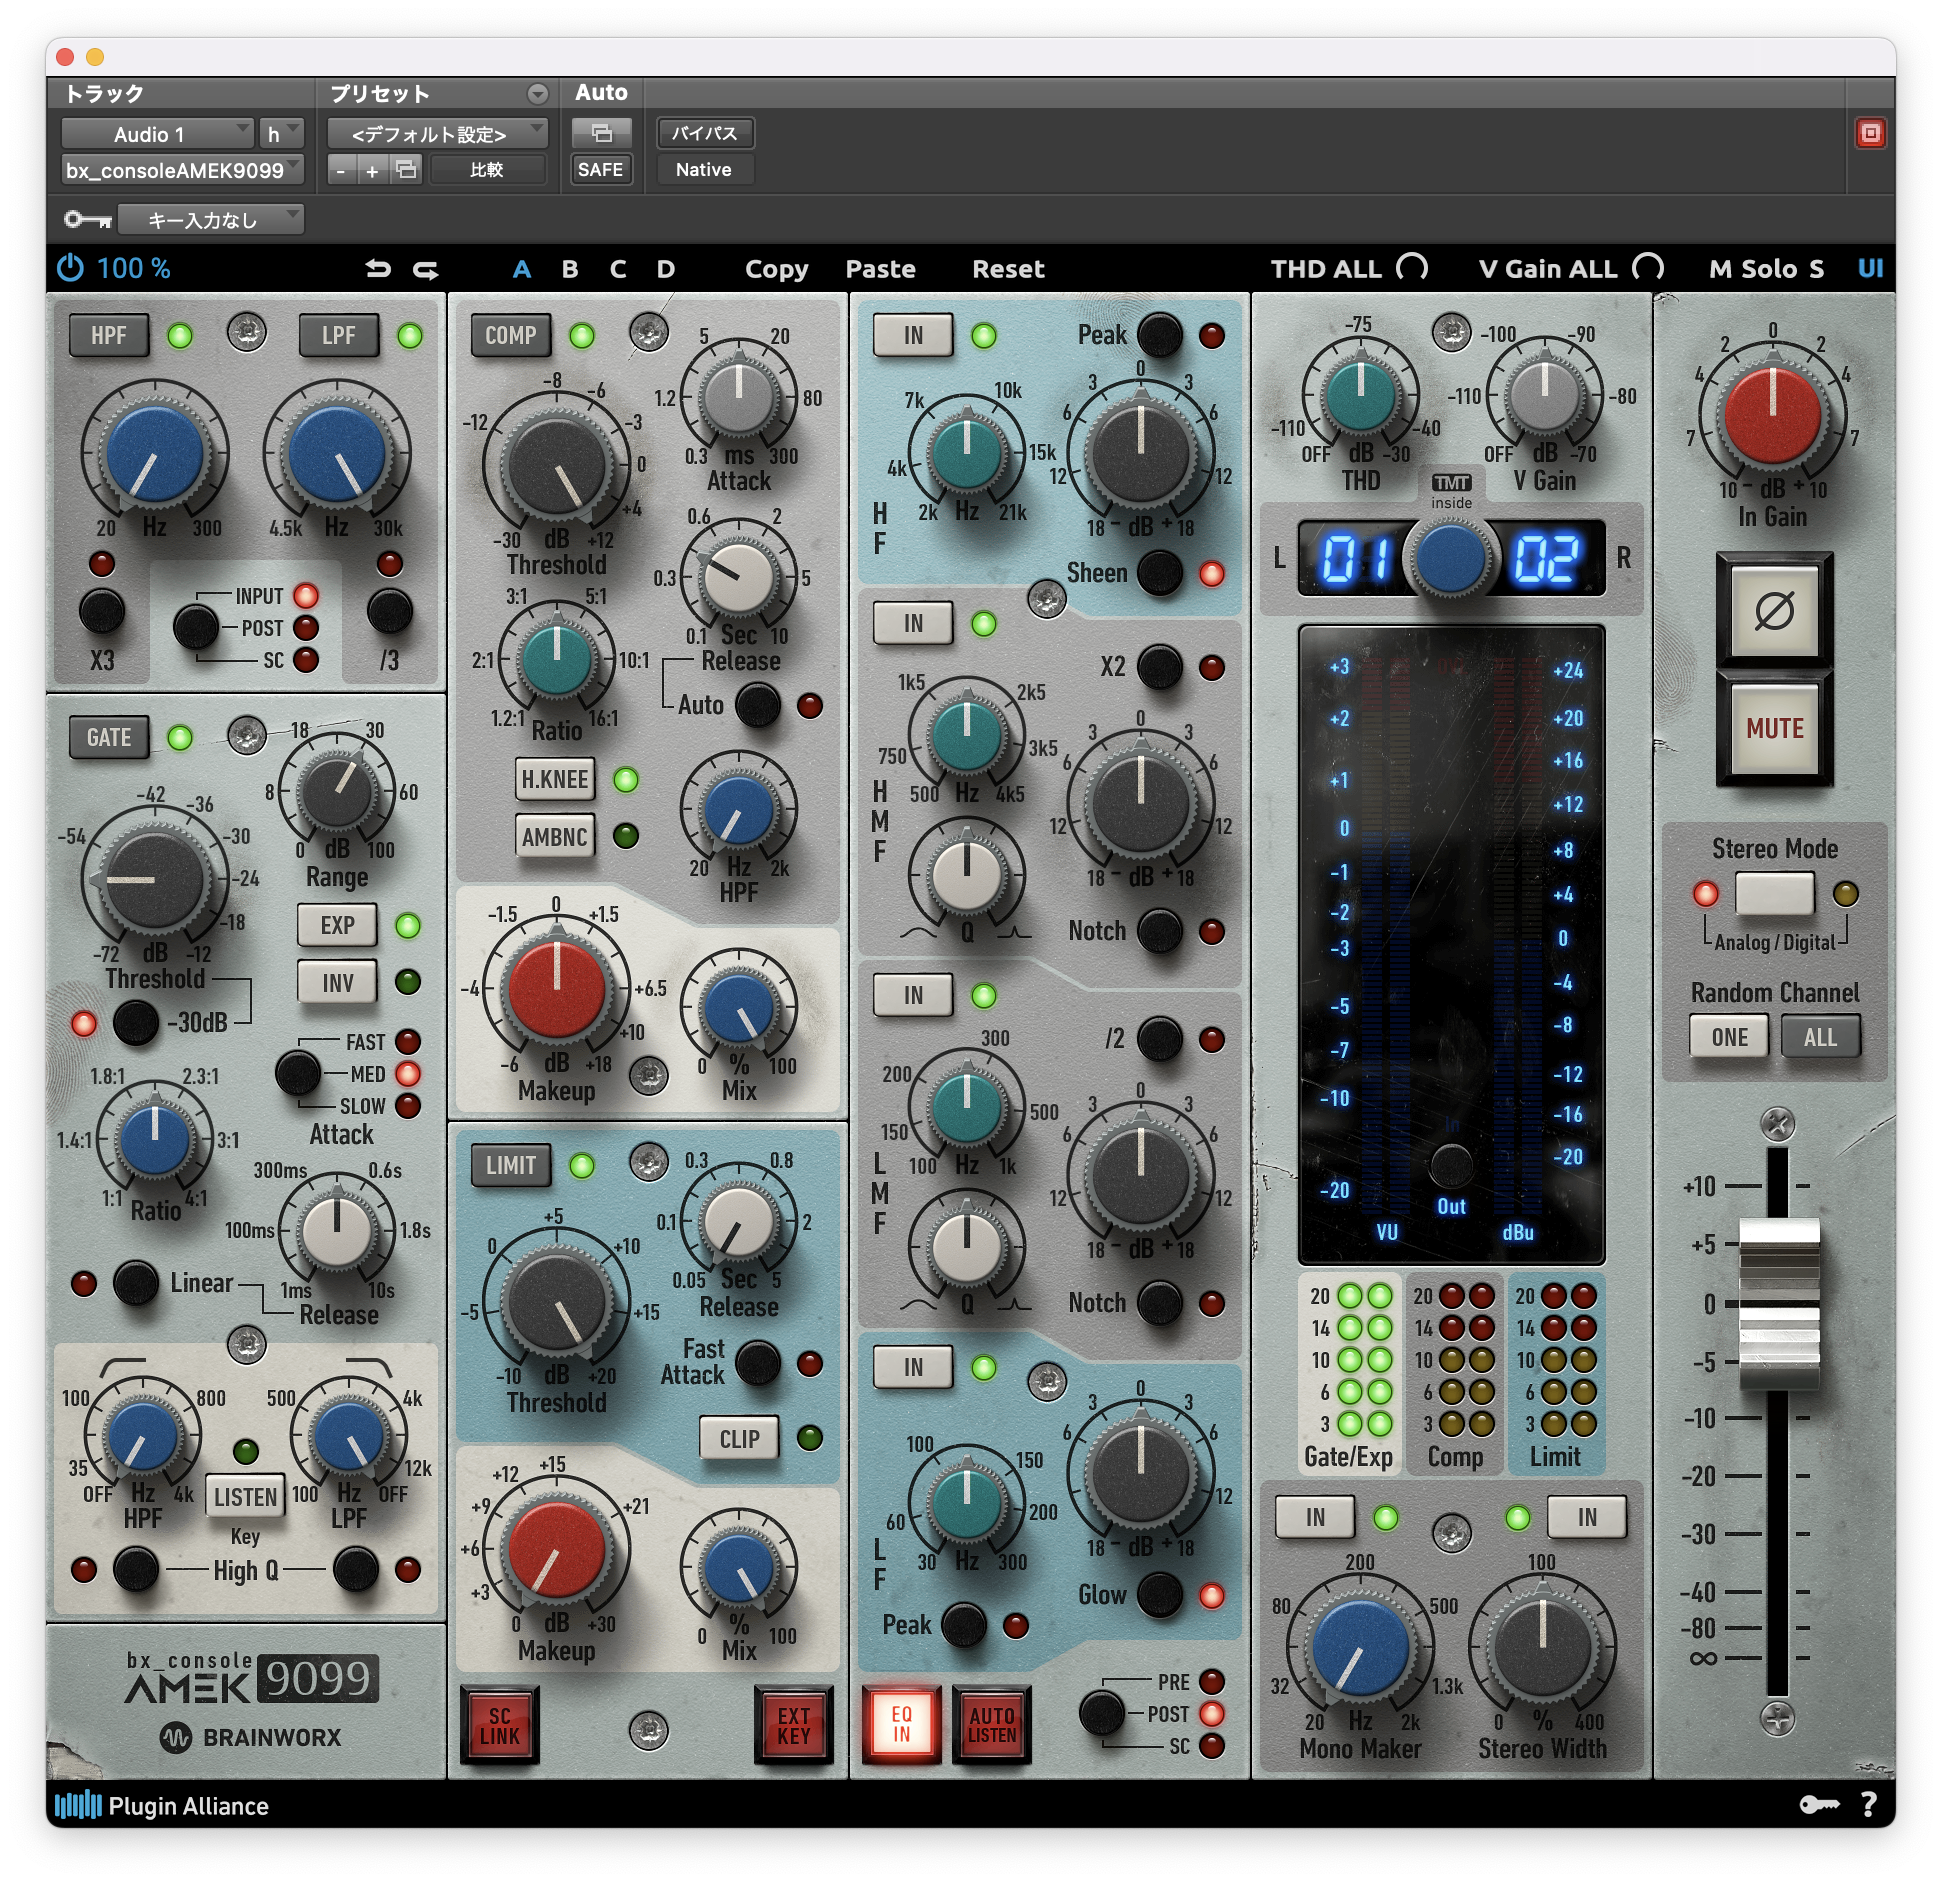
bx_console AMEK 9099
NeveのAmek 9098iが元ネタのチャンネルストリッププラグインのようです。
見た目はなんとなくSSLっぽさがありますね。
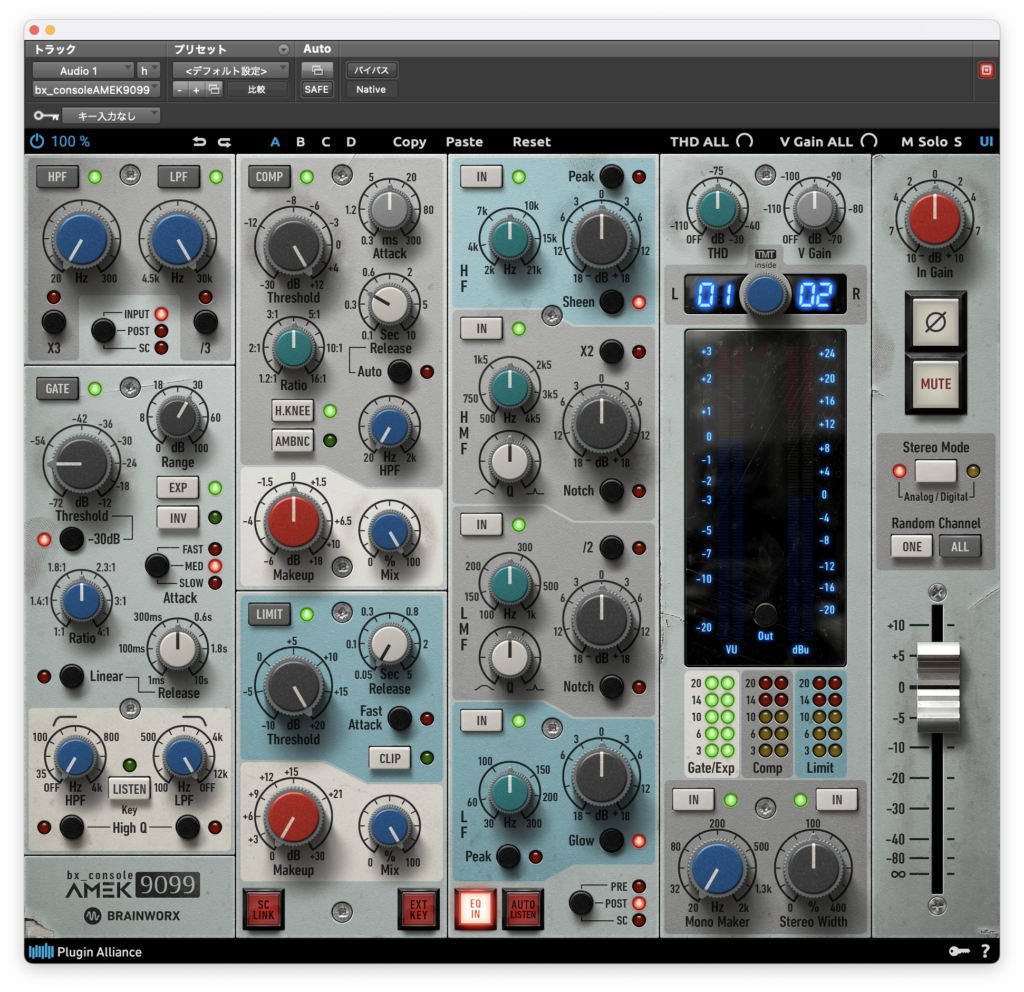
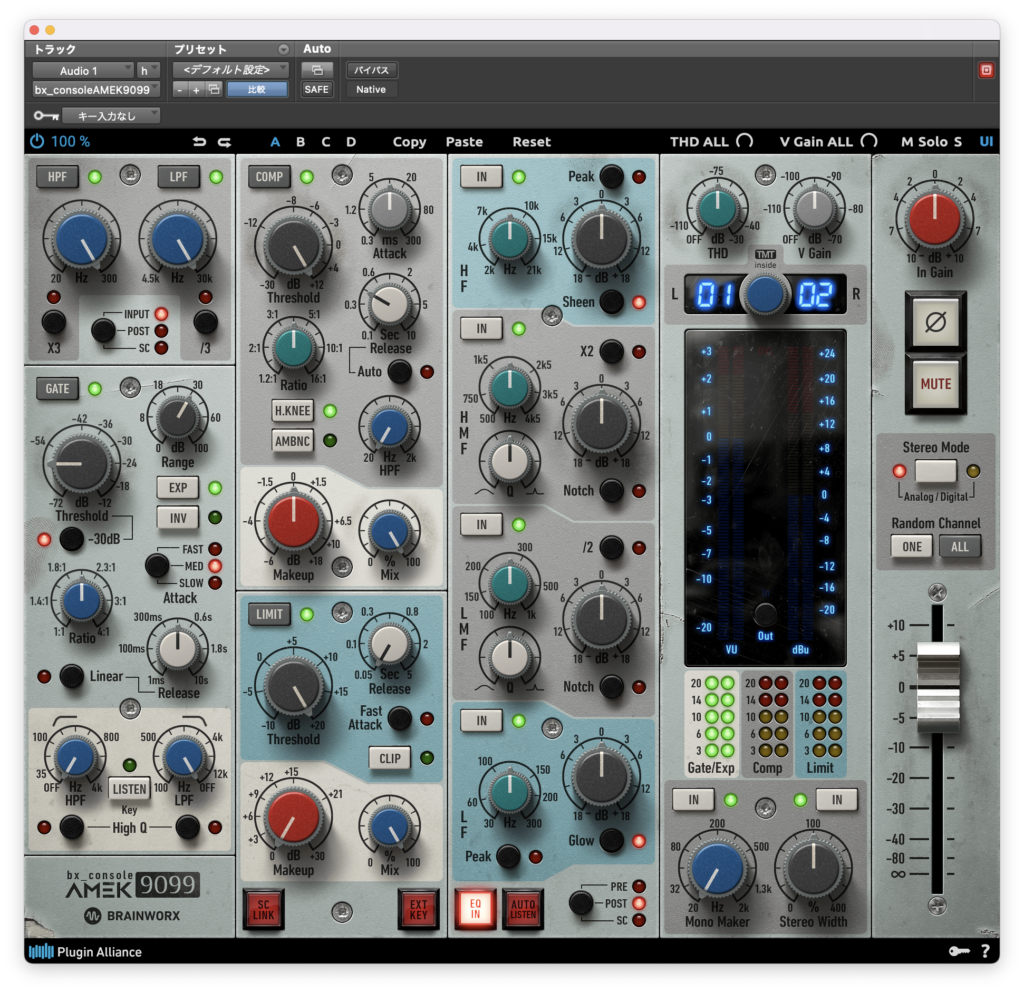
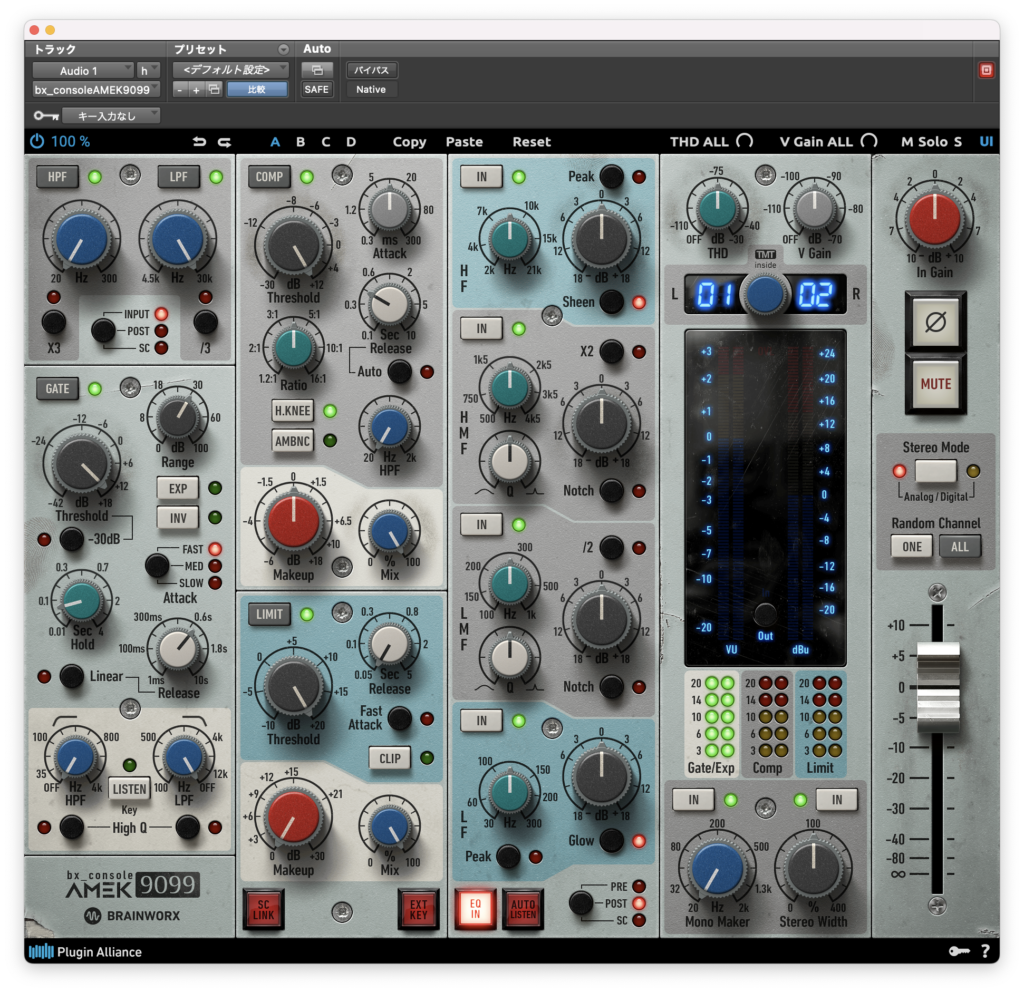
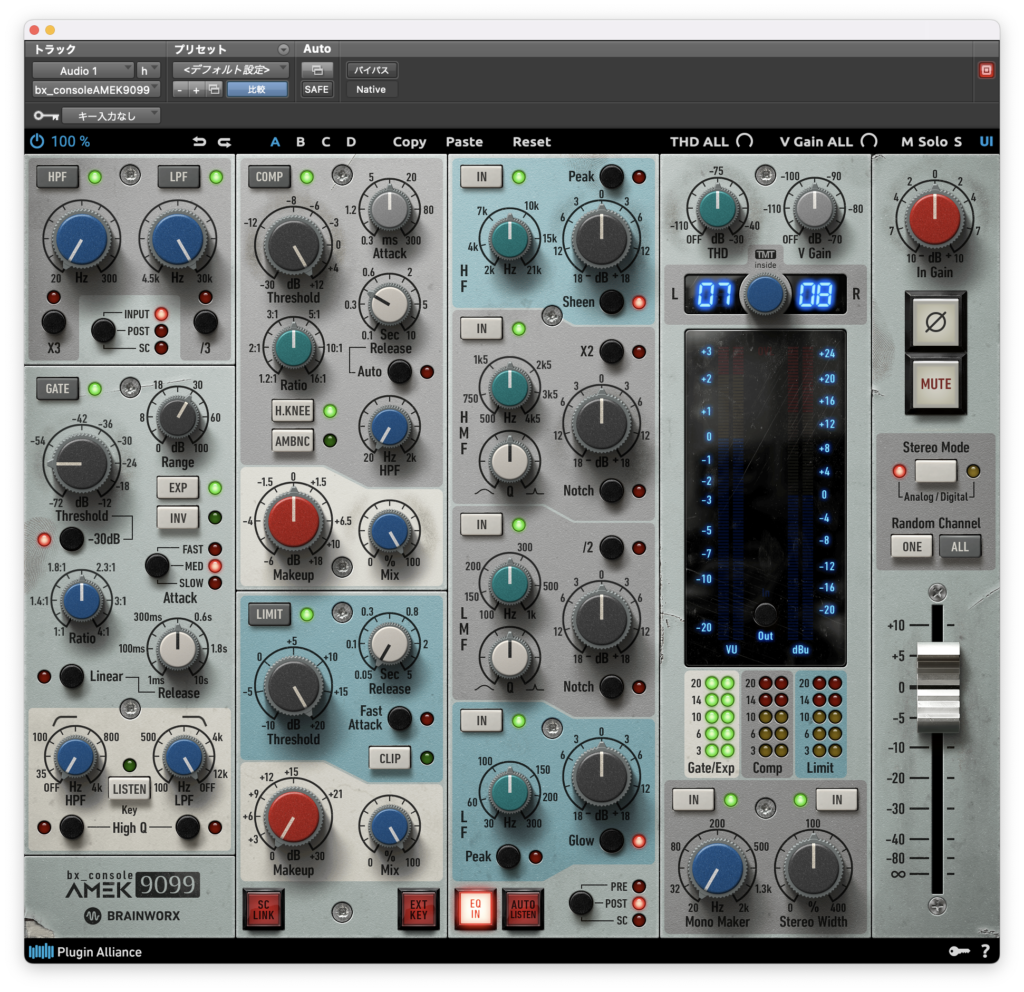
というわけで今回のバイパス↓
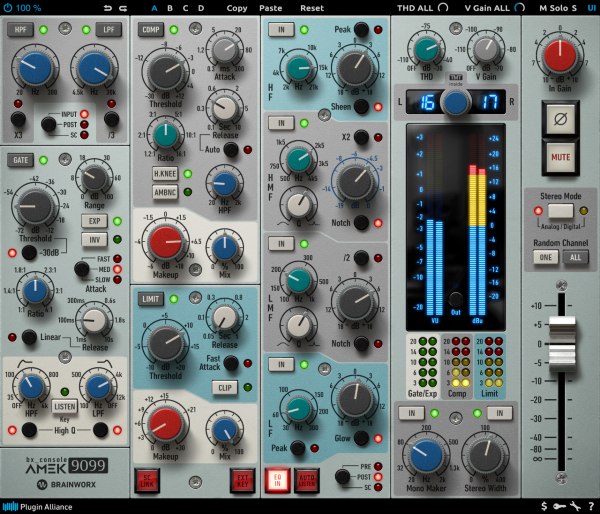
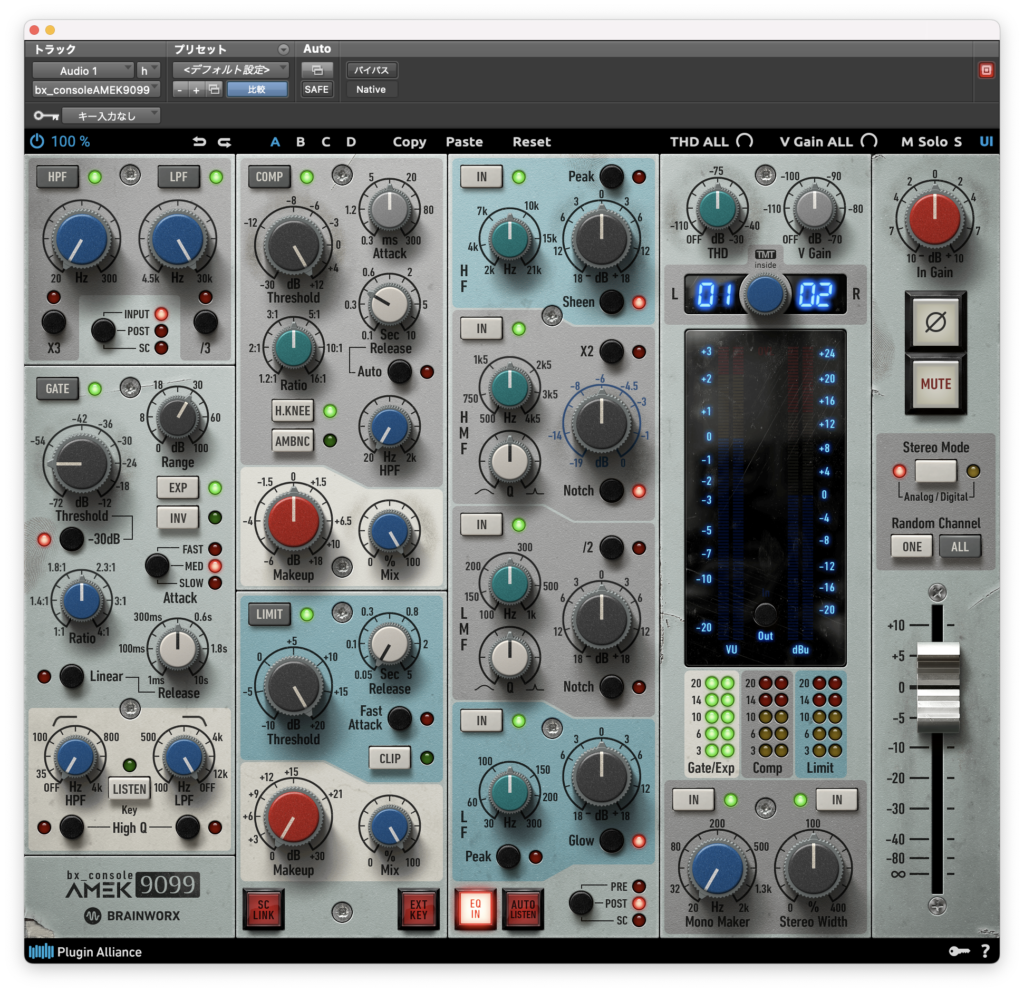
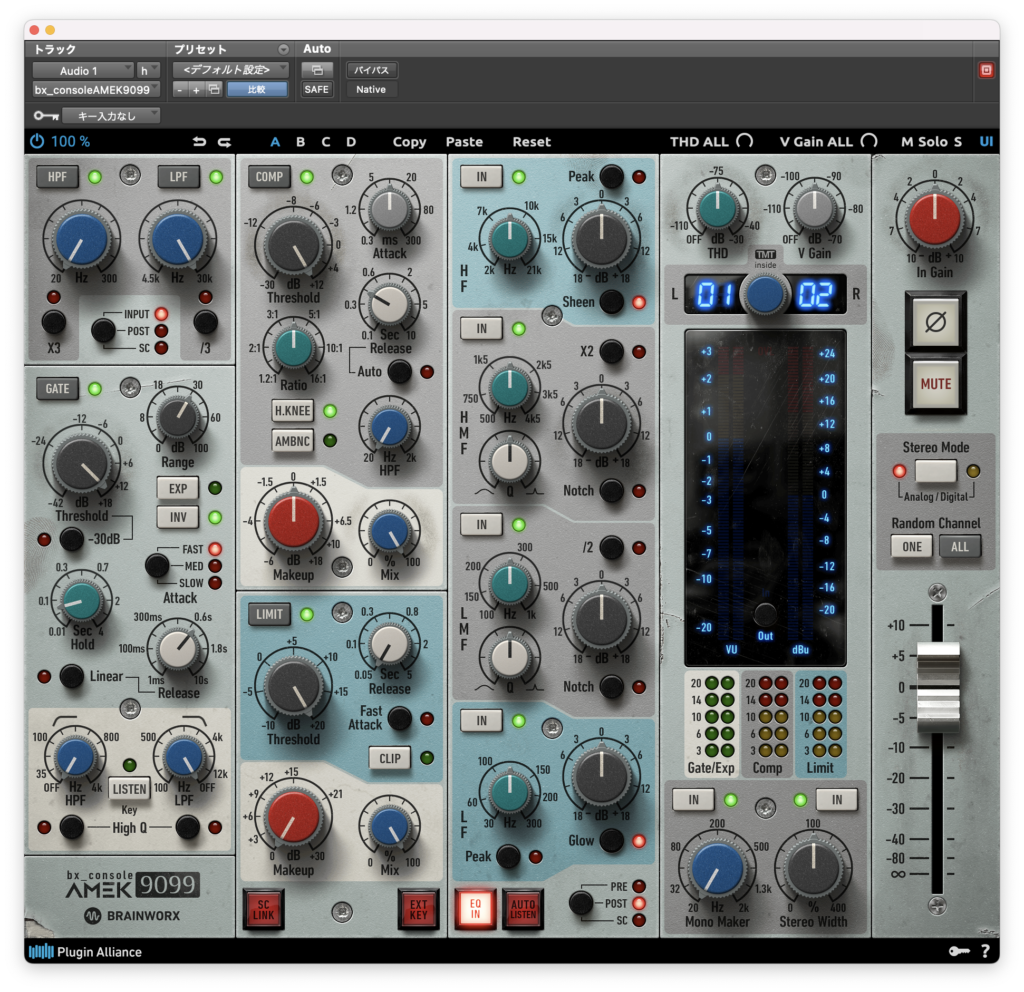
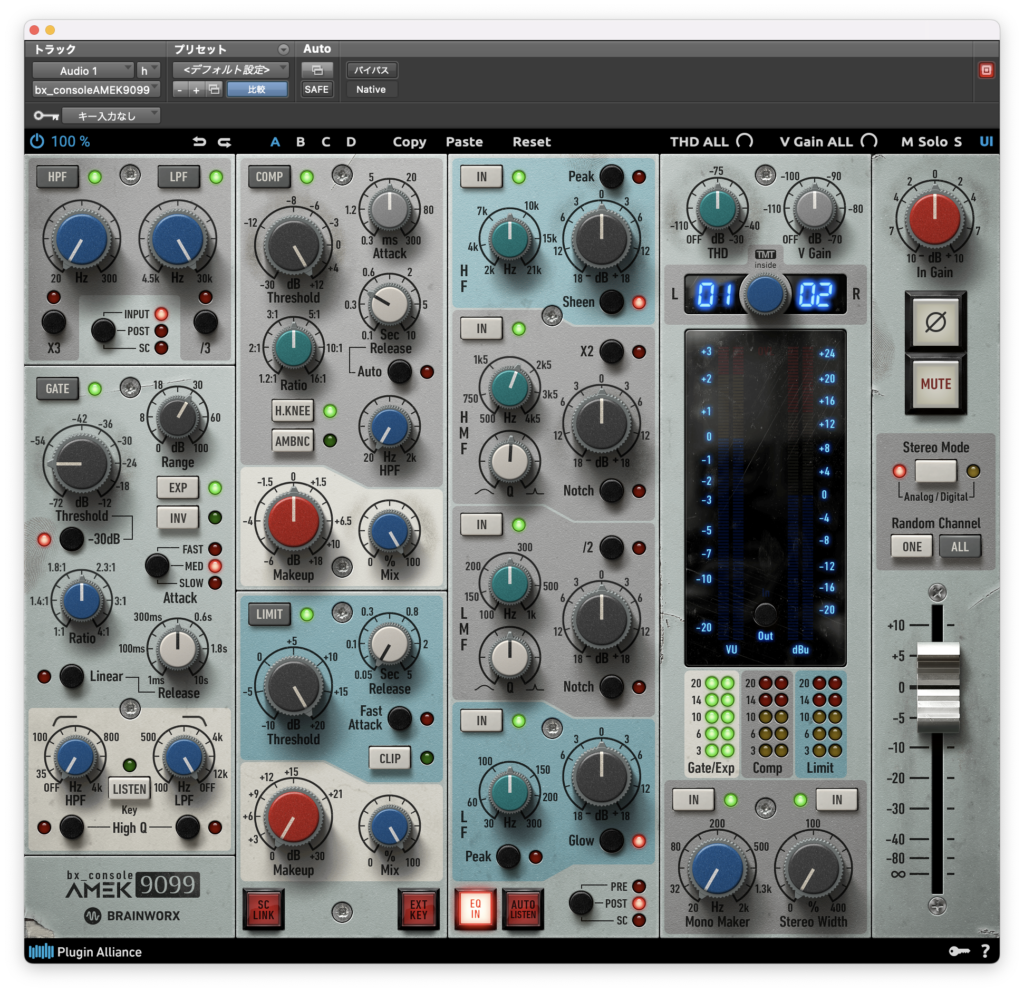
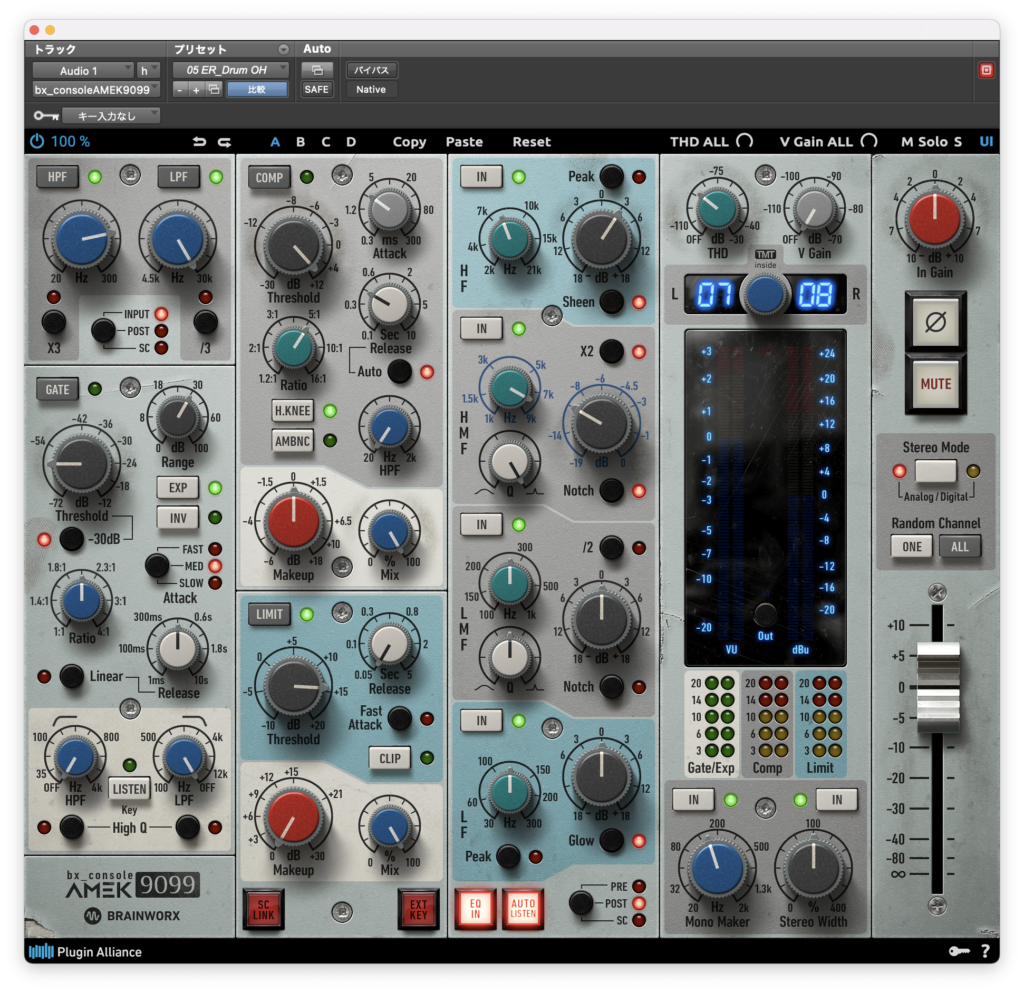
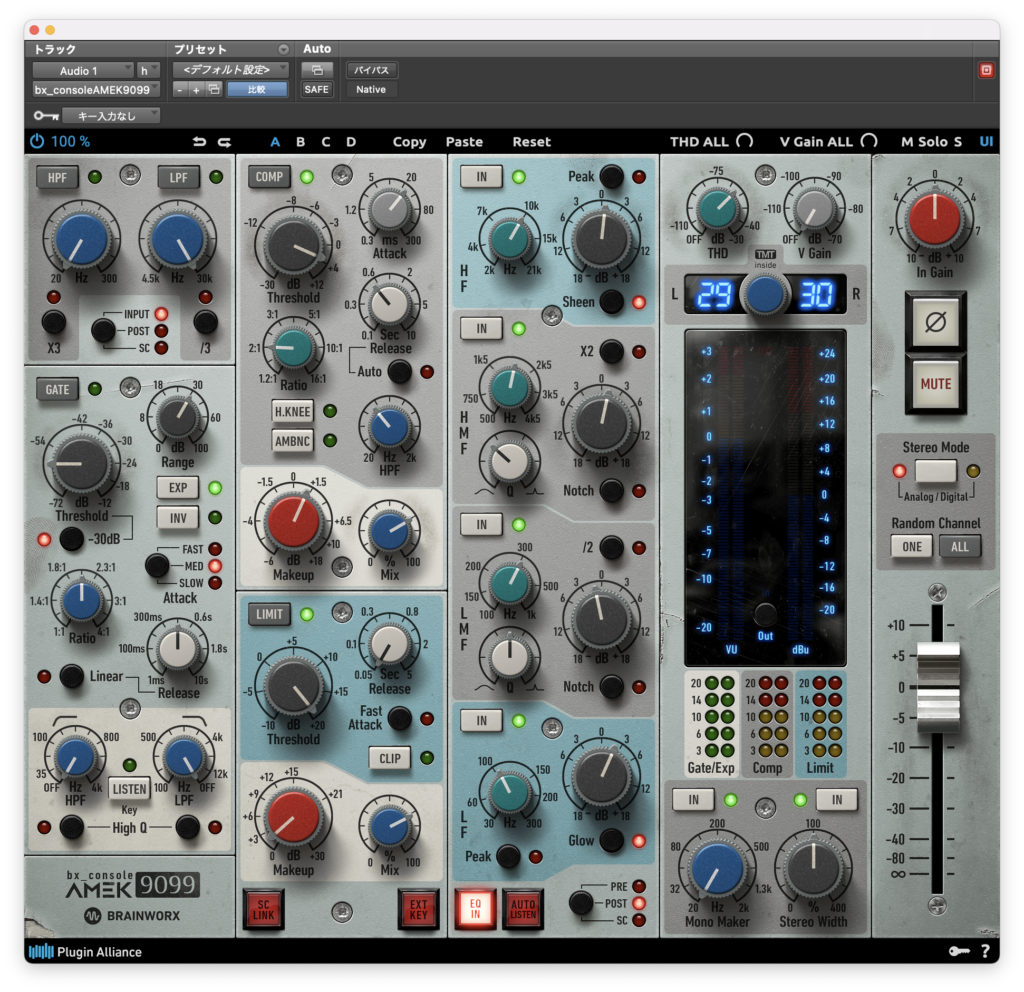
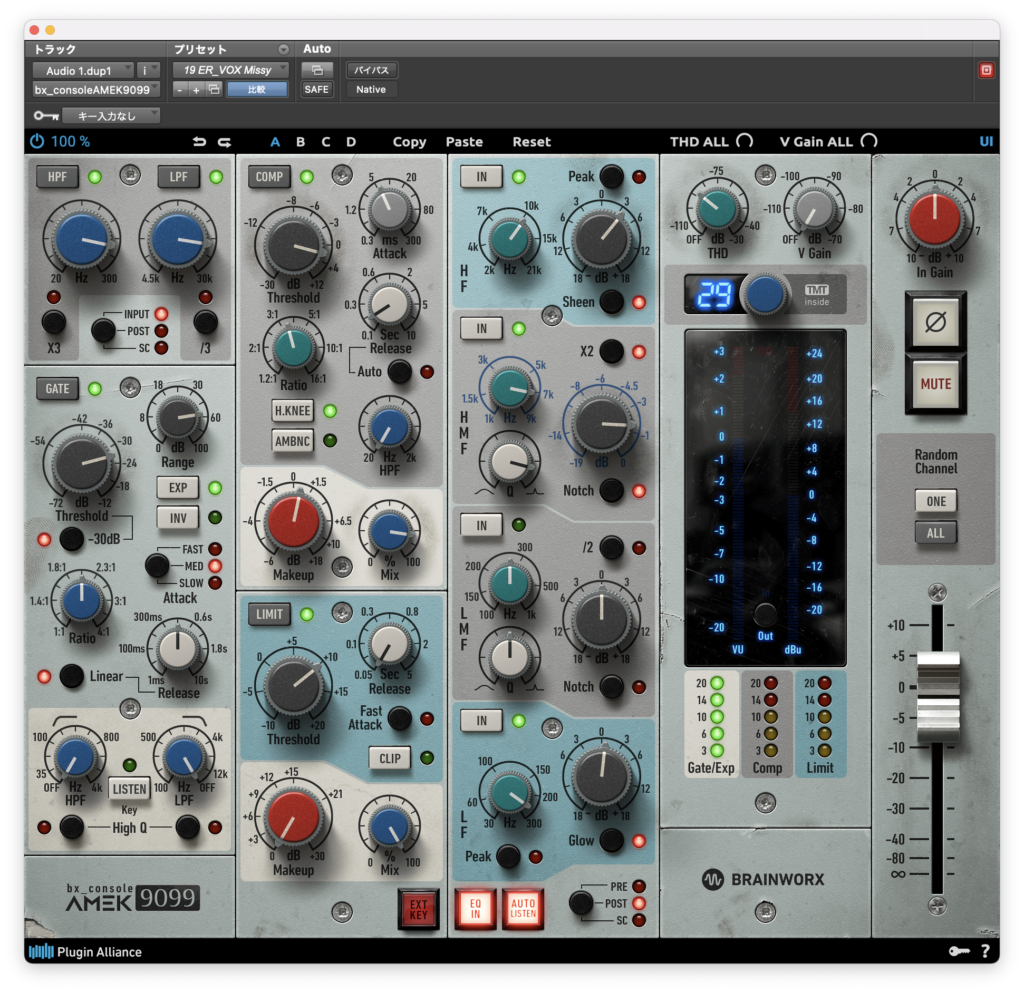
デフォルトだとこんな感じ↓
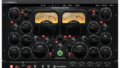
EQ部
EQは中央右に4バンド、なぜか左上にHPFとLPFがあります。
HPFとLPFはINPUTとPOSTのどちらに配置するかを選べる他、コンプレッサーのSC(サイドチェインとしても使えるようです。)
HPFは✖️3、LPFは/3を周波数に適用することもできますね。
HFはデフォルトではShelf型ですがPeak型を選択することができます。
SheenはQ幅の選択ですね。オンの方が広くなるようです。


HMFとLMFは周波数シフトボタン(HMFは✖️2、LMFは/2)を選べる他、Q幅つまみがありますね。
Notchボタンもあり、フィルターの種類が変わります。(カットに特化したカーブ)


LFもHFと同様ですね。GlowがQ幅に関わるパラメーターのようです。


また、EQ部もコンプ及びゲートのPREにするかPOSTにするか、サイドチェインとして使うかを選択できます。
AUTO LISTENボタンはオンにするとその時つまみを動かしているバンドのみをモニターするモードとなります。
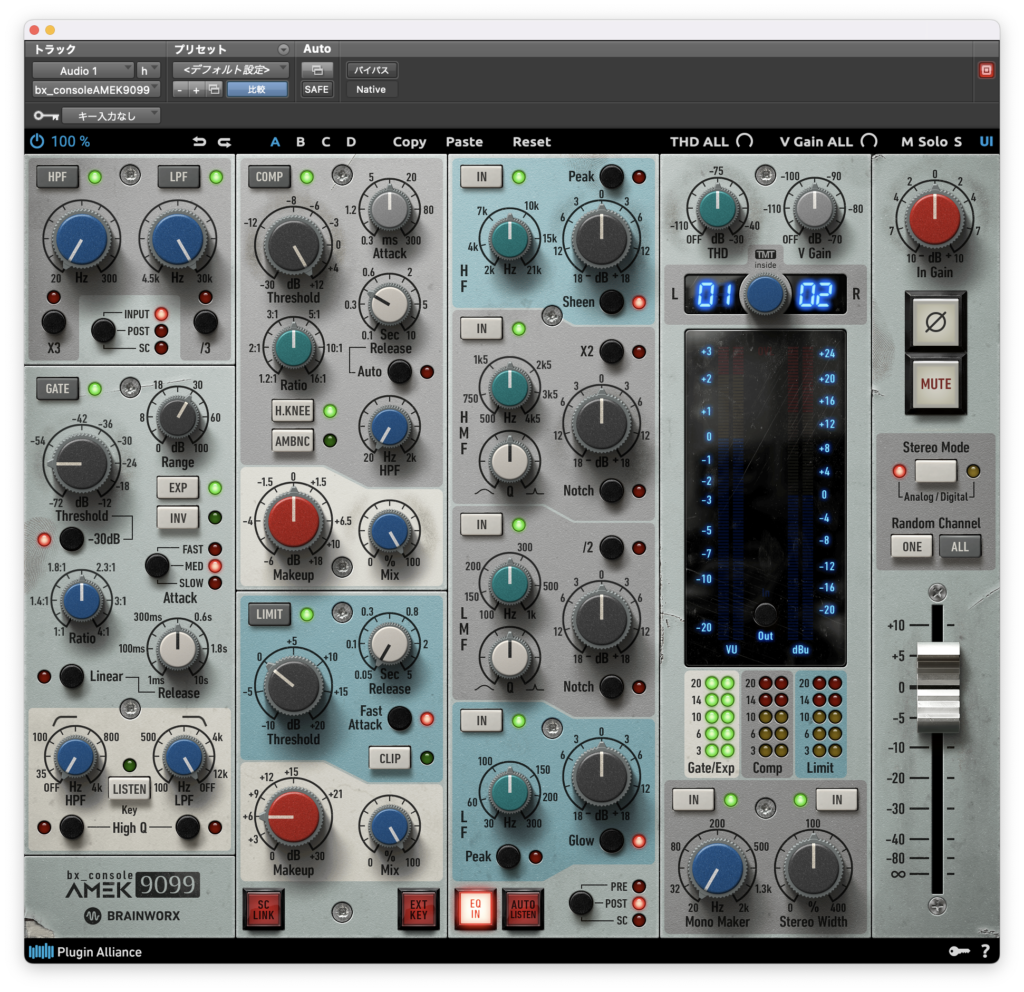
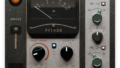
ゲート部
左下のゲート部に移ります。
Rangeでリダクション量を設定してThresholdで閾値を決めるのはよくあるゲートと同じだと思います。
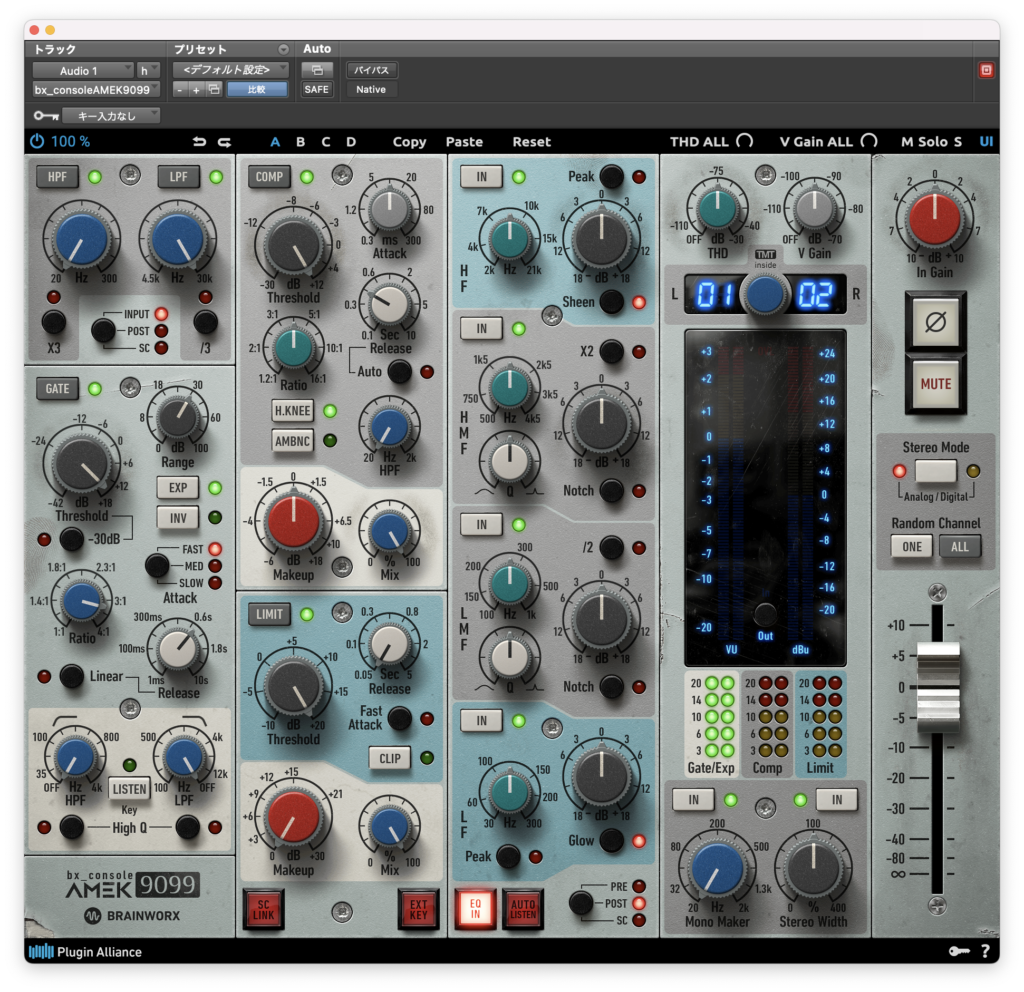
右上のEXPボタンでゲートかエキスパンダーかを選択できるのですが、デフォルトだとエキスパンダーになっていますね。
とりあえずエキスパンダーモードでリダクションが動作するあたりに設定してみました。
ゲートにしてみます。
RatioつまみがHoldに変わっていますね。
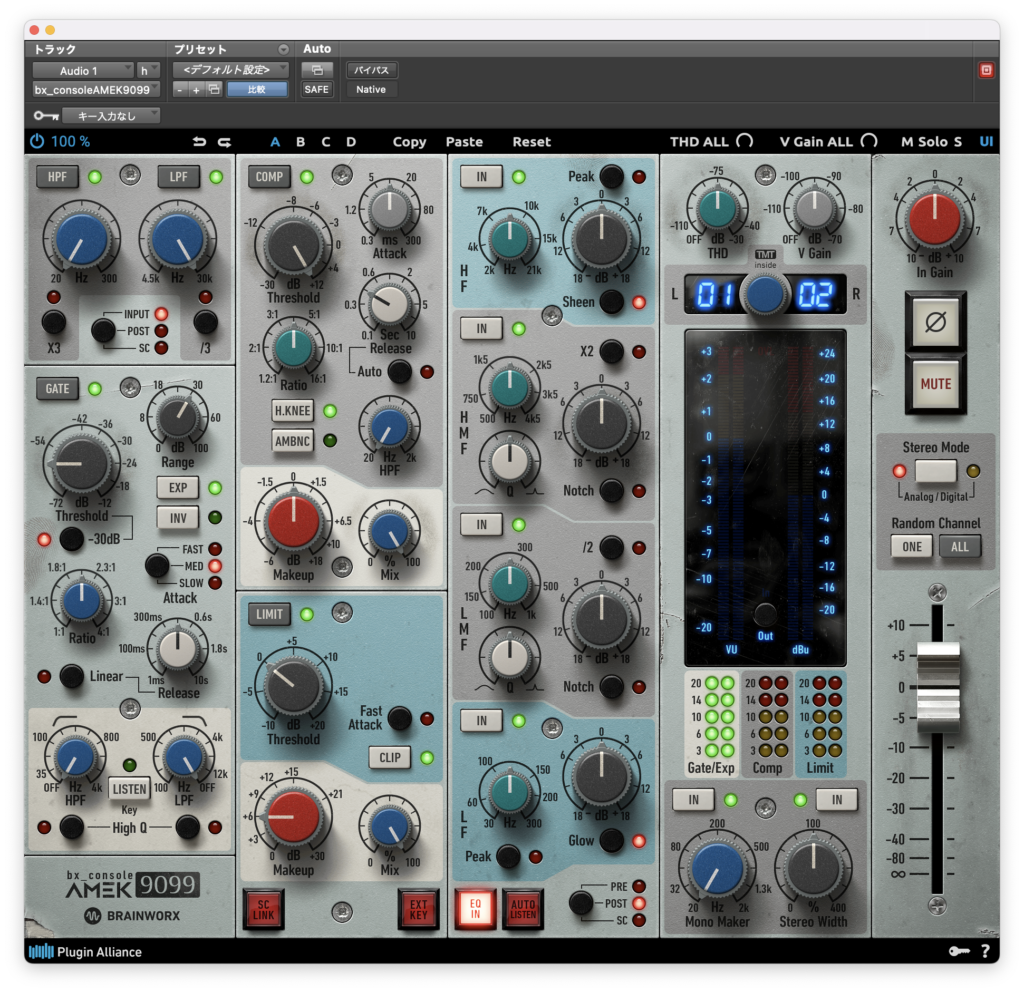
INVボタンをオンにするとGATE部分の動作が逆になります。
Linearボタンはリリースのカーブが変わるそうです。
マニュアルによるとリリース開始時の動作が速くなるそうです。イメージとしてはリリースがハードニーになる感じかな?

下にあるHPFとLPFは共にゲートのサイドチェインフィルターとして動作します。
High Qボタンでより鋭いフィルターとなるそうです。


コンプ部
とりあえずコンプが効いたセッティングにしてみます。


ReleaseをAutoにすることもできますね。

デフォルトではH.KNEEがオンになっていますがこれをオフにするとソフトニーとなるようです。

AMBINCと書かれたボタンがありますが、これはやや特殊なモードで
出力される音が入力信号とリダクションされた信号の差となるようです。

なのでリダクションが起きないレベルの信号の場合出てくる音は無音となります。
コンプのパラメーターはこんなところでしょうか。
リミッター部
こちらもまずはリミッターがかかる設定にしてみます。


Releaseを変えてみます。


Fast Attackで早いアタックも選択できるようです。
CLIPでクリッパーモードにもなります。
SC LINKボタンは左右のチャンネルに同じリダクションを行うようにする作用があります。(デフォルトは左右で別々のリダクションを行なっている)

EXT KEYは外部入力信号のレベルでリダクションを起こすボタンですね。
その他
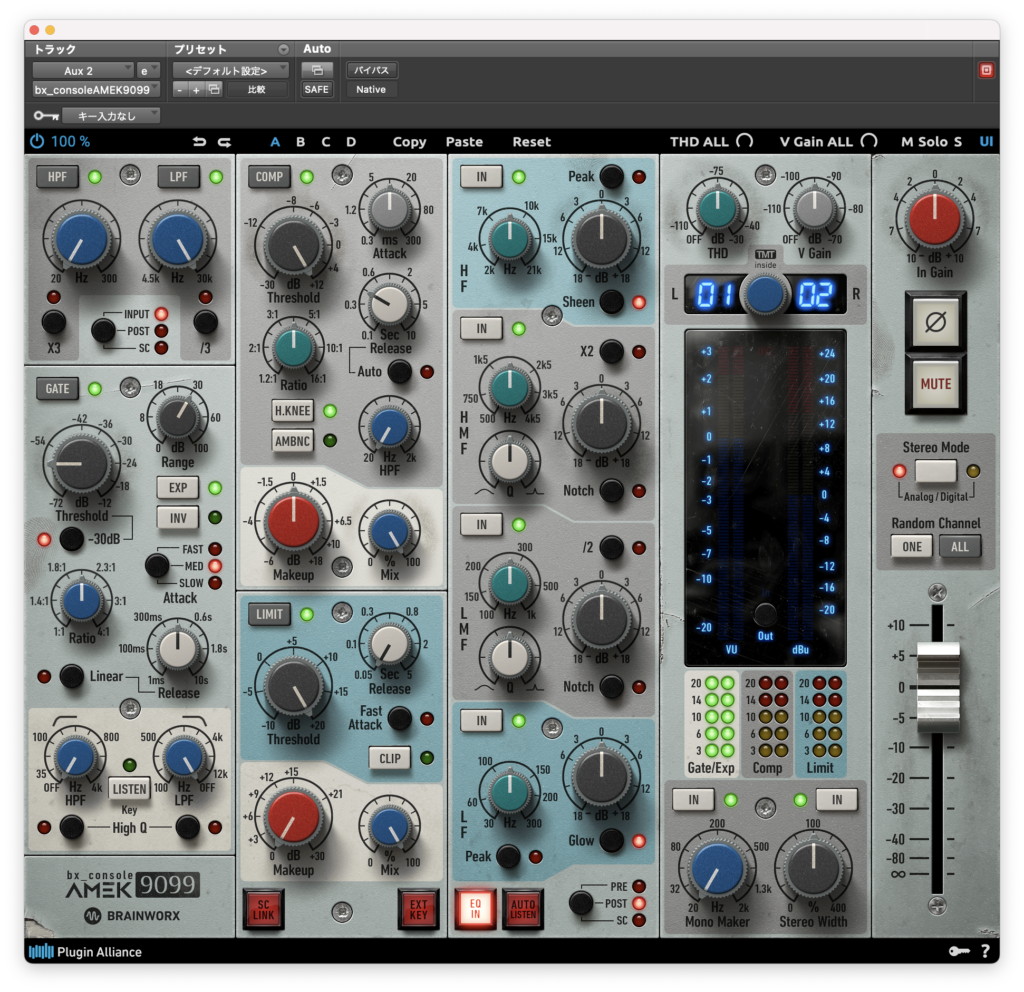
右の2列にはその他のパラメーターがあります。
THDはサチュレーションの強度を設定するパラメーターです。


V Gainは実機のノイズをシュミレートするパラメーターのようです。


その下にあるTMTはチャンネルの違いによる音の違いをシュミレートするBrainworksお馴染みのパラメーターですね。


下にあるMono Makerは下の帯域をモノラルにするパラメーターですね。


Stereo Widthは左右の広がりをコントロールするパラメーターですね。

右にあるStereo ModeはAnalogだとTMTが左右で1つ違いのチャンネル(デフォルトだと01と02)になり、
Degitalだと同じチャンネル(デフォルトだと01と01)となるようです。
Random ChannelのONEはこのプラグインのTMTをランダムに変えるボタンで
ALLは他にインサートしているTMT機能を持つプラグインもランダムに変えるボタンです。
その他インプットレベルのIn Gain、位相反転ボタンやミュートボタン、アウトプットレベルのフェーダーなどがありますね。
プリセット
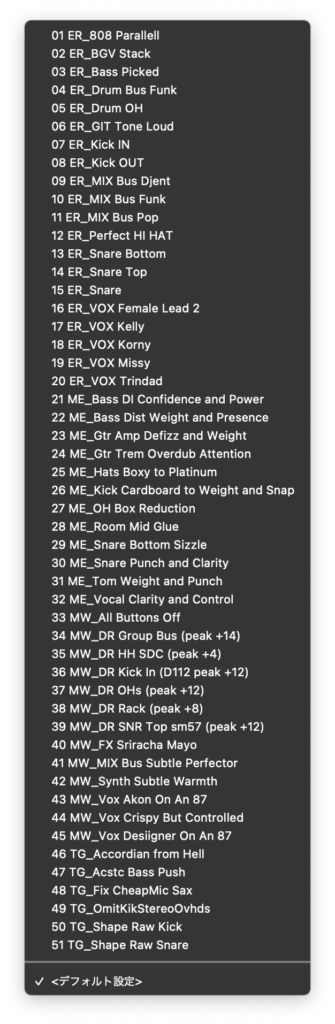
ここからはプリセットを使って音を確かめてみましょう。


最後に自分で適当にパラメーターを振ってみます。
ややハイ上がりではありますが元気な音になりましたね。
アコースティックギター
アコギでも試してみます。まずバイパス↓
デフォルトだとこんな感じ↓
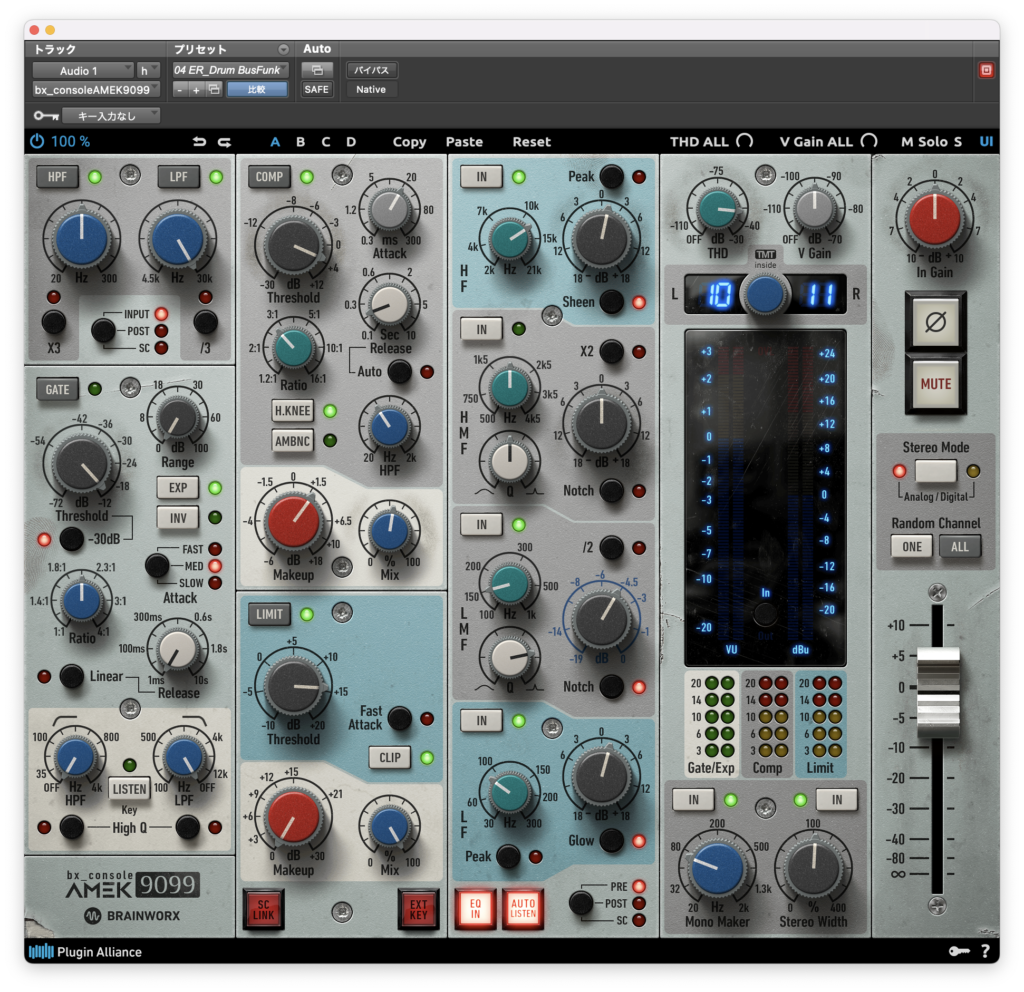
プリセットを試していきます。

最後に自分で適当にパラメーターを振ってみます。
暖かい感じになったかなと思います。
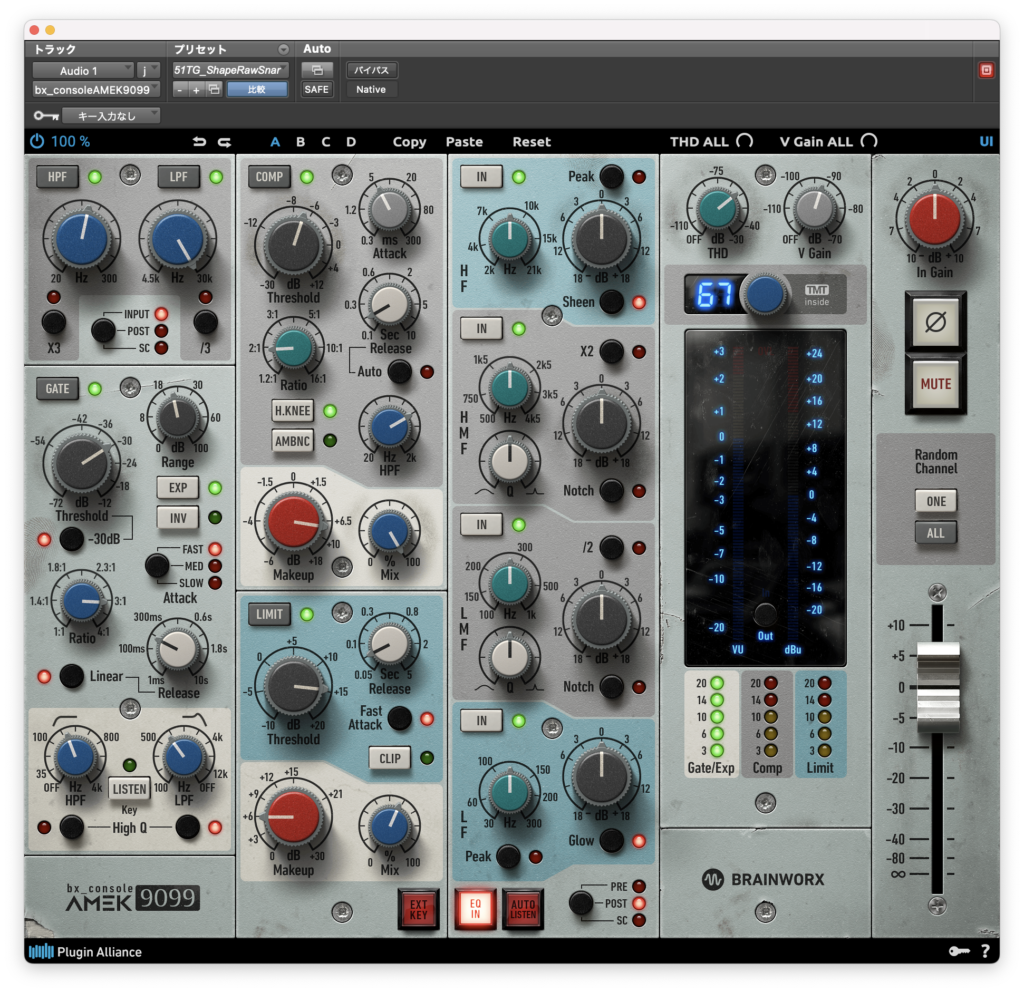
スネア
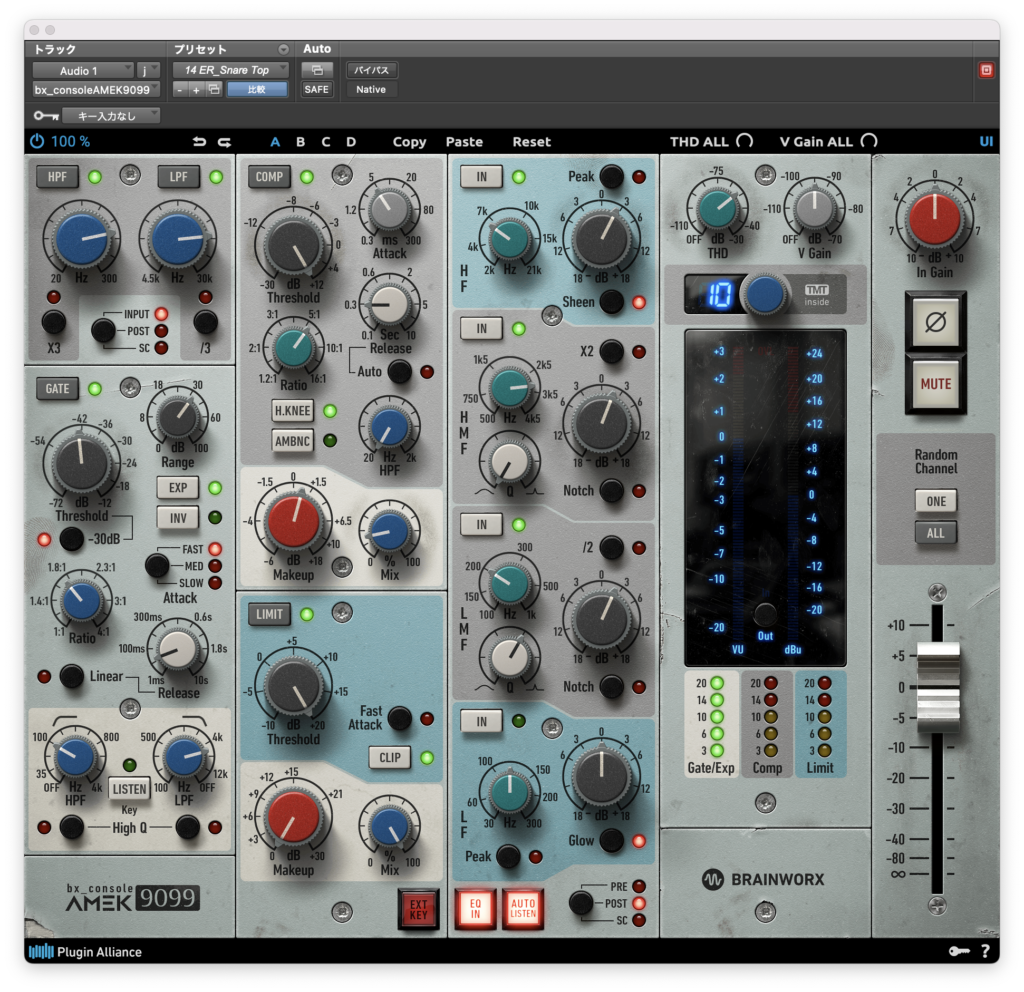
スネアでも試してみます。バイパスはこちら↓
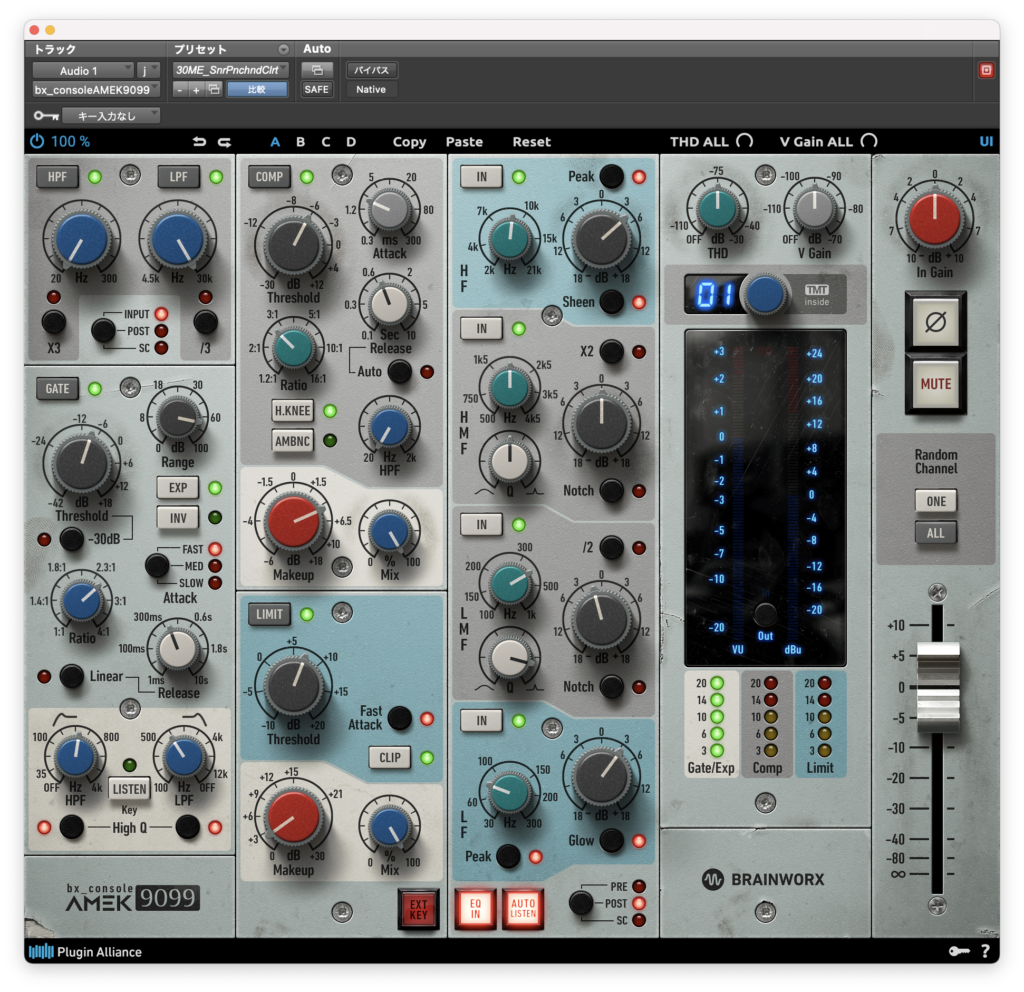
デフォルトだとこんな感じ↓


最後に自分で適当にパラメーターを振ってみます。
割といい感じに音が立ったかなと思います。
ベース
最後にベースでも試してみます。まずバイパス↓
デフォルトだとこんな感じ↓
プリセットを試していきます。


最後に自分で適当にパラメーターを振ってみます。

なかなかゴリゴリとした音になりましたね。
まとめ
やや中域の密度が増え元気な音になるような気がします。
癖の強いタイプではなく比較的素直な音をしているので使いやすいプラグインなんじゃないかなと思います。
今回試した中ではベースとスネアが割といい感じだったのではないでしょうか。
ショップサイトはこちら↓
前回のBrainworxの記事はこちら↓
今月のプラグインセール情報をまとめてみました。
よかったら見ていってください。


コメント