
今回はErica Synthsの「Zen Delay Virtual」について書いていこうと思います。
Zen Delay Virtual
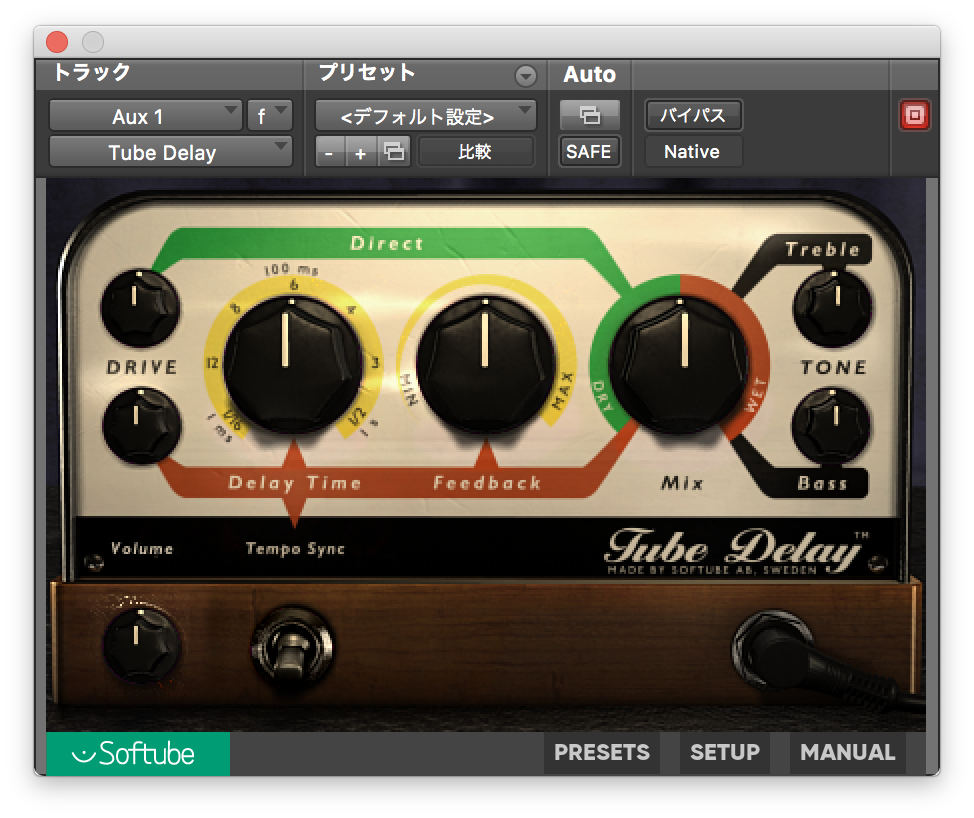
シンプルなUIのディレイプラグインですね。
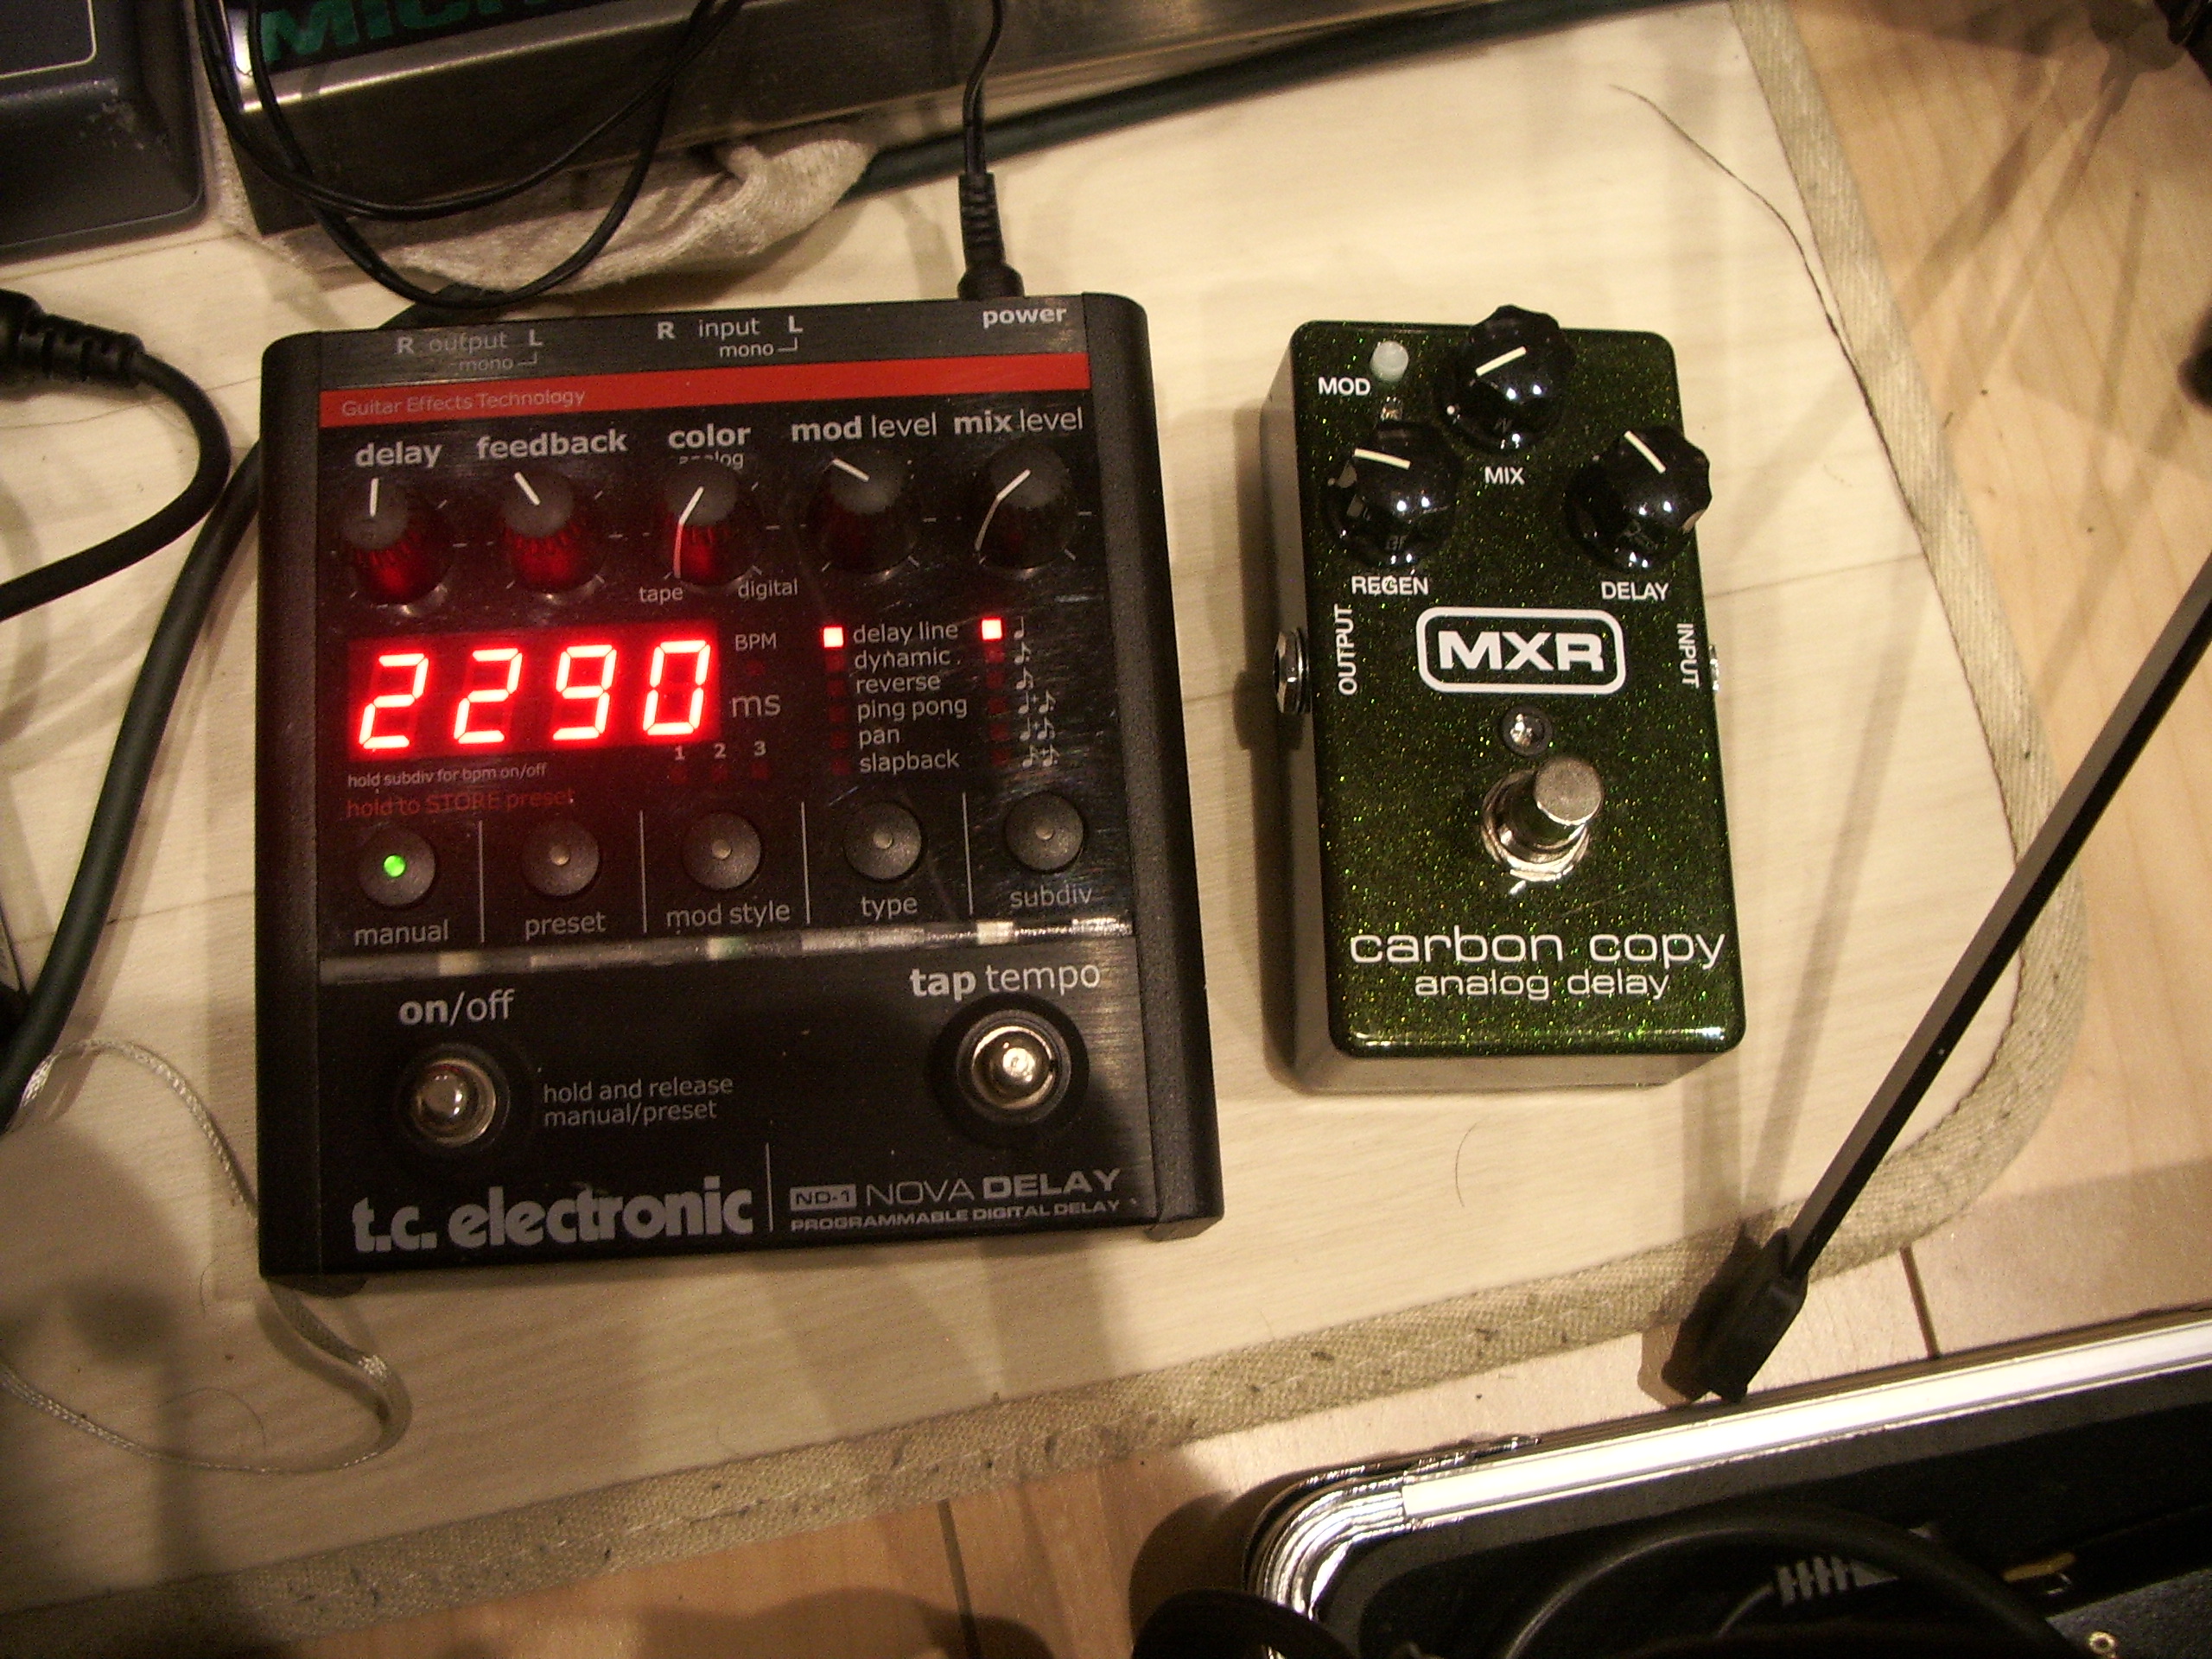
つまみはMXRのエフェクターでよくみるあの形に見えます。
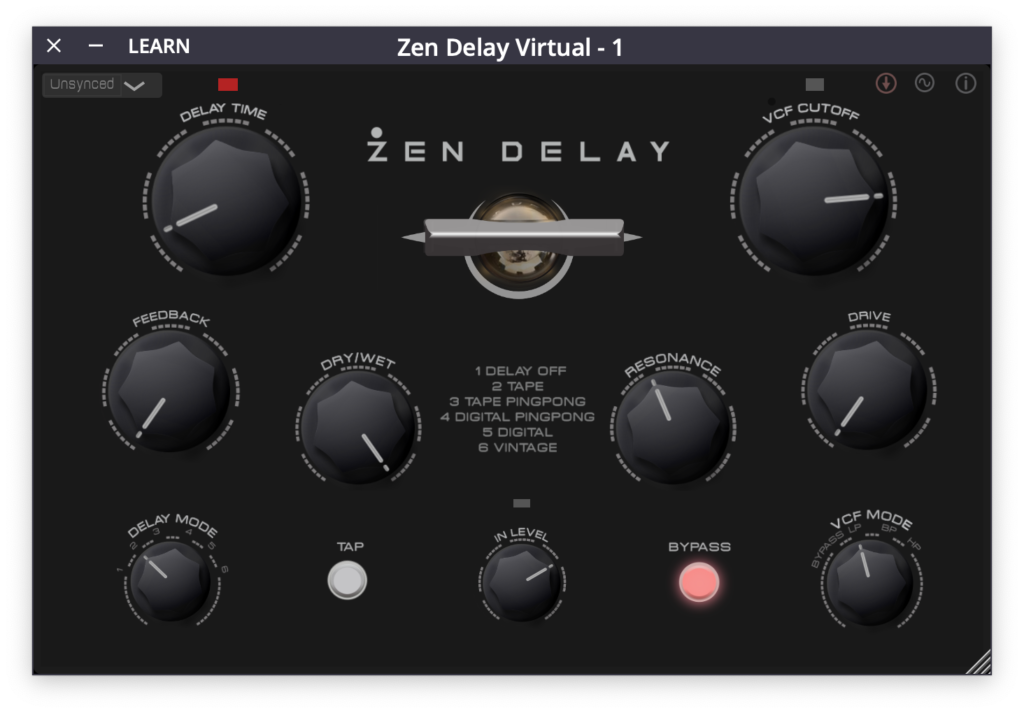
それでは順番にみていきましょう。今回のバイパス↓
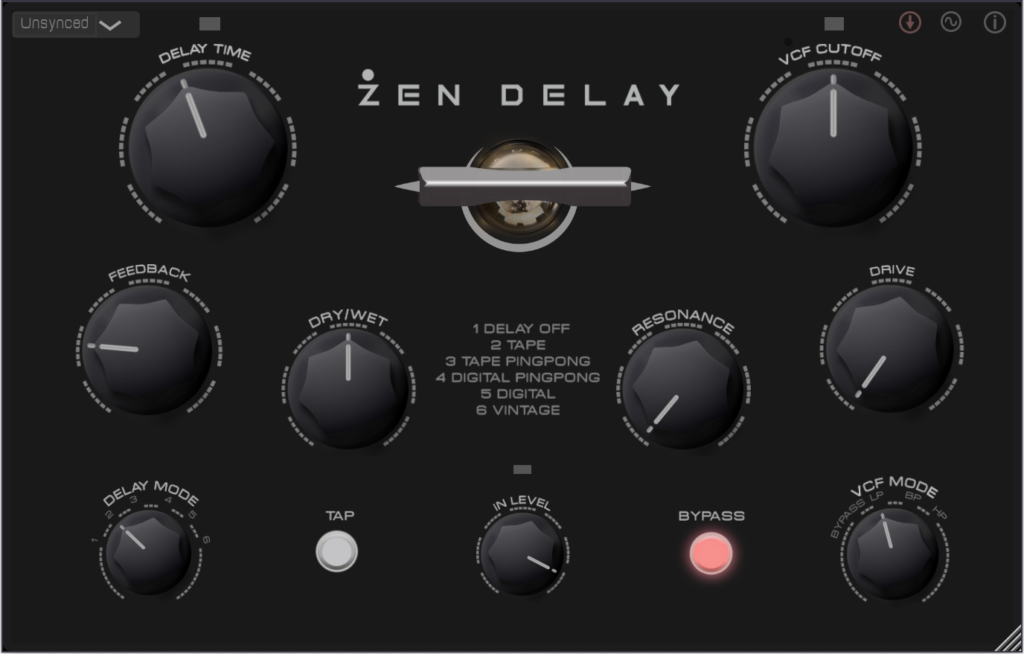
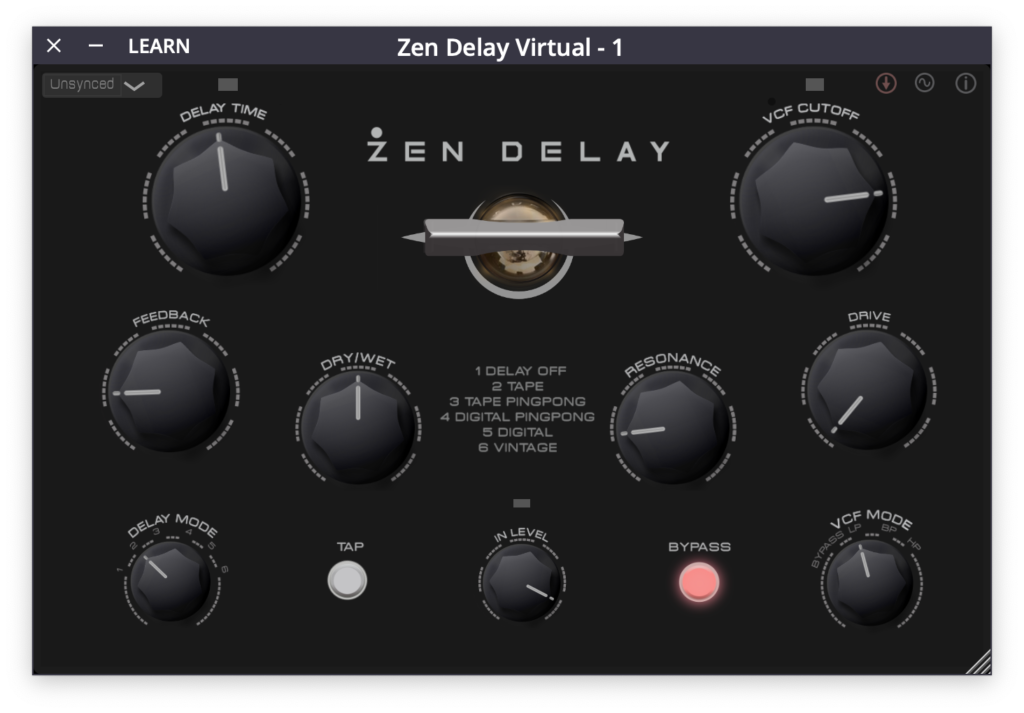
デフォルトだとこんな感じ↓
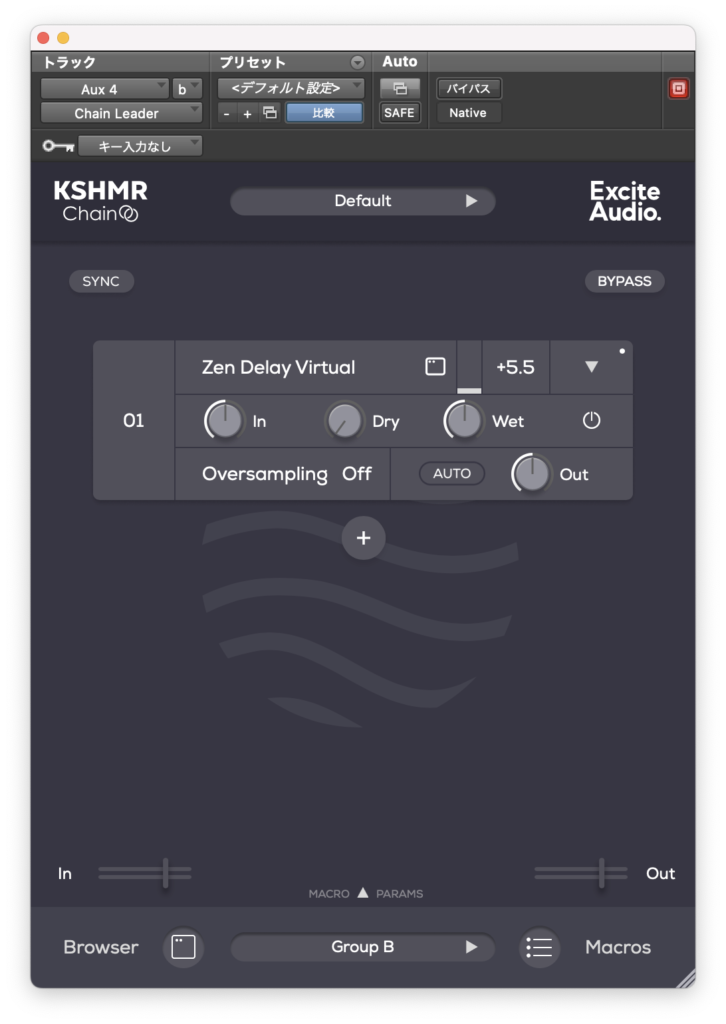
ちなみにZen Delayはaax版がなかったのでKSHMR Chain上に読み込んで使用しています。

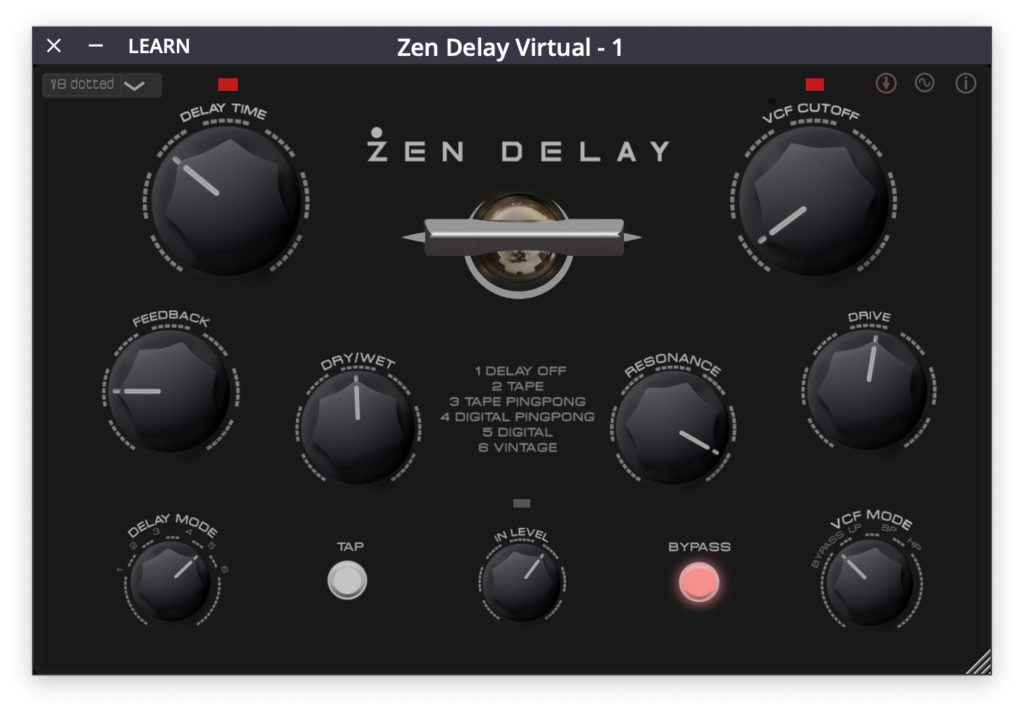
まず左半分のパラメーターから。
こちらにはディレイの基本的なパラメーターが並んでいます。
DELAY TIMEは3ms〜5sの範囲で設定できるようです。


FEEDBACKで繰り返すディレイ音の量を調整します。

左下のDELAY MODEでディレイの種類が選べます。モードの名前は中央にありますね。

(以下設定は同じ)
右半分には主にフィルターに関するパラメーターがあります。
VCF CUTOFFはフィルターのかかる周波数を設定します。

RESONANCEでフィルターを通す回数を設定します。


DRIVEは歪みの回路ですね。
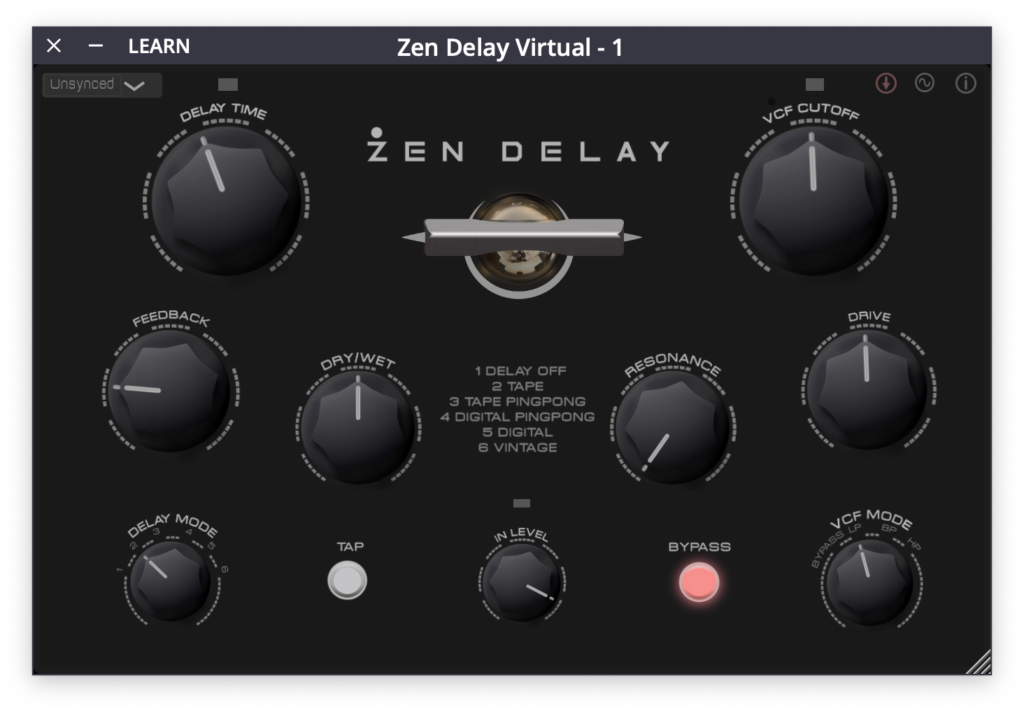

どうやらこのDRIVEはDRY音にもかかっているようですね。
右下でフィルターの種類を選択します。
LP(ローパスフィルター)BP(バンドパスフィルター)HP(ハイパスフィルター)とフィルターをオフにするBYPASSから選ぶことができます。


ここの画面のパラメーターはこんな感じですね。
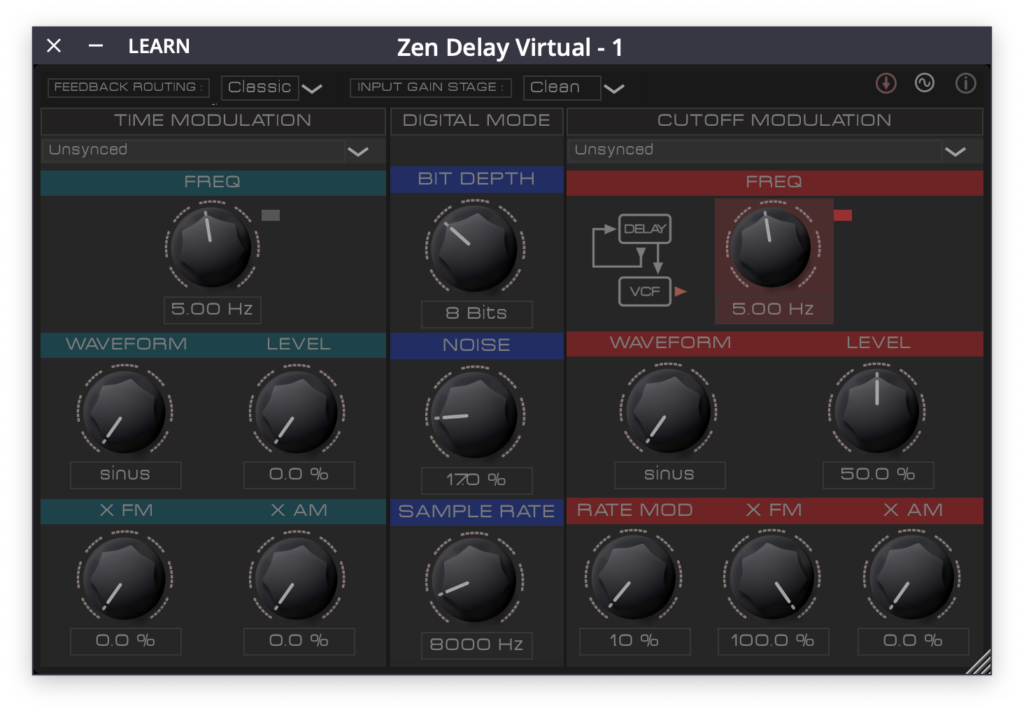
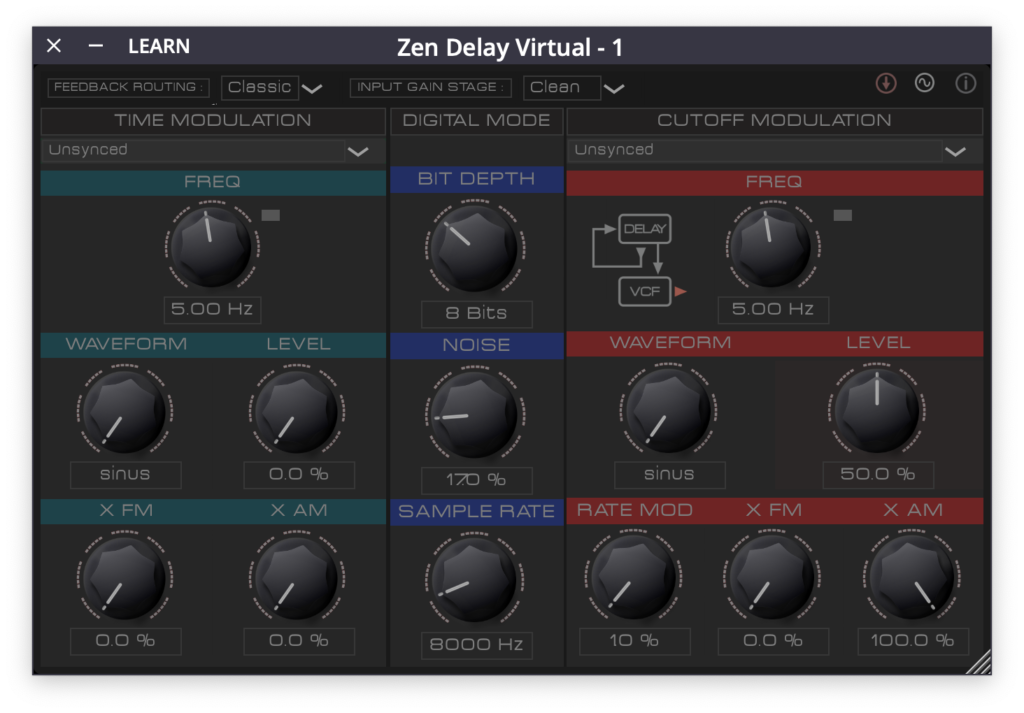
右上の正弦波みたいなボタンを押すとモジュレーションの設定画面に移ります。

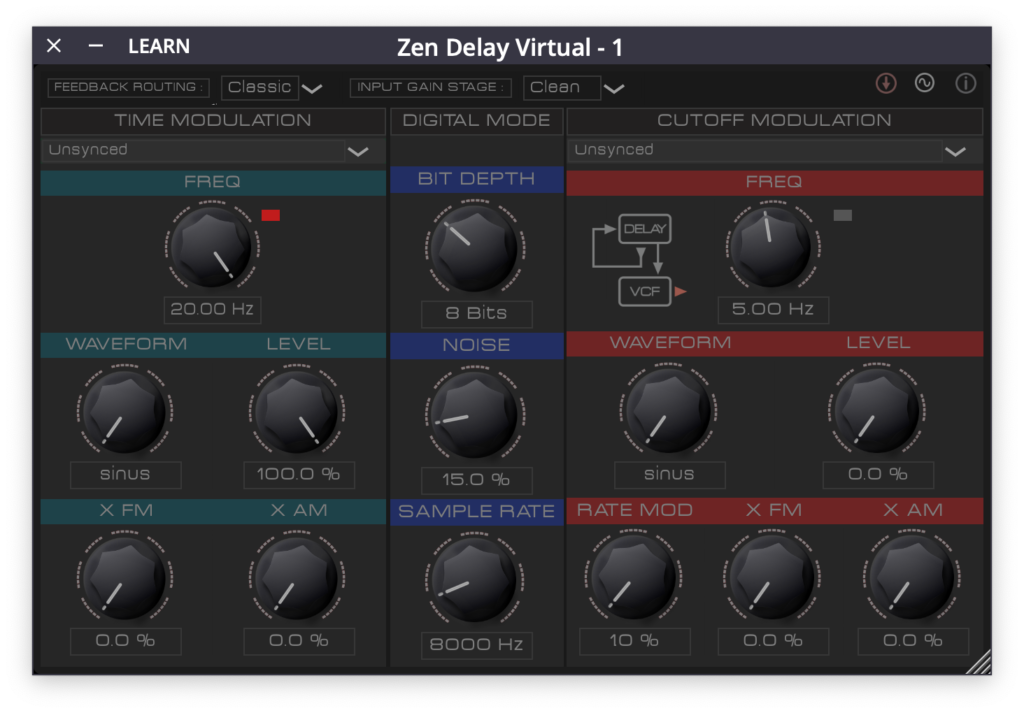
左にあるTIME MODULATIONはその名前の通り、DELAY TIMEにかかるLFOな訳ですが、
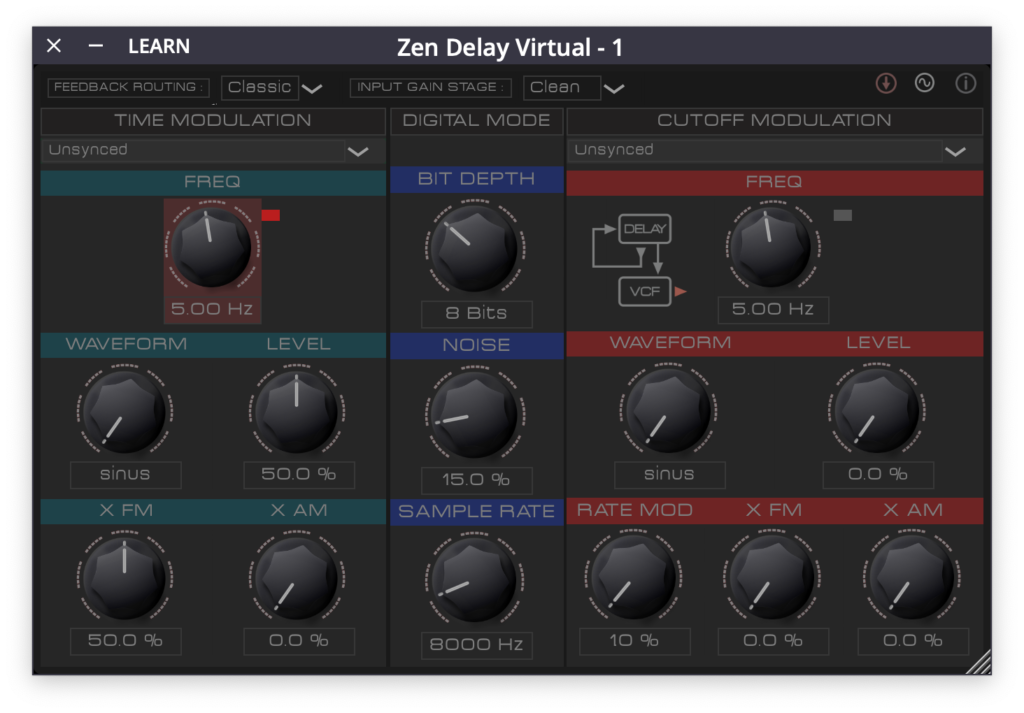
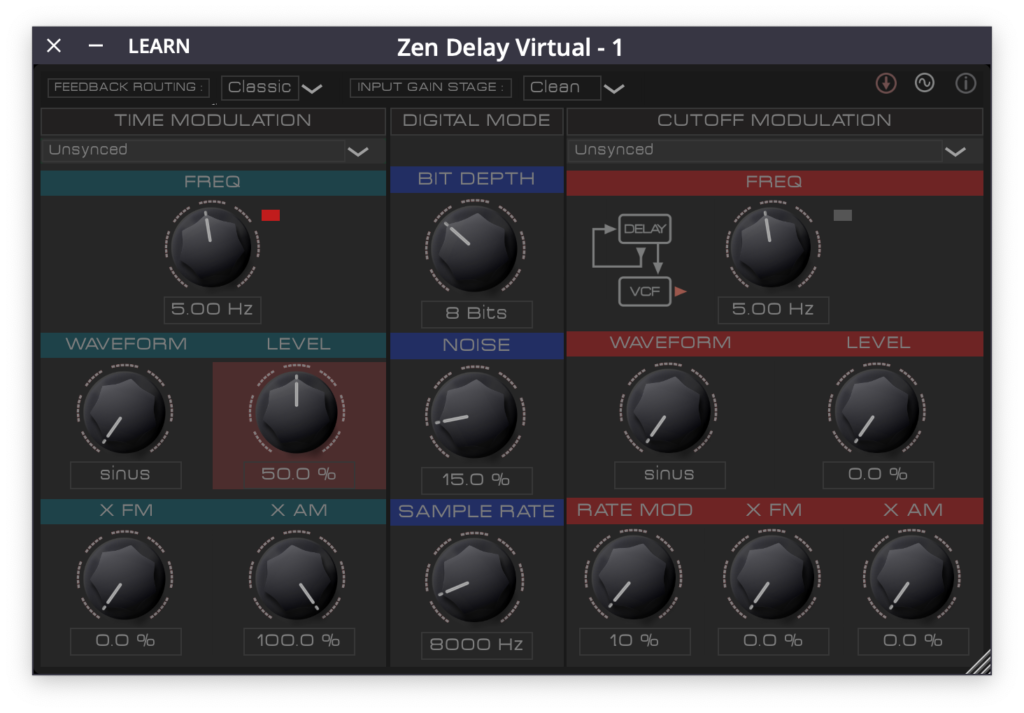
どうやらFREQがRATEでLEVELがDEPTHに相当するようです。
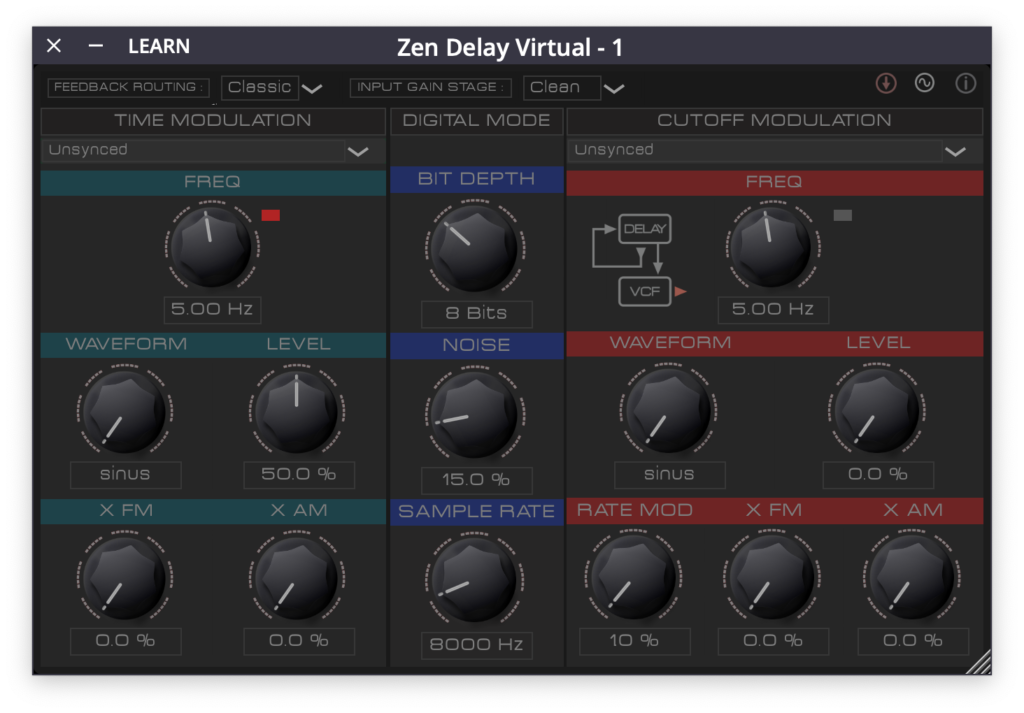
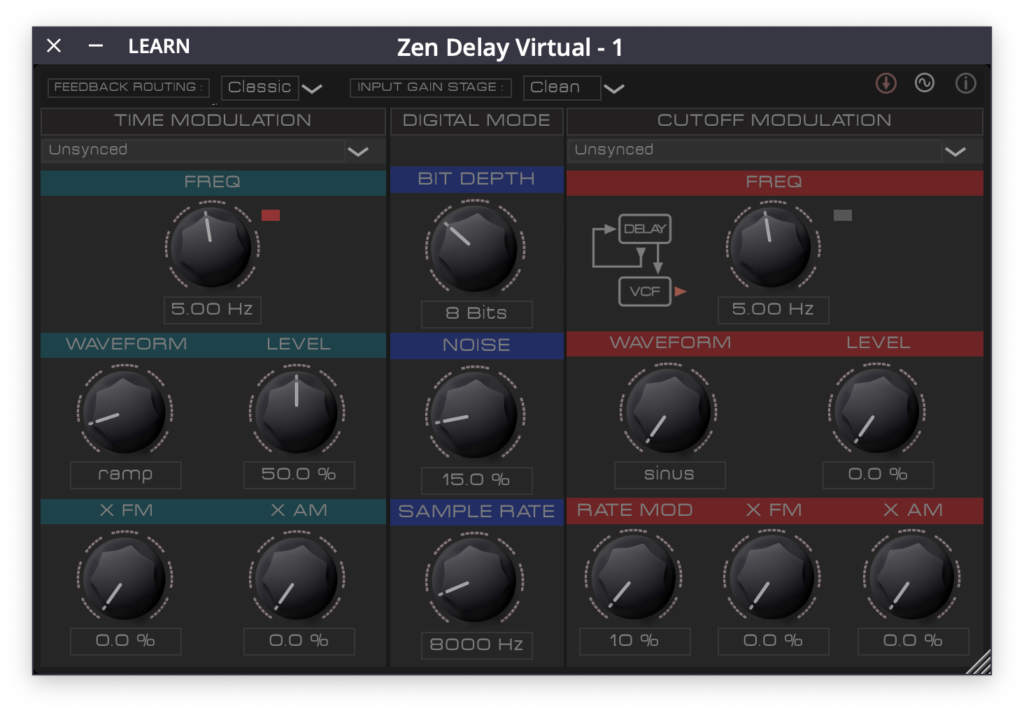
WAVEFORMがLFOの波形ですね。


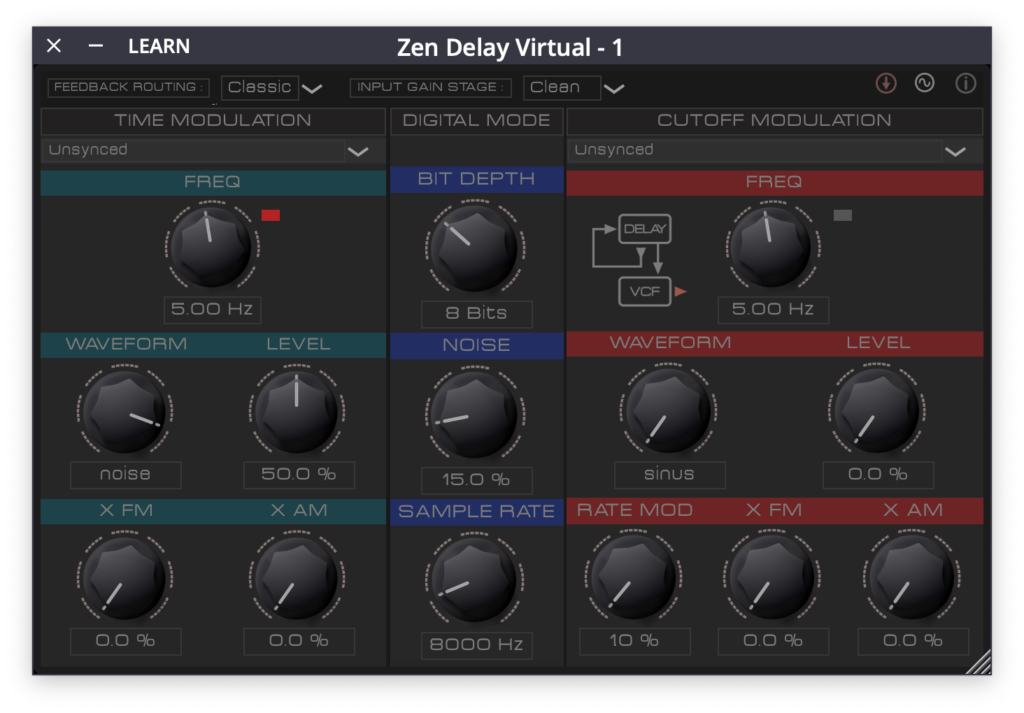
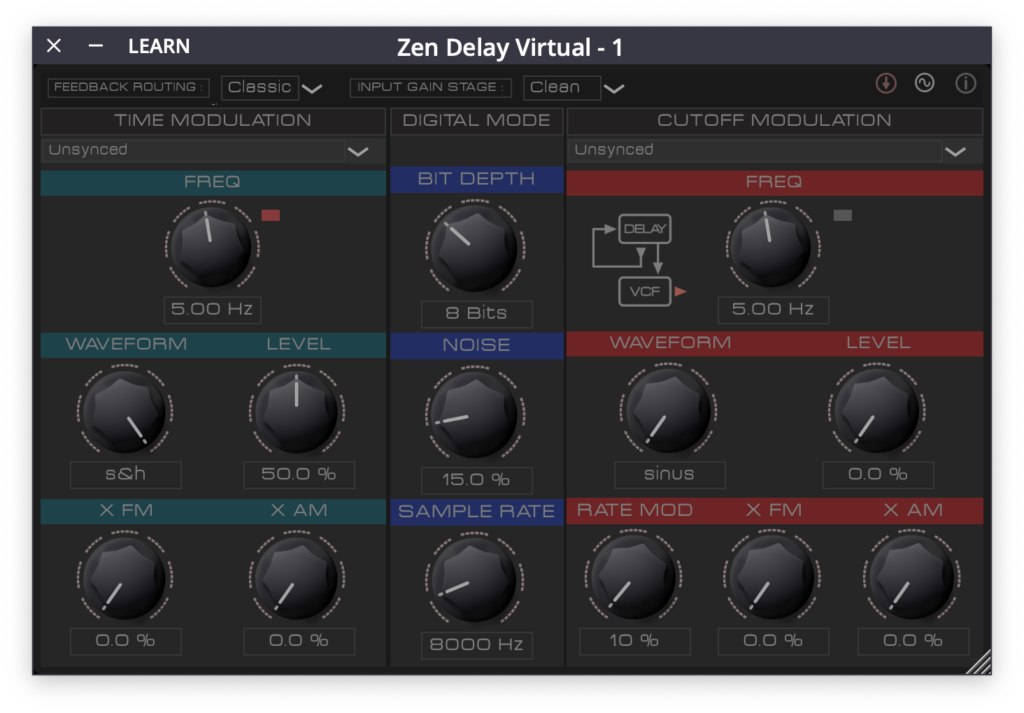
s&hというのはsample & holdのことでランダムの矩形波みたいなものだと思います。
下のX FMはcross-frequency-modulationとのことですが、FREQつまみにかかるLFOなのかなと思います。

X AMはcross-amplitude-modulationで、LEVELにかかるLFOかなと思います。

中央のDIGITAL MODEはDELAY MODEがDIGITALのみで作用するみたいなのでMODEを5にします。
BIT DEPTHはビットレートの操作ですね。
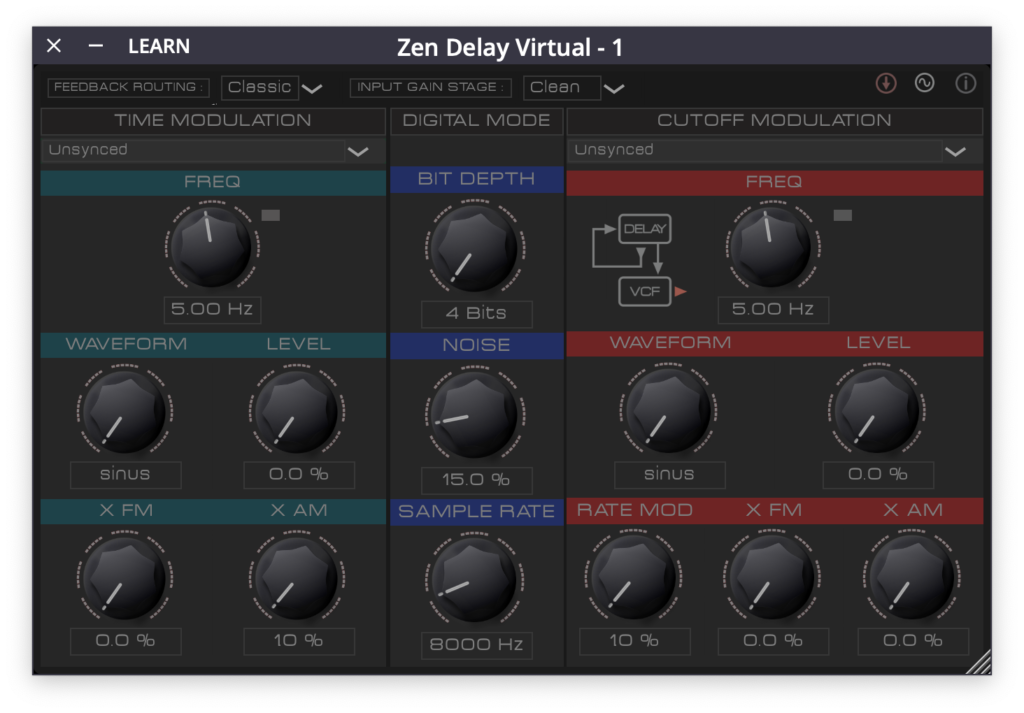

NOISEはホワイトノイズを加えることでややローファイな質感を与えるというパラメーターだそうです。


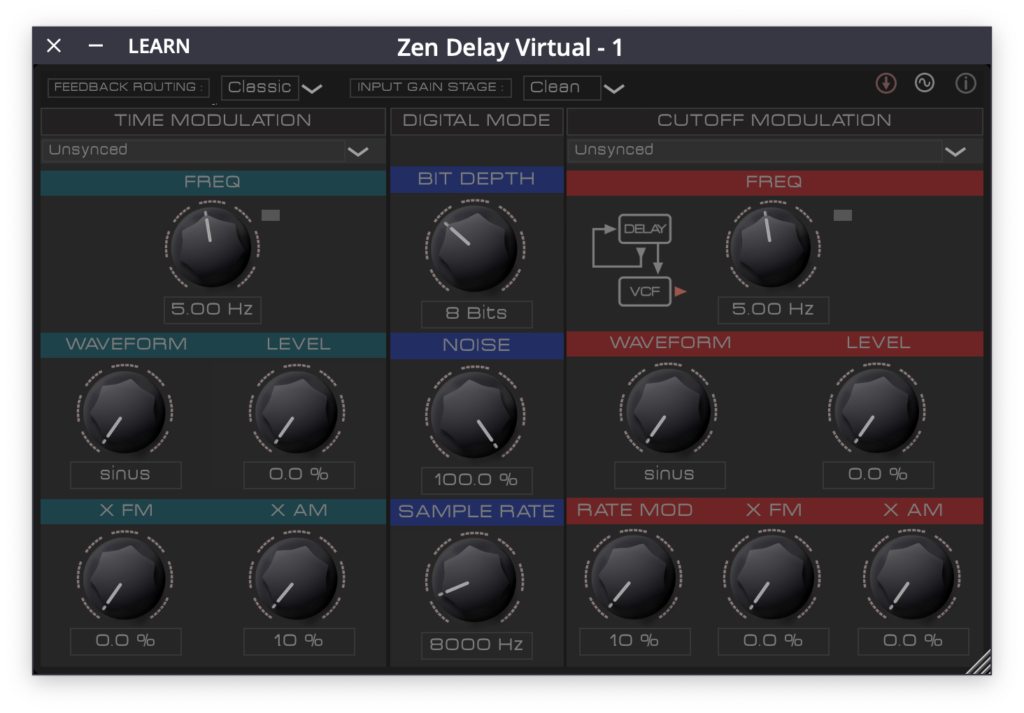
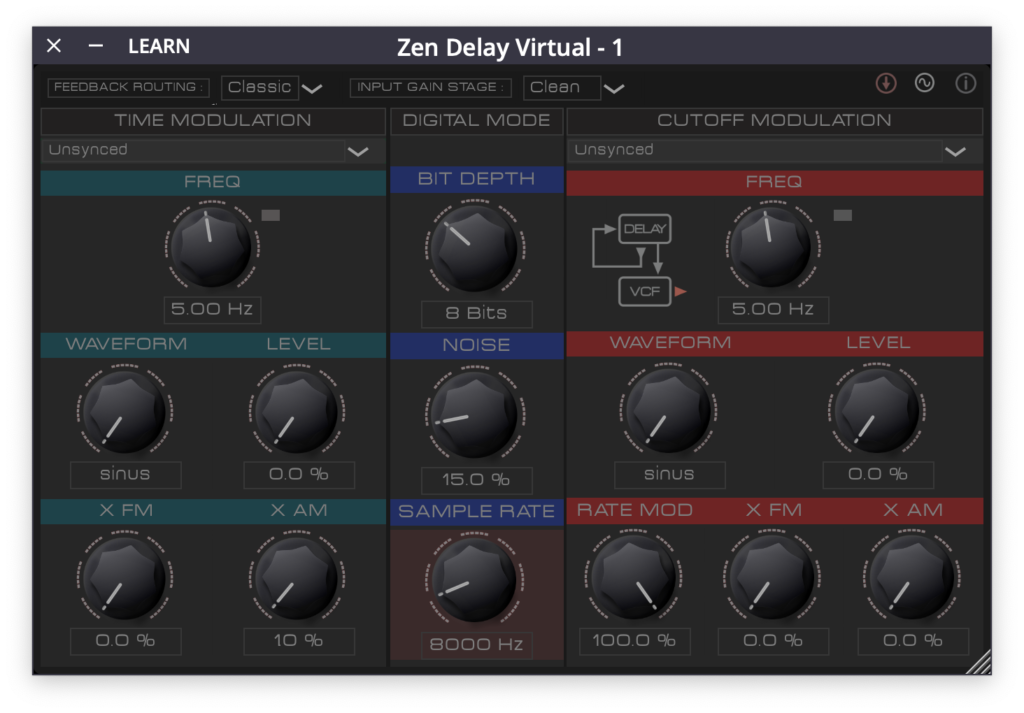
SAMPLE RATEはサンプリング周波数のコントロールですね。


一つ右にRATE MODとありますがこれはSAMPLE RATEにかかるLFOのようです。

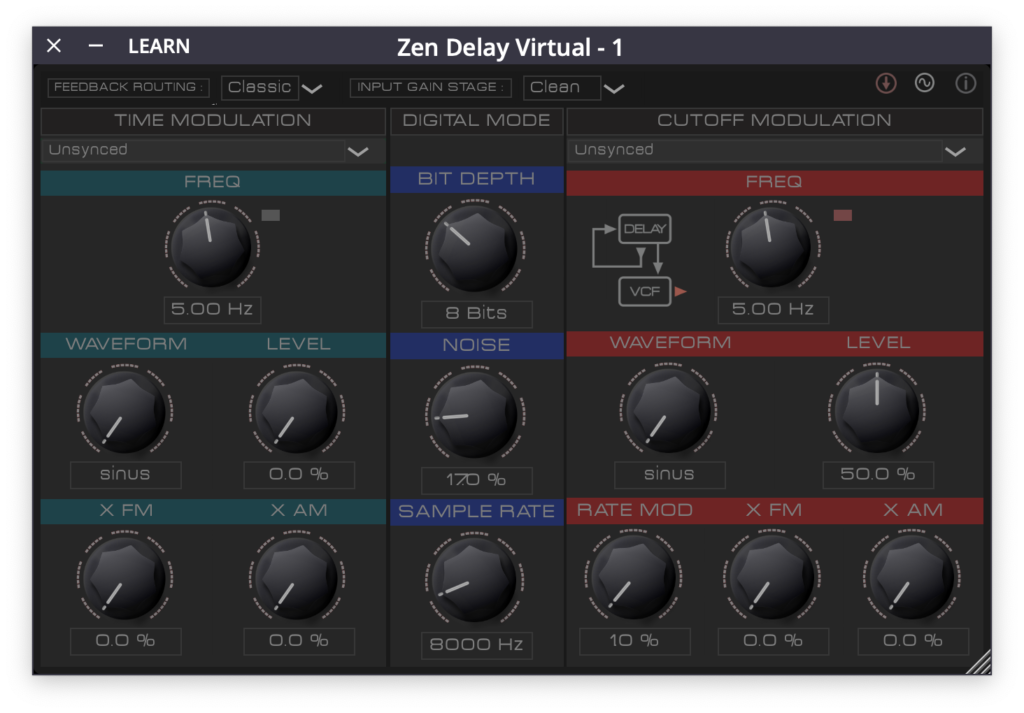
右の列はCUTOFF MODULATIONとなっていますがこのパラメーター構成はTIME MODULATIONとほぼ同じですね。
VCFにかかるというところだけが違うようです。
パラメーターはこれで全てかなと思います。
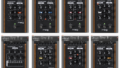
プリセット
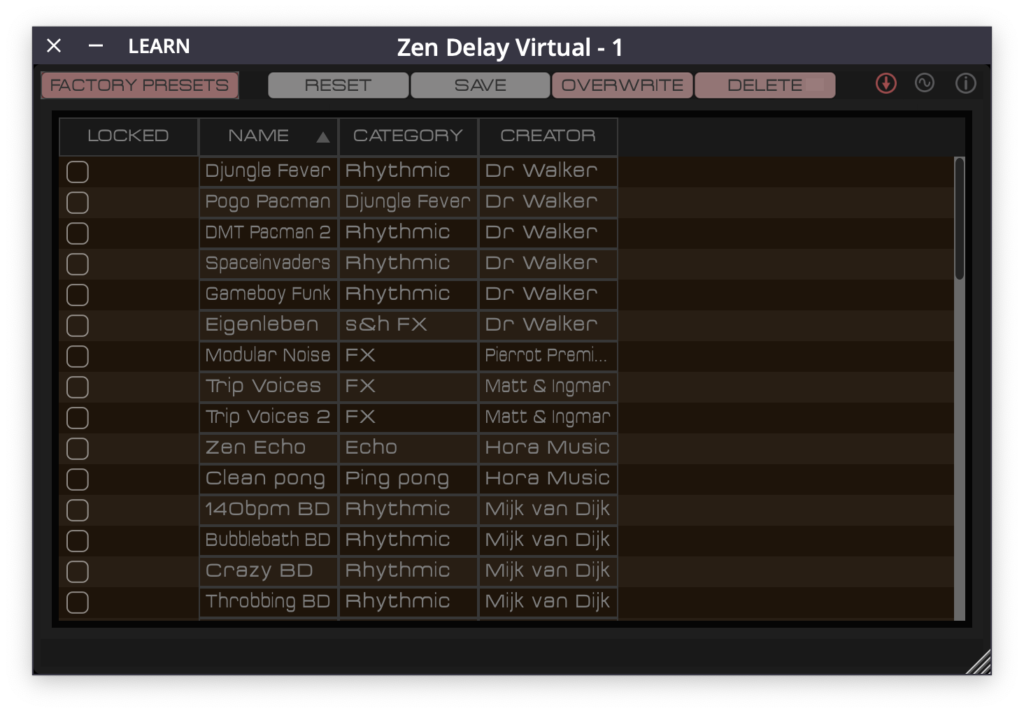
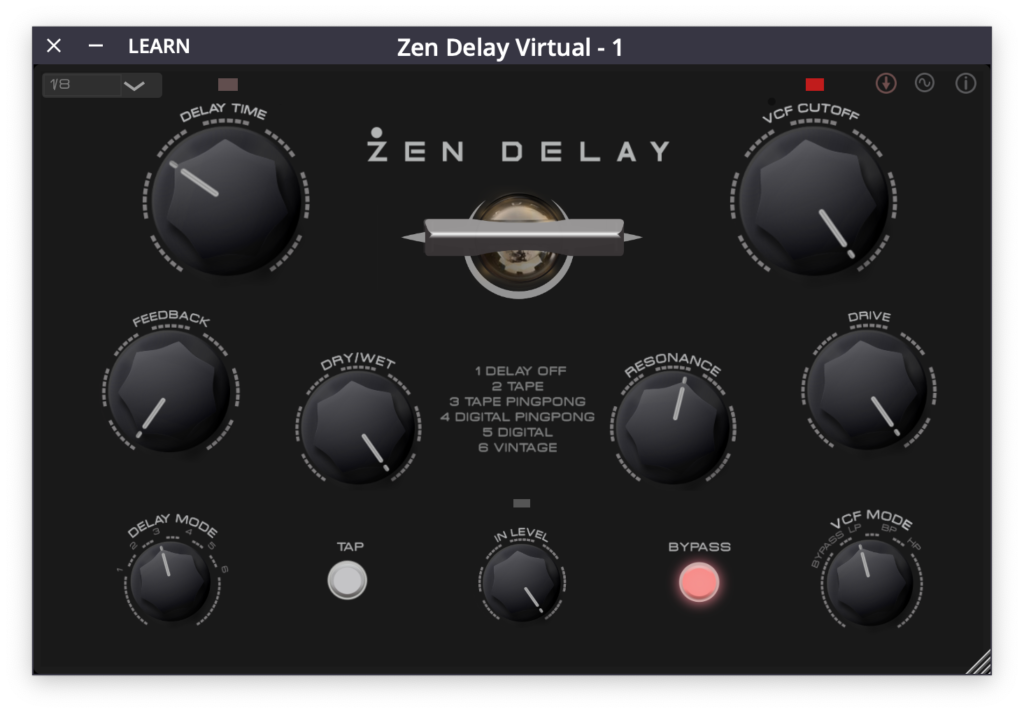
それではプリセットを試していきます。


最後に適当にパラメーターを振ってみます。
無難な感じになったかなと思います。
アコギ
少しだけアコギで試してみます。バイパス↓
まずデフォルト↓

プリセットを試してみます。


最後に適当にパラメーターを振ってみます。

暖かい音になりましたね。
まとめ
フィルターとモジュレーションに関わるパラメーターが充実しているのでかなり音作りに関する幅の広いディレイだと思います。
ただ、それを使いこなすにはシンセ系の知識が必要かもしれません。
とはいえ普通のディレイとして使っても綺麗な感じになるのでそこまで気にすることもないかもしれませんね。
aax版があるといいなと思います。
ショップサイトはこちら↓
今月のプラグインセール情報をまとめてみました。
よかったら見ていってください。


コメント