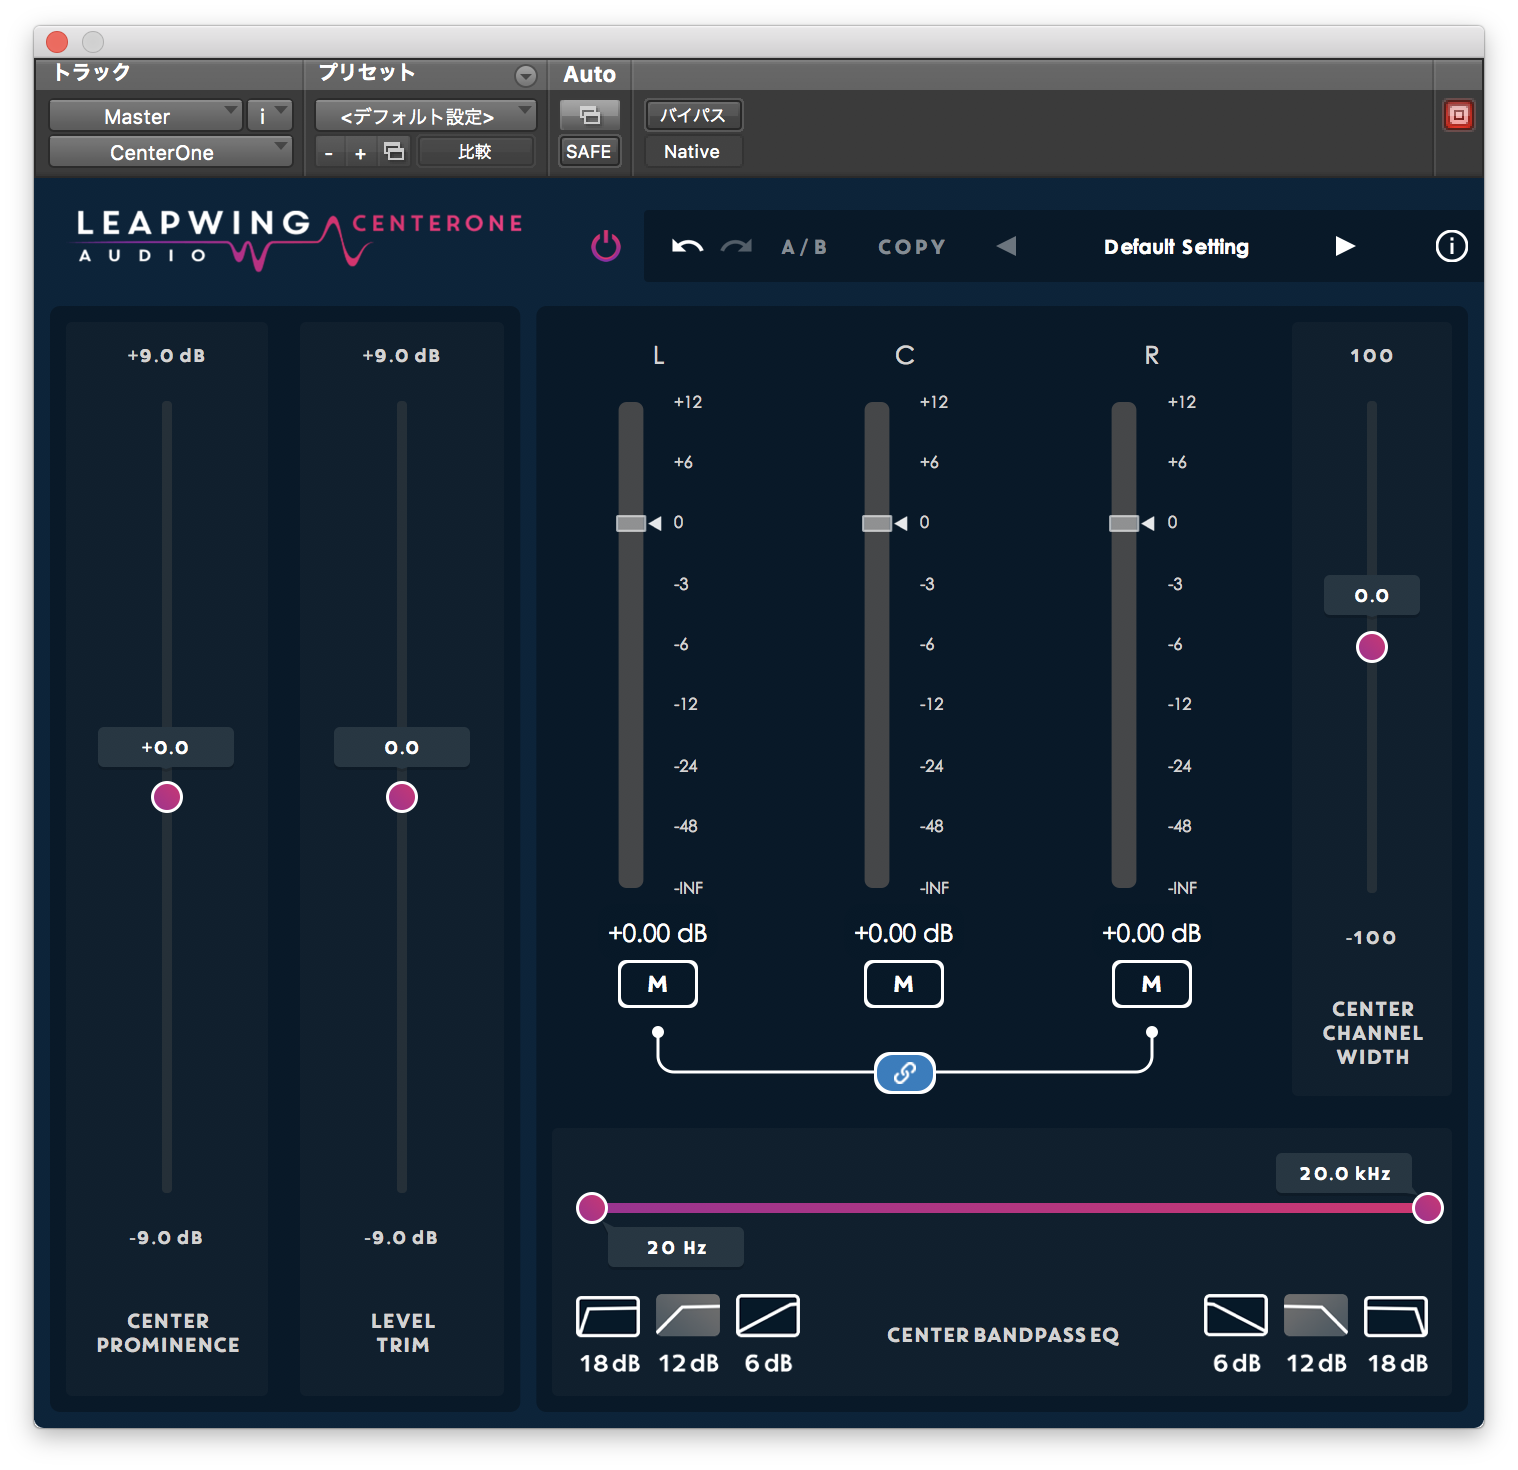
今回はLeapwing Audioの「StageOne」について書いていこうと思います。

StageOne
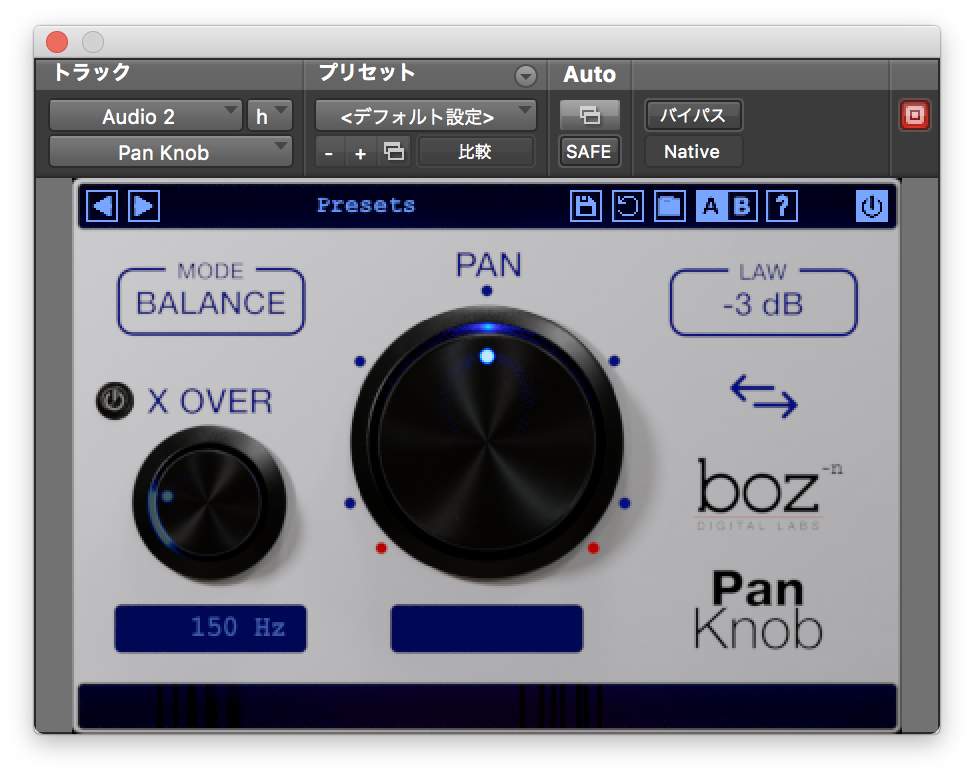
割とシンプルなイメージャーですね。
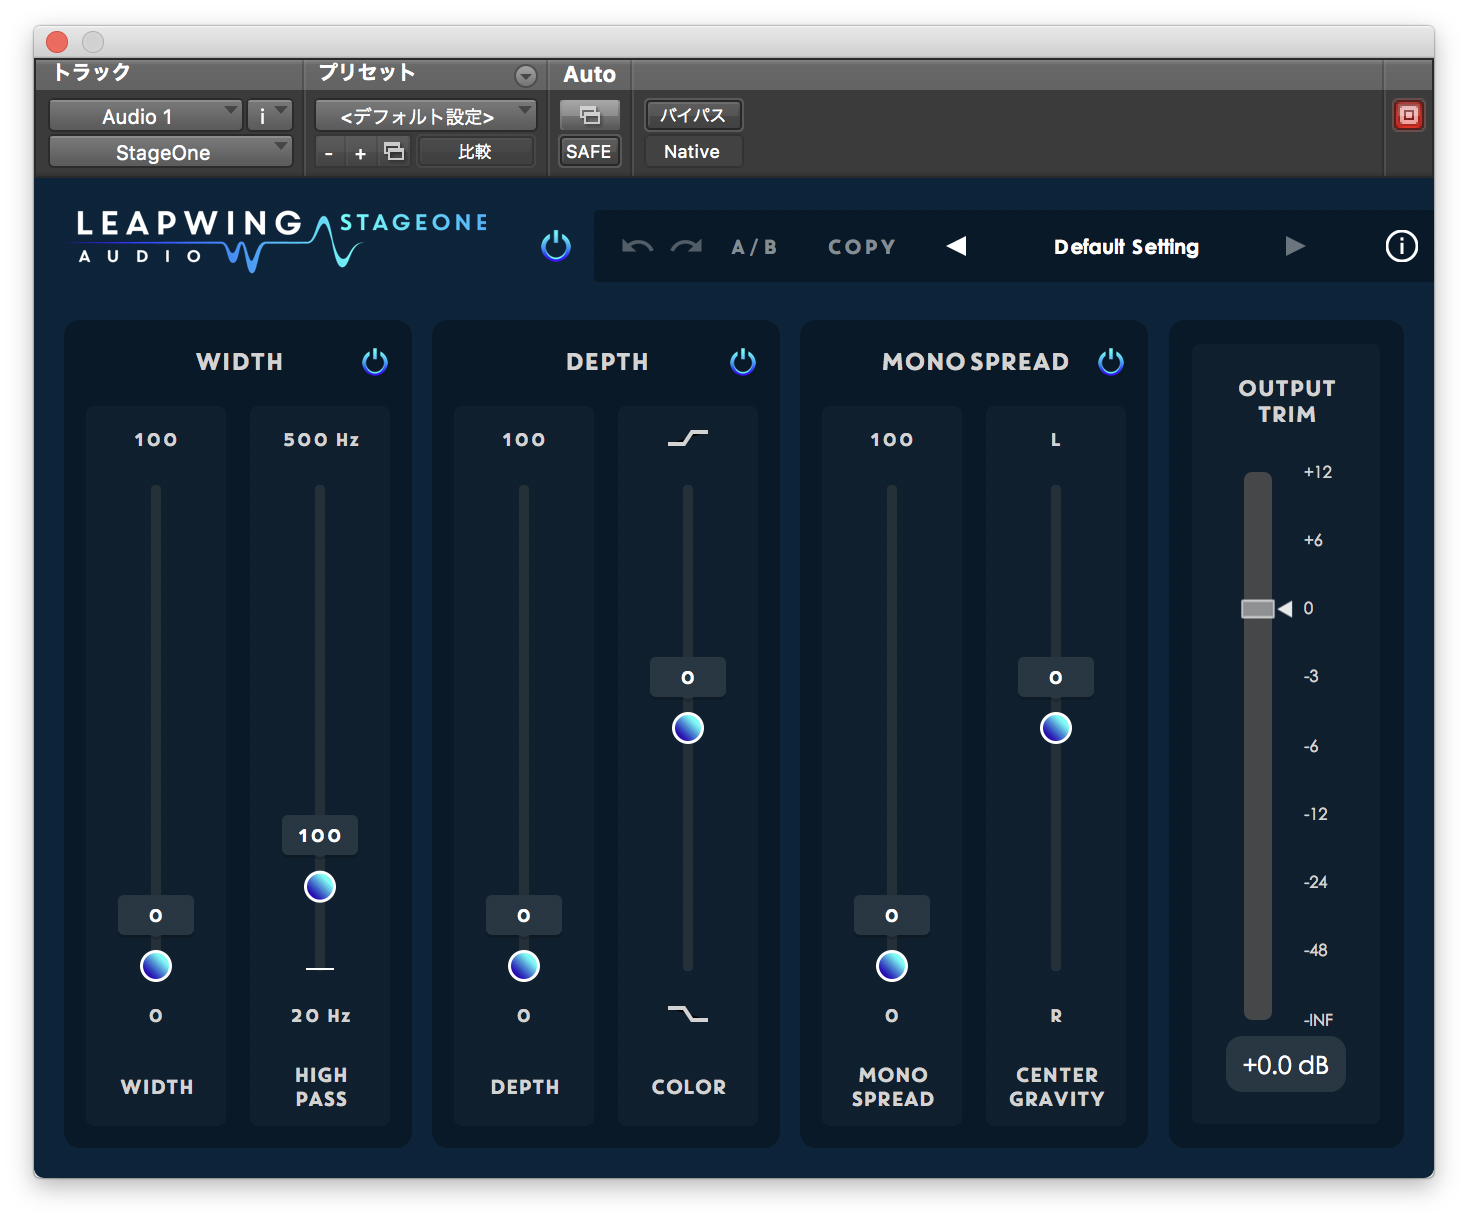
OUTPUT TRIMを除くとパラメーターが6つしかありません。
ですが、意外とこの6つのつまみがなかなか的を射た
使い方
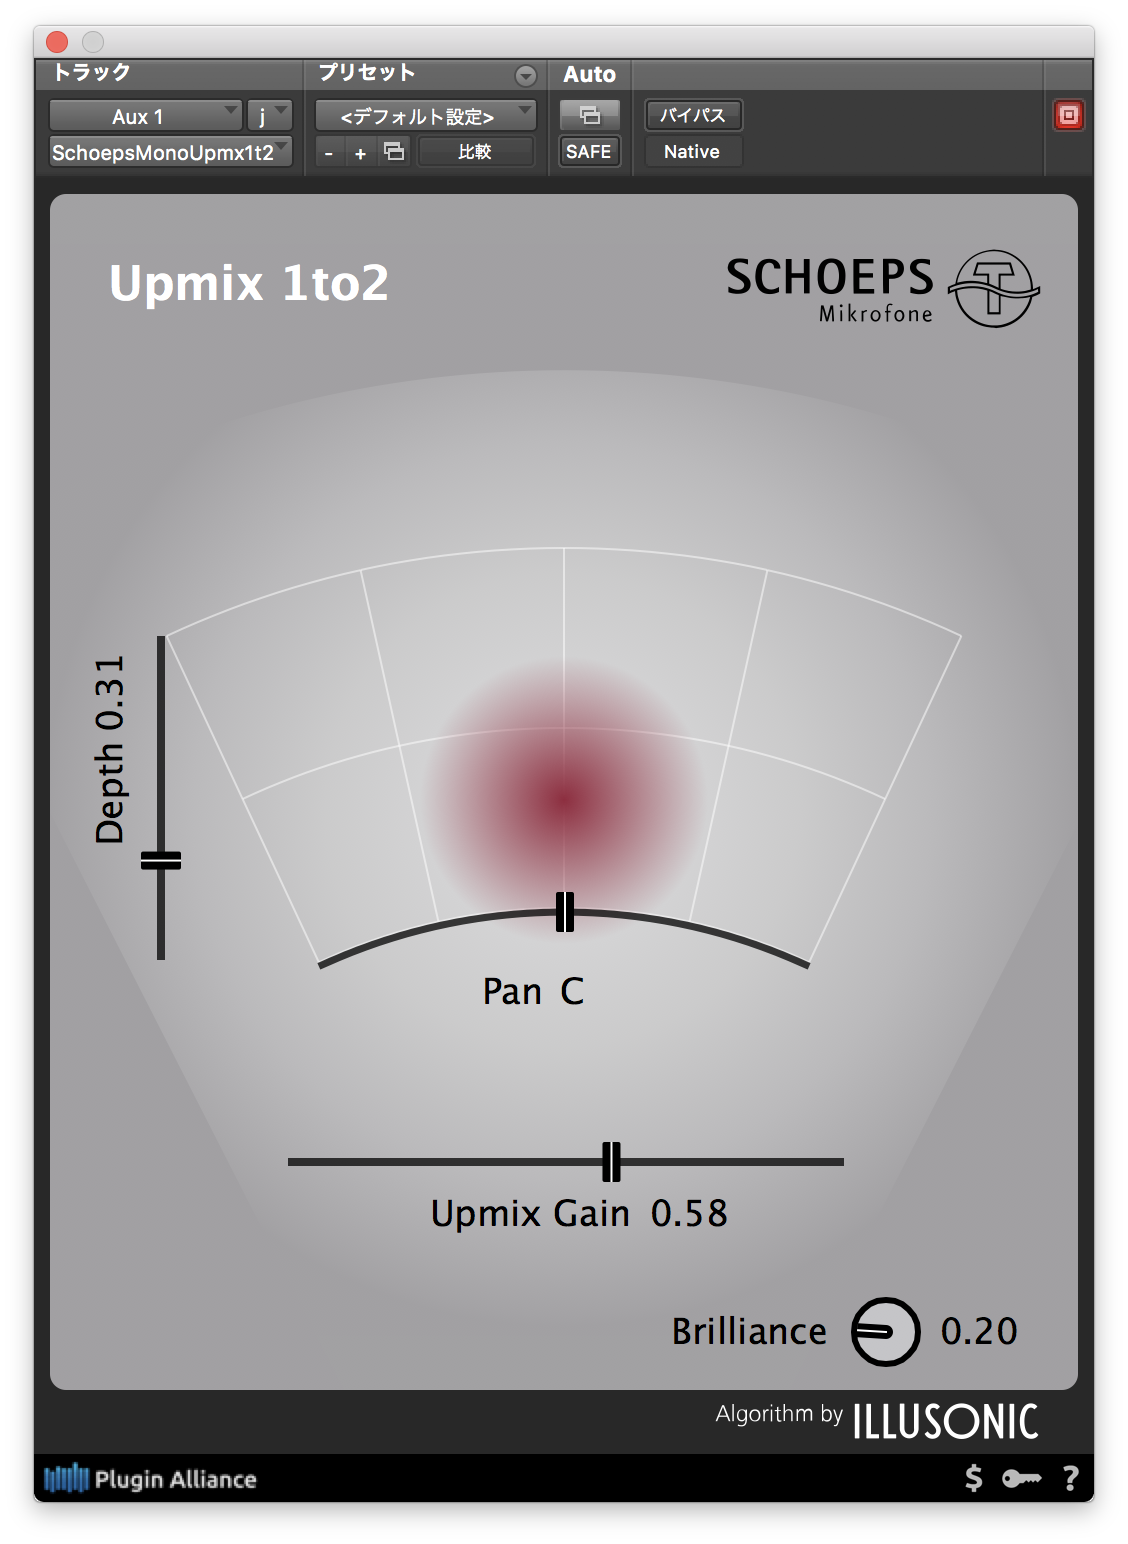
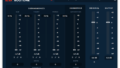
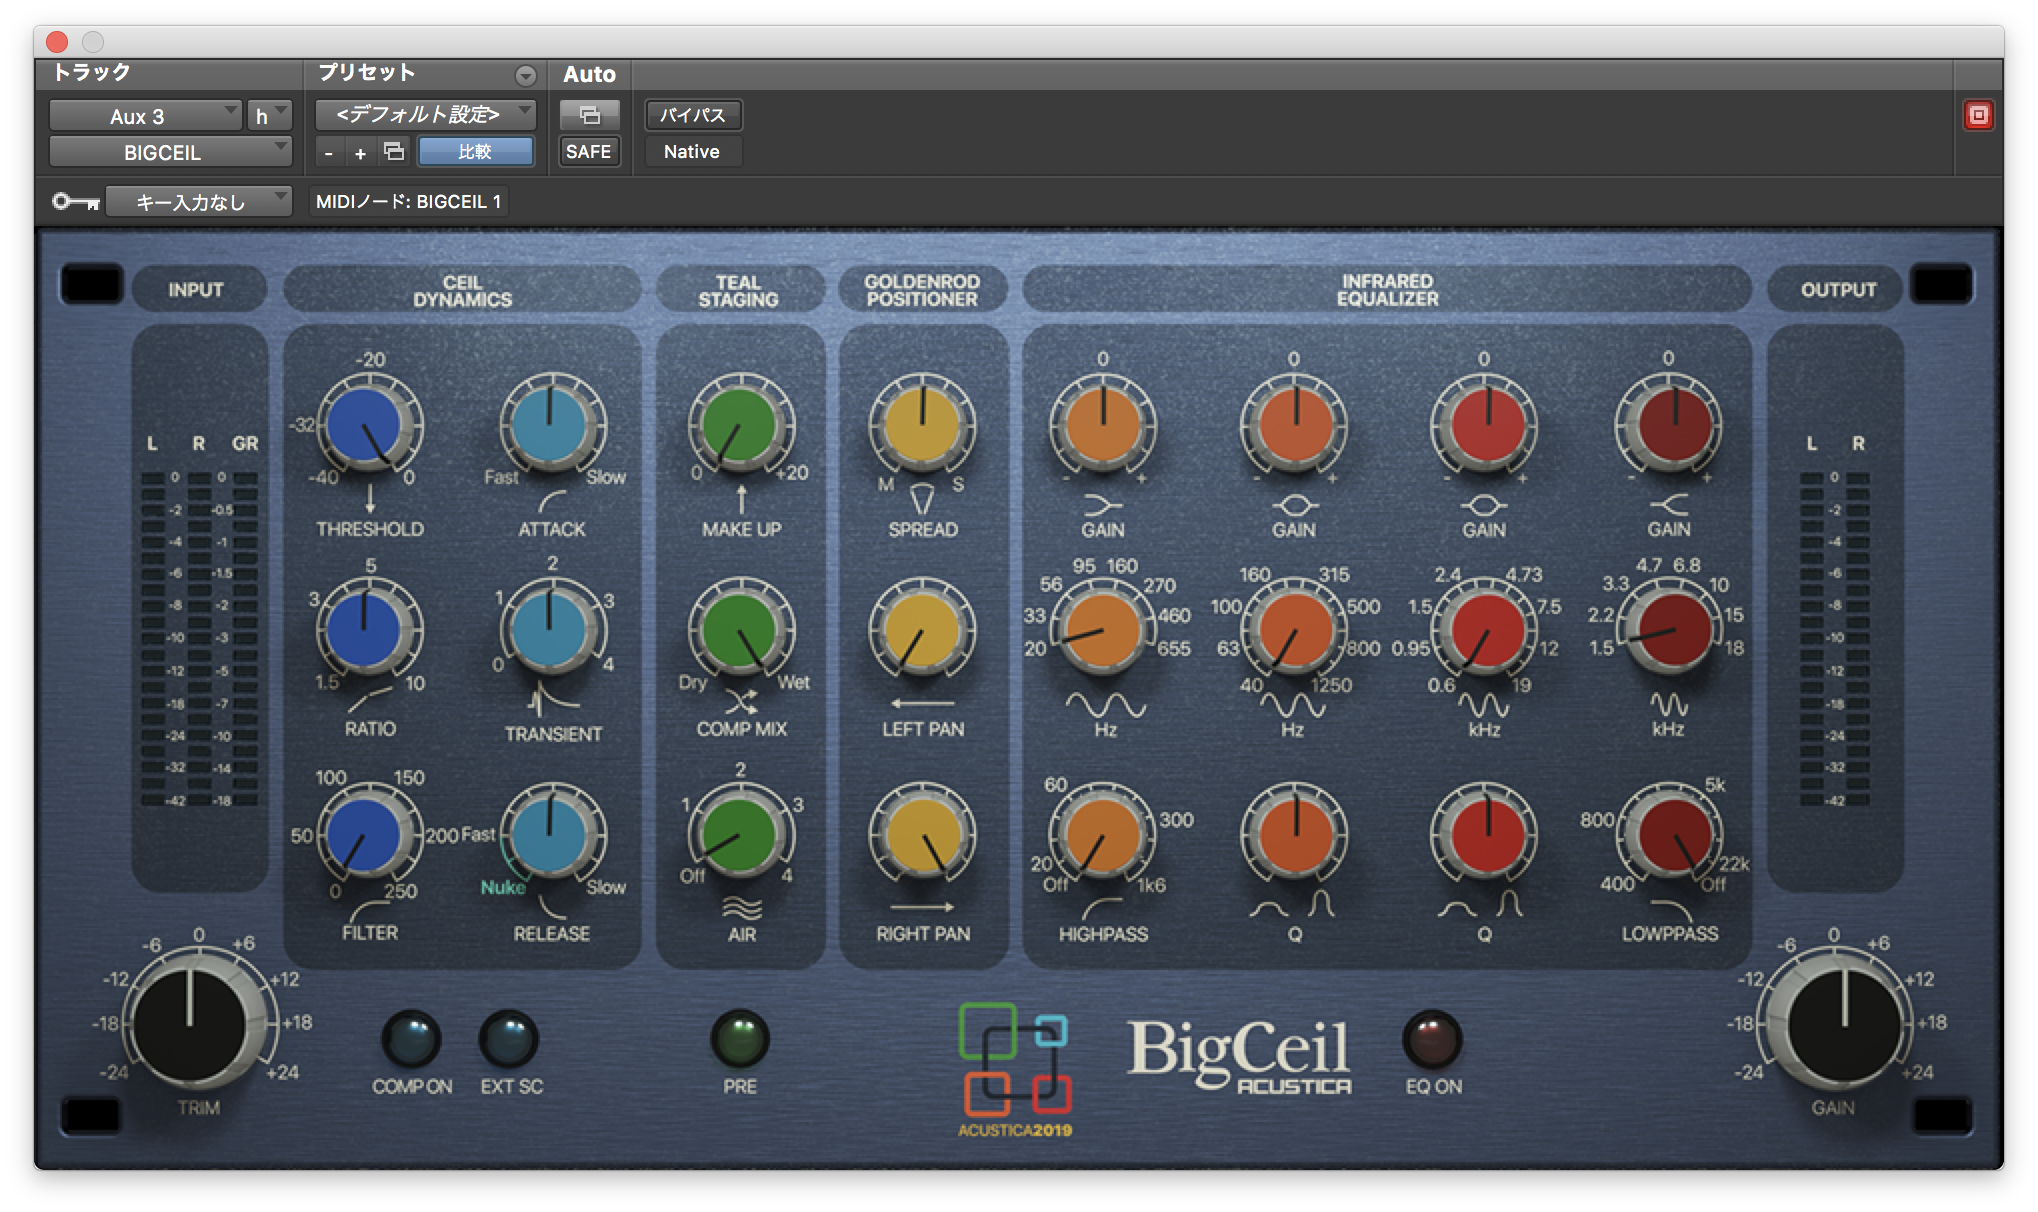
まず、今回のバイパスがこちら↓
インサートするとステレオトラックに変わります。
さて、左から見ていきましょう。
WIDTHはその名の通り、広さを調節するパラメーターです。


右のHIGH PASSは音を広げる帯域を調整します。
フェーダーを上に上げていくと、低域には広げる効果が効かなくなっていきます。

真ん中のDEPTHは反射音のレベルを調整します。


右のCOLORは反射音のみにかかるEQで、上にすると低域が下がり同時に高域が持ち上がり、
下にすると逆に、低域が持ち上がり高域が下がるそうです。


右のMONO SPREADでは、モノラルトラックを擬似的なステレオ信号に変換するフィルターの強さを設定します。


右のSENTER GRAVITYはPANの振りですね。


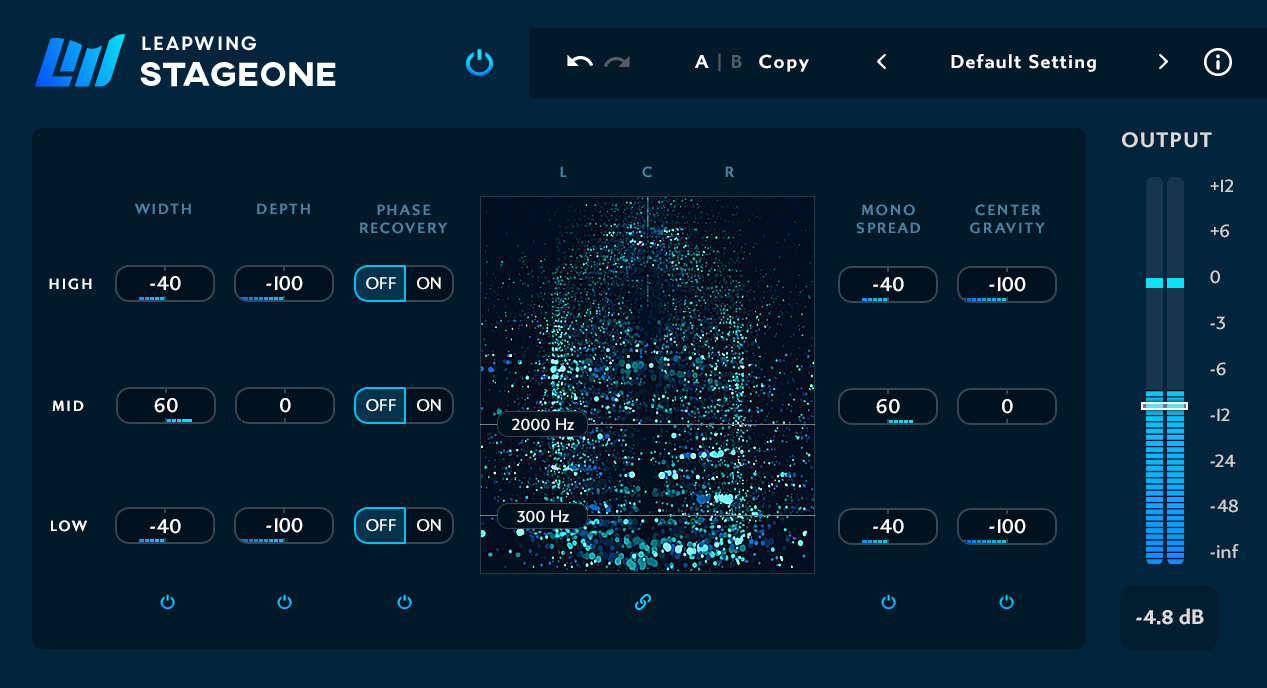
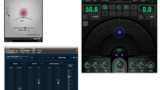
ちなみに、MONO SPREADが0だとこんな感じです。


手前に来たような配置になりますね。
サンプル
というわけで適当にパラメーターを振ってみたサンプルを置いておこうかなと思います。


なかなか広がり方が自然な感じがしますね。
ちなみにプリセットは

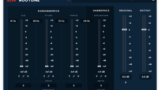
この3ジャンルから選択することができ、
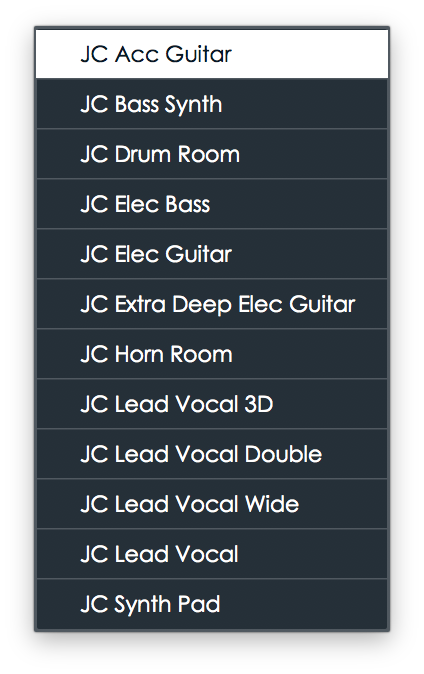

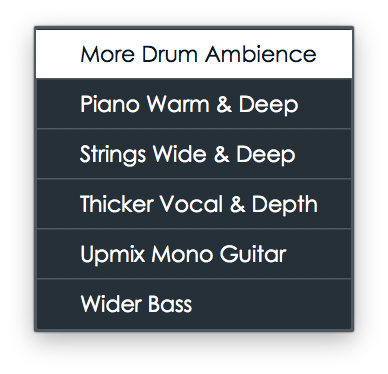
それぞれ内訳はこのようになっています。
ギターにまつわるプリセットを試してみました。


どれもなかなかナチュラルに広がりを出せていますね。
まとめ
パラメータはシンプルですが、イメージャーとして必要十分なものが揃っているかなと思います。
リバーブとの組み合わせもおもしろそうですね。
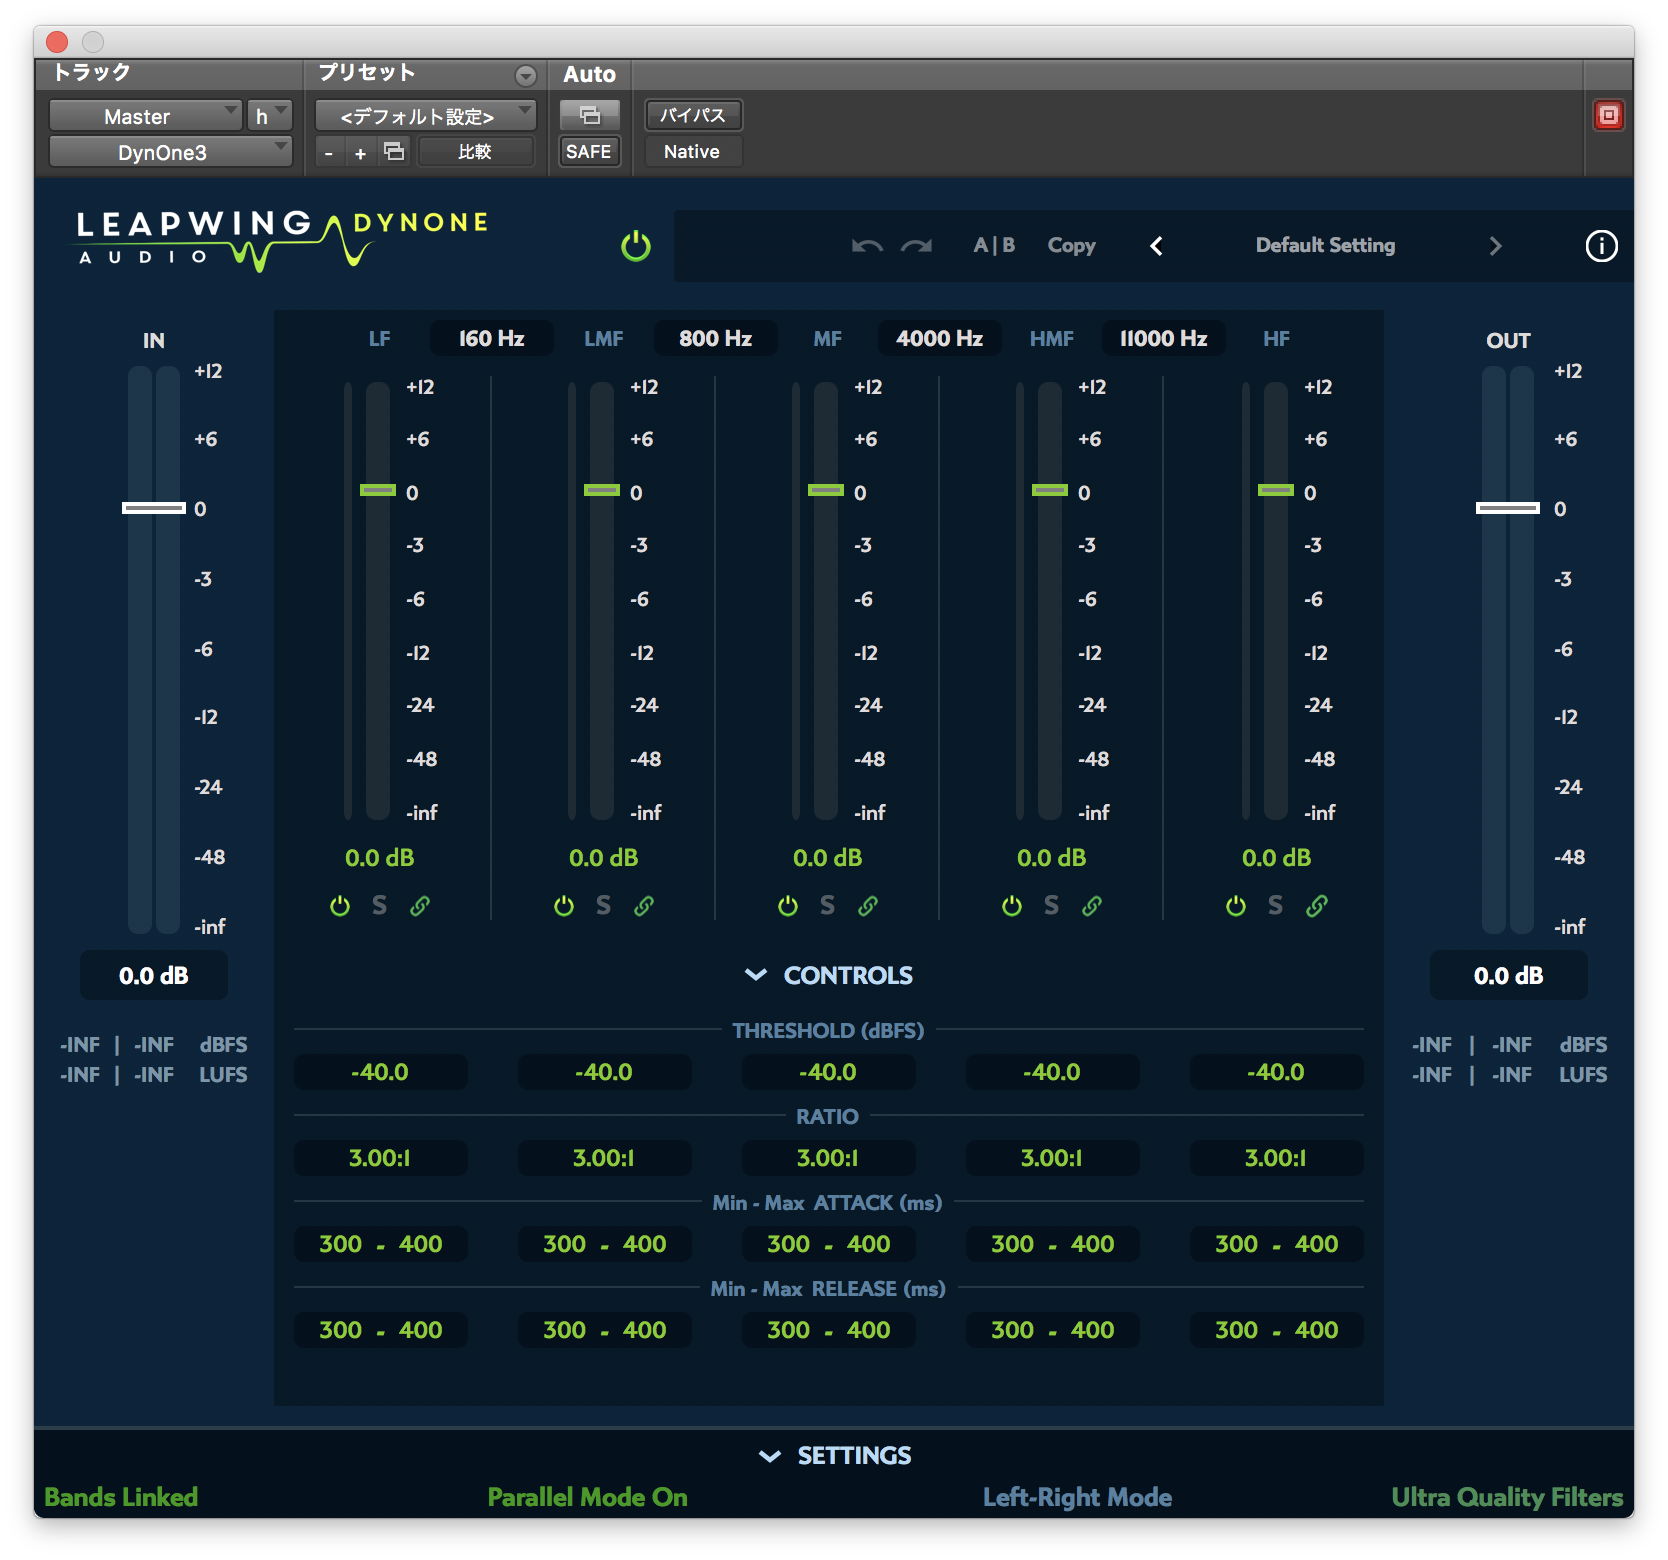
負荷もDynOneと違ってあまり重くないので使いやすさもあるかなと思います。
ショップサイトはこちら↓(初代はなくなったので2のリンクです)
現在は2にアップデートされています。記事はこちら↓
Leapwing Audioの他のプラグイン記事はこちら↓
似たプラグインの記事はこちら↓
比較記事を作りました↓
今月のプラグインセール情報をまとめてみました。
よかったら見ていってください。

コメント