今回はUnited Pluginsの「Nanopuls」について書いていこうと思います。

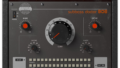
Nanopulse
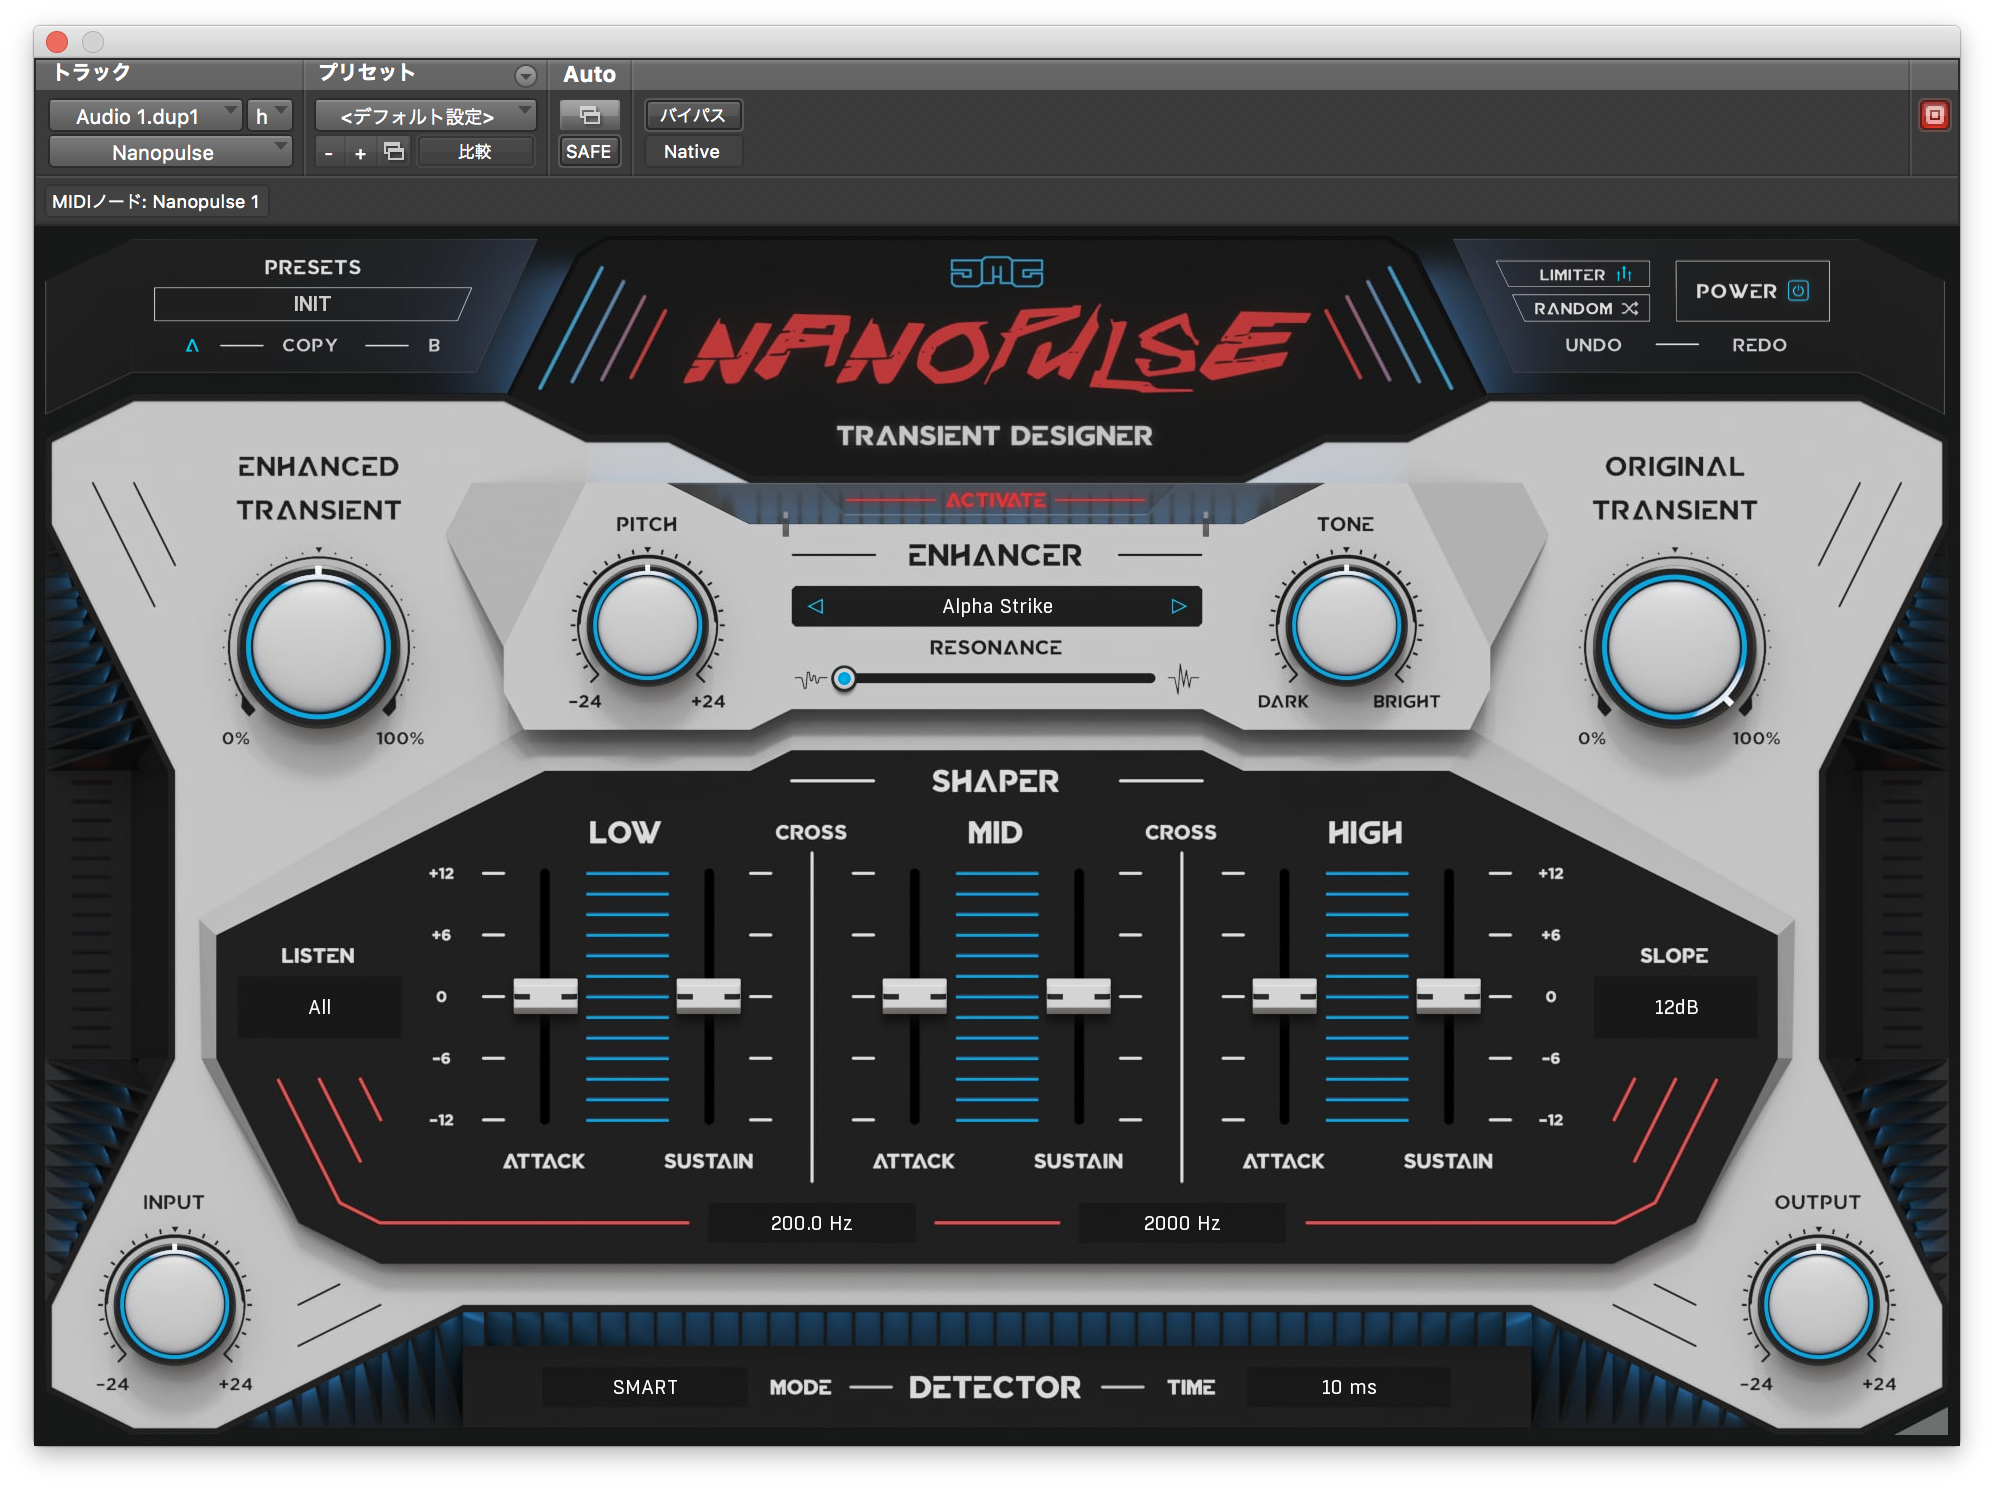
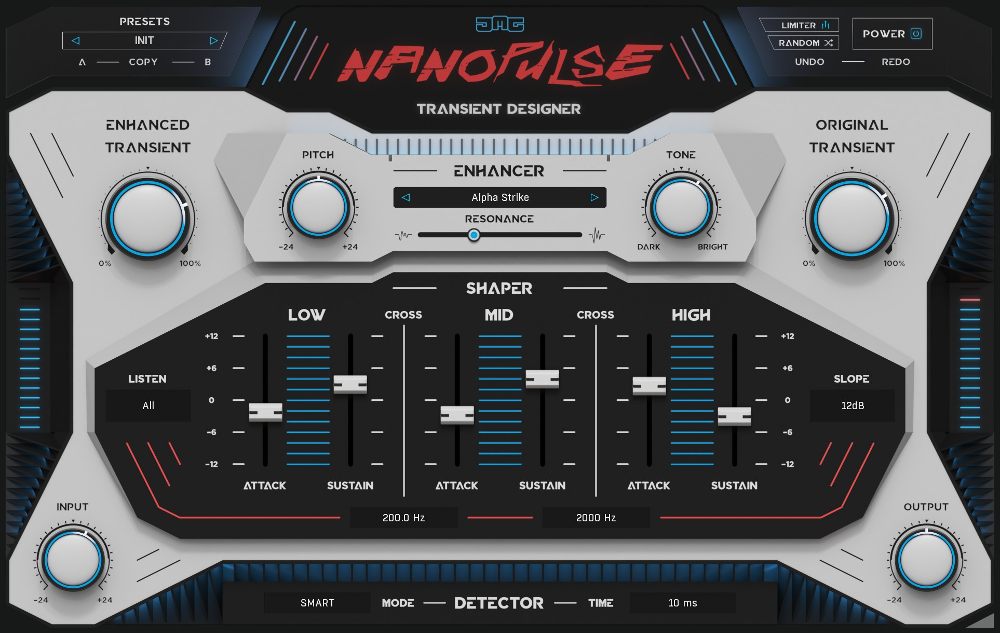
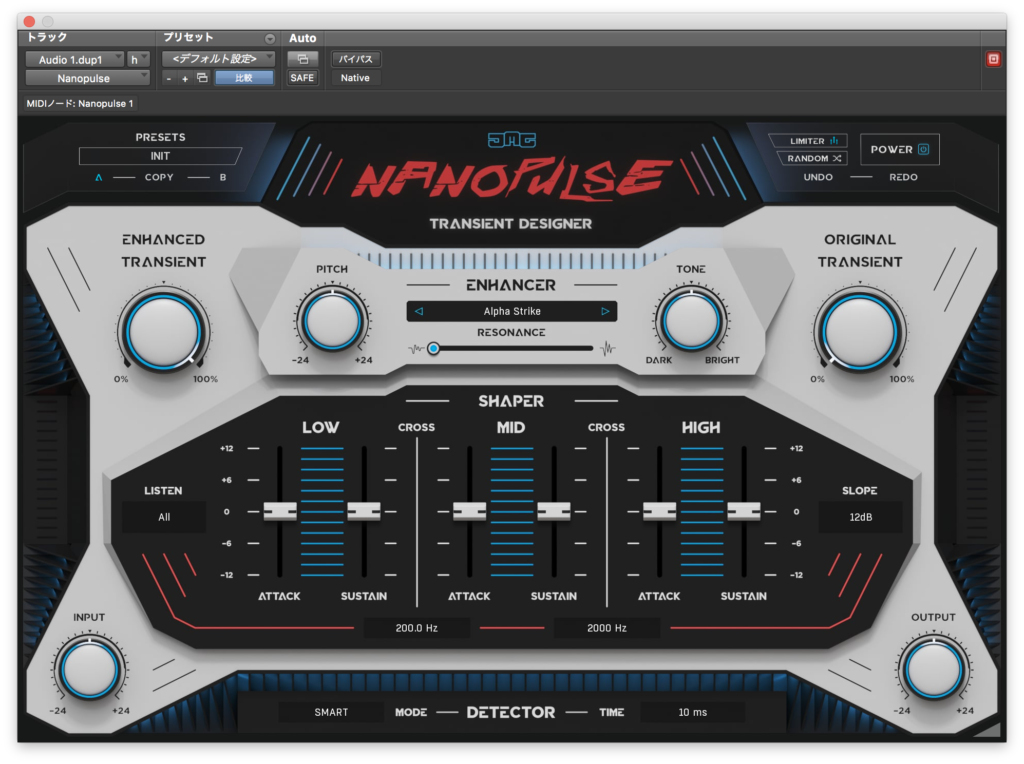
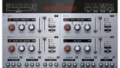
なかなかメカニックなUIをしたトランジェントシェイパーですね。
LOW、MID、HIGHの3バンドの構成となっています。
というわけで今回のバイパス↓
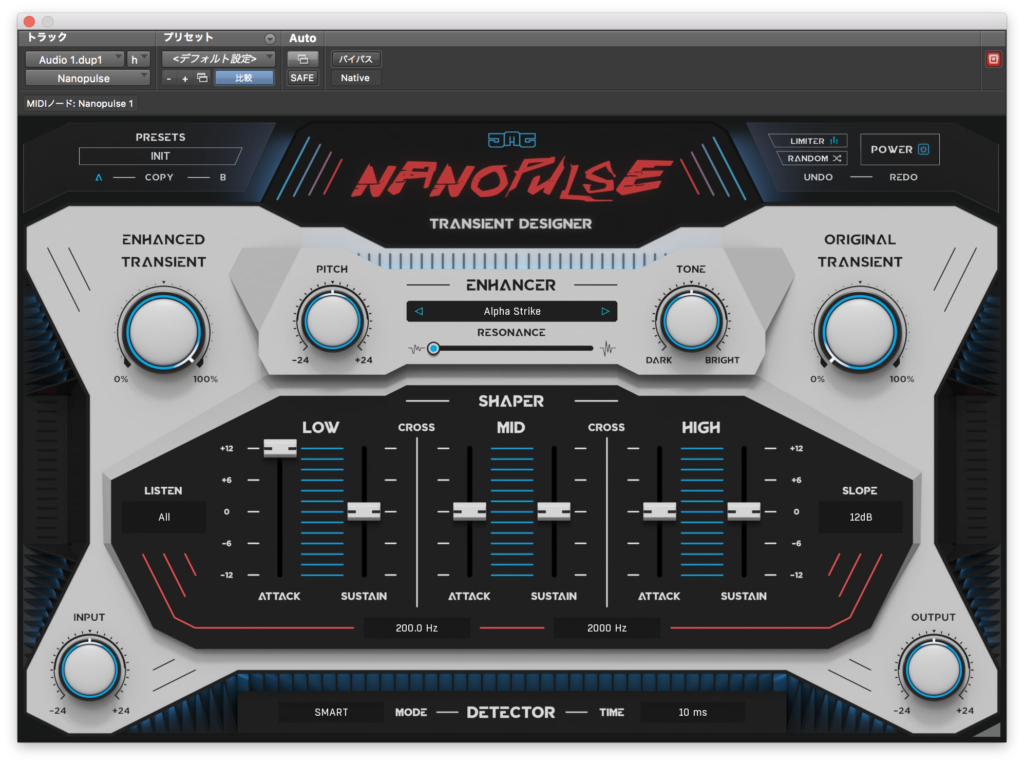
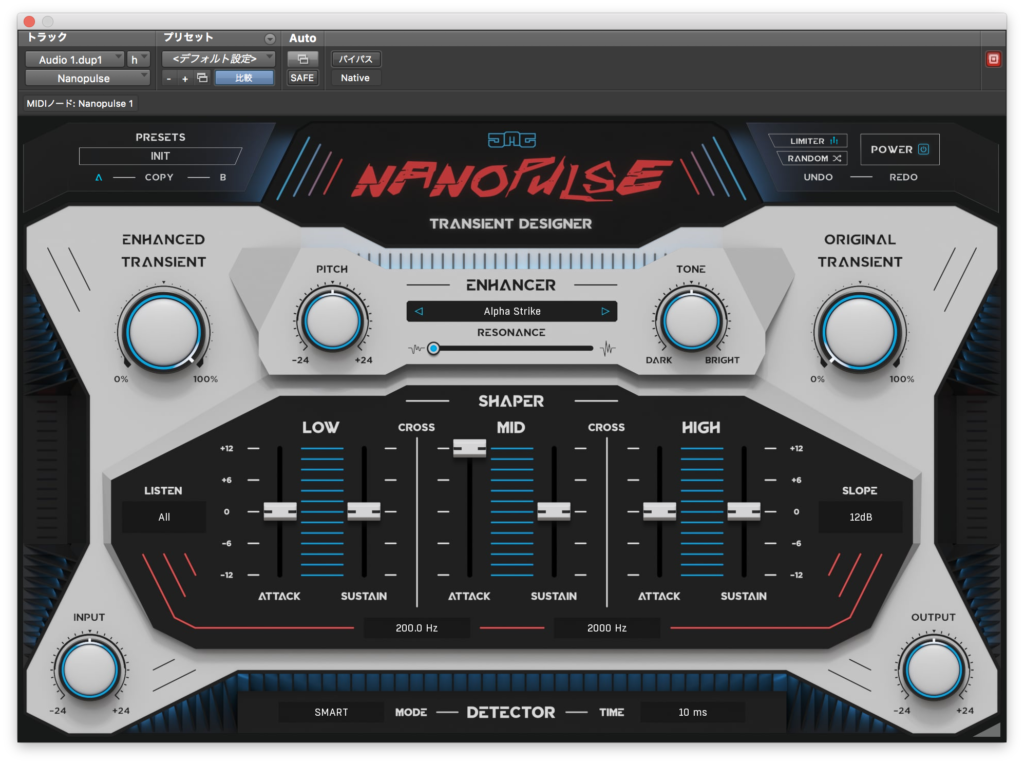
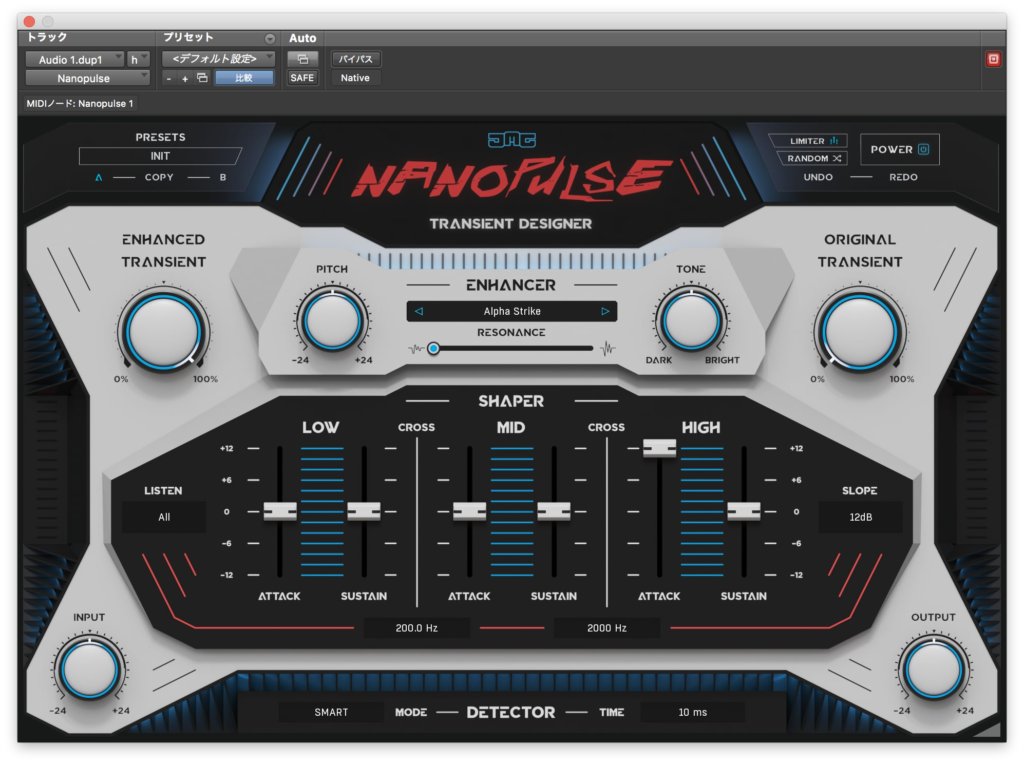
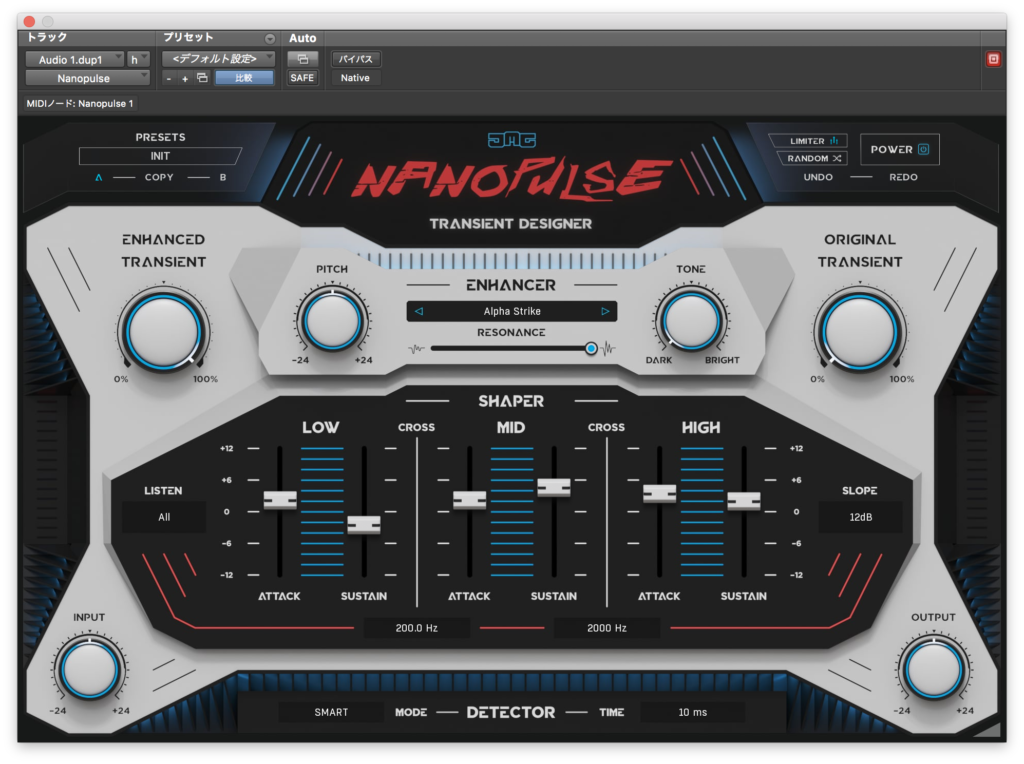
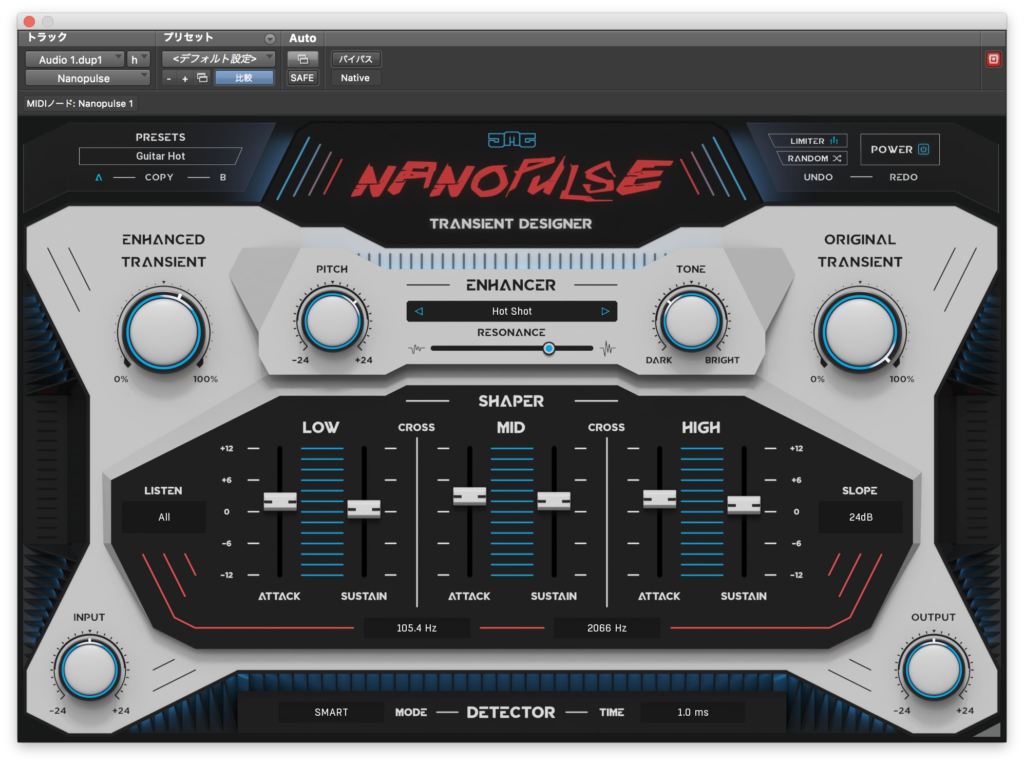
デフォルトだとこんな感じ↓
使い方
まず、左右のENHANCED TRANSIENT(Wet)とORIGINAL TRANSIENT(Dry)で
Wet/Dryの音量を調整します。ここでは今後パラメーターによる違いがわかりやすくなるように
ENHANCED TRANSIENT(Wet)を100%、ORIGINAL TRANSIENT(Dry)を0%とします。
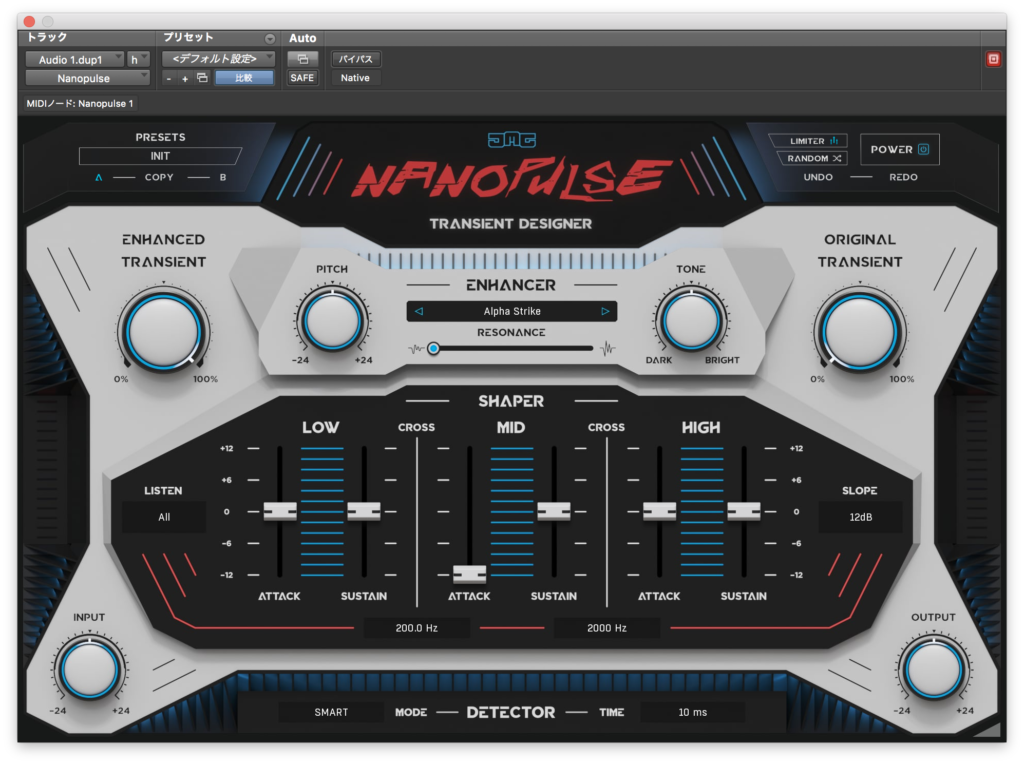
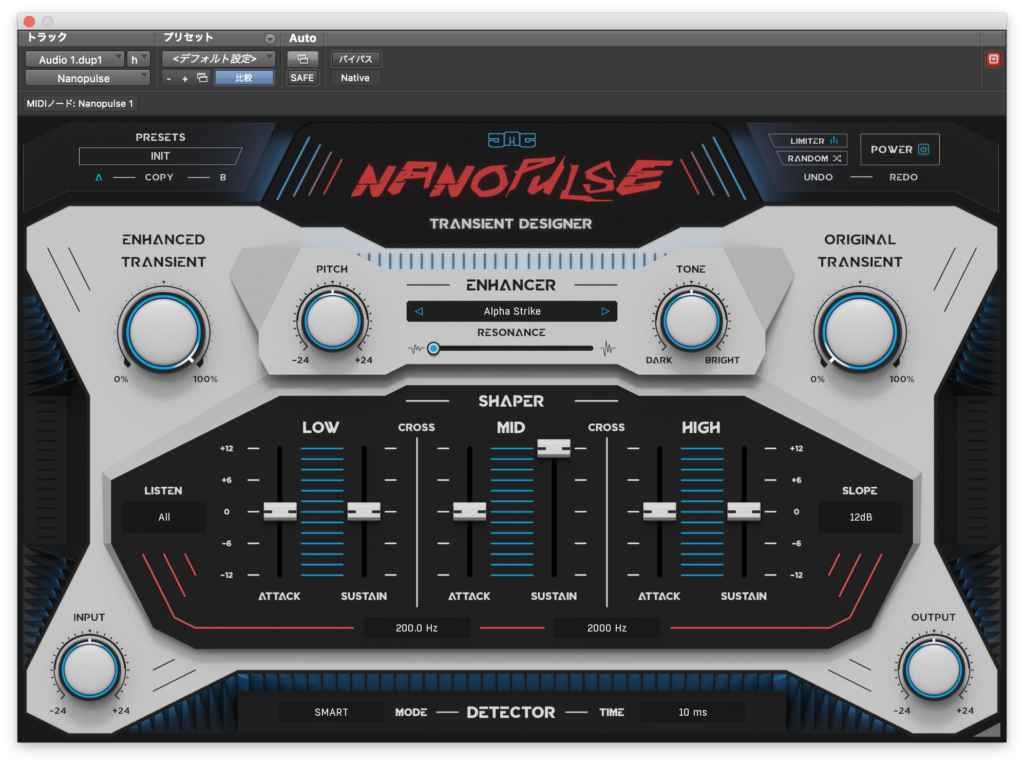
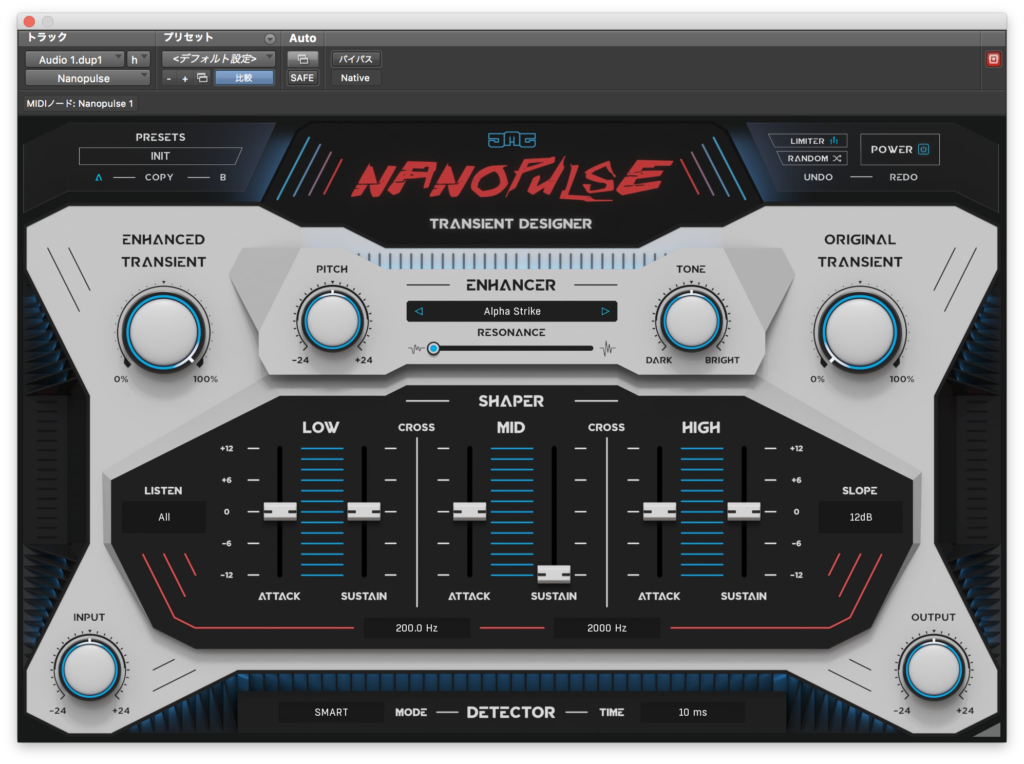
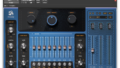
順番の都合上、SHAPERからみていきます。
中央のATTACKとSUSTAINで指定帯域のトランジェントを操作します。
CROSSは低域と中域の間が80Hz〜800Hz、中域と高域の間が800Hz〜8000Hzです。
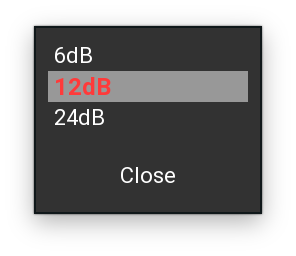
SLOPEで境目のフィルターの傾斜を設定します。
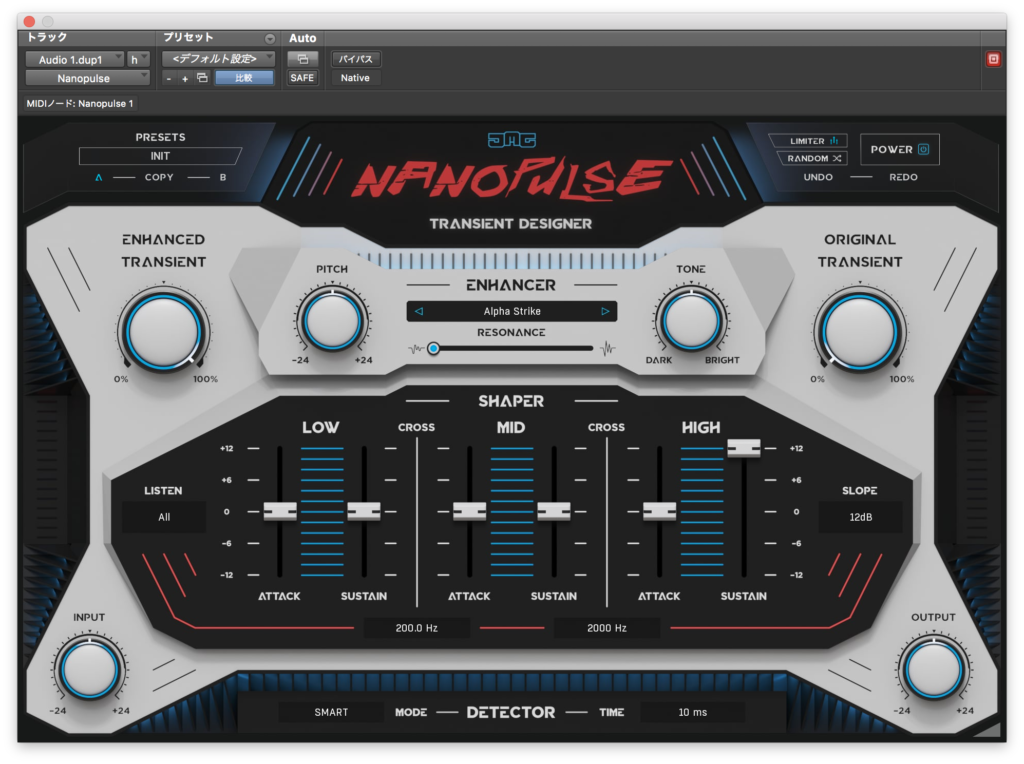
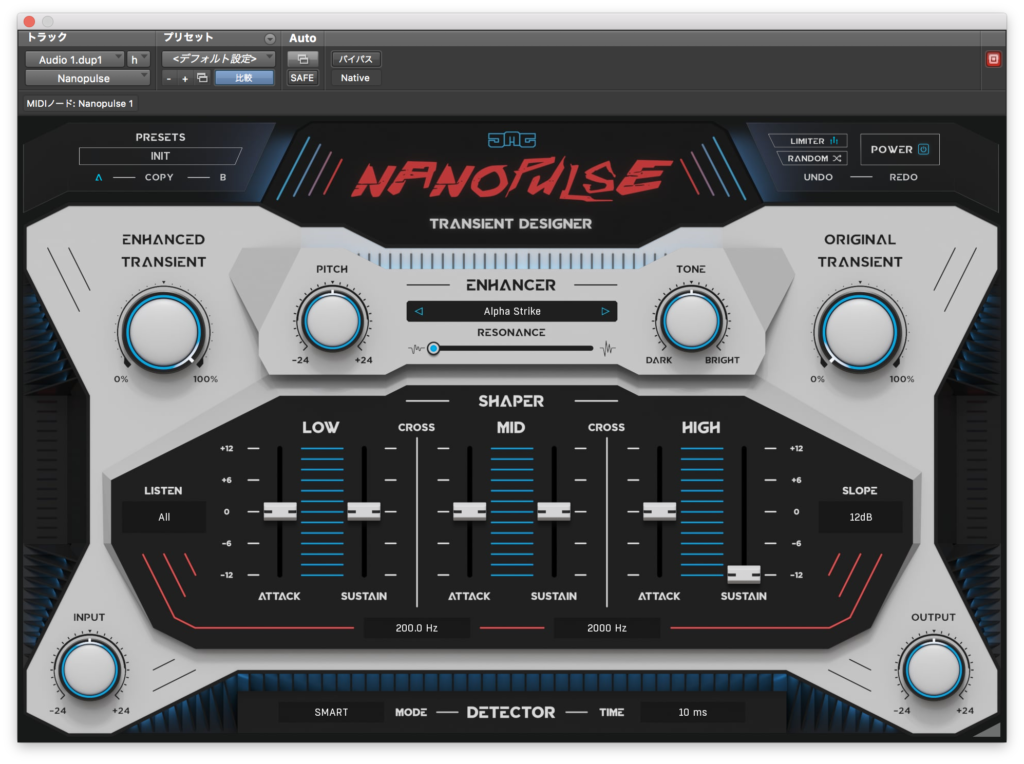
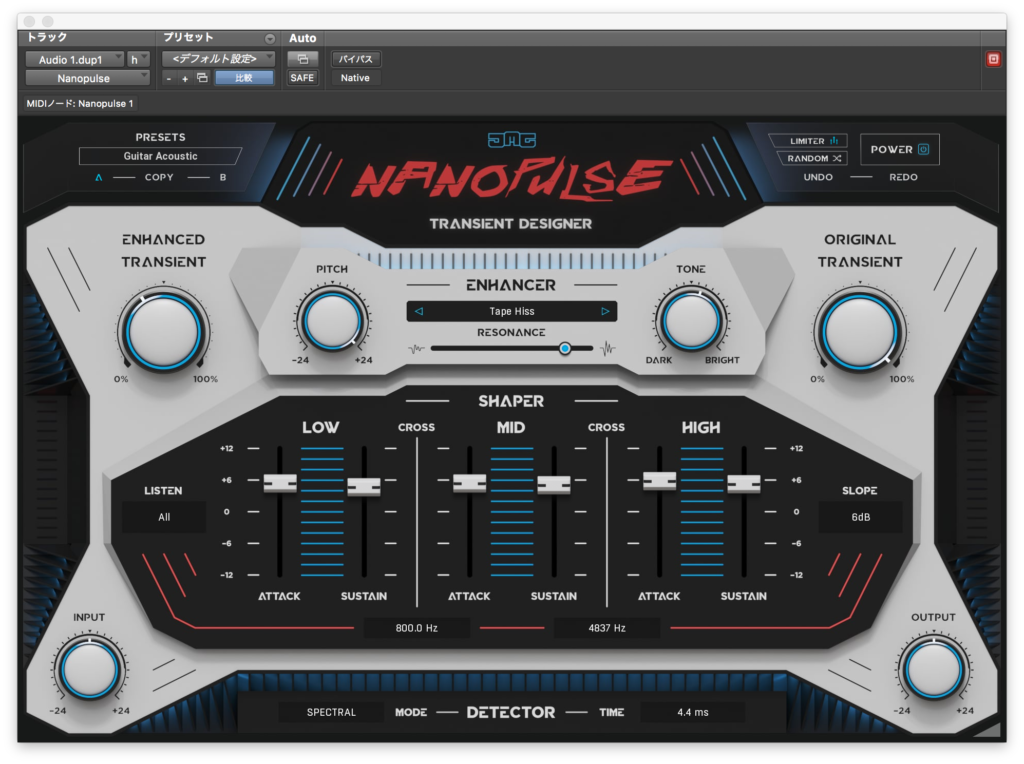
順番に試していきます。
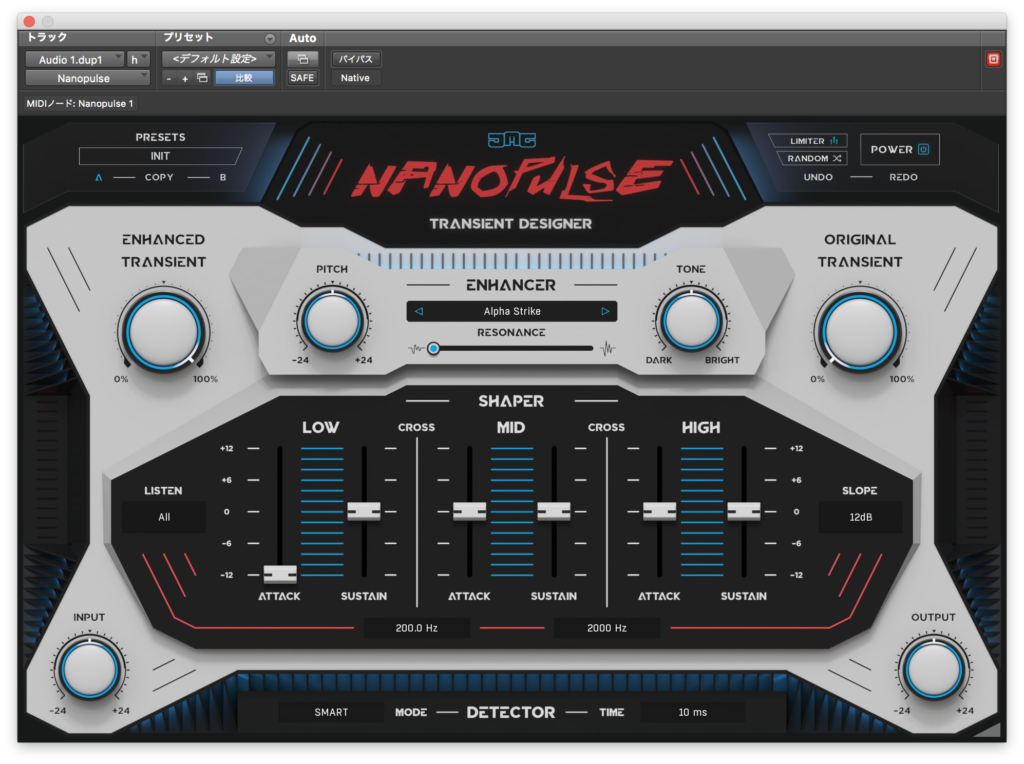
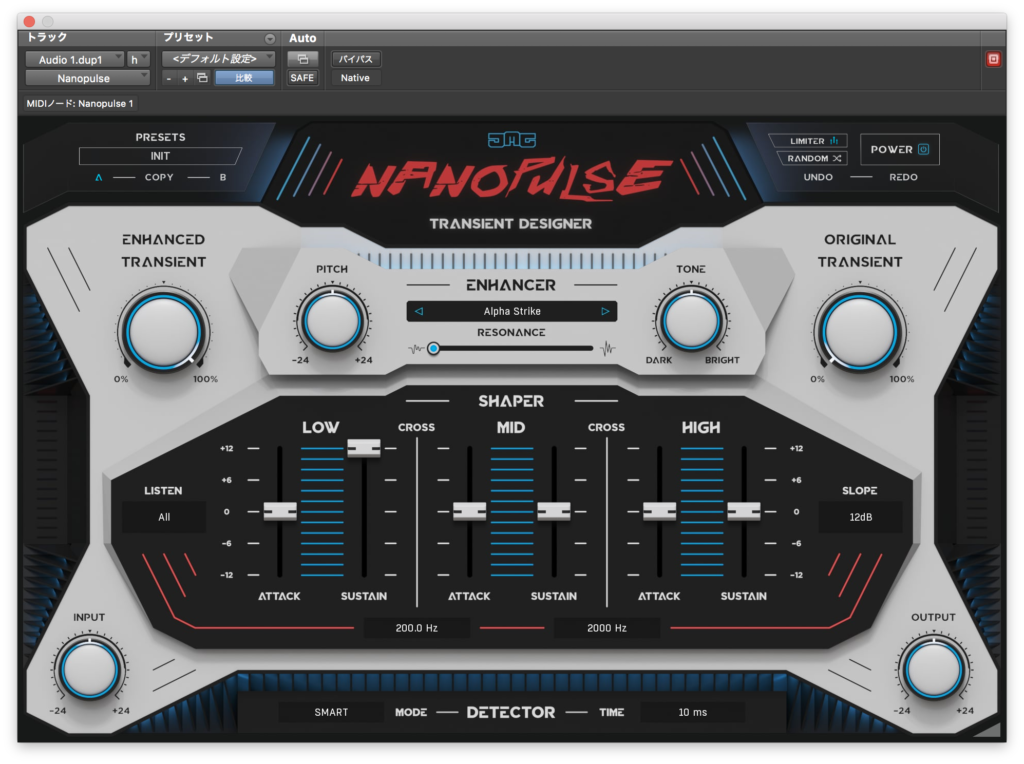
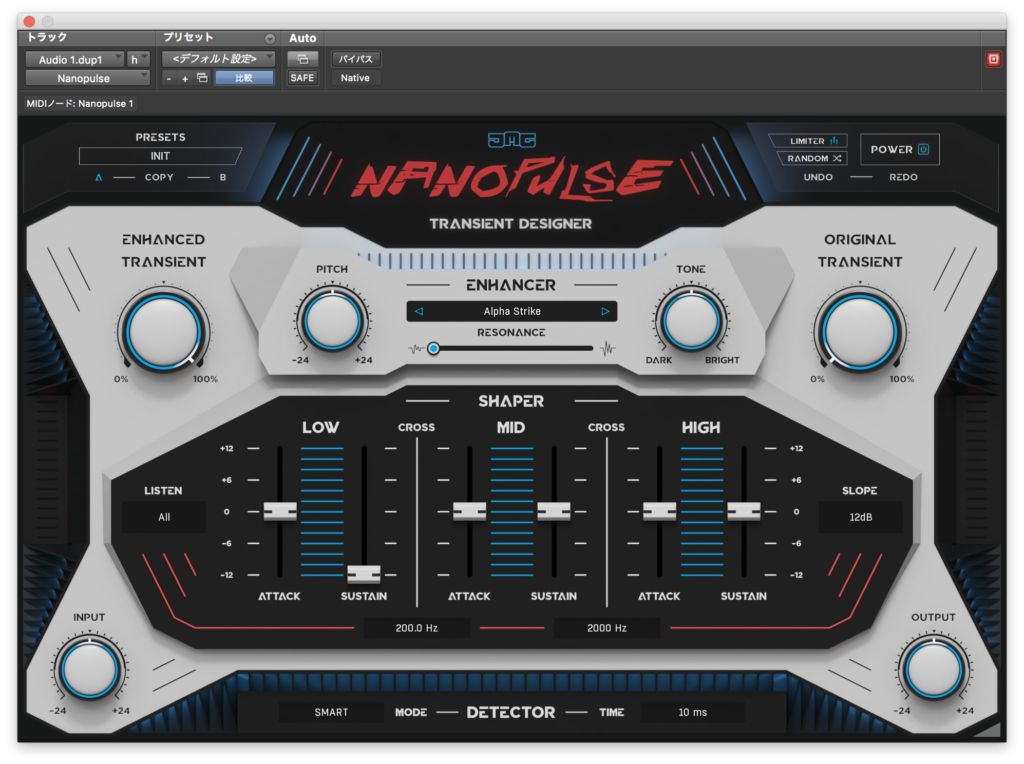
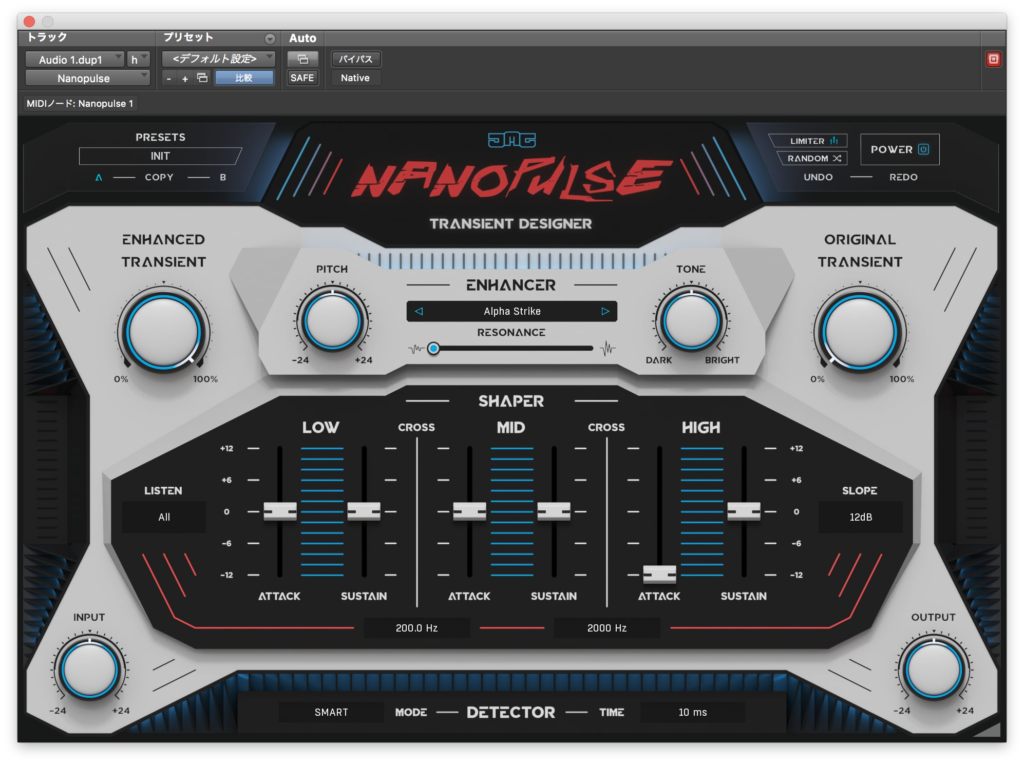
というわけでこんな感じにしてみました。

ややブライトな感じですね。今後このパラメーターで固定して進めていきます。
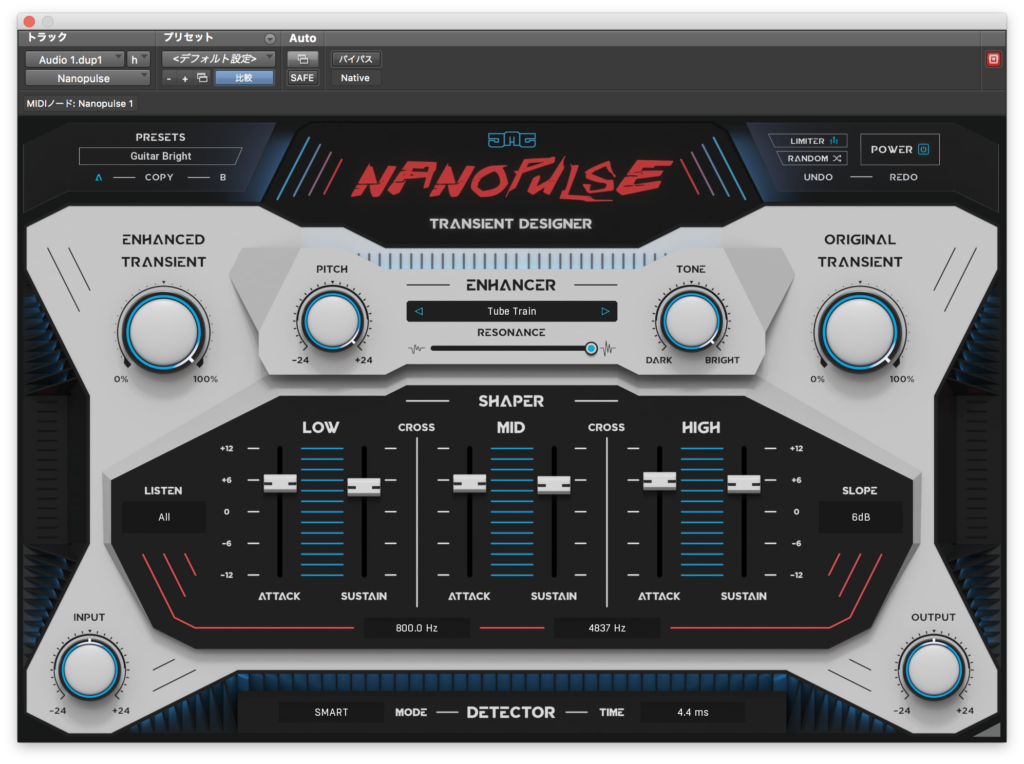
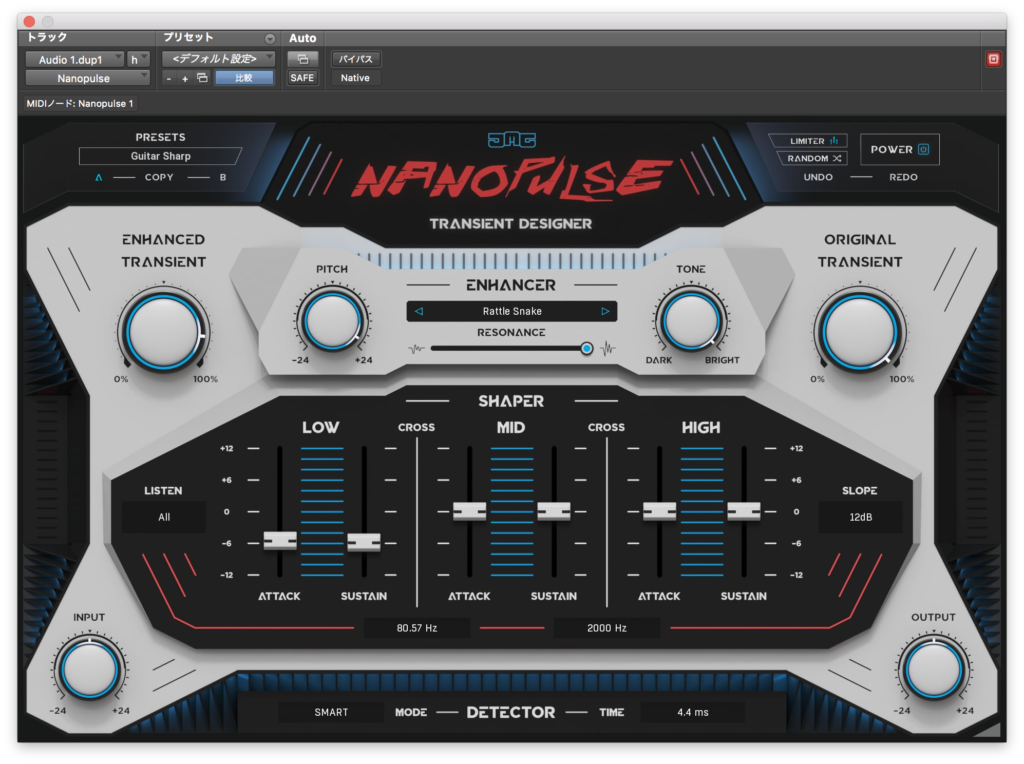
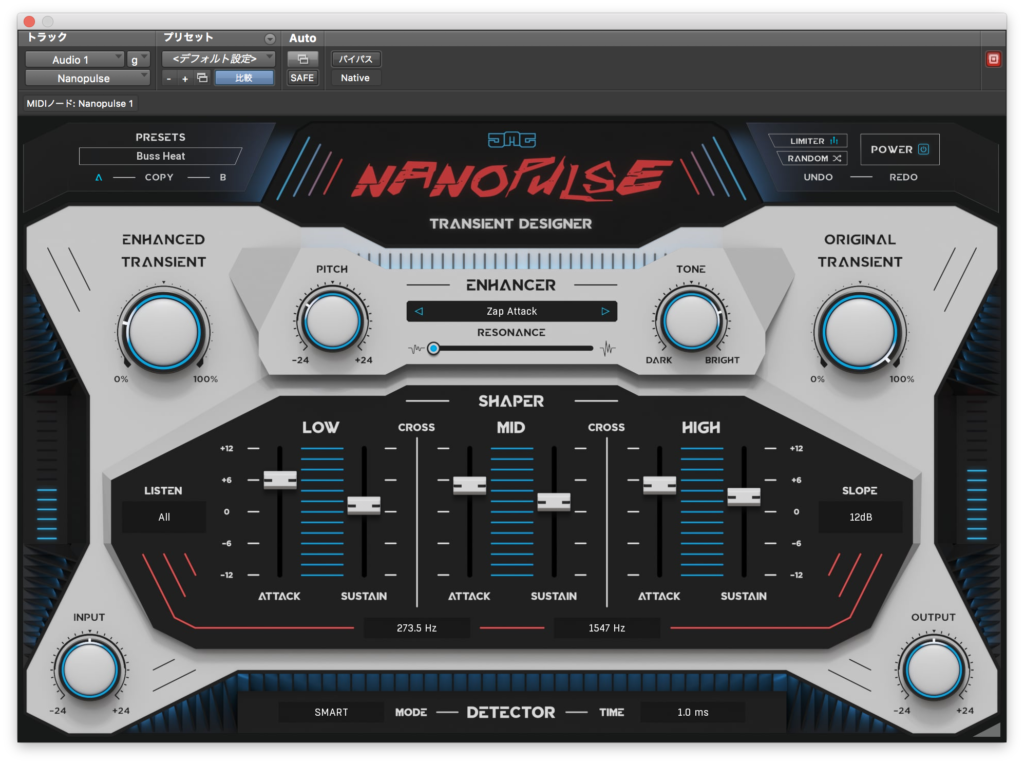
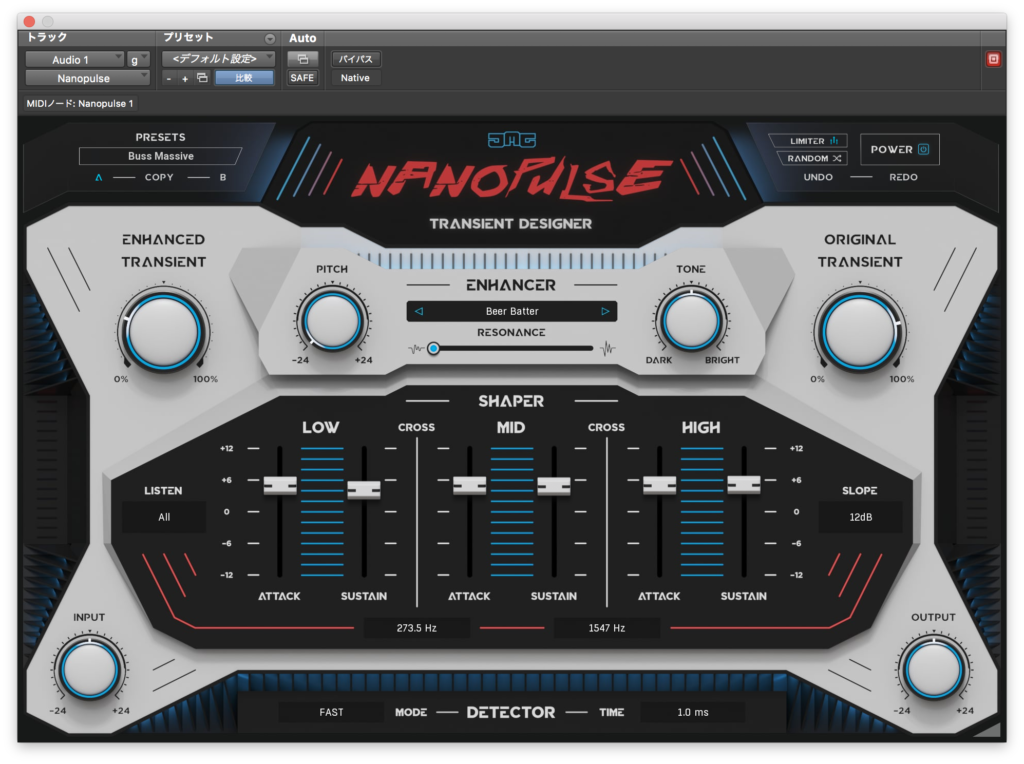
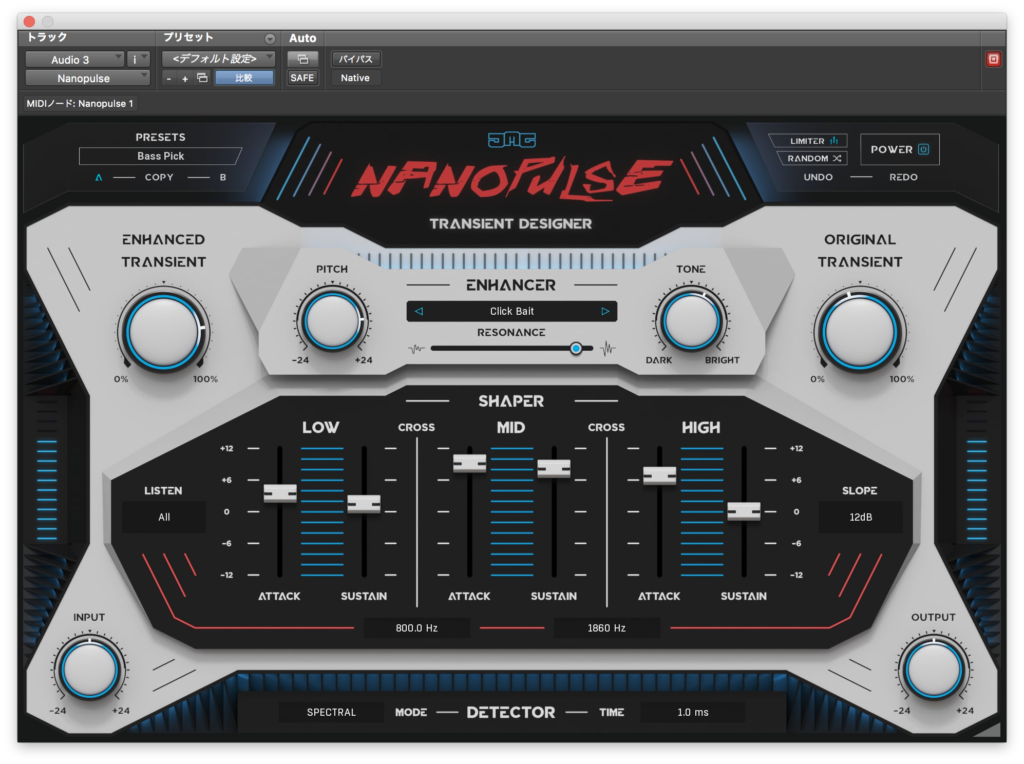
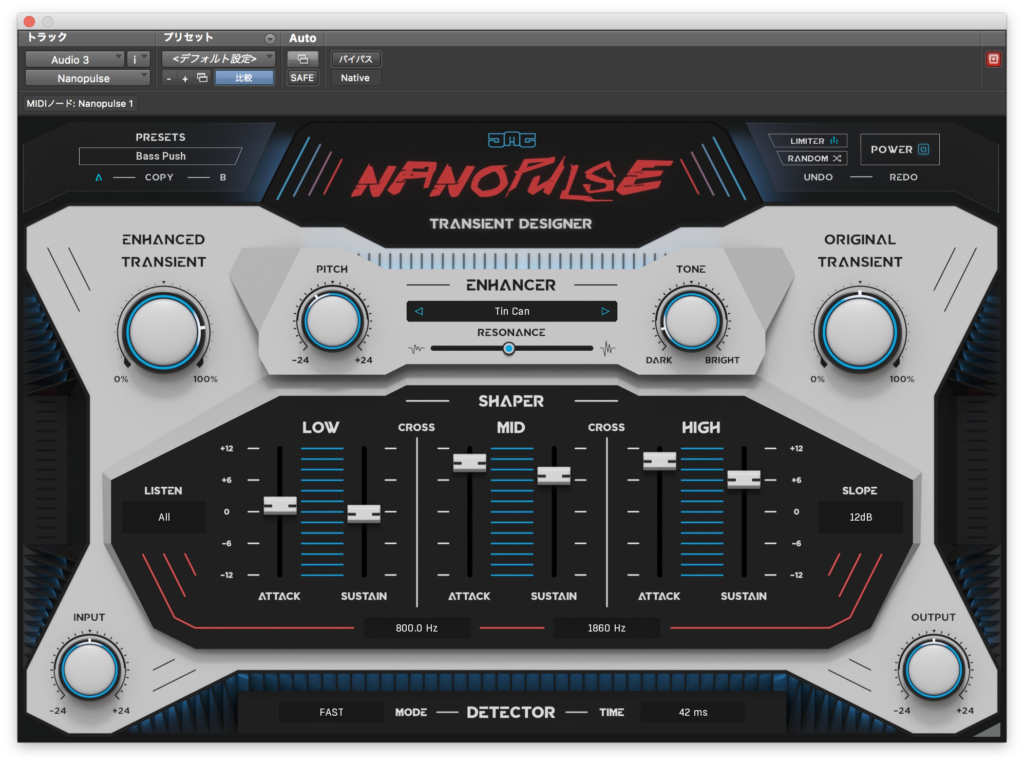
次に上中央のENHANCERからトランジェントの種類を選びます。
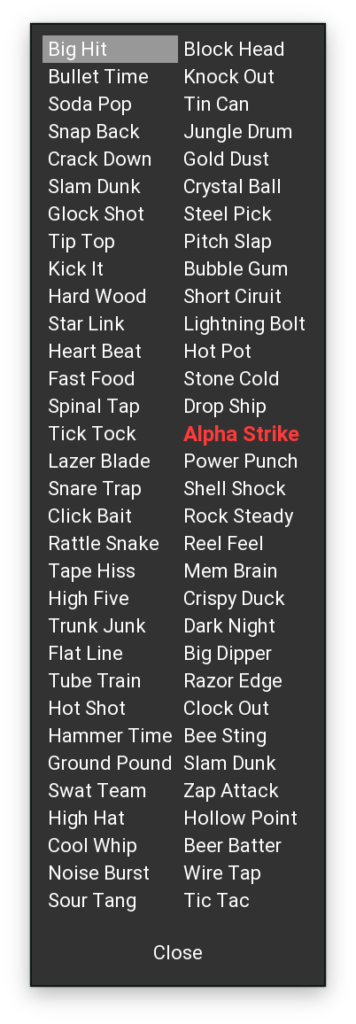
この中から3つ試してみました。
RESONANCEでは周波数特性をコントロールします。
左だと原音に近く、右だと特性が細かくなり目立つ周波数の音が強調されるようになります。

その左にあるPITCHでは選択したトランジェントタイプのピッチを動かします。
RESONANCEを上げないと違いが分かりにくいパラメーターのようです。
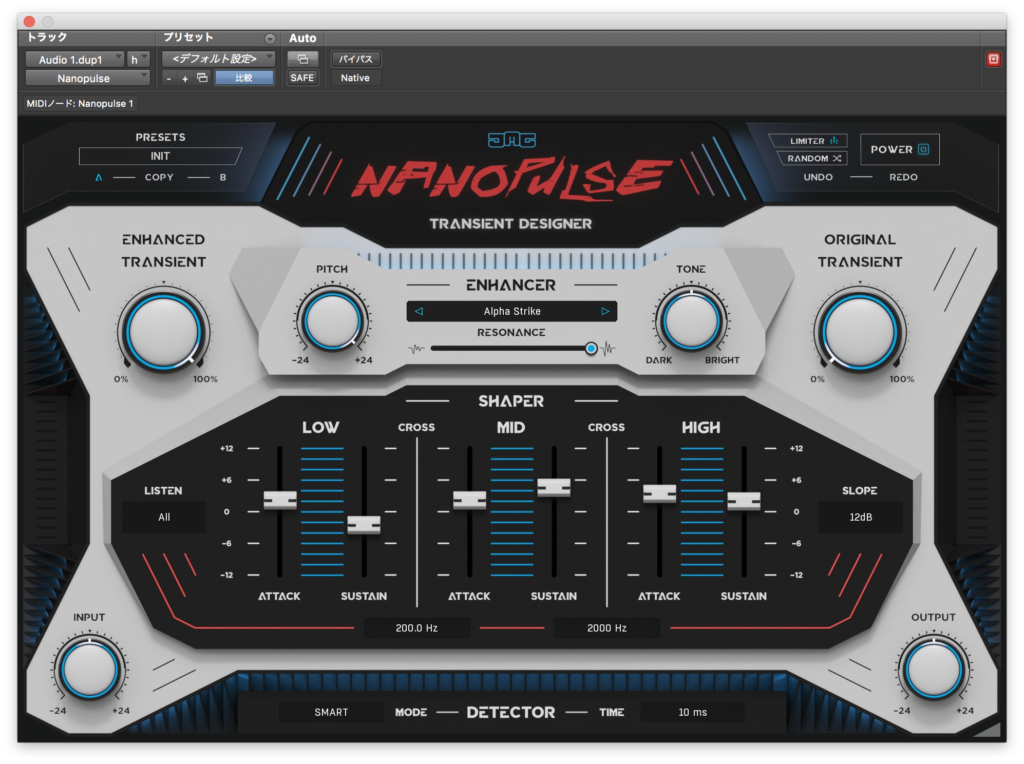
TONEはトランジェントの低域と高域をコントロールします。
このパラメーターもRESONANCEを上げないと違いが分かりにくいです。
右上にはアウトプットについているリミッターのオンオフを切り替えるスイッチがあります。
デフォルトではオンになっているようです。

下のMODEではトランジェントの検出方法が変わるとのこと。
SMARTは入力レベルにあまり左右されずにトランジェントの検出ができ、
SPECTRALではtonality(調性)が重視され、音楽的な効果が得られる可能性が高まるそうです。

FASTは入力レベルが低い時は若干精度が落ちるそうですが、最も速くトランジェントの検出が行われるそうです。

TIMEではトランジェントを検出する解像度を設定します。


パラメーターはこれで全てですね。
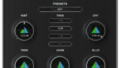
プリセット

適当にプリセットを試していきます。
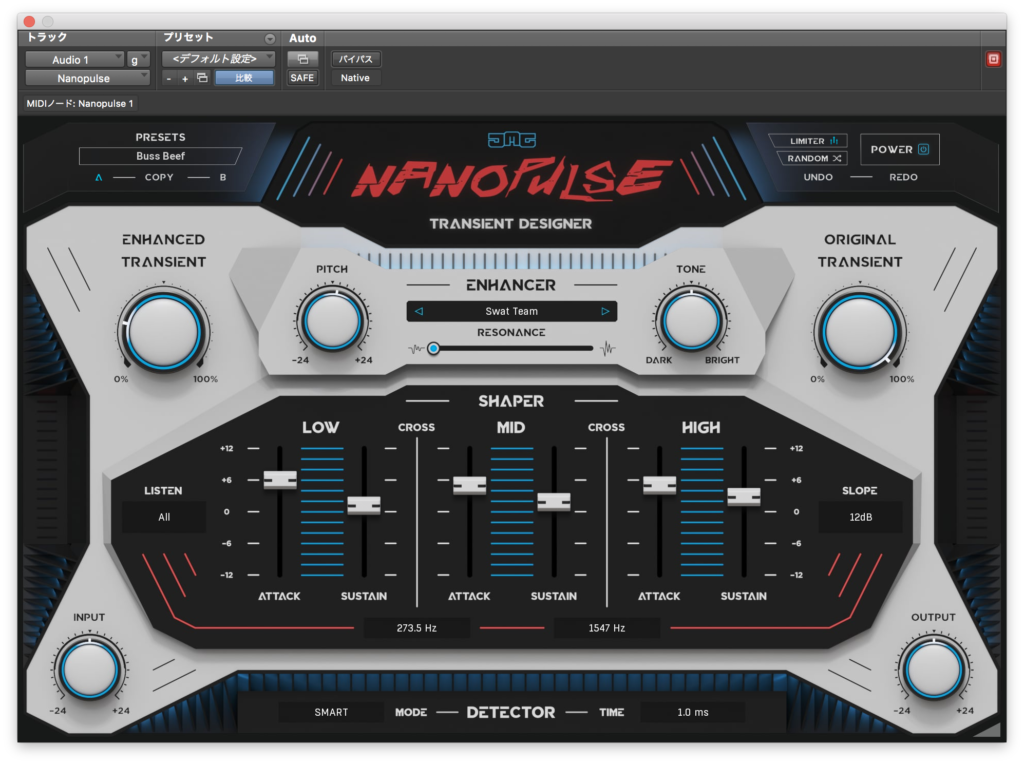
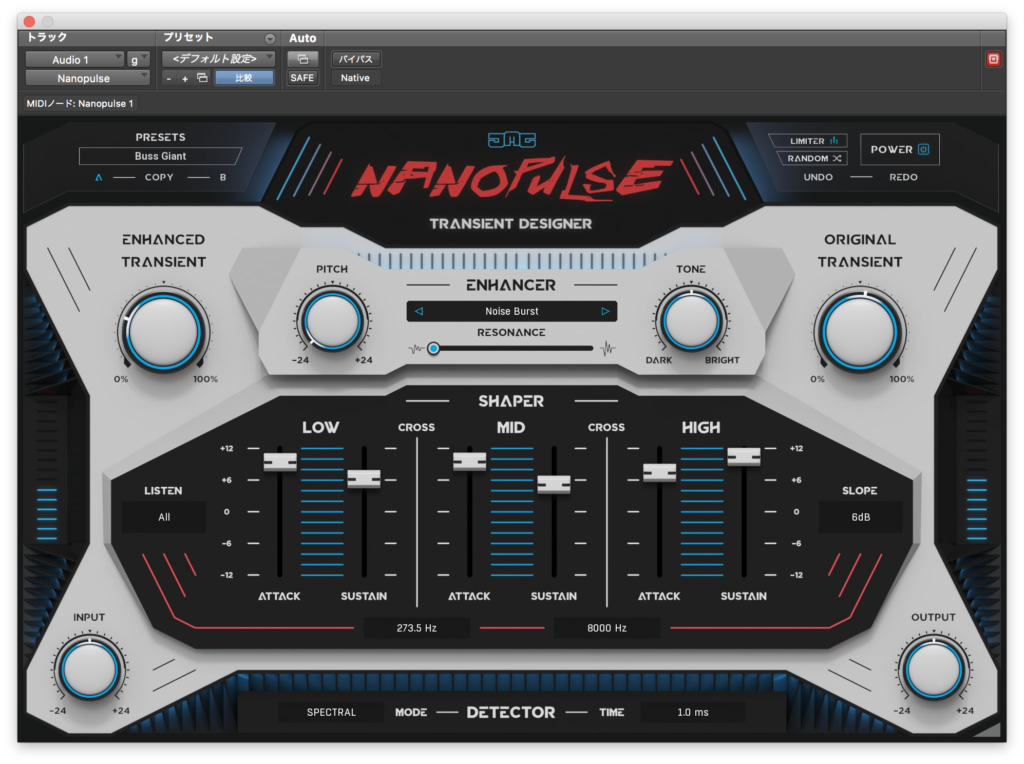
Drums
まずバイパスはこちら↓
プリセットを試していきます。
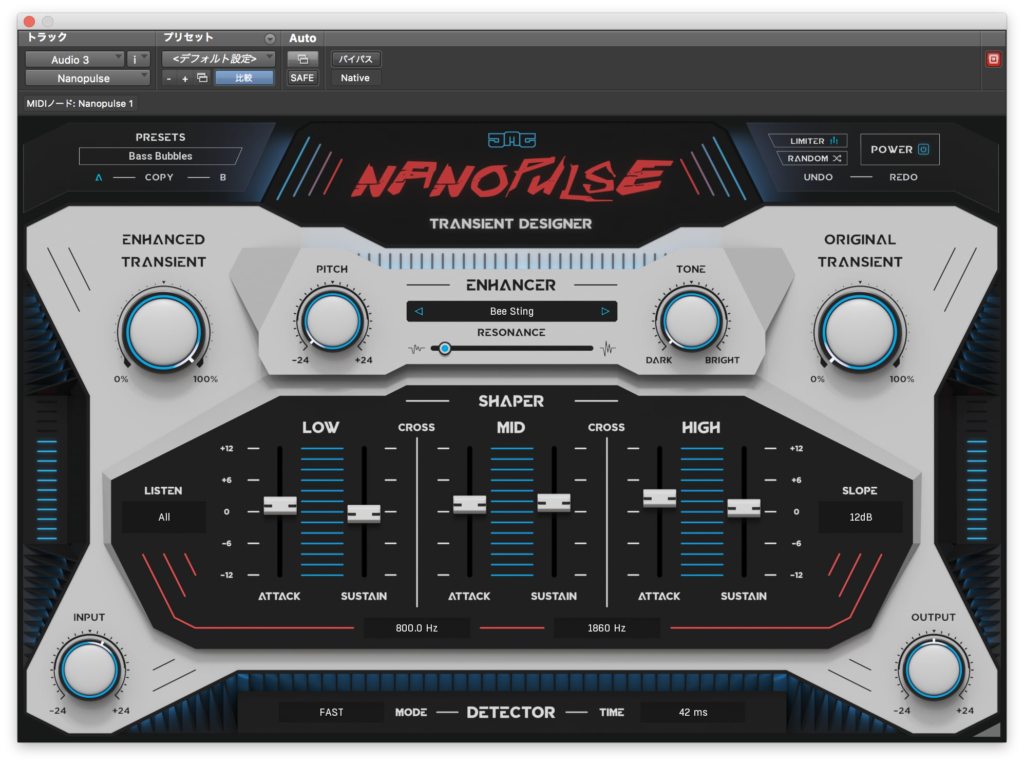
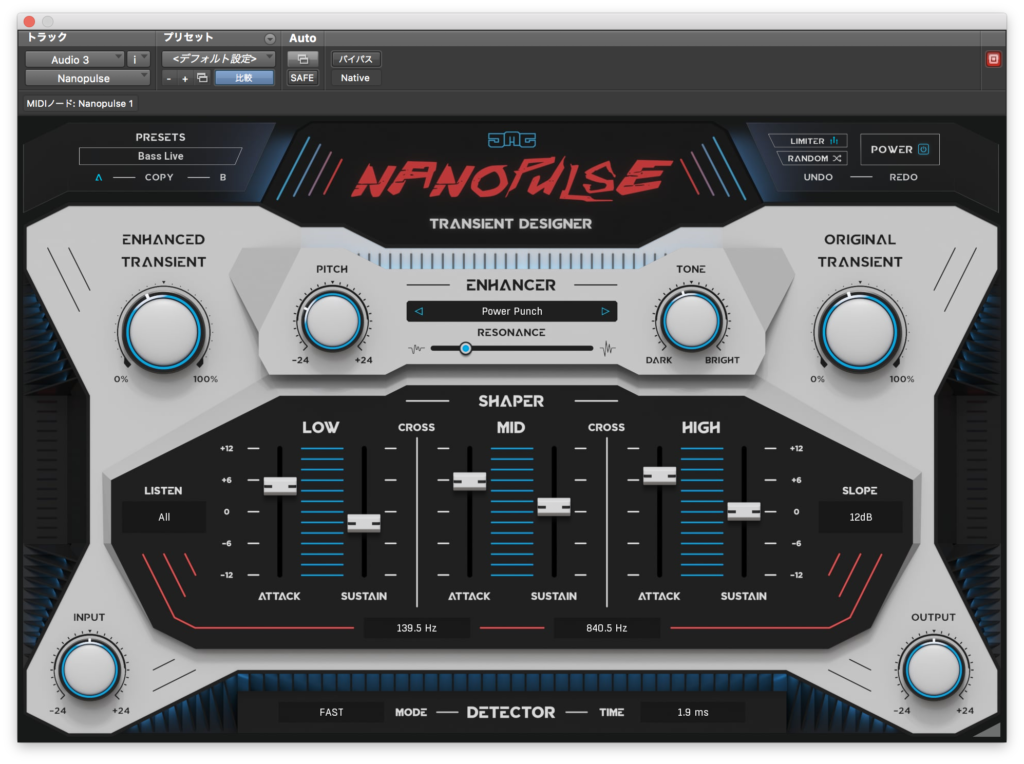
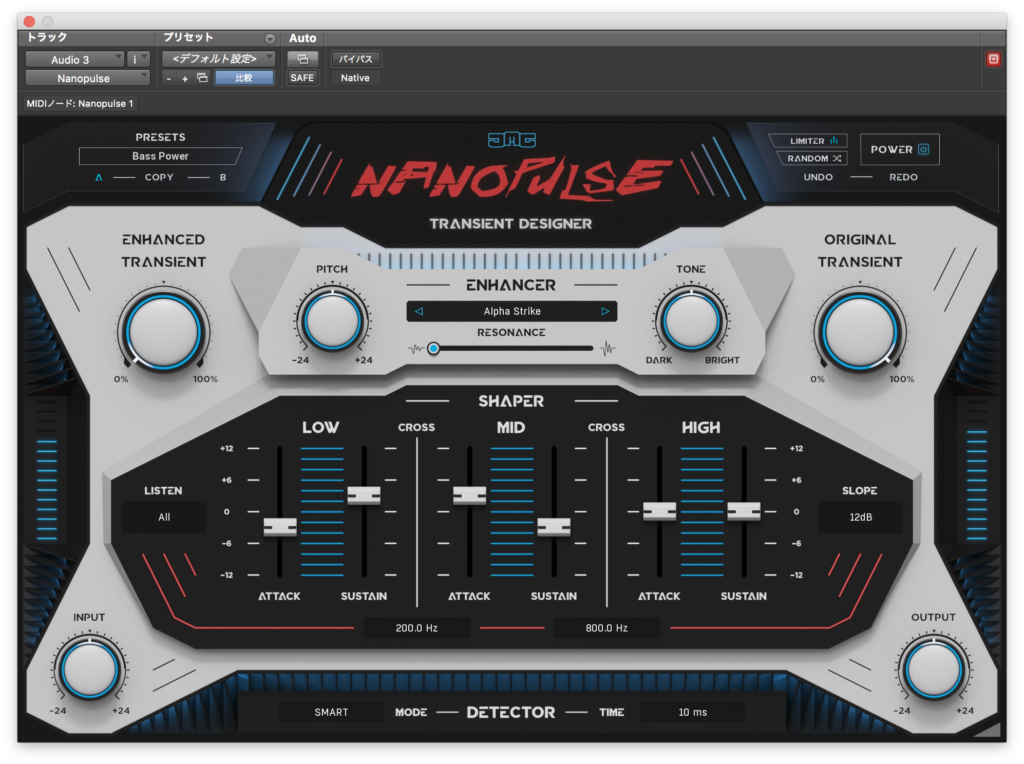
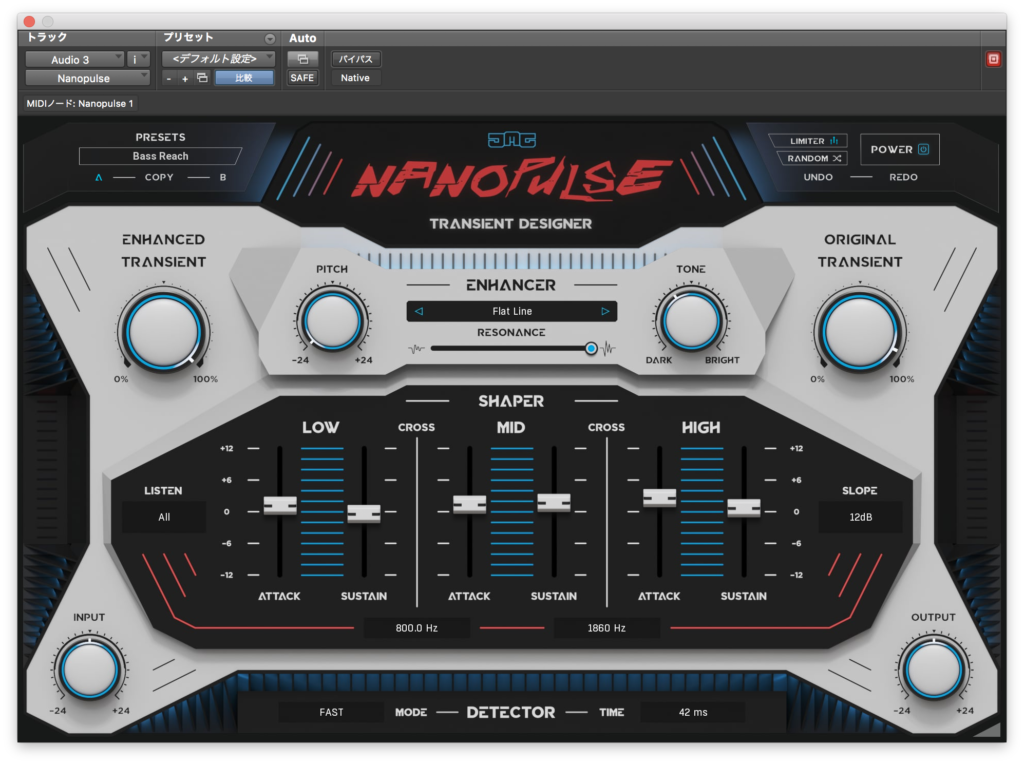
Bass
まずバイパスはこちら↓
同様にプリセットを試していきます。

まとめ
なかなかパンチのある音になるトランジェントシェイパーかなと思います。
意外と細かいパラメーターがあって使いこなすのが大変かもしれませんがなかなか役に立ってくれそうではありますね。
ショップサイトはこちら↓
今月のプラグインセール情報をまとめてみました。
よかったら見ていってください。


コメント