今回はMinimal Audioの「Cluster Delay」について書いていこうと思います。

Cluster Delay
縦線のラインがちょっと不思議なUIのディレイプラグインですね。
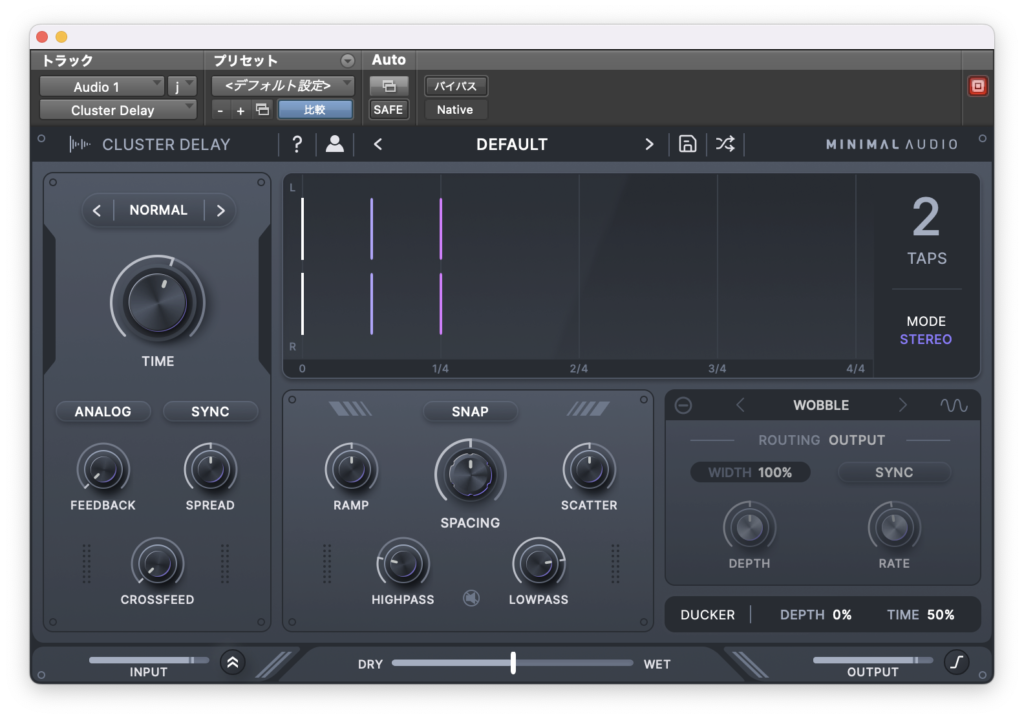
今回のバイパスはこちら↓
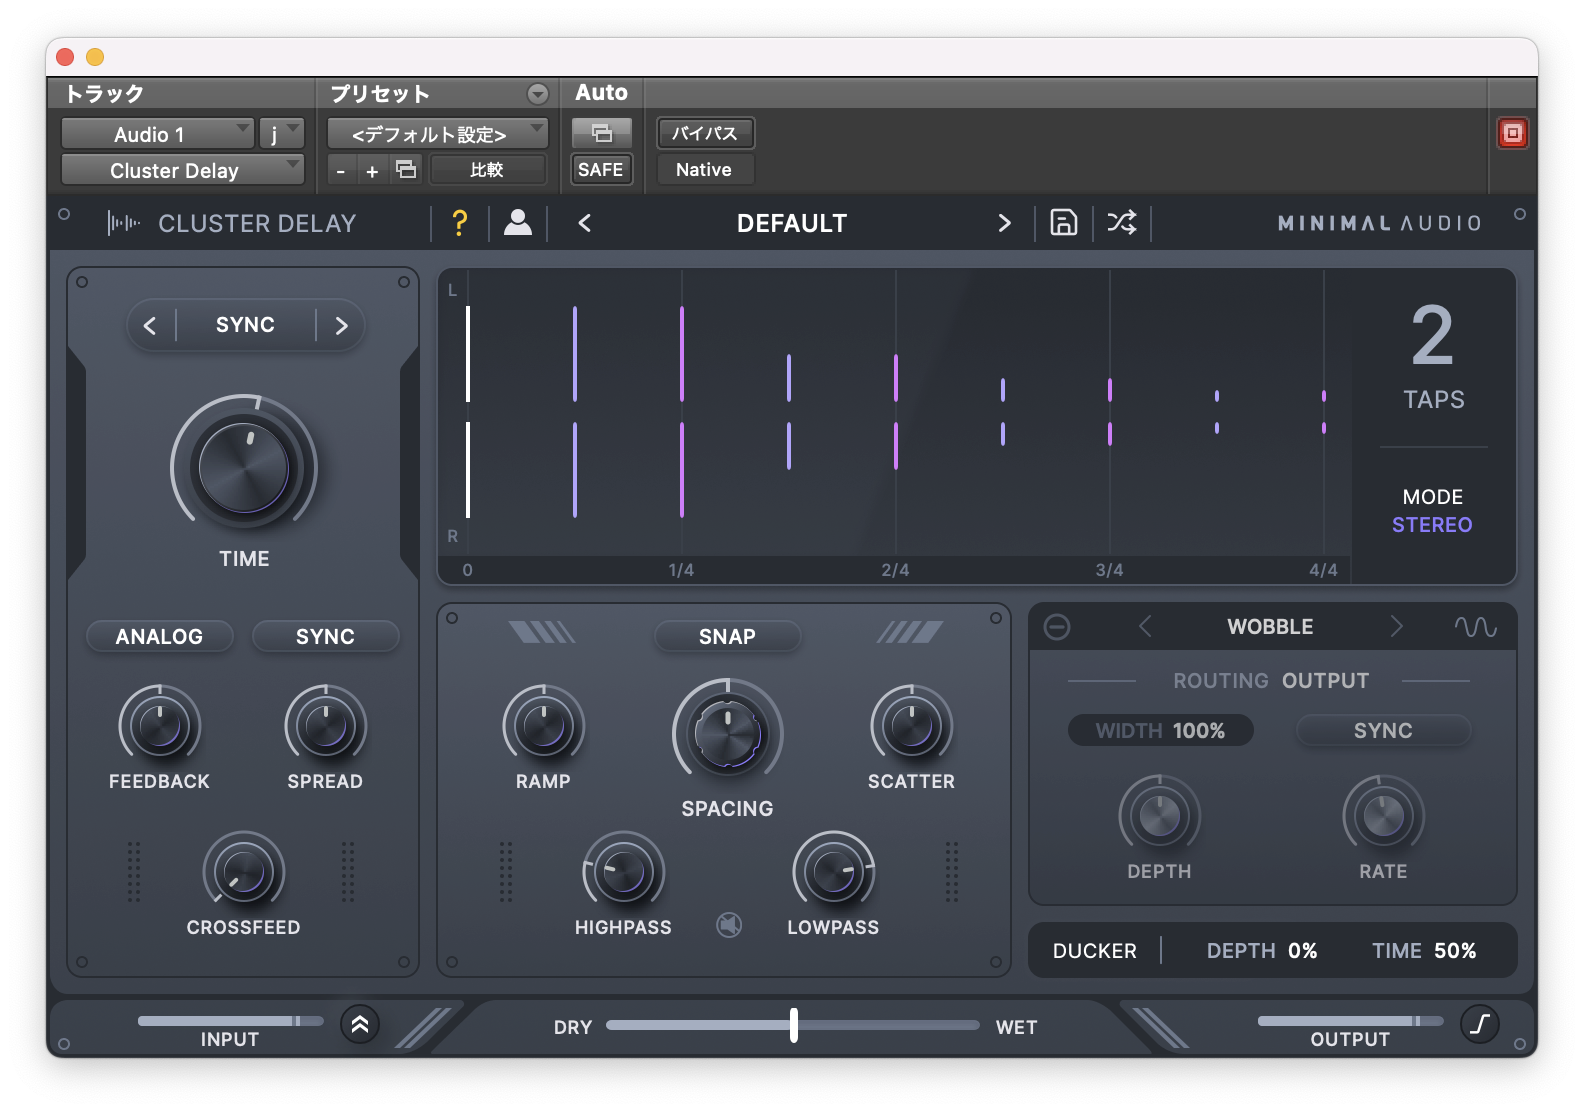
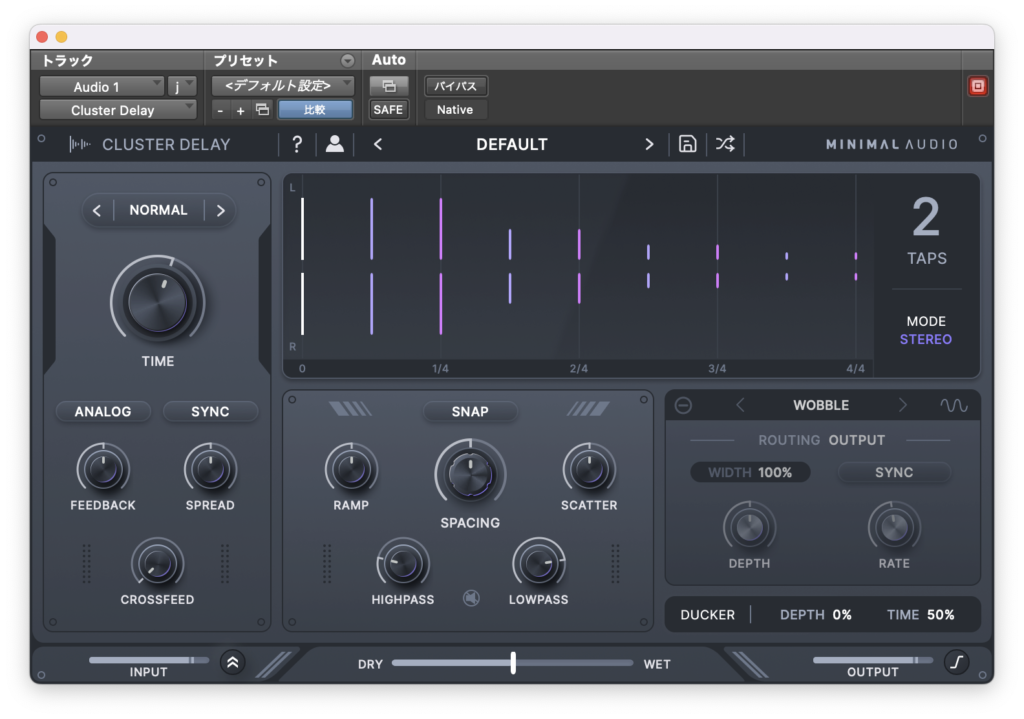
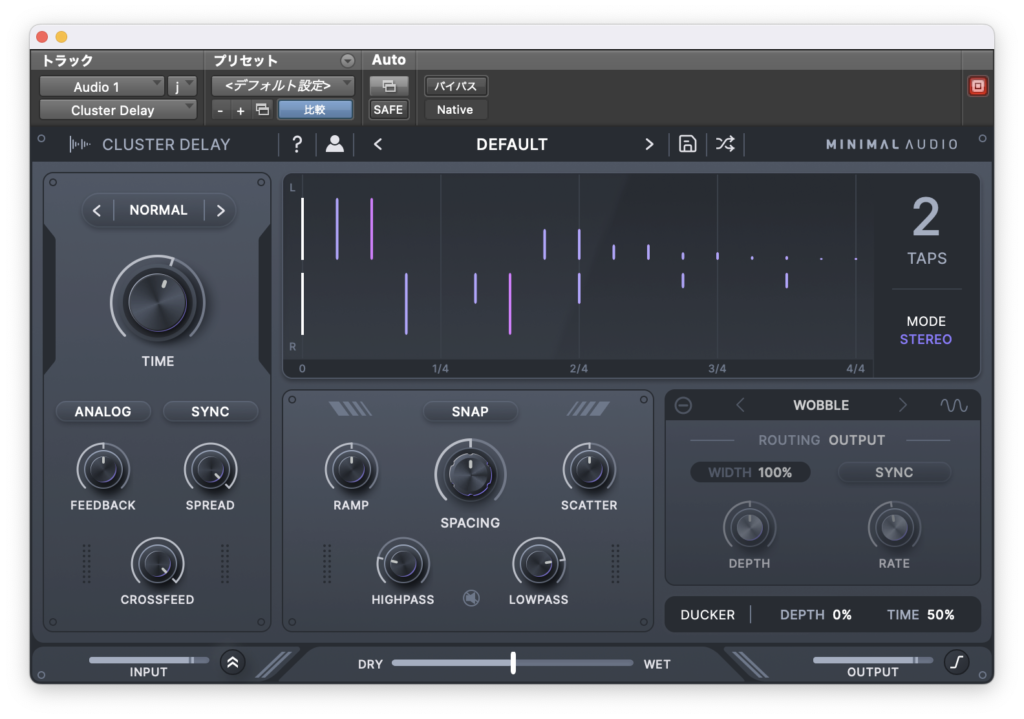
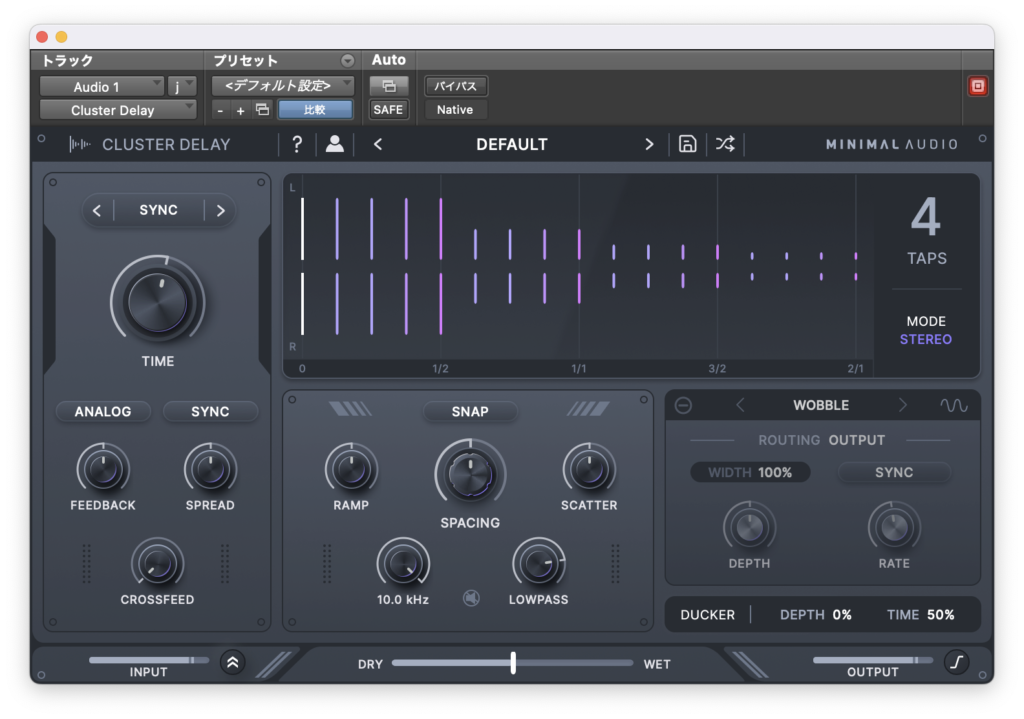
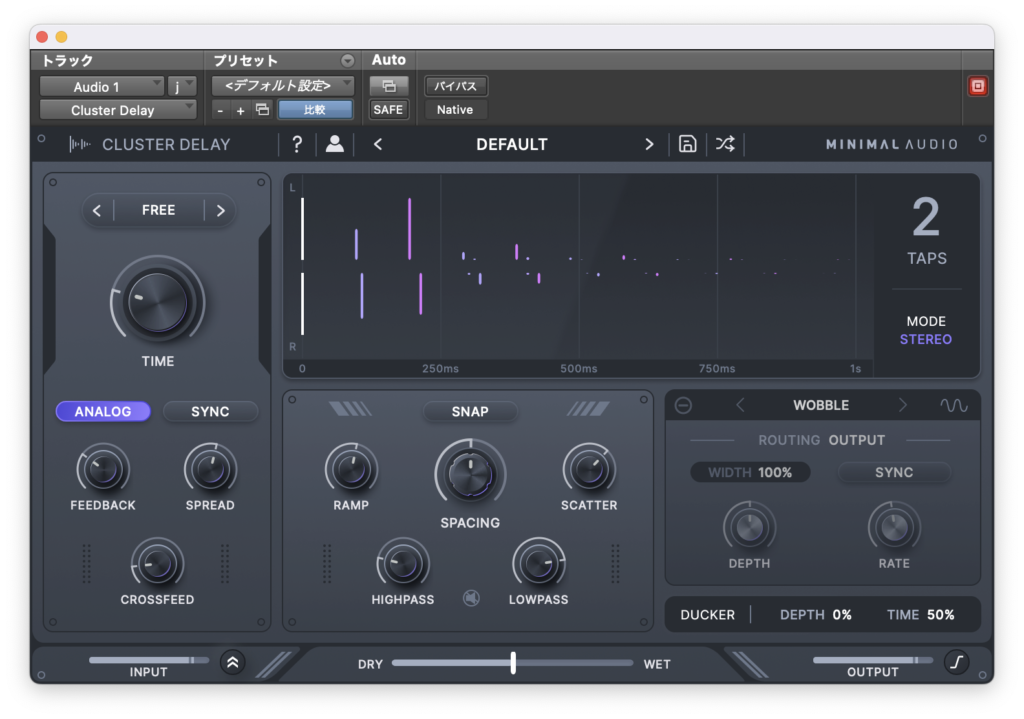
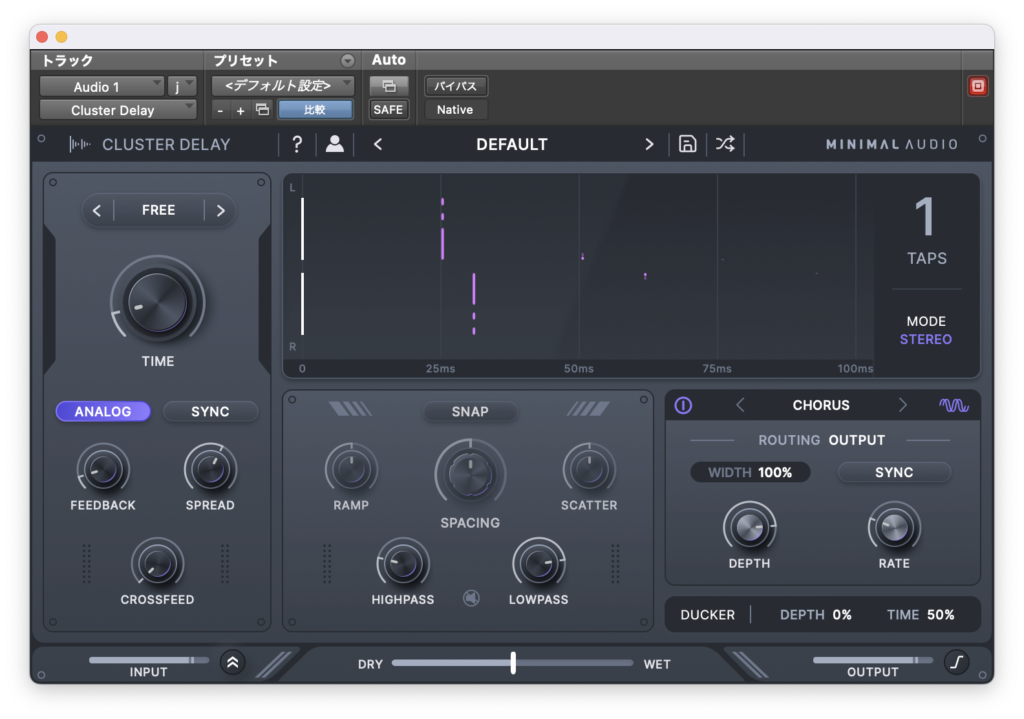
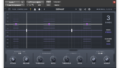
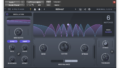
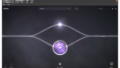
デフォルトだとこんな感じ↓
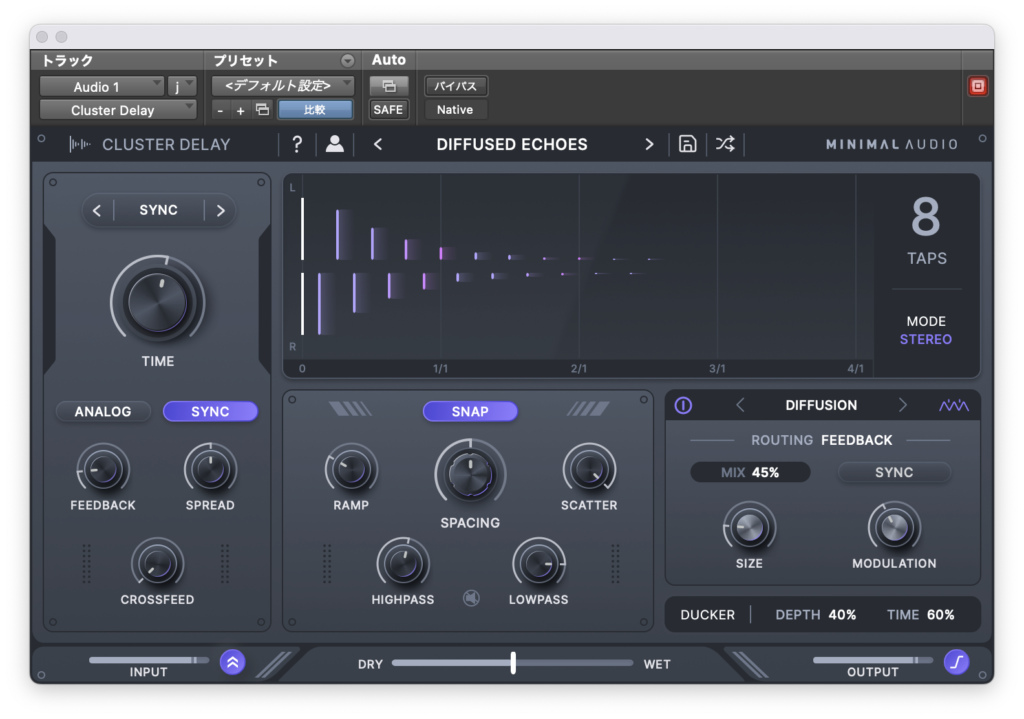
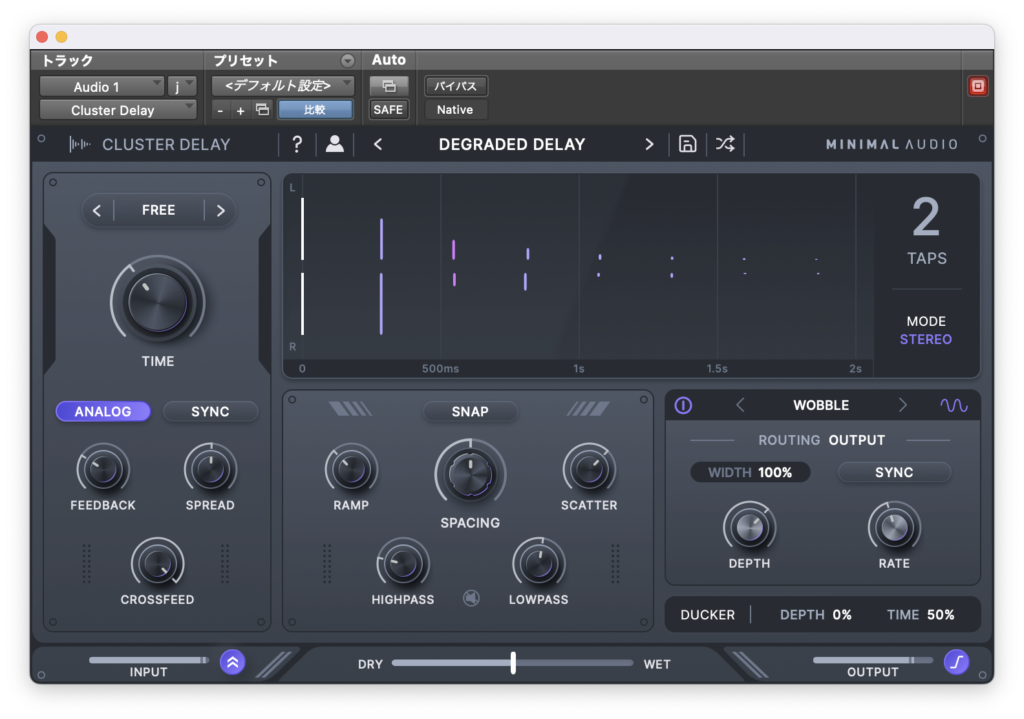
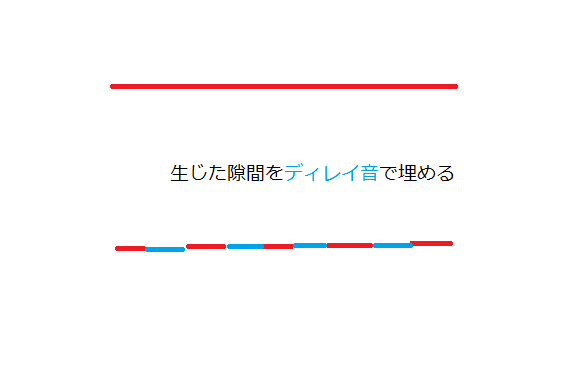
この縦のラインは横軸に時間、縦軸にLR、長さをレベルとしているグラフのようですね。
デフォルトだと右上のTAPSが2となっており、これはディレイ音を2つ一組で捉えるという意味のようです。
なので青と赤紫の2色でディレイ音が表示されていますね。
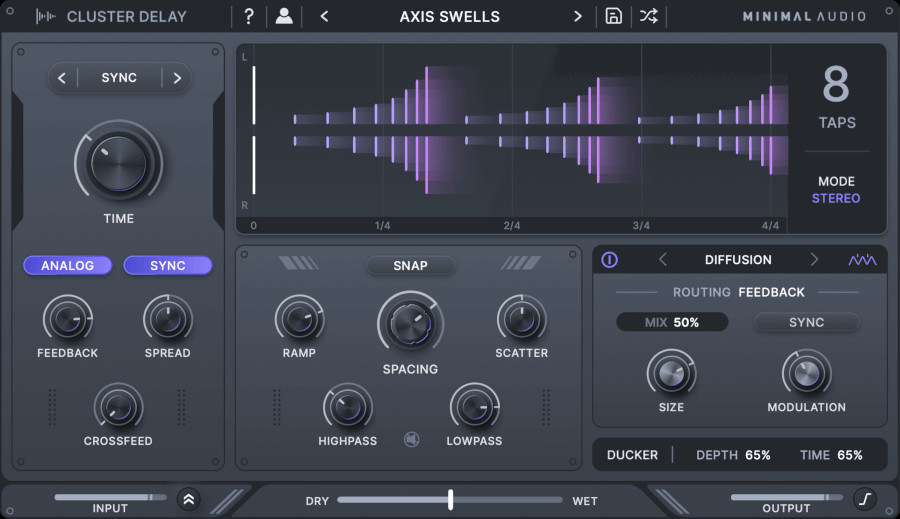
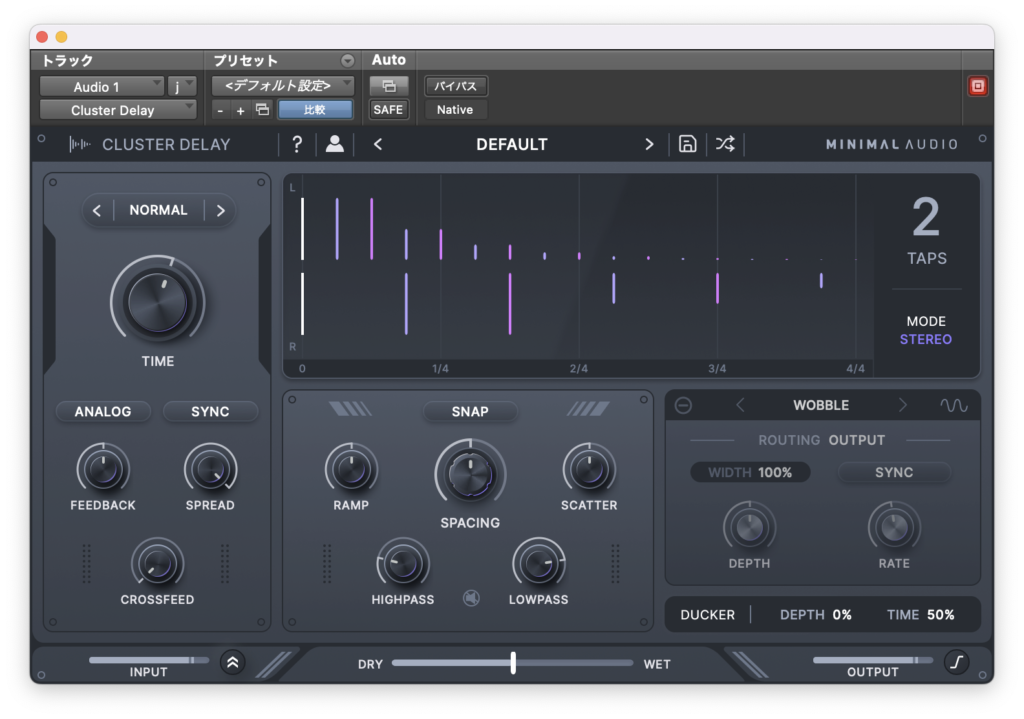
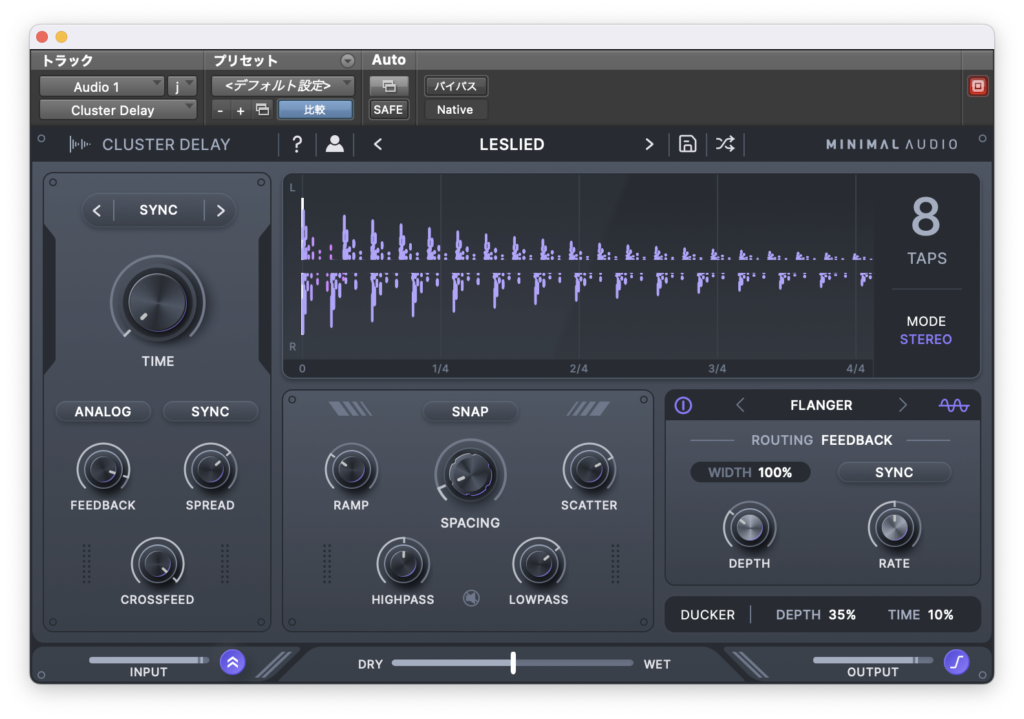
これを最大8まで上げると次のようになります。
ディレイ音が8色で表され、音数も当たり前ですが増えましたね。
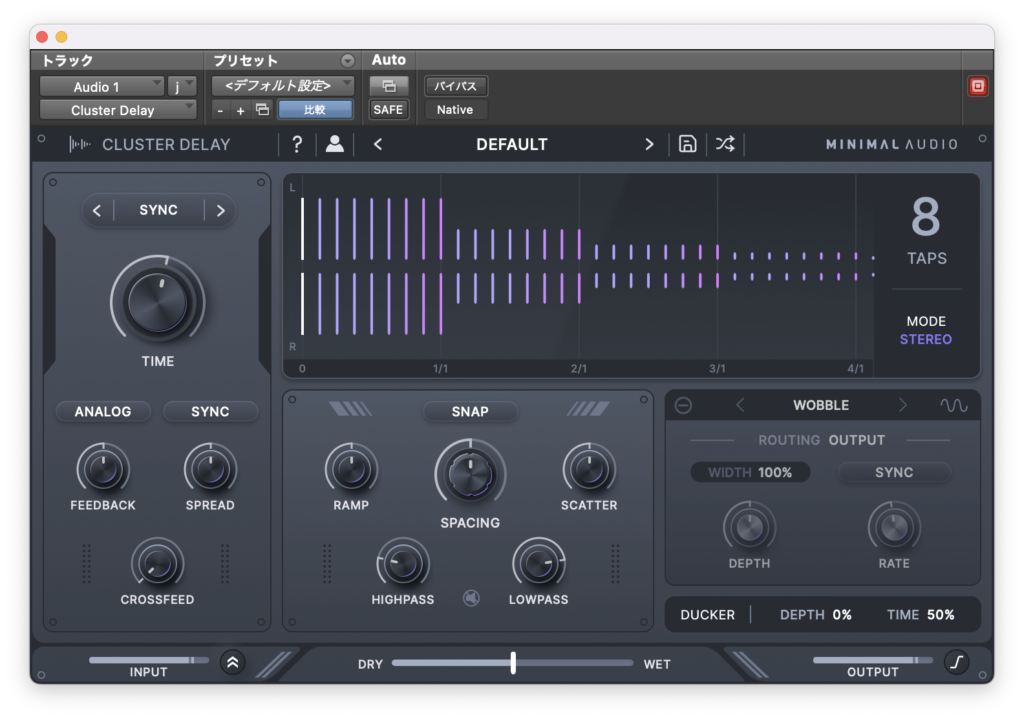
ですが今回は分かりやすいようにデフォルトのTAPS 2で進めようと思います。
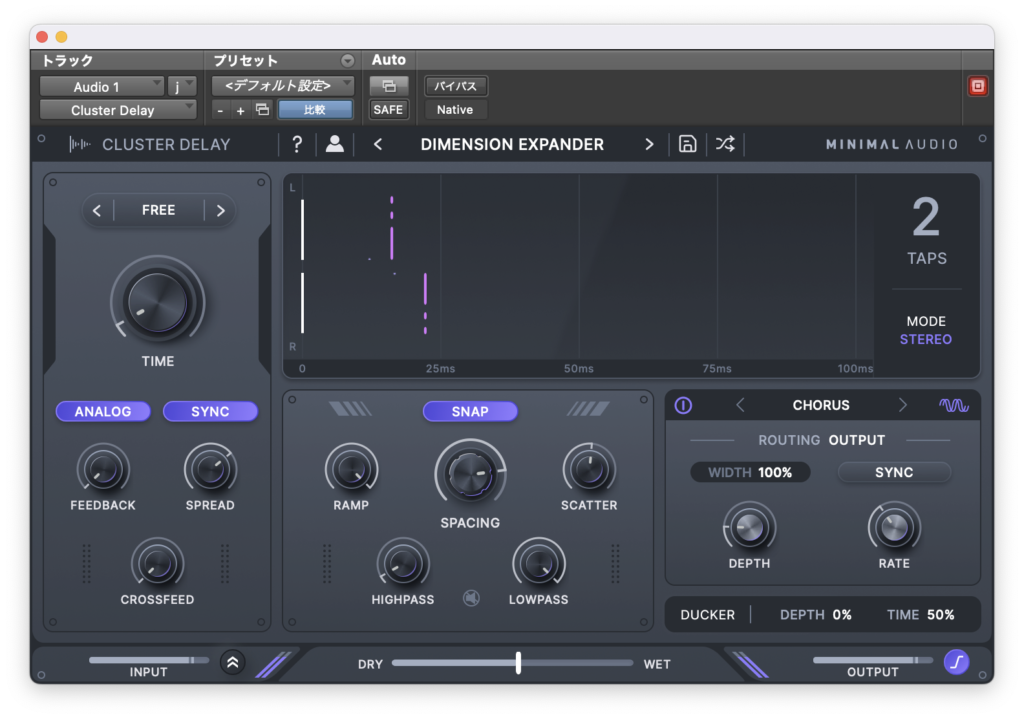
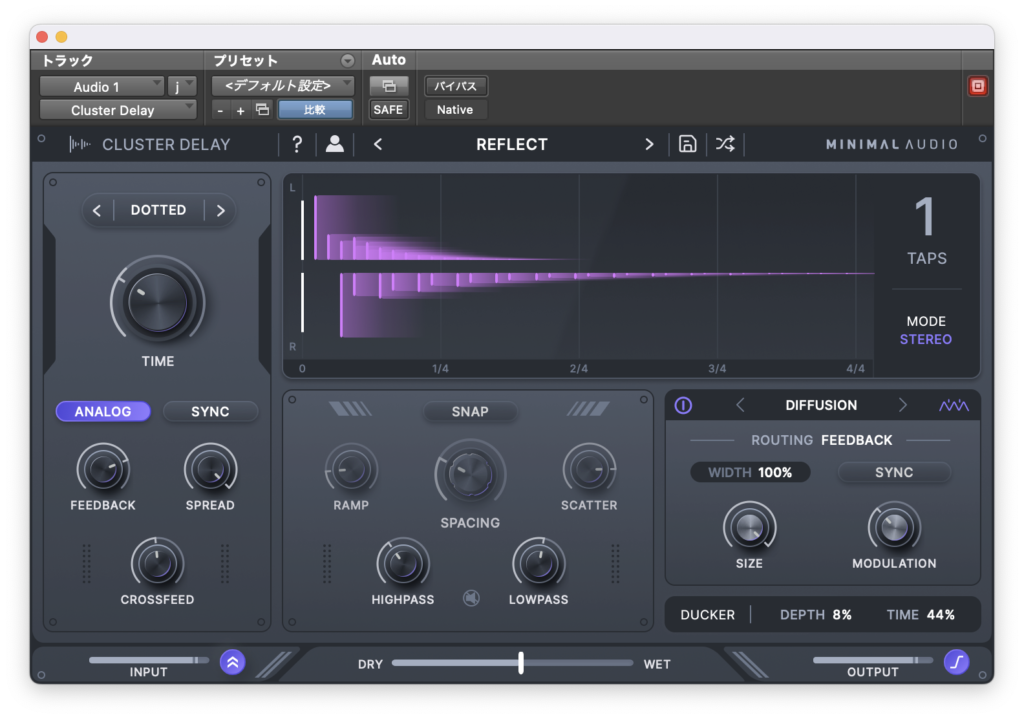
左上のTIMEは次のモードから選ぶことができます。
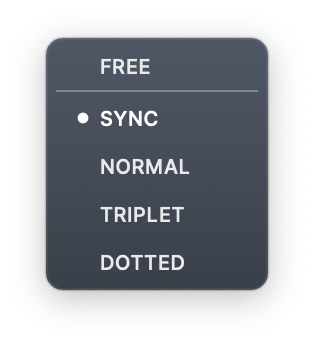
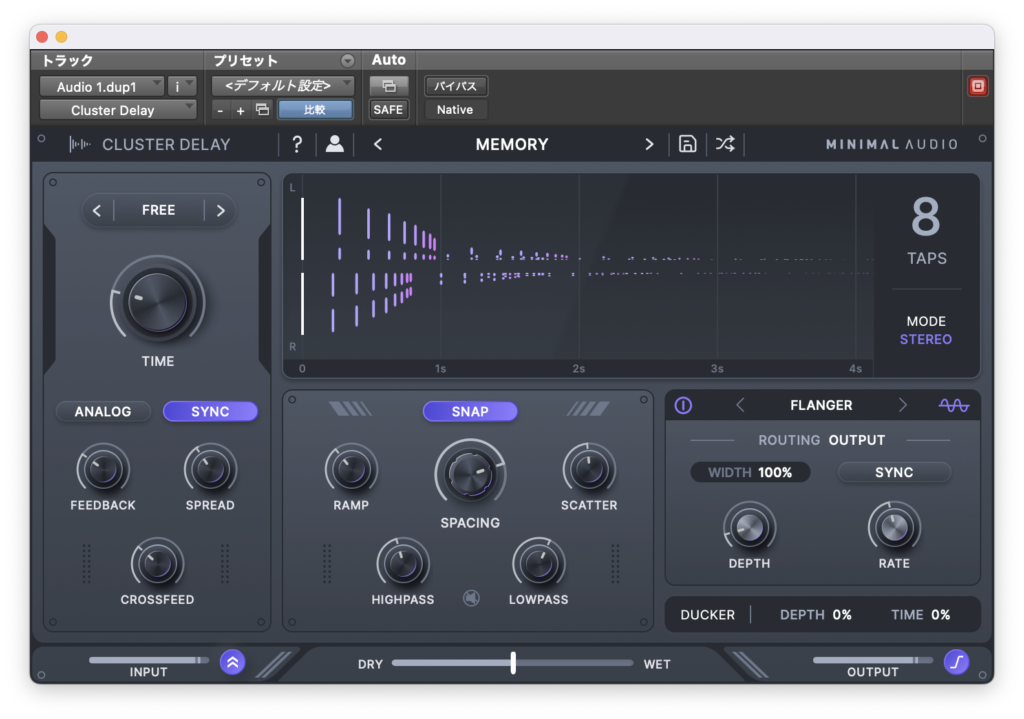
デフォルトのSYNCはDAWのテンポに同期するモードで、FREEはms単位で操作するモードです。
その他もDAWのテンポと同期するタイプのようですが若干タイミングが異なっているようです。


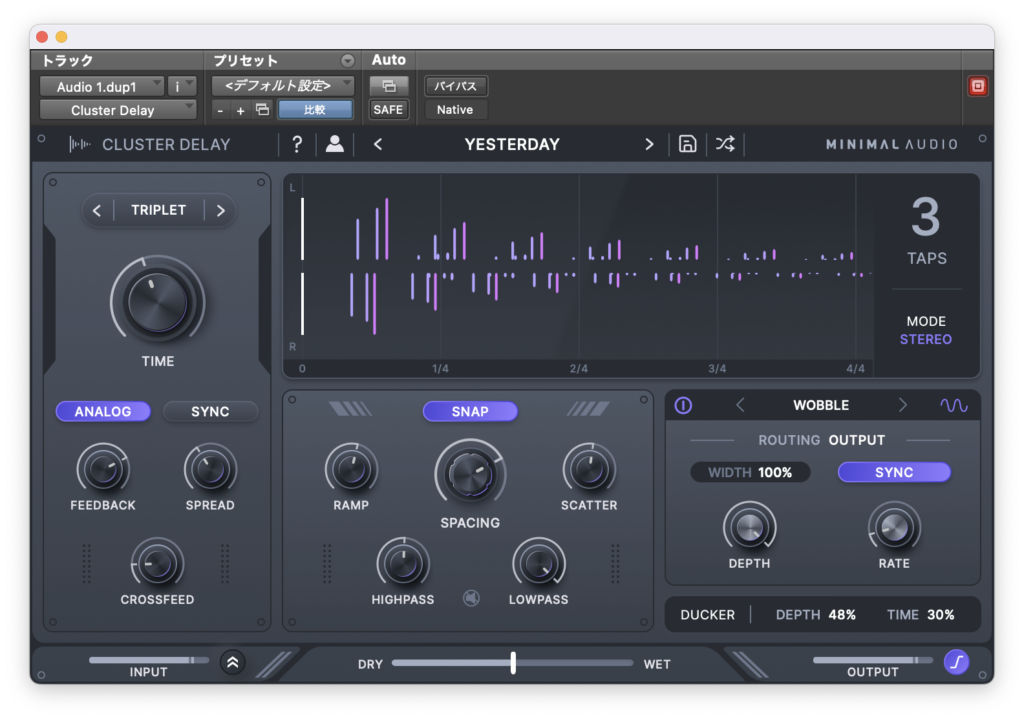
NORMALが8分、TRIPLETが3連符、DOTTEDが付点八分音符でいいのでしょうか。
SYNCは2拍3連かな?(ちょっと自信がない)
今回は分かりやすいようにNOMALで進めます。
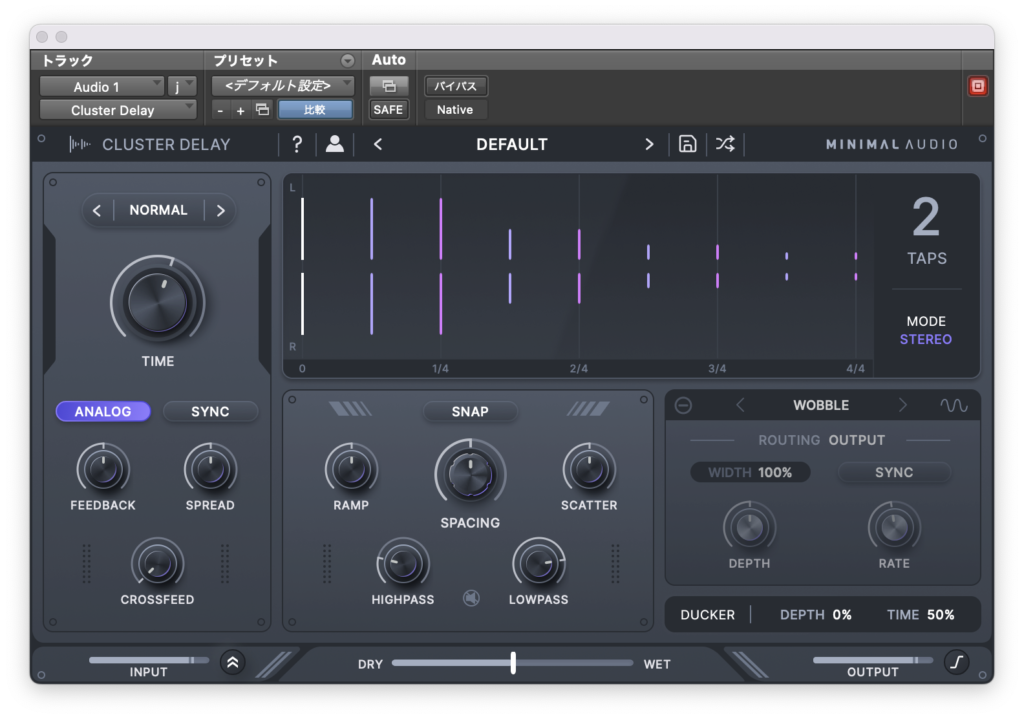
ANALOGを入れるとヴィンテージ機材のようなハイの丸くなるような効果が得られるそうです。
FEEDBACKはディレイをどれだけ繰り返すかというパラメーターですね。

SPREADは左右のディレイタイムに偏りを作るパラメーターのようです。

右に回すとRのディレイタイムが伸び、Lのディレイタイムが縮みます。(左はその逆です)
SYNCボタンを押すと12.5%刻みでSPREADを設定するようになります。
CROSSFEEDはSPREDが0%以外の時に動作するパラメーターで、Lチャンネルの音の一部をRチャンネルにフィードバックさせるパラメーターのようです。

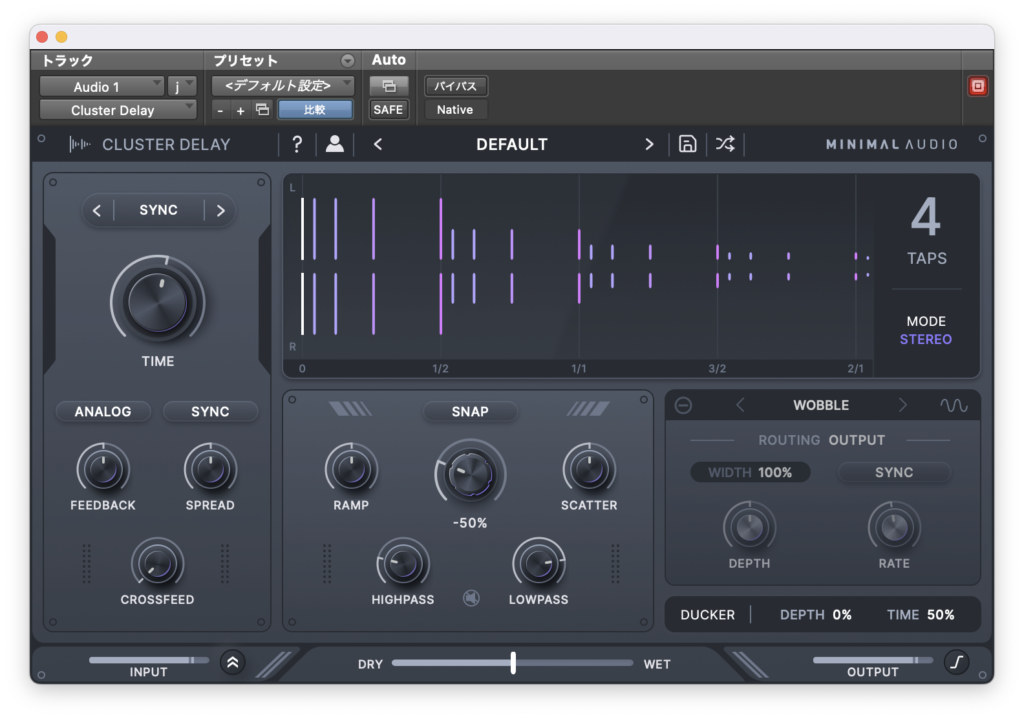
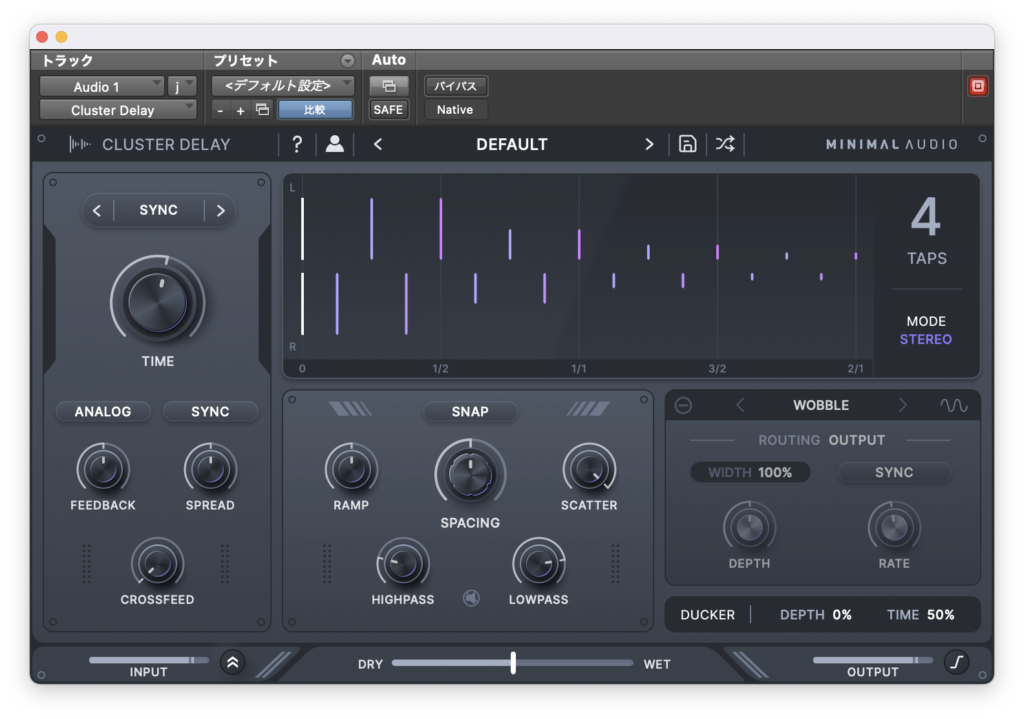
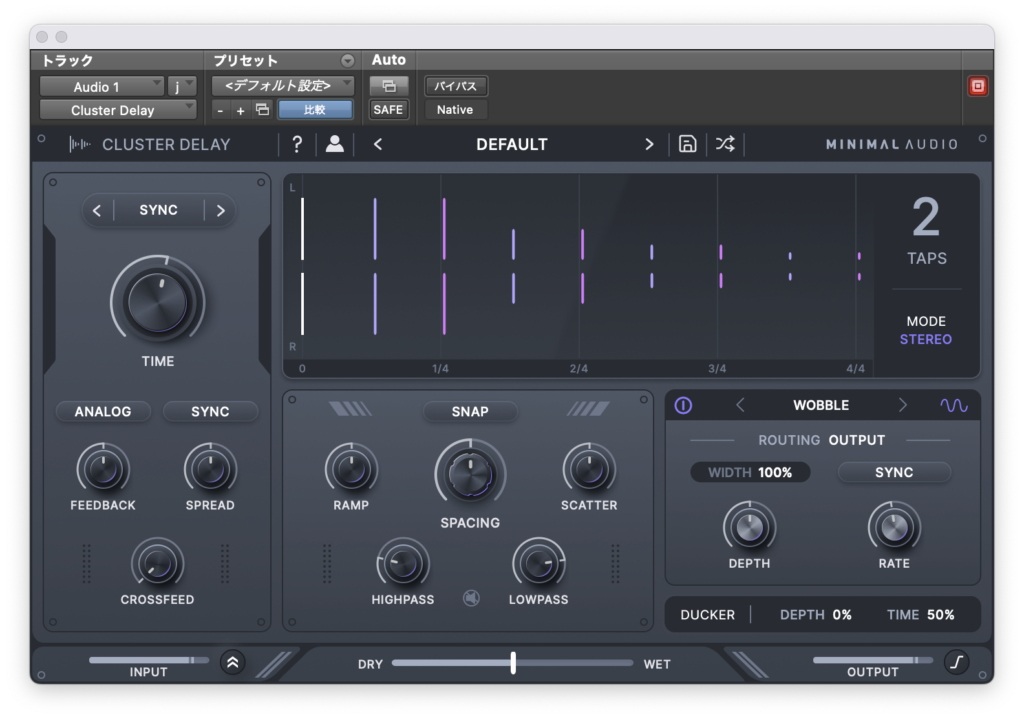
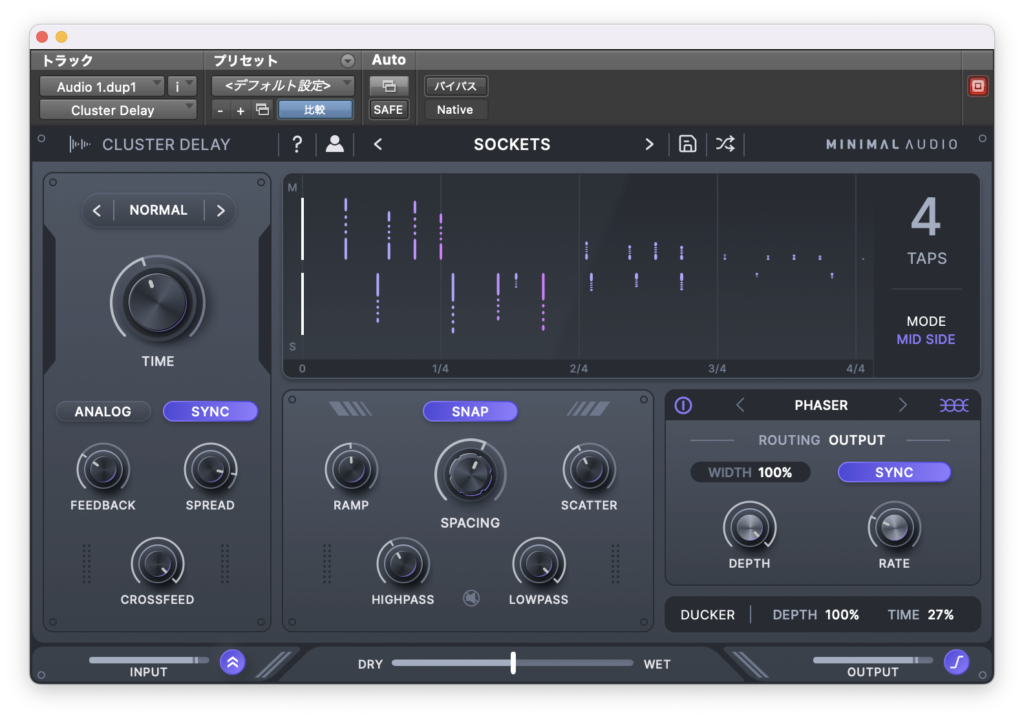
次からは中央のSNAPと書かれたあたりのパラメーターに移りますが、TAPSを4あたりにした方がパラメーターの働きがわかりやすかったので4にします。

ここではTAPSを一塊として設定をしていきます。
中央のSPANCINGはTAPSのディレイ位置に偏りを作ります。
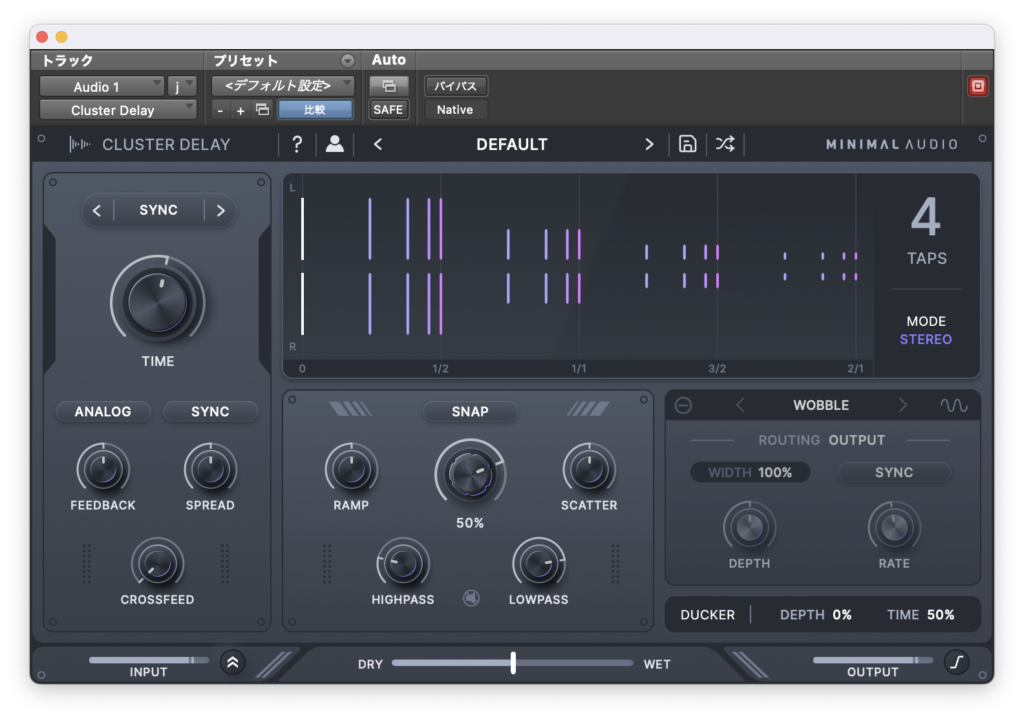
RAMPはTAPS内で音量バランスにクレッシェンド/デクレッシェンドをつけます。


SCATTERは左右の音が交互に聴こえてくるように音量を偏らせます。

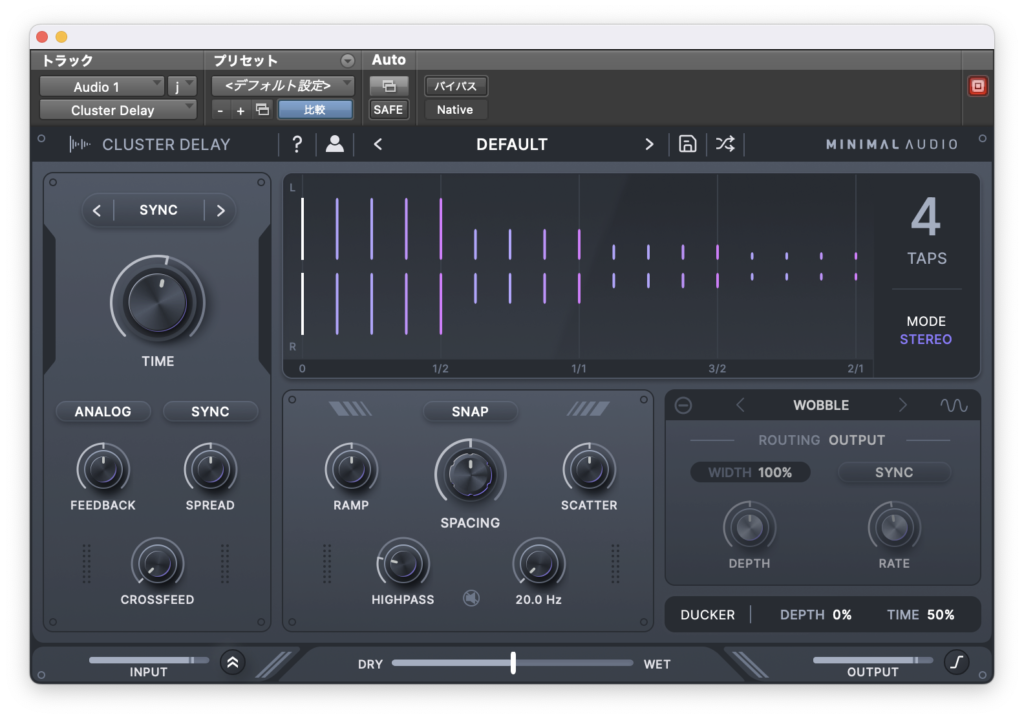
その下にはHIGHPASSとLOWPASSがありますね。
HIGHPASSは5.00Hz〜10.00kHz、LOWPASSは20.0Hz〜20.0kHzの範囲で設定できます。
その真ん中にあるボタンは多分ディレイ音のリセットボタンだと思います。
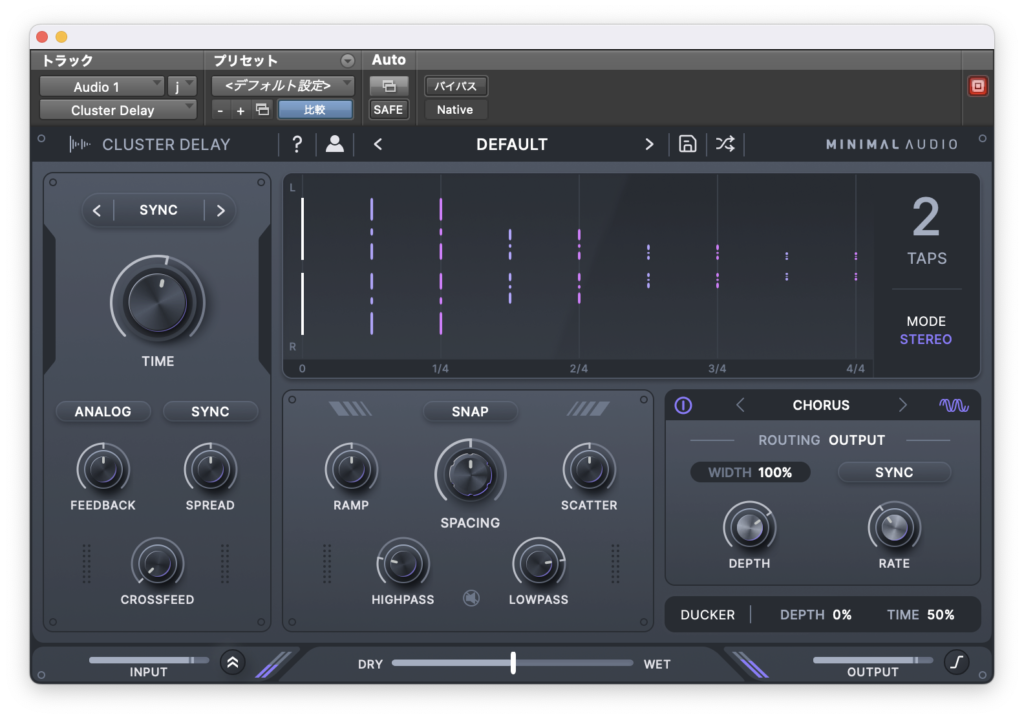
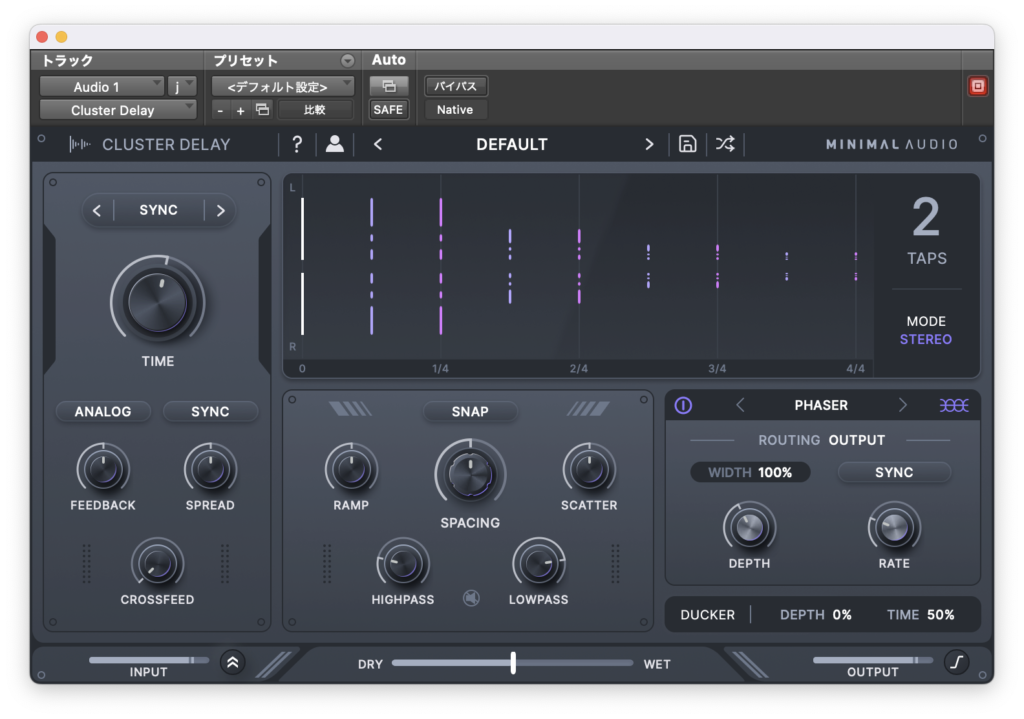
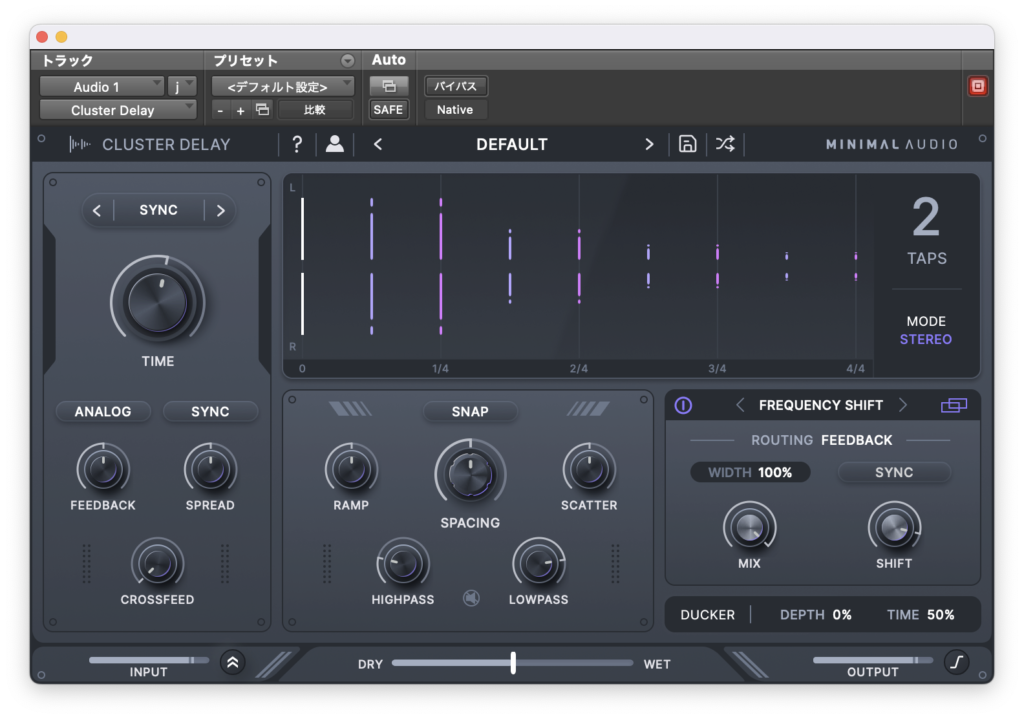
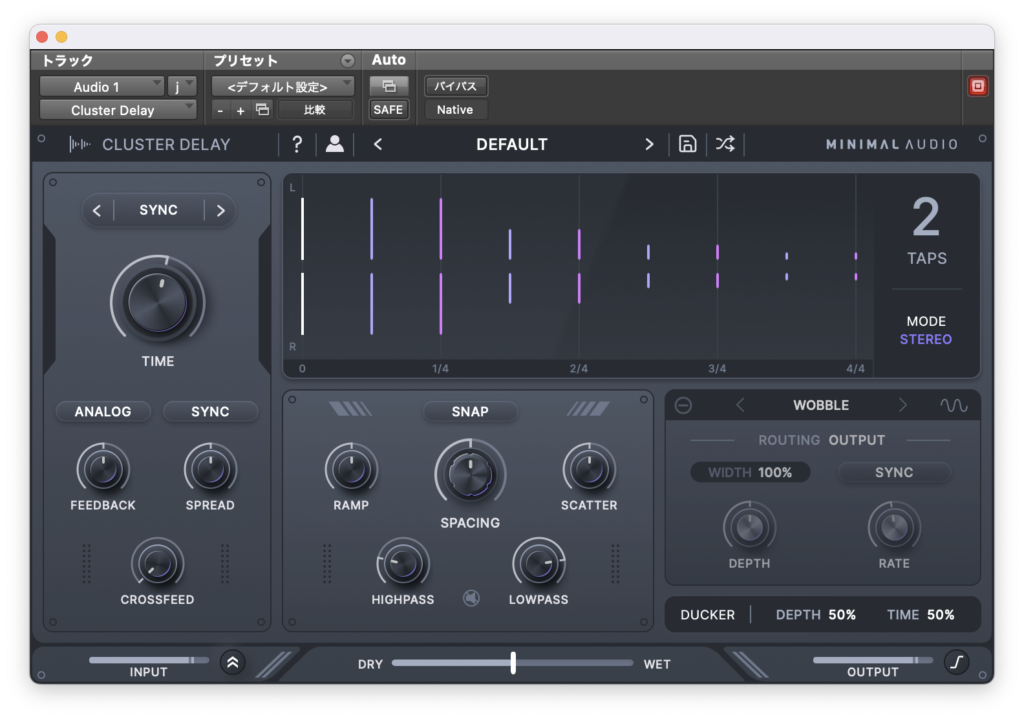
右には各種エフェクトがあります。
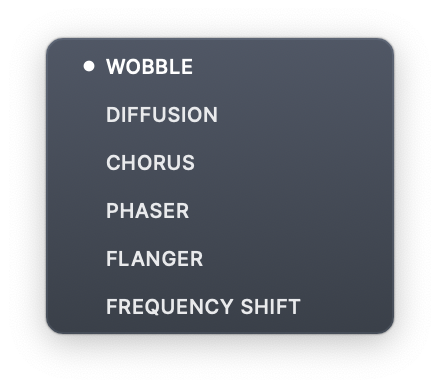
WOBBLEはテープエコー的な揺らぎを加える効果があります。
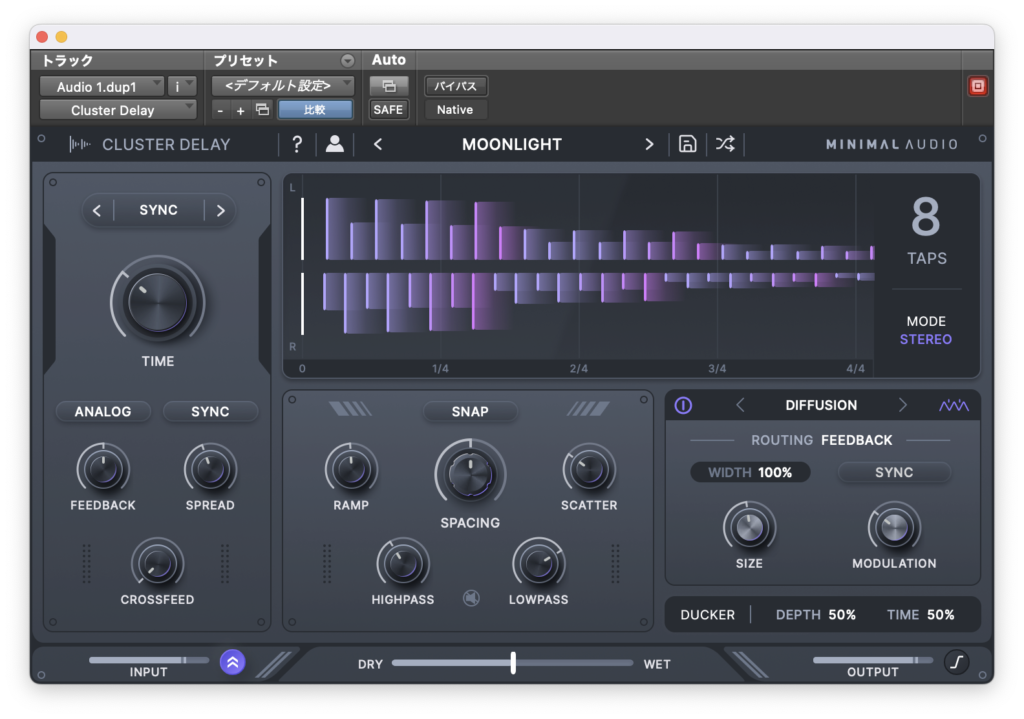
DIFFUSIONはリバーブ的なエフェクトですね。

CHORUSはディレイ音のピッチを揺らすモードです。
PHASERはディレイ音の位相を揺らします。
FLANGERもディレイ音のピッチを揺らすのですがコーラスとはまた違った響きになります。

FREQUENCY SHIFTはピッチシフターですね。
右下のDUCKERはDry音のレベルに反応してWet音のレベルを下げるパラメーターです。
DEPTHで下げる量を、TIMEで音量を下げた後のリリースタイムを設定します。
パラメーターとしてはこんなところでしょうか。
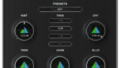
プリセット
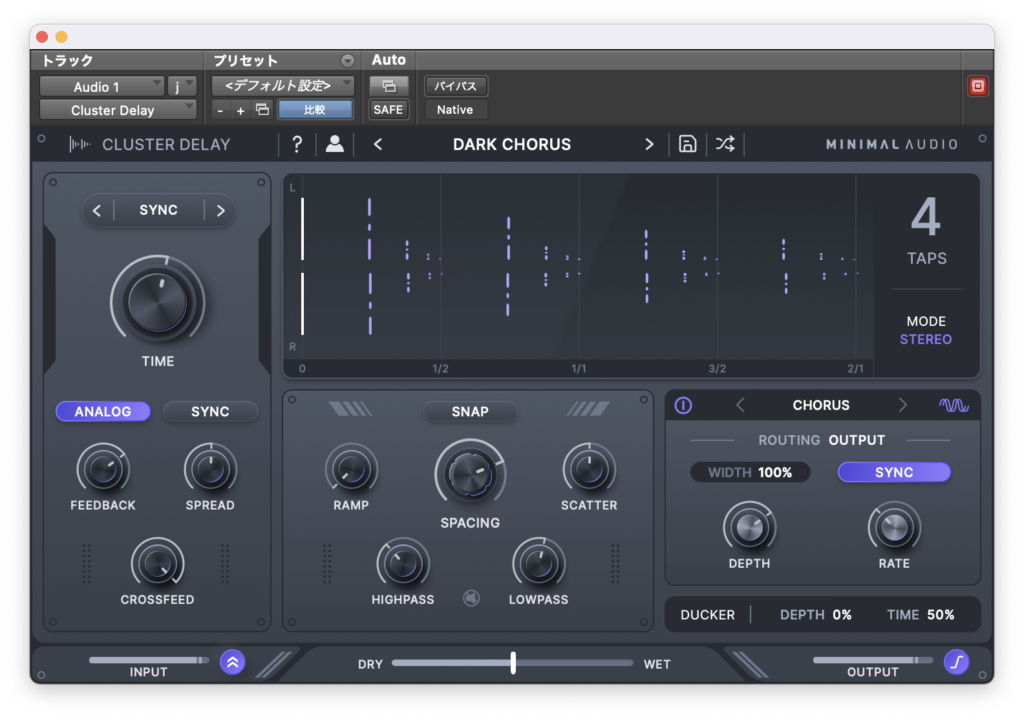
ここからはプリセットを試していきます。

最後に適当にパラメーターを振ってみました。
なかなか面白いディレイが作れますね。
アコギ
次にアコギで試してみます。バイパス↓
デフォルトだとこんな感じ↓

プリセットから試していきます。
適当にパラメーターを振ってみました。

なかなか幻想的な音も作ることができますね。
エレキギター
最後に少しエレキギターでも試してみようと思います。バイパス↓
デフォルトだとこんな感じ↓

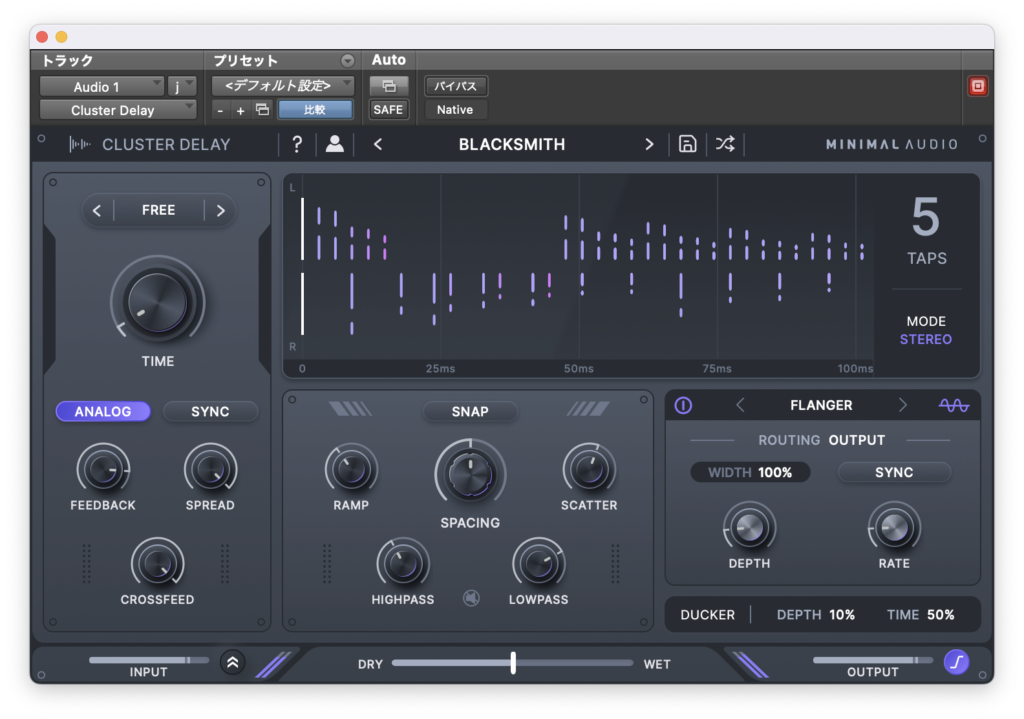
プリセットから試していきます。

コーラスっぽく作ってみました。

なかなか綺麗な響きですね。
まとめ
かなり多彩な音作りができるディレイだと思います。
幻想的な響きのあるディレイから強烈なエフェクト効果音的な使い方まで対応できるでしょう。
幅広く音作りができてしまうので使い手にセンスが求められるディレイかもしれませんね。
ショップサイトはこちら↓
前回のMinimal Audioの記事はこちら↓
今月のプラグインセール情報をまとめてみました。
よかったら見ていってください。
コメント