今回はSoftubeの「Bus Processor」について書いていこうと思います。

Bus Processor
メタリックなUIが綺麗なプラグインですね。
中身は比較的シンプルなバスコンプレッサーとなっています。
それでは早速みていきましょう。まずバイパス↓
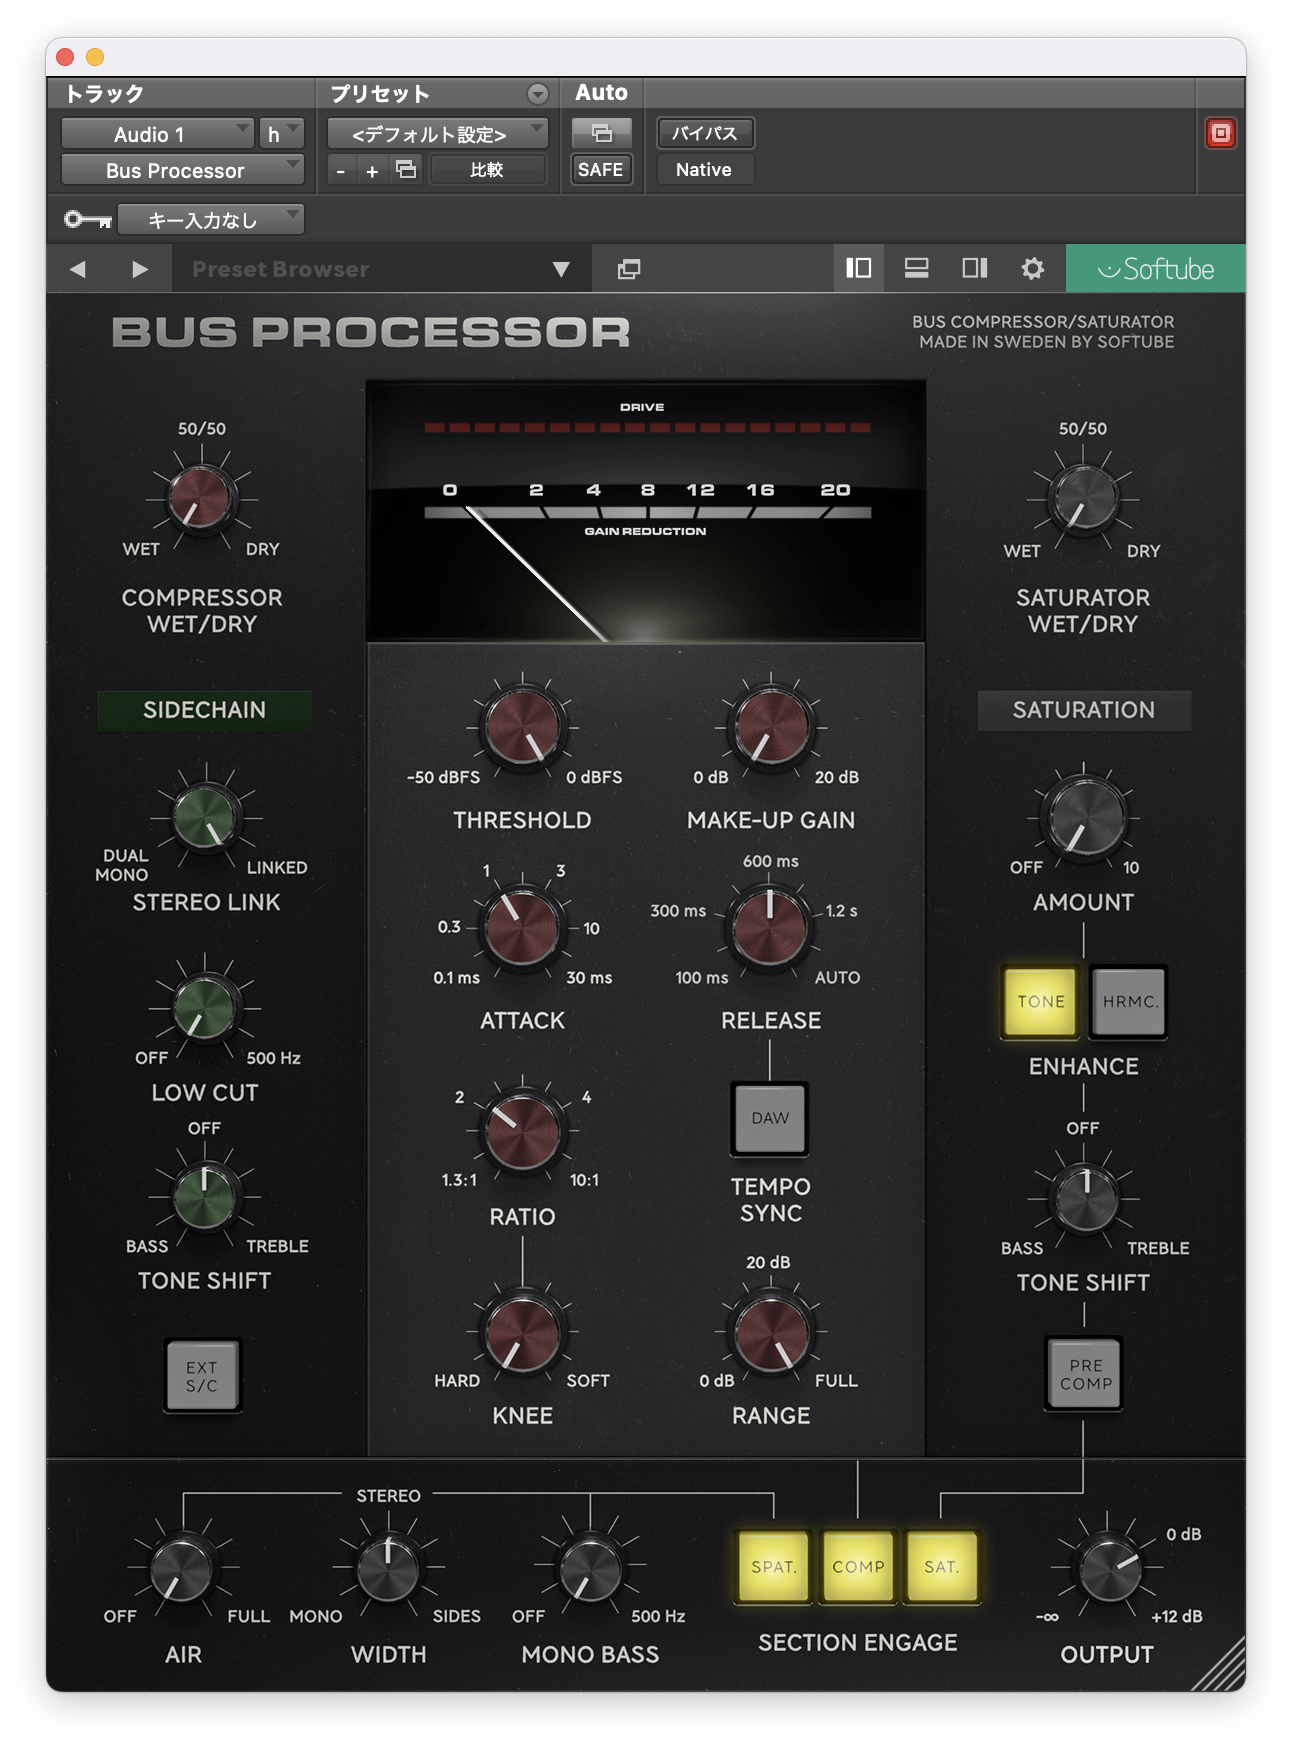
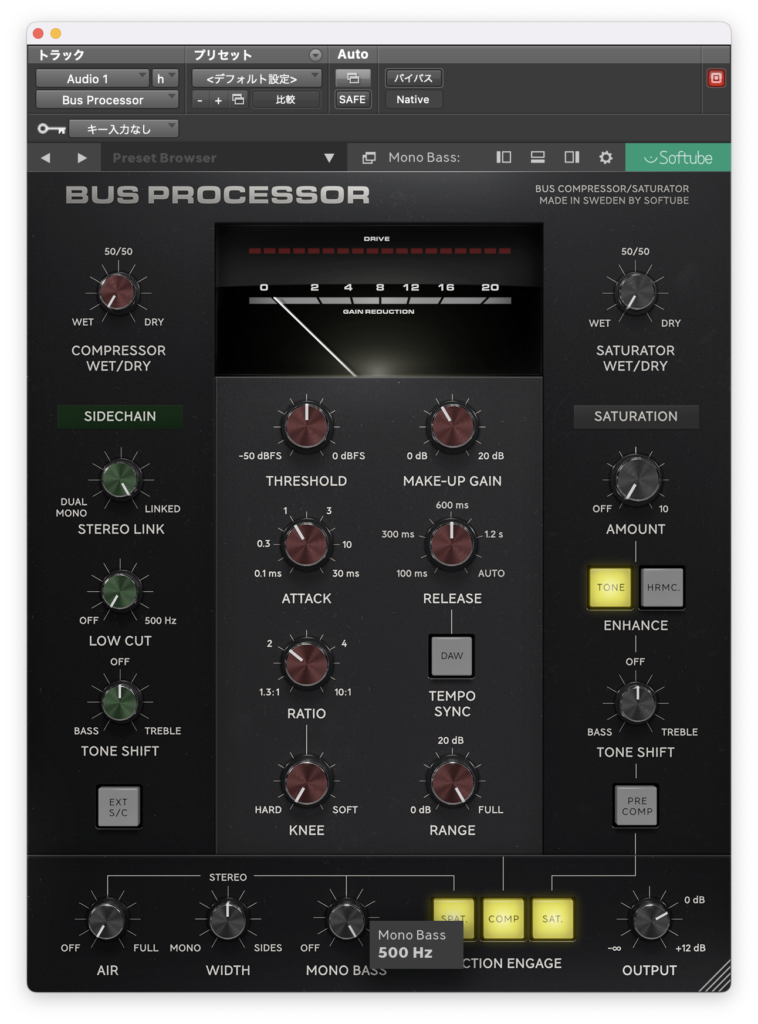
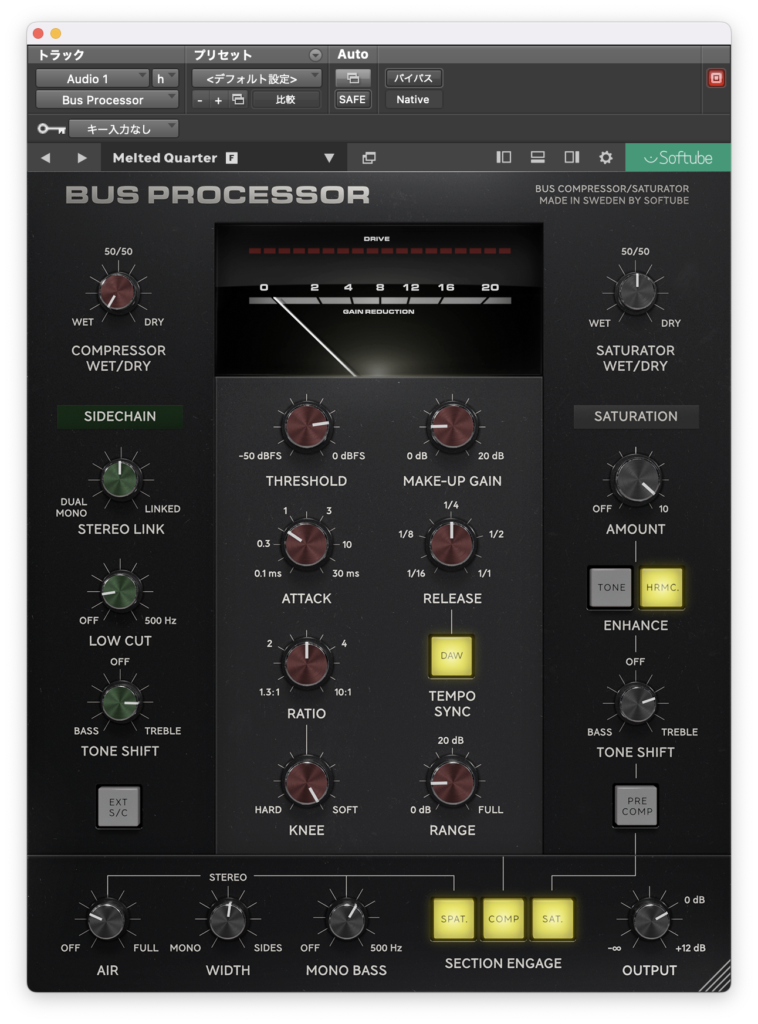
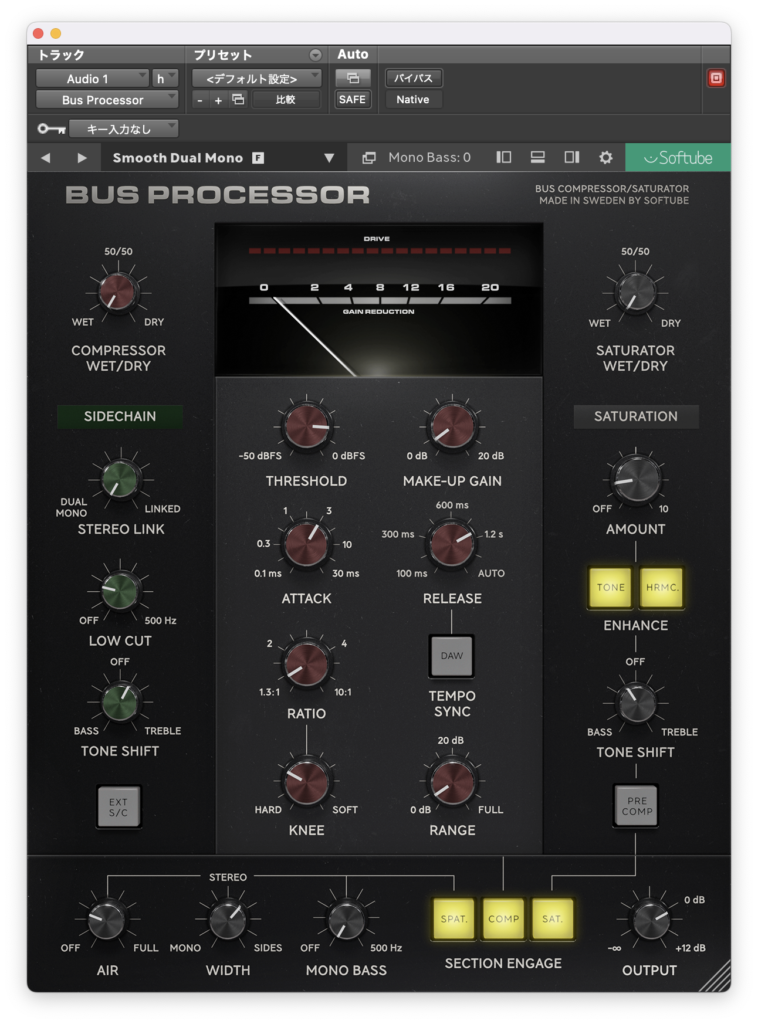
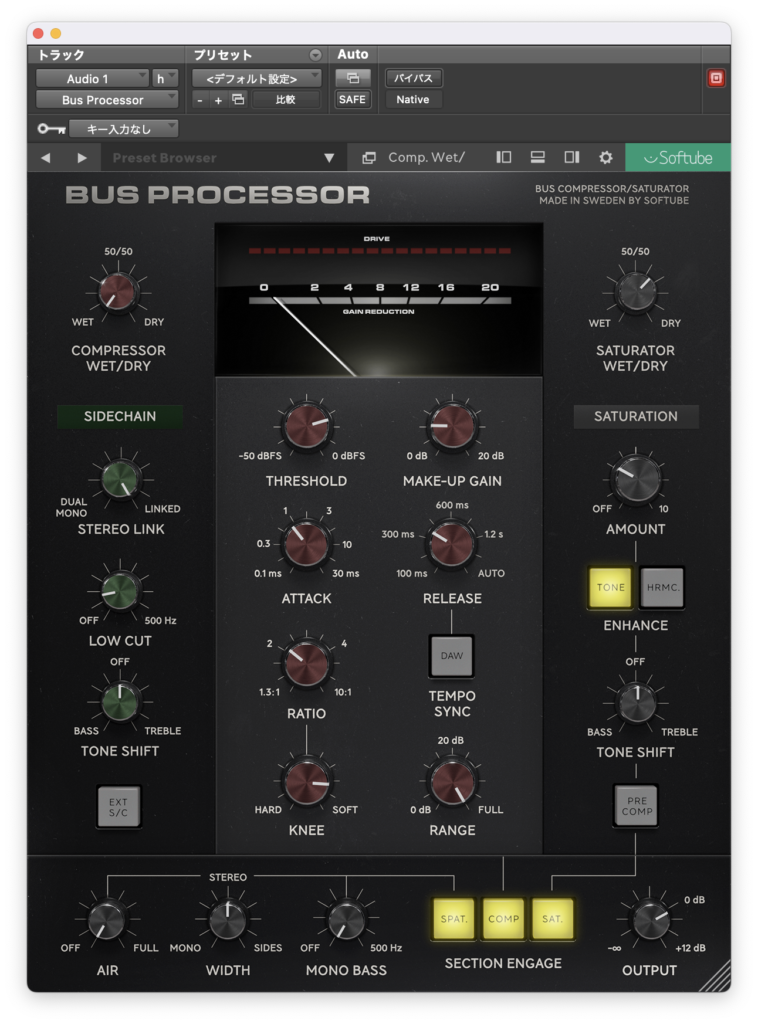
デフォルトだとこんな感じ↓
まず中央にメインのコンプレッサーに関わるパラメーターがあります。
THRESHOLDとMAKE-UP GAINを動かしてみます。


ATTACKとRELEASEを動かしてみます。


リリースのオートもなかなか使えそうですね。
次はRATIOです。
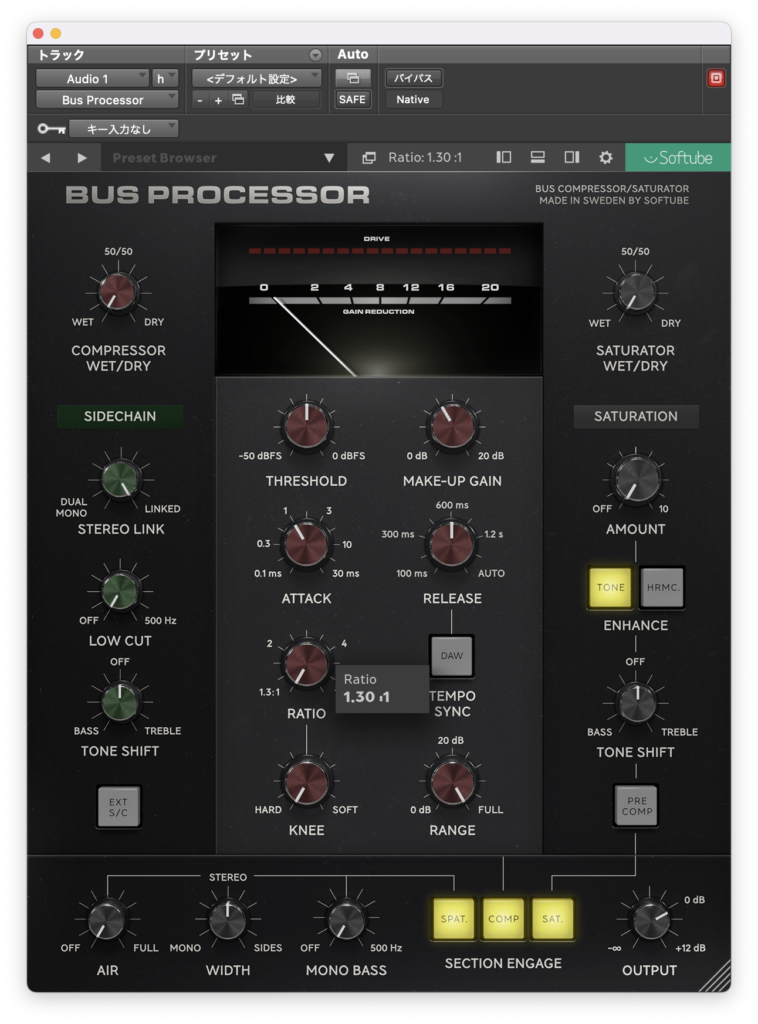

RATIOを上げ切っても意外とめちゃくちゃな音にはなりませんね。
KNEEを動かしてみます。


ソフトニーの緩いコンプレッション感も結構使えそうですね。
RANGEは最大リダクション量を設定するもののようです。リダクション量を少なくしたい場合は値を下げておきましょう。
左にはサイドチェインにまつわる設定がありますね。
上STEREO LINKは左右のチャンネルを同じリダクションするのかしないのかというパラメーターです。

DUAL MONOにすることで左右で独立したリダクションを行います。
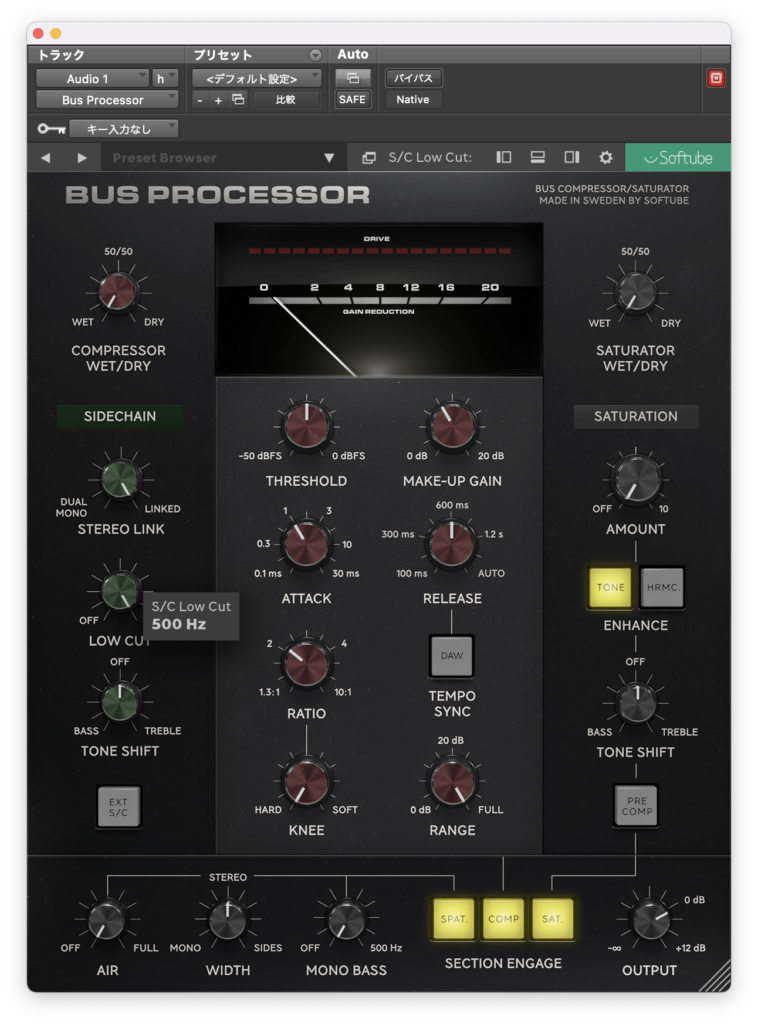
その下にあるLOW CUTは低域をレベル検出から除外するサイドチェインフィルターです。
TONE SHIFTはおそらくリダクション量を決めるのレベル検出時に低域を重視するか高域を重視するかというパラメーターですね。


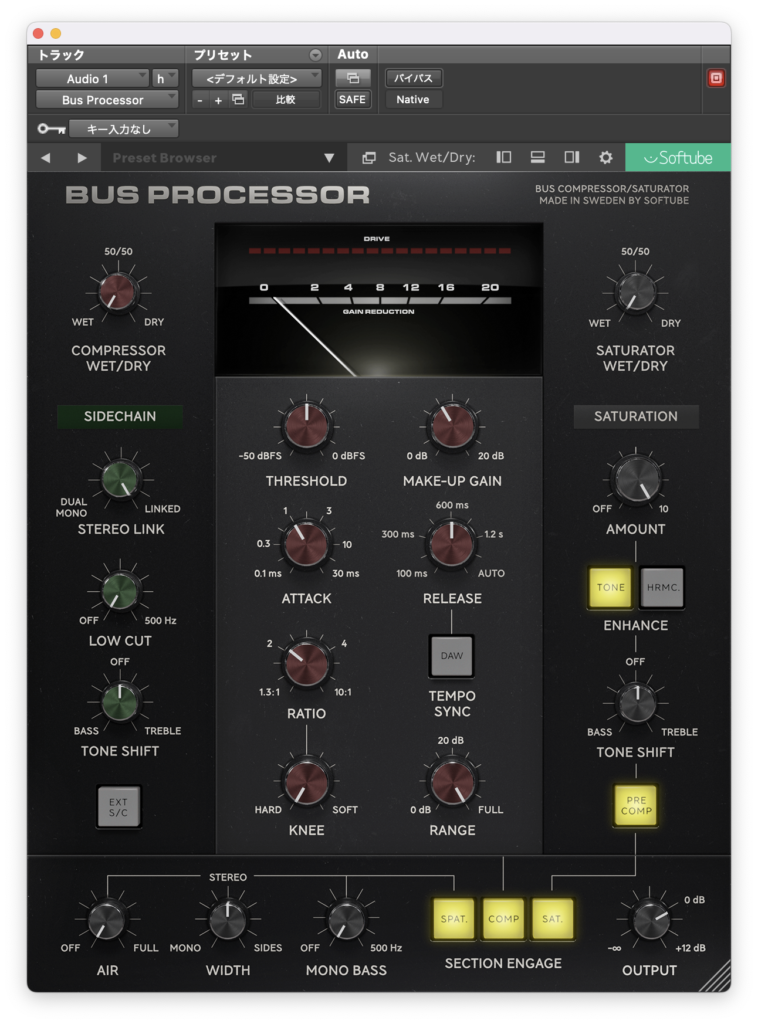
右のSATURATIONで歪みを加えることができます。


下のボタンで歪みの種類が変えられるようですね。

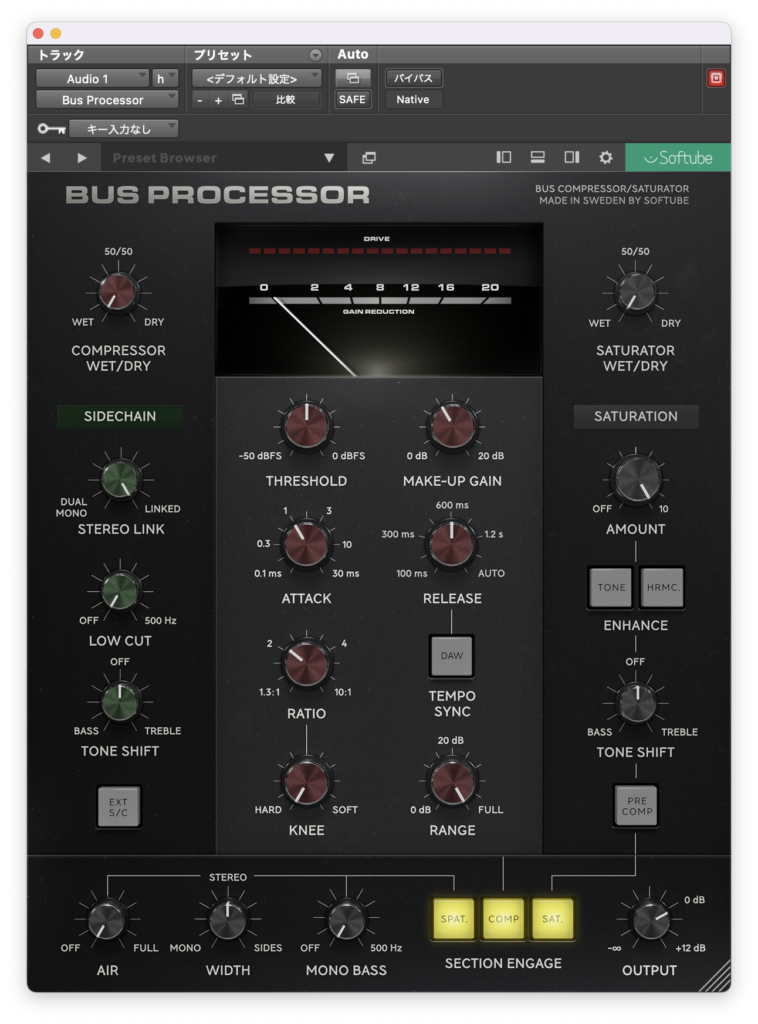
TONE SHIFTで歪みの強調される帯域を変えられます。


PRE COMPで配置をコンプの前に置くこともできるようです。
下にはステレオ操作に関わるパラメーターがありますね。
AIRで高域の広がりを操作します。
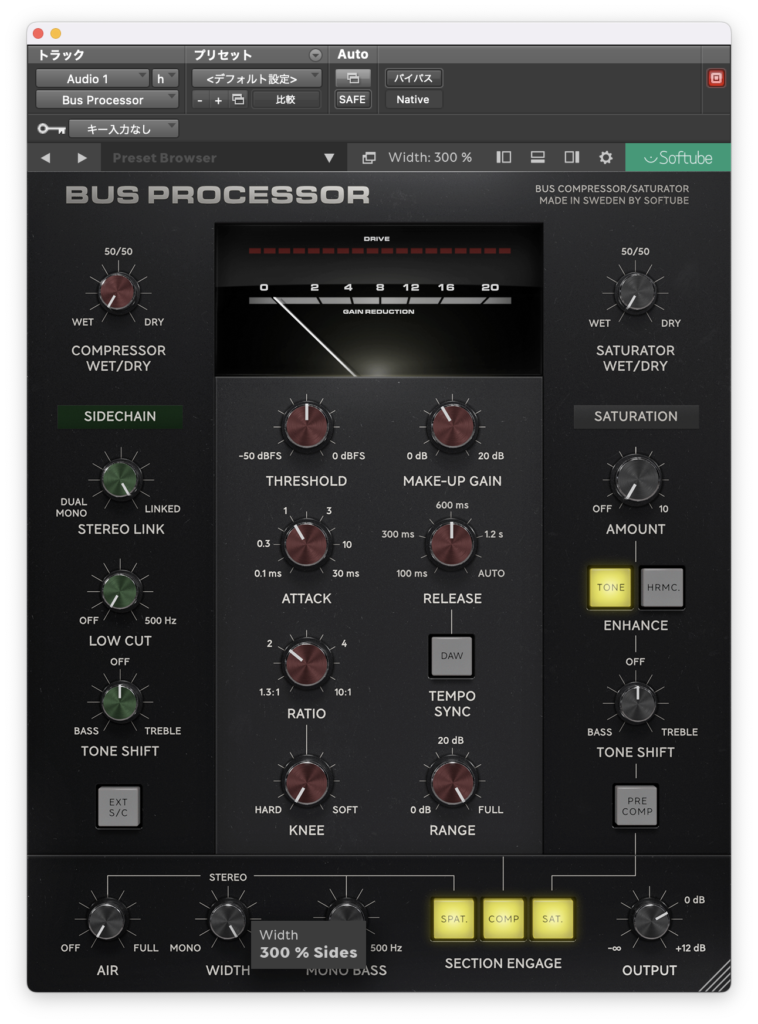
WIDTHで全体の左右の広がりを調整します。

MONO BASSで低域をモノラル化します。
主なパラメーターはこれで全てでしょうか。
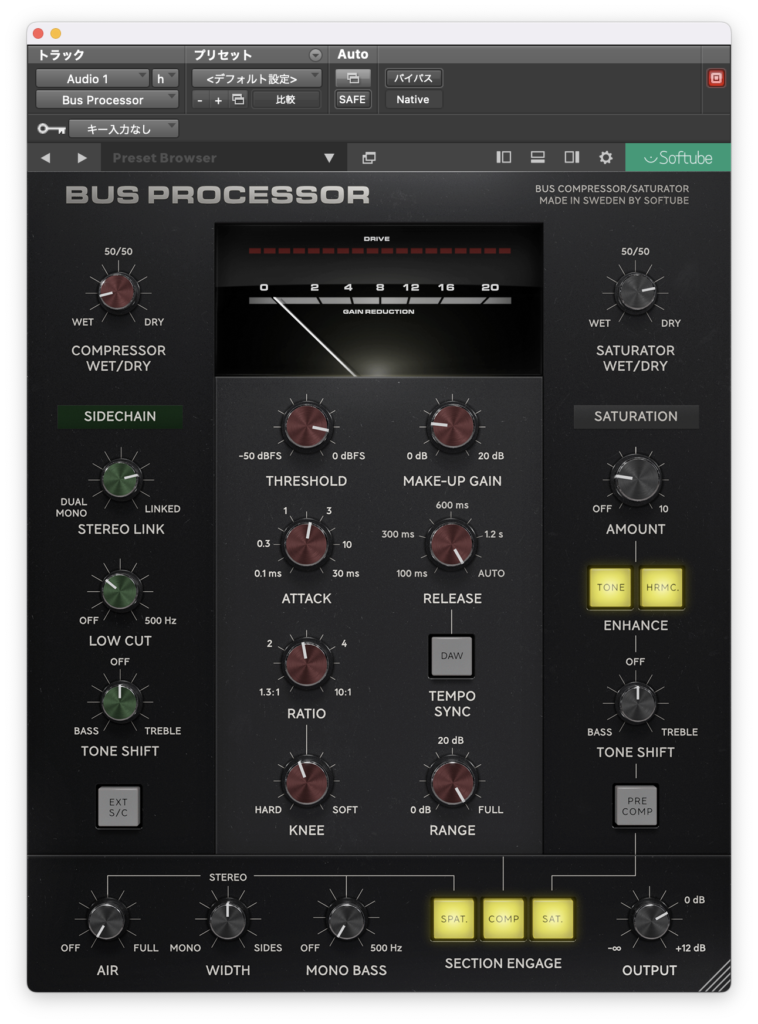
プリセット
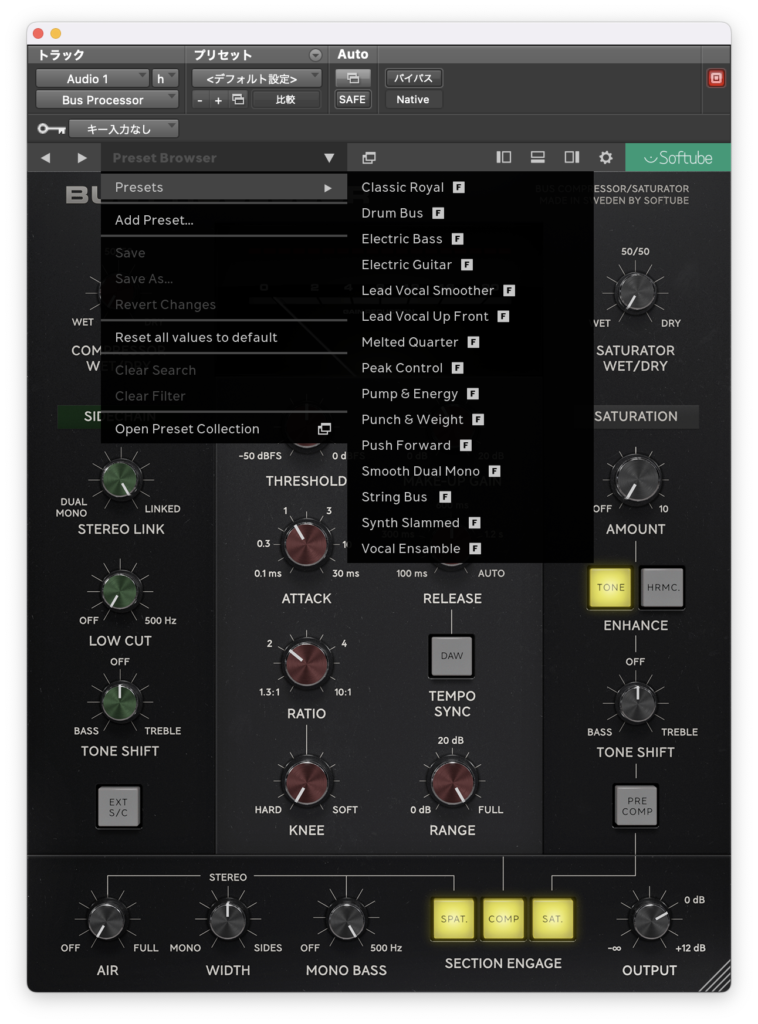
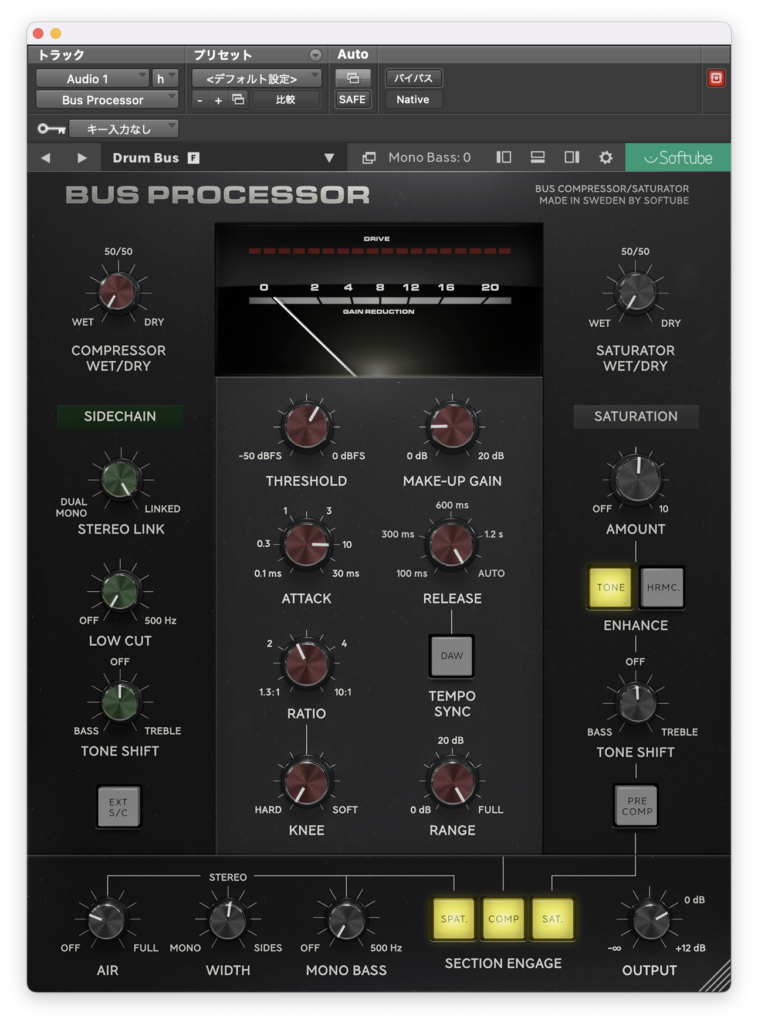
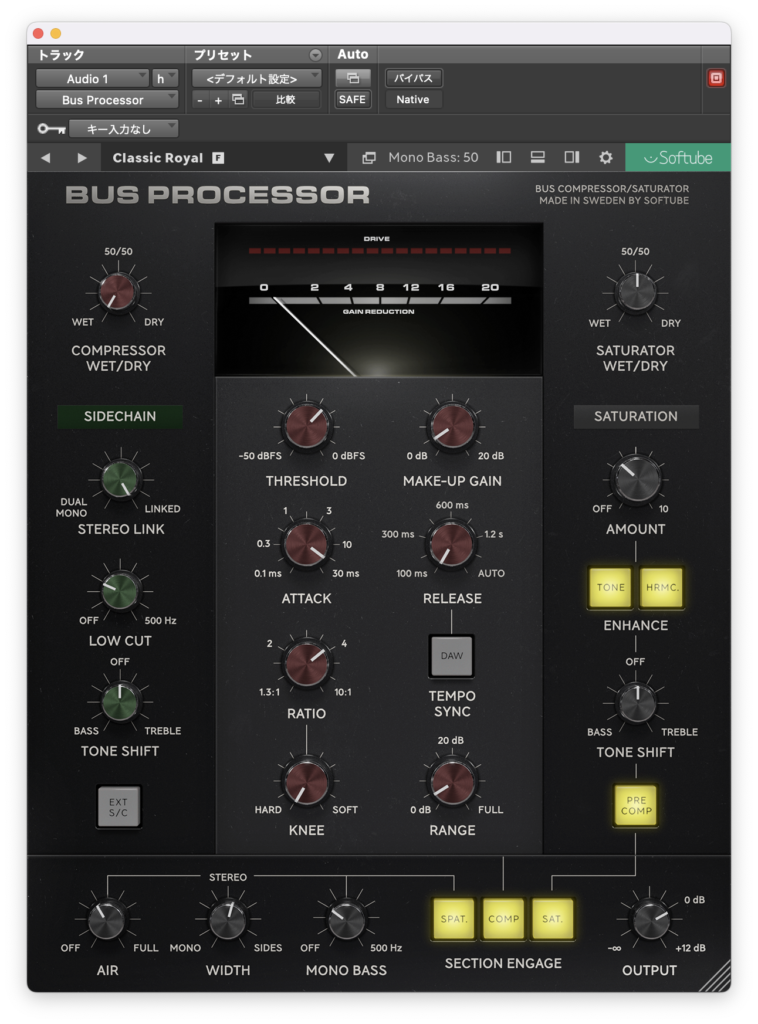
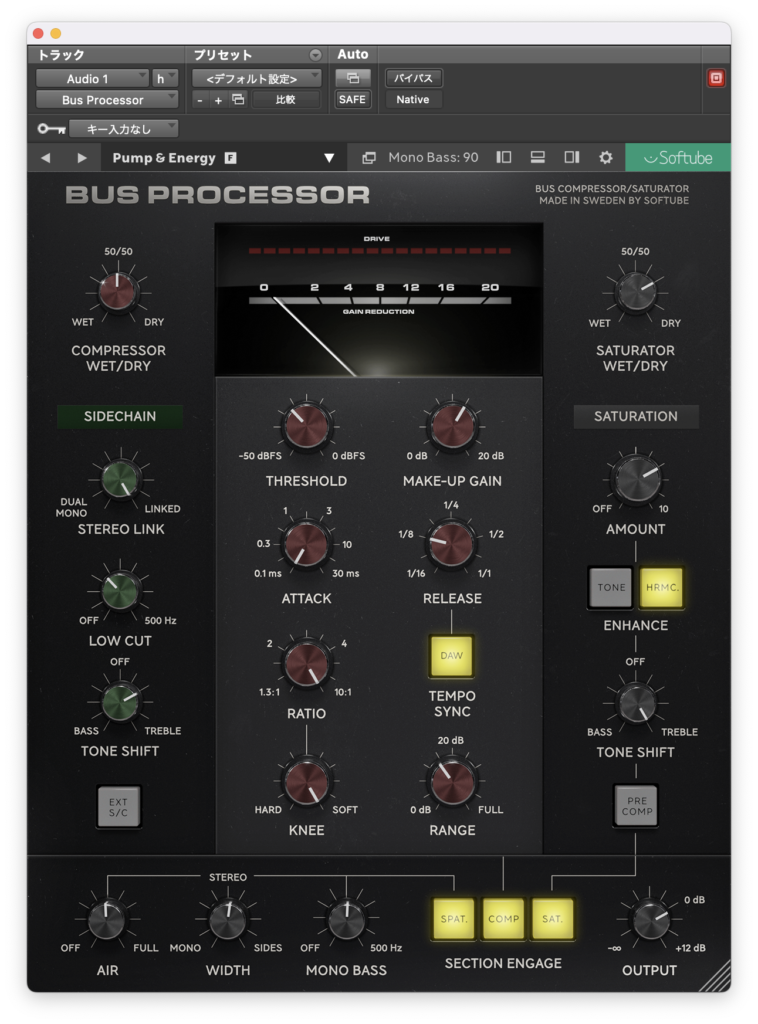
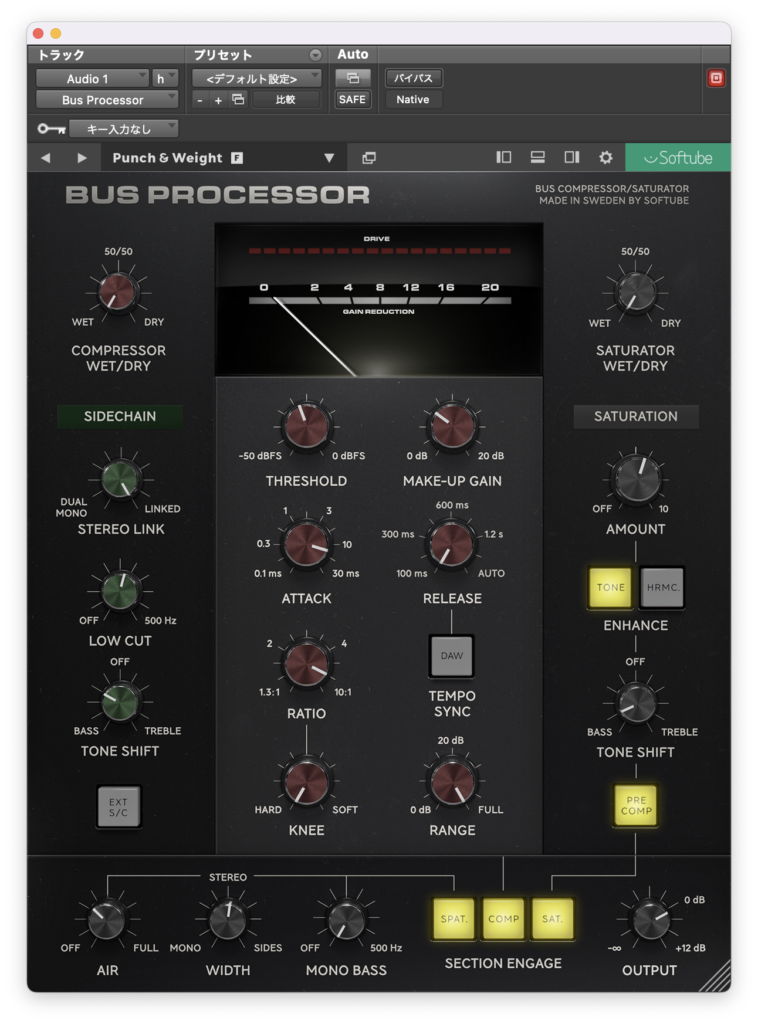
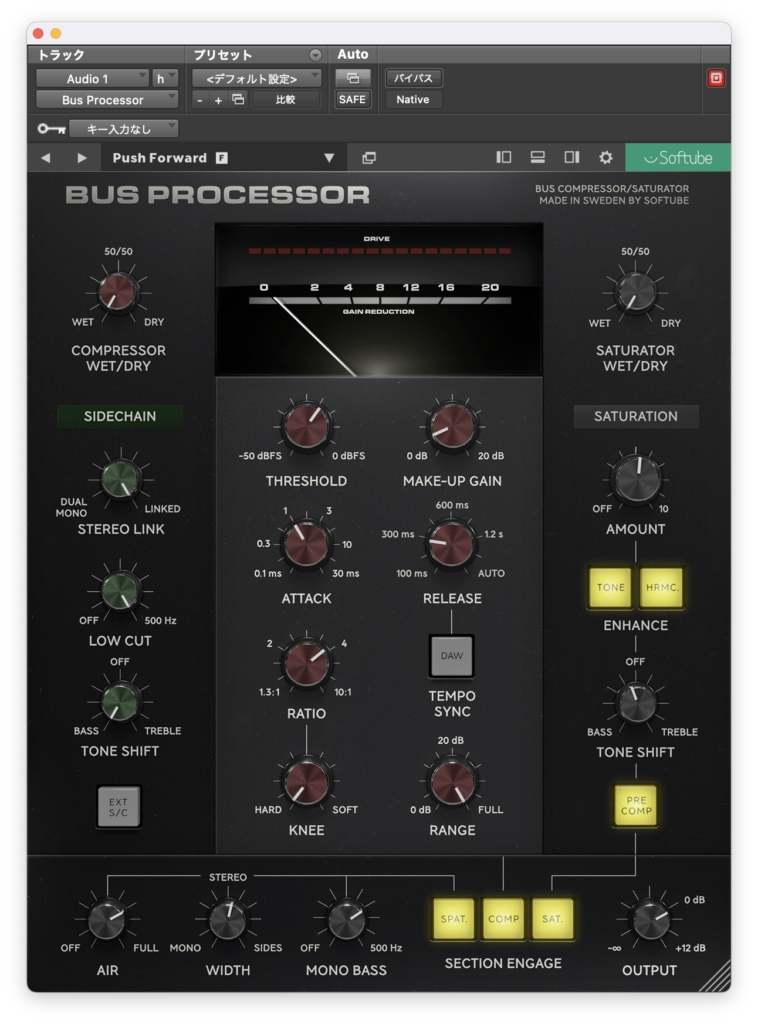
それではプリセットを試していきます。

最後に適当にパラメーターを振ってみました。
アコギ
次にアコギで試してみます。まずバイパス↓
プリセットから試してみます。

適当に自分でパラメーターを振ってみます。
暖かい感じになりましたね。
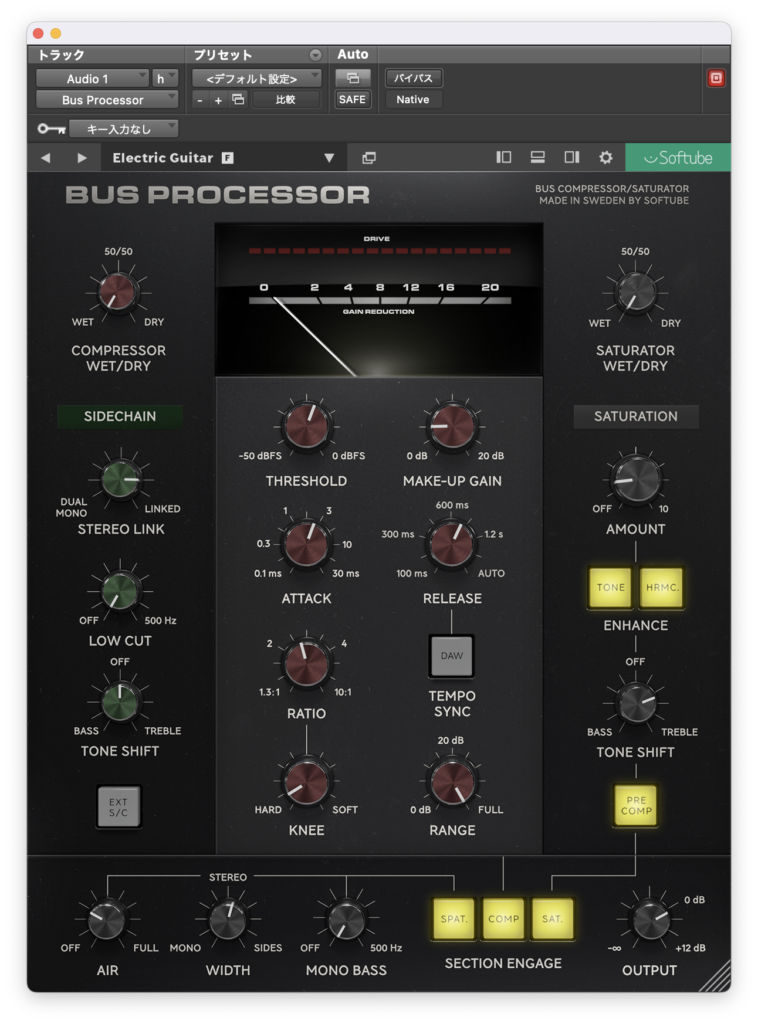
エレキギター
次はエレキギターです。バイパス↓
プリセットから試してみます。
最後に適当にパラメーターを振ってみます。
ぎゅっとした音になりましたね。
ベース
最後にベースで試してみます。まずバイパス↓
まずはプリセットから
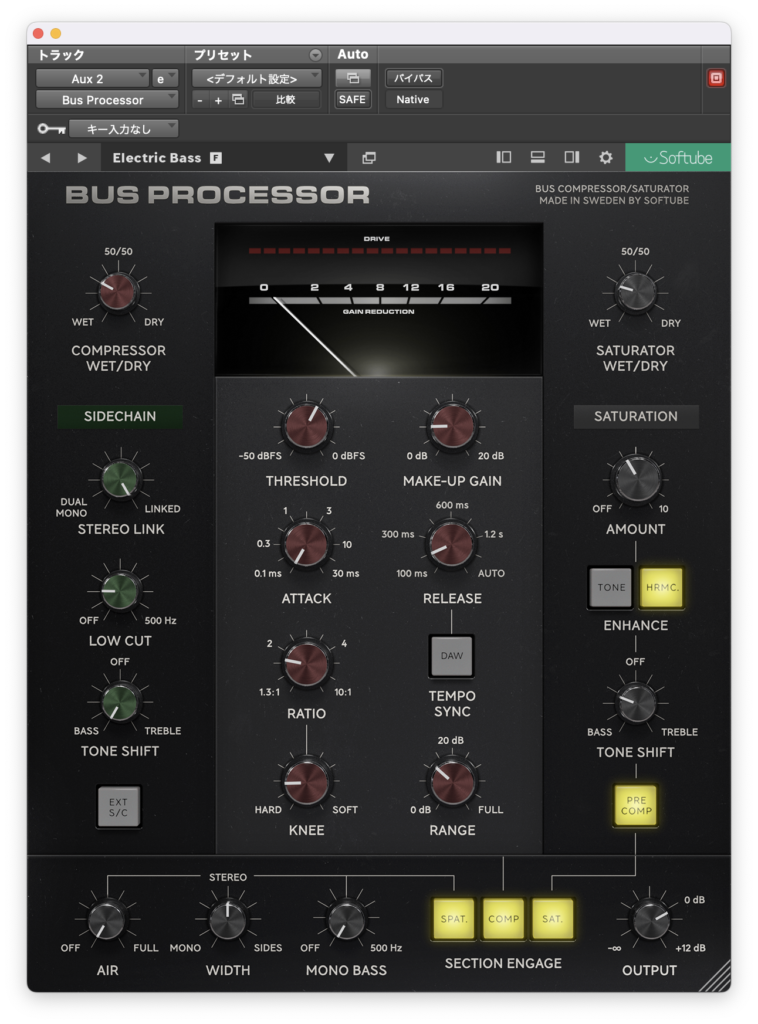
適当にパラメーターを振ってみます。

力強い音になりましたね。
まとめ
Bus Processorというだけあって音をまとめるのに適したコンプレッサーだと思います。
癖があまりなくて使いやすい印象ですね。
意外とトラックに使ってもいいのかもしれません。
ショップサイトはこちら↓
前回のSoftubeの記事はこちら↓
今月のプラグインセール情報をまとめてみました。
よかったら見ていってください。

コメント