今回はKiive Audioの「Xtressor」について書いていこうと思います。

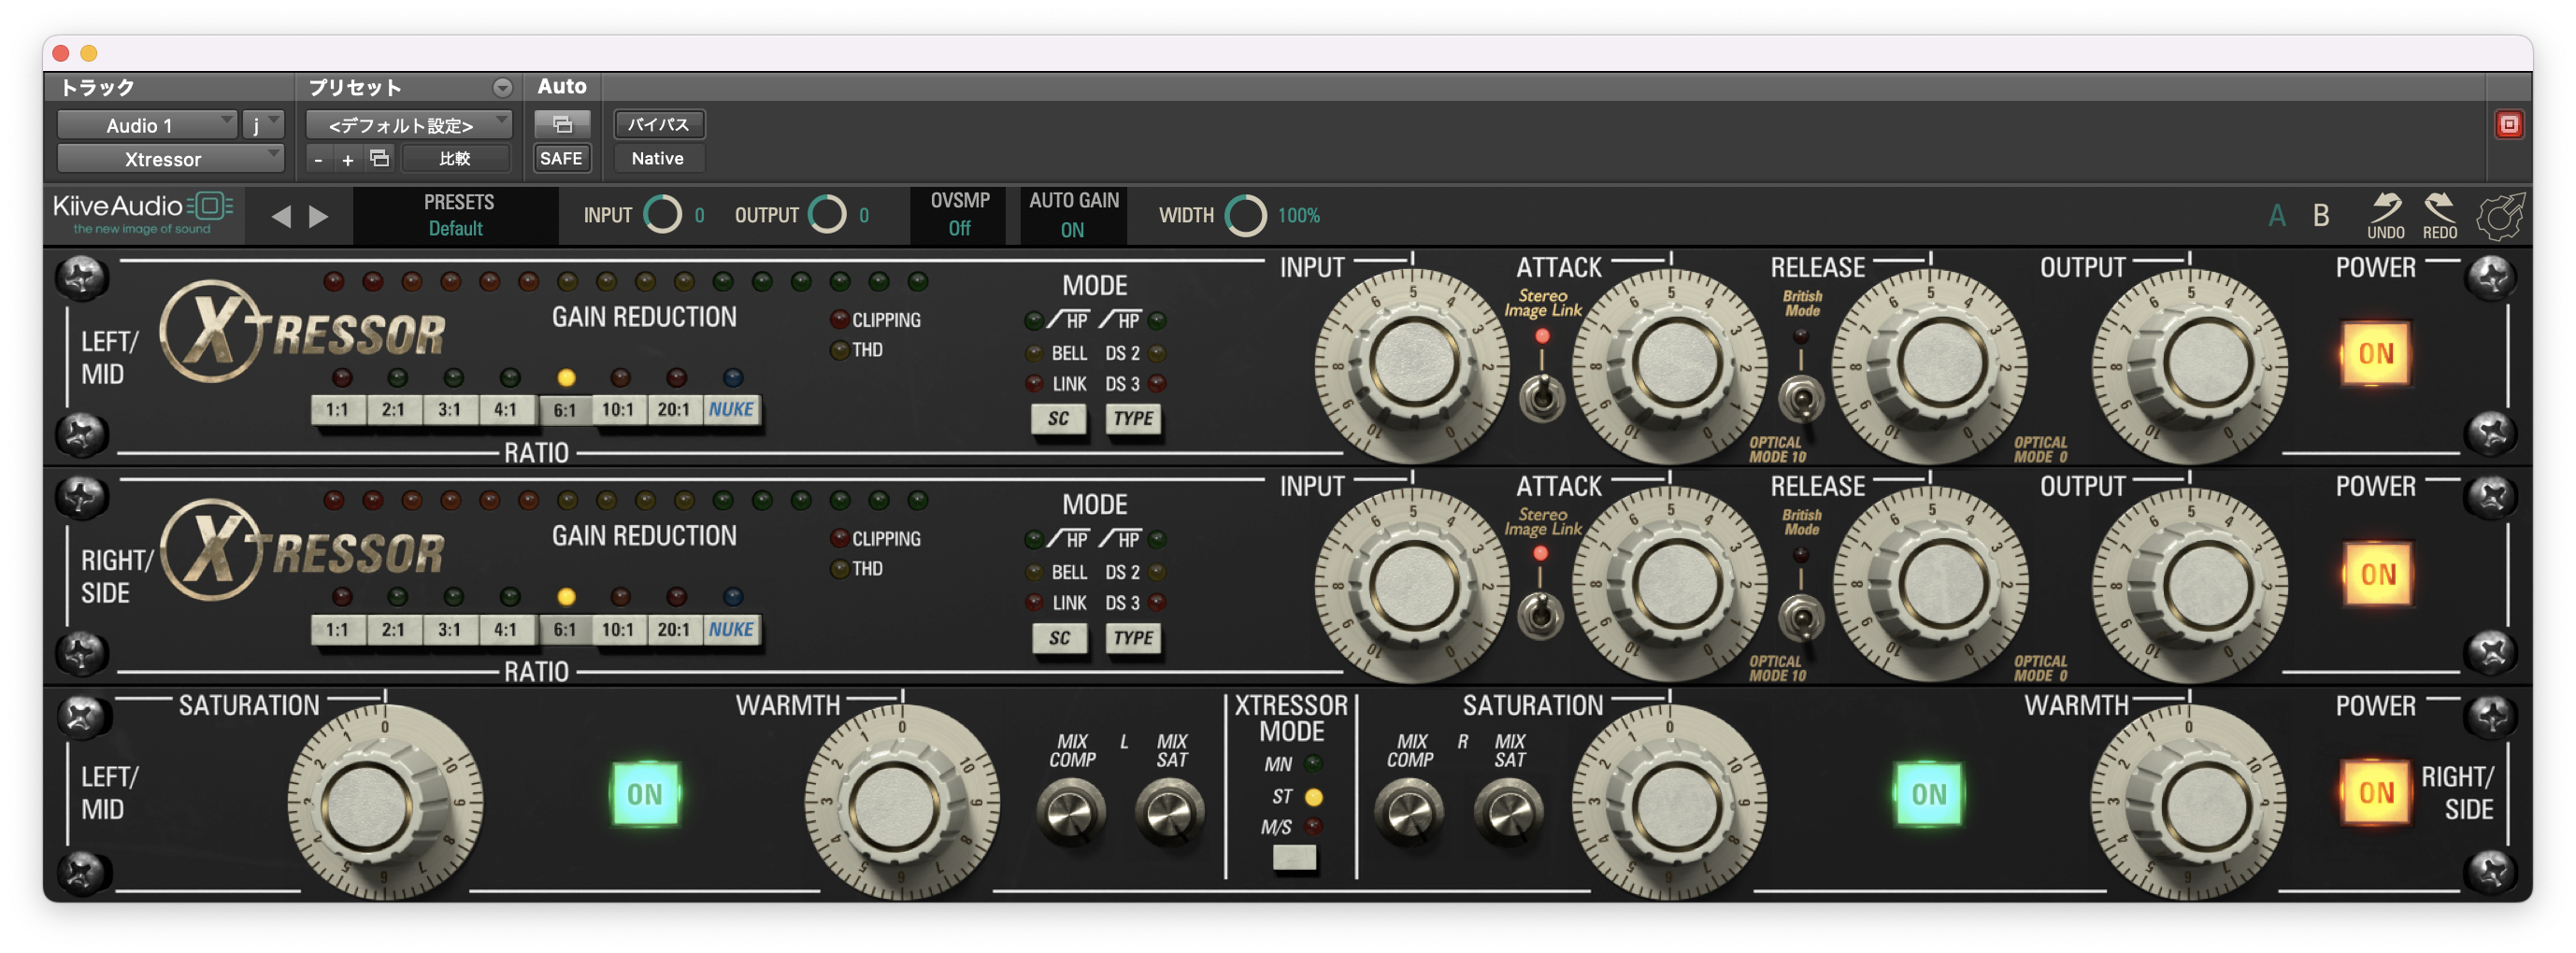
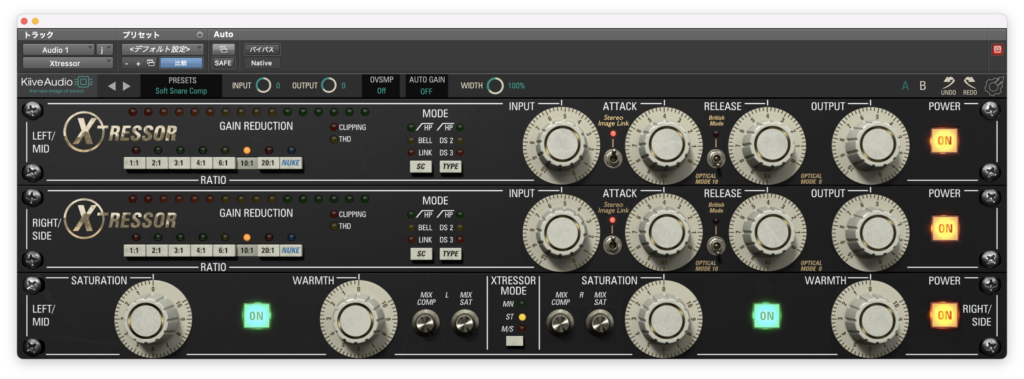
Xtressor
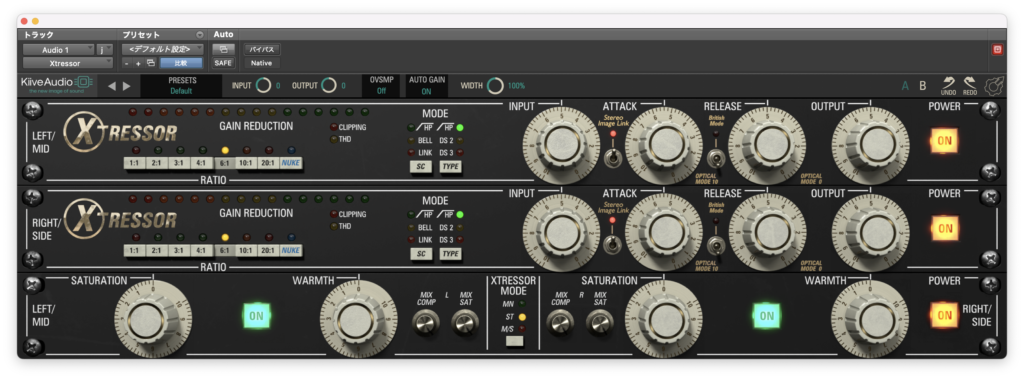
Empirical Labsの「Distressor」をシュミレートしたプラグインです。
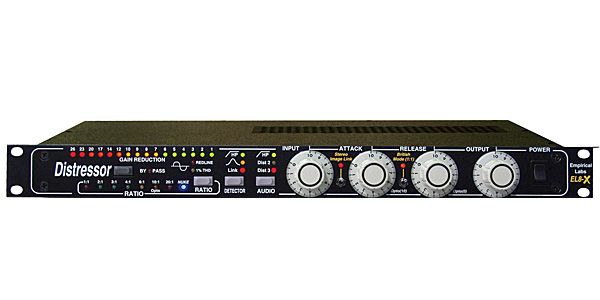
見た目がとても似ていますね。
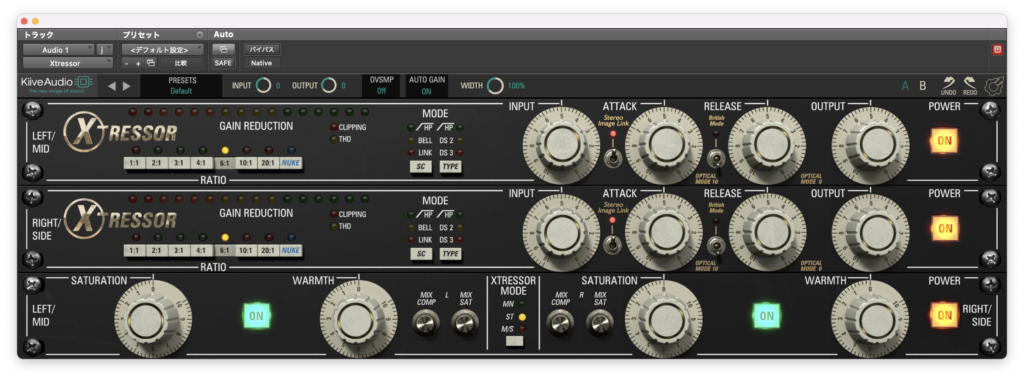
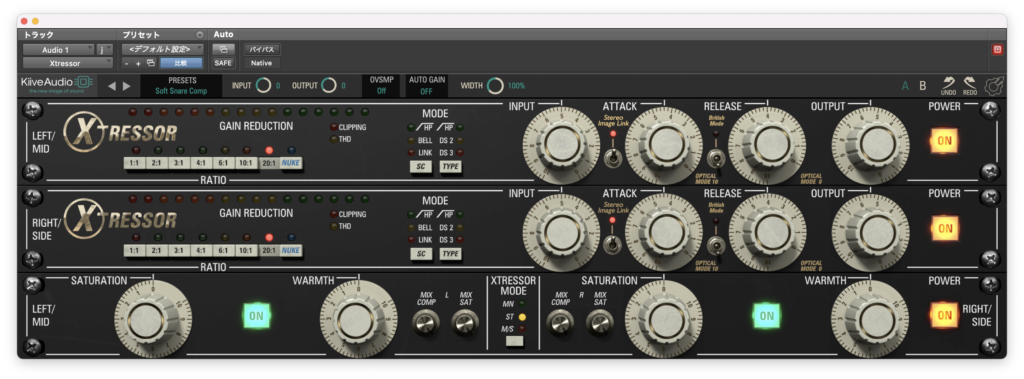
というわけで早速みていきましょう。今回のバイパス↓
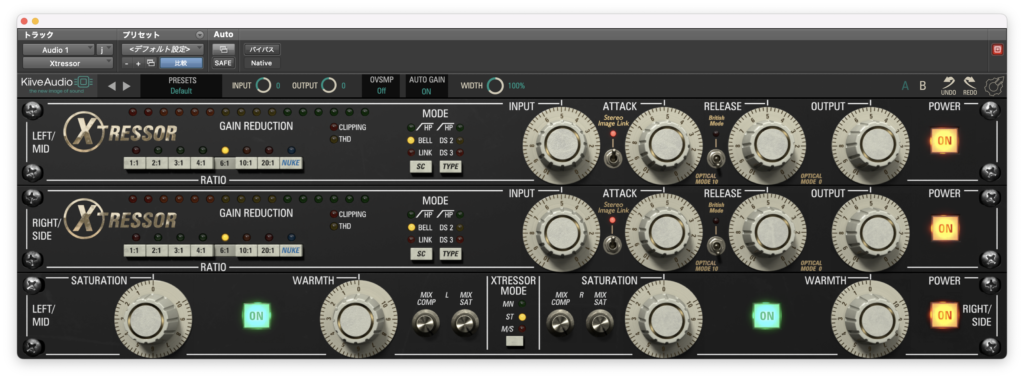
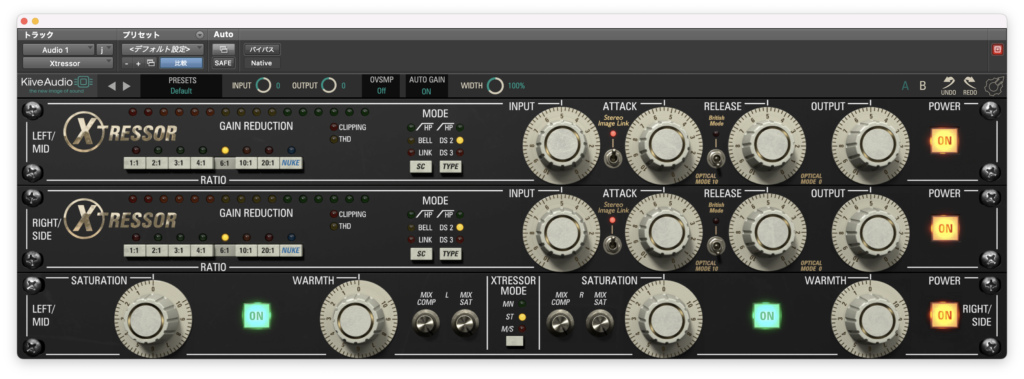
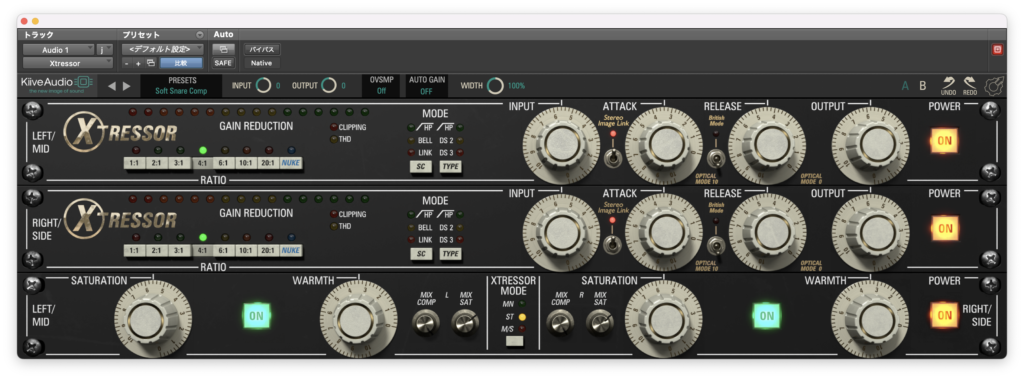
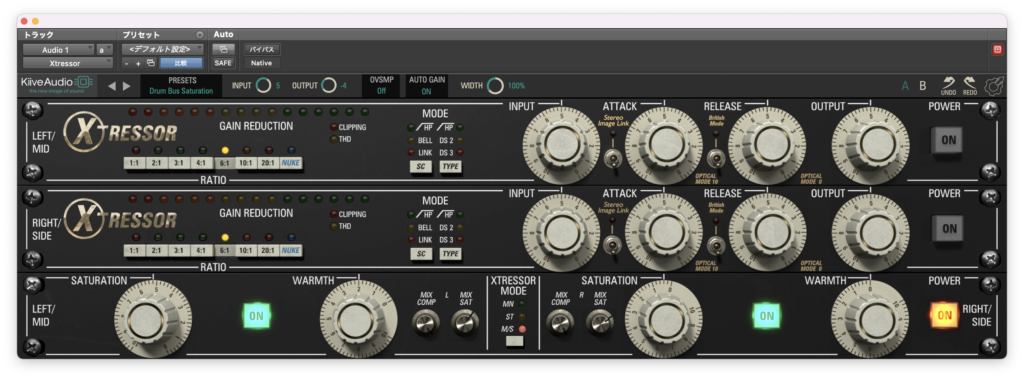
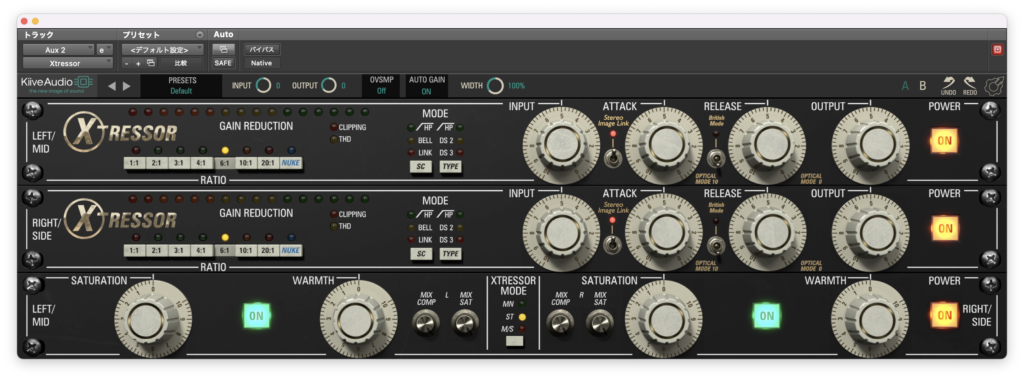
デフォルトだとこんな感じ↓
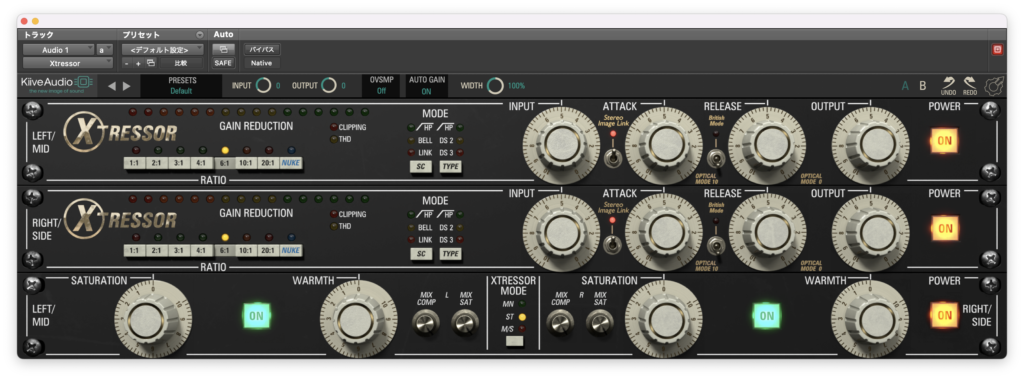
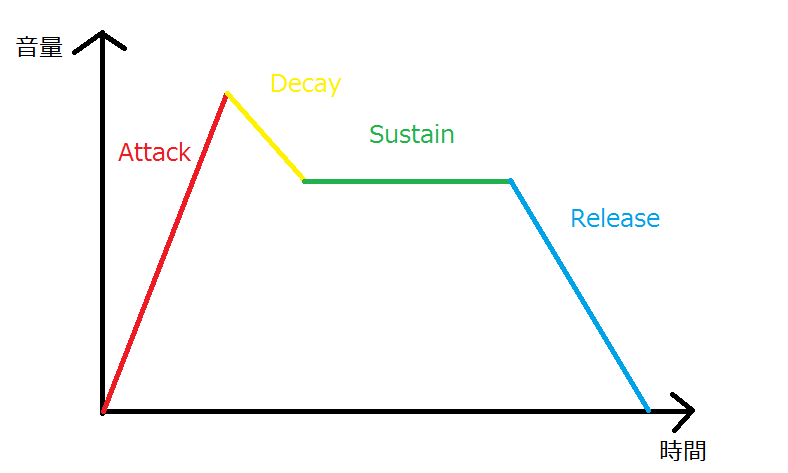
使い方
使い方は普通のコンプレッサーと同様にINPUTとATTACK、RELEASE、OUTPUT、RATIOで操作します。
(THRESHOLDはないようです)
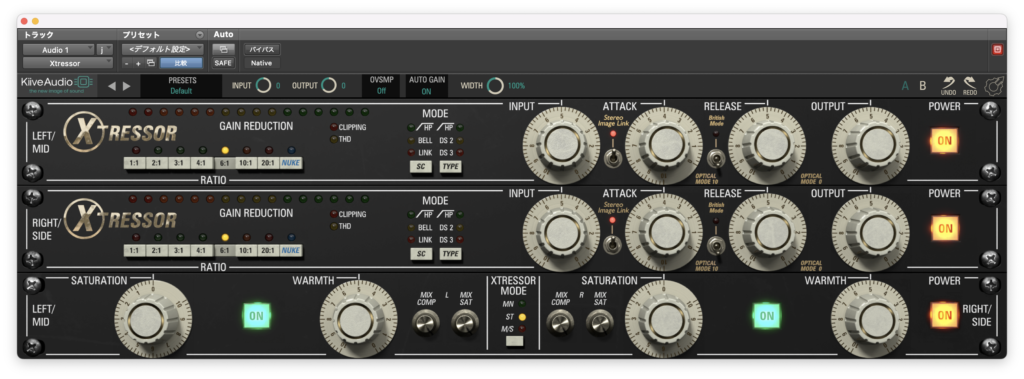
MODEのボタンだけはちょっとわかりにくいので試してみようかなと思います。
SCのHPはそのままですがサイドチェインフィルターのハイパスですね。

BELLはフィルターの形がベルになって中域をプッシュするのに使えるそうです。
大体6kHzのあたりがブーストされるそうです。
LINKは内部のコンプレッション回路を働かせてより強いブースト感を得ることができるそうです。

ちなみにこれらは同時にオンにすることもできます。(どれか2つだけをオンにすることもできます)

さてその右にあるTYPEですが、まずHPは全体にかかる80Hzのハイパスフィルターのようです。
DS 2は2次倍音の強調、DS 3は3次倍音の強調だそうです。

これはそれぞれHPと同時に使うことができます。(3つ全てを同時に使うことと、DS 2とDS 3を同時に使うことはできませんでした)
右にあるBritish Modeは1176の全押しの特性を再現するボタンのようです。(ただ、RATIOは左で設定した値にになる模様)

下段にはSATURATIONとWARMTHの二種類のサチュレーション回路がありますね。


このサチュレーション回路とコンプレッション回路はDry/Wet比が設定できるようになっています。
上段にはオーバーサンプリングもありますね。


大体分かりにくいパラメーターはこれで全てでしょうか。
プリセット

適当にプリセットを試していきます。


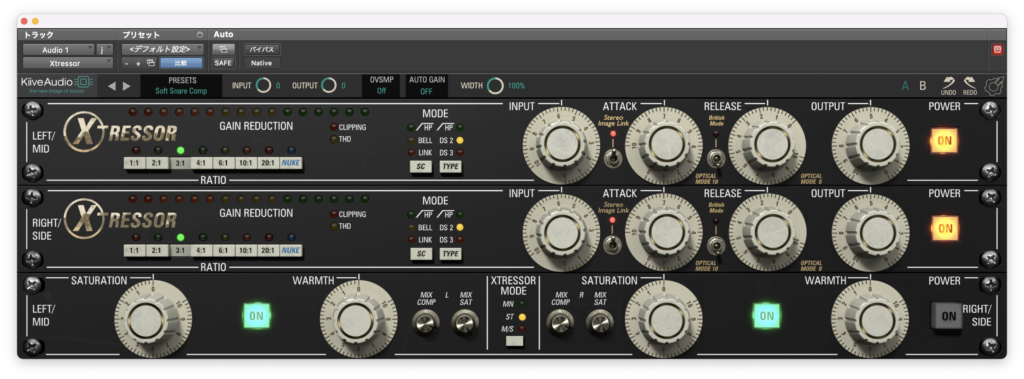
いくつか自分で試してみます。


こんなところでしょうか。
ドラム
次はドラムで試してみます。まずバイパス↓
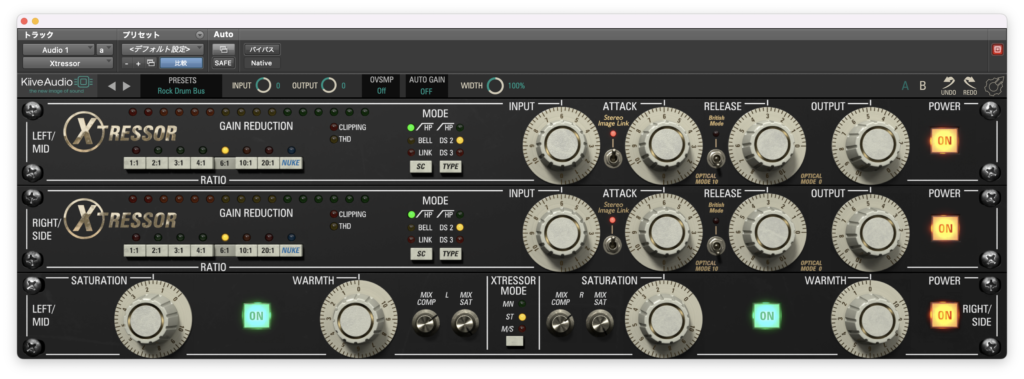
デフォルトだとこんな感じ↓
プリセットを試していきます。


最後に適当にパラメーターを振ってみました。

アコギ
アコギで試してみます。バイパスはこちら↓
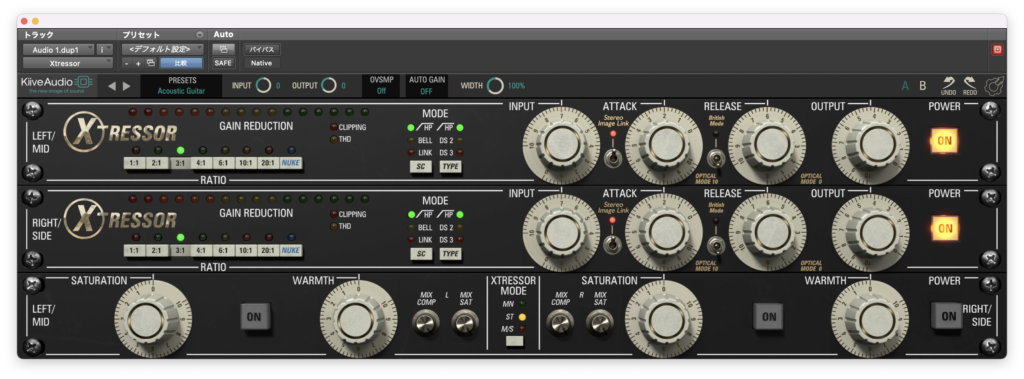
デフォルトだとこんな感じ↓

まずはプリセットから。

自分でパラメーターを振ってみました。

ベース
最後にベースで試してみます。まずバイパス↓
デフォルトだとこんな感じ↓
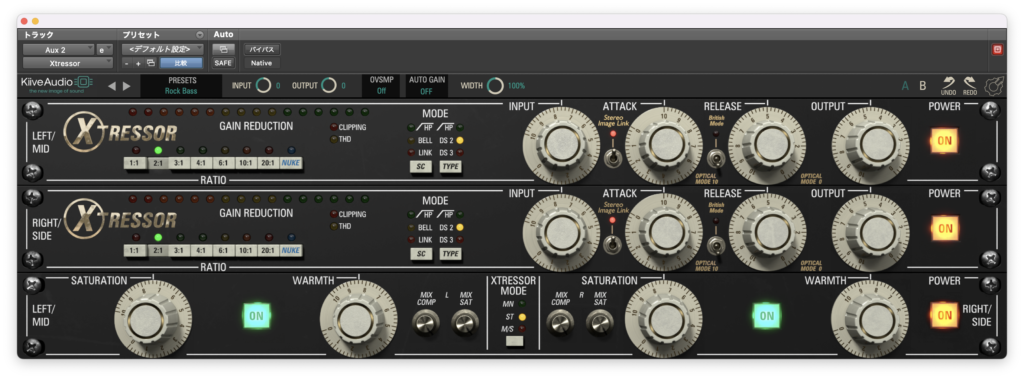
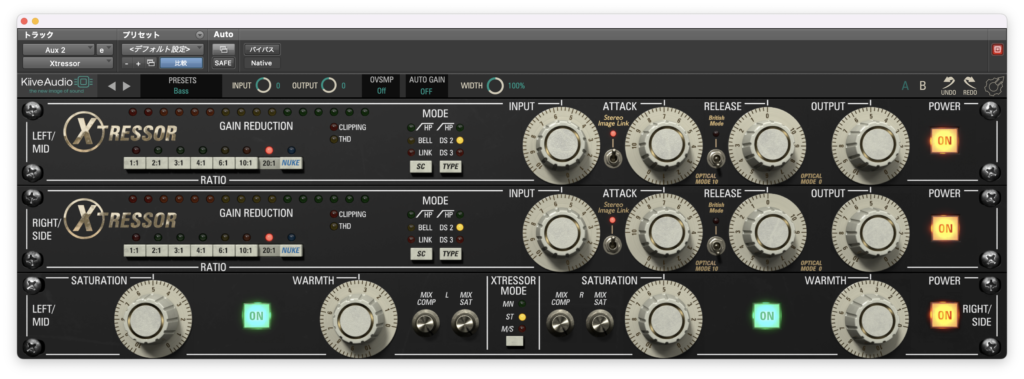
プリセットから試していきます。

適当にパラメーターを振ってみました。

なかなかゴリゴリとした感じになりましたね。
まとめ
かっちり系のコンプレッサーかなと思います。
今回だとスネアとベースと相性が良さそうでしたね。
結構いい感じに使えそうなコンプレッサーだと思います。
ショップサイトはこちら↓
次回のKiive Audioの記事はこちら↓
今月のプラグインセール情報をまとめてみました。
よかったら見ていってください。

コメント